Import process
What is it for?
One of the most difficult things to get right when creating game engines is managing the import process. That means, getting the assets that artists make into the game, in a way that functions optimally.
Artists use certain tools and formats, and programmers would rather have their data in a different format. This is because artists put their focus on creating assets with the best quality possible, while programmers have to make sure they actually run at decent speed (or run at all), use a certain amount of memory, and don’t take ages loading from disk.
One would think that just writing a converter/importer would be enough, but this is not all there is to it. The same way programmers iterate several times over their code, artists keep making changes to their assets. This generates a bottleneck, because someone has to keep re-importing that artwork, right? And importing assets is often something that has to be agreed by both parties, as the programmer needs to decide how the artwork is imported and the artists needs to see how it looks.
The goal to establishing an import process is that both can agree on how the rules under which the assets are going to be imported the first time, and the system will apply those rules automatically each time the asset is re-imported.
Godot does not do the re-import process automatically, though. It gives the team the option to do it at any time ( a red icon on the top right of the screen, allows the ability to do it at any desired time).
Does it always work?
The aim of the import system is that it works well enough for most common cases and projects. What is there has been tested and seems to cover most needs.
However, as mentioned before, this is one of the most difficult areas of writing a game engine. It may happen often (specially on large projects, ports, or projects with unusual requirement) that what is provided is not enough. It’s easy to say that the engine is open source and that the programmer should make their own if they don’t like what is there, but that would be making a huge disservice to the users and not the right attitude. Because of that, we made sure to provide as many tools and helpers as possible to support a custom import process, for example:
- Access to the internals of almost all data structures is provided to the scripting and C++ API, as well as saving and loading in all supported file formats.
- Some importers (like the 3D asset importer) support scripts to modify the data being imported.
- Support for creating custom import plugins is also provided, even for replacing the existing ones.
- If all else fails, Godot supports adding custom resource loaders, to load data in alternative formats, without intermediate conversion.
Both the import system and the custom tools provided will improve over time as more use cases are revealed to us.
Importing assets
Source asset location
To begin, it is a good idea to define where the original assets created by the artists (before they are imported) will be located. Normally, Godot does not mind much about the location, but if the project has several developers, it is a good idea to understand the simple rule for it to work for everyone.
First of all, it would be really good for this location to not be inside the project path (where engine.cfg is located, or any sub-folder). Godot expects regular resources in there, and may consider many of the files used as source art as regular resources. This would lead to it bundling all of them when the project is exported, something which is undesired.
Now that it is clear that this location must be outside the project folder, the rule that Godot uses to reference external assets can be explained. When an asset is imported, the engine stores a relative path from the project path to the asset (In windows, this works as long as they are on the same drive, otherwise an absolute path is stored). This ensures that the same asset can be re-imported in another computer.
The usual approach to this, when using a VCS such as Git, Mercurial or Subversion, is to create the project in a subfolder, so both the game’s project files and the source assets can be committed to a same repository. For example, the repository layout can look like this:
source_assets/sfx/explosion.wav
source_assets/sfx/crash.wav
source_assets/fonts/myfont.ttf
source_assets/translation/strings.csv
source_assets/art/niceart.psd
game/engine.cfg
In the above example, artists, musician, translators, etc. can work in the source_assets/ folder, then import the assets to the game/ folder. When the repository is updated, anyone can re-import the assets if they changed.
Import dialogs
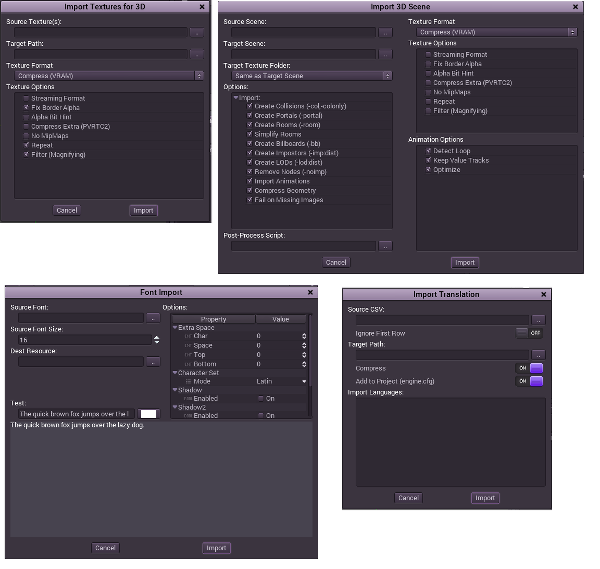
Godot provides for importing several types of assets, all of them can be accessed from the import dialog:
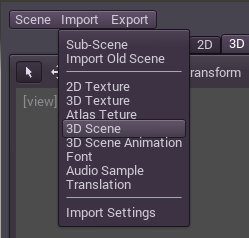
Each of the dialogs shares a similar function, a source file (or several of them) must be provided, as well as a target destination inside the project folders. Once imported, Godot saves this information as metadata in the imported asset itself.
More information about each specific type of asset can be found in specific sections, such as Importing Textures.
Tracking changes and re-importing
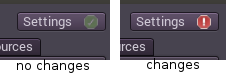
Godot tracks changes in the source assets constantly. If at least one asset has been found to be modified (md5 is different than when it was imported), a small red indicator will appear in the top right corner of the screen.
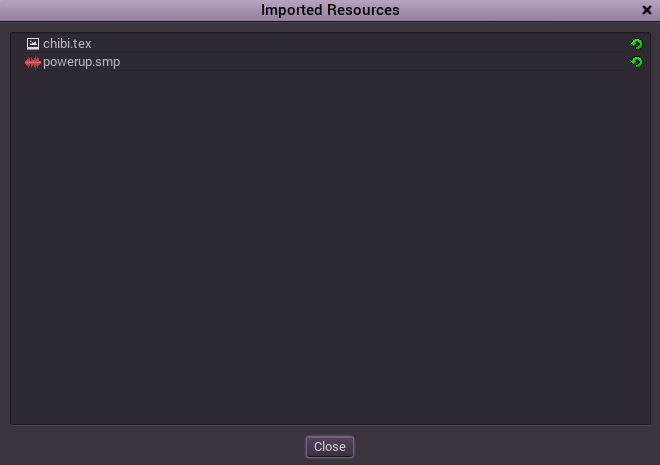
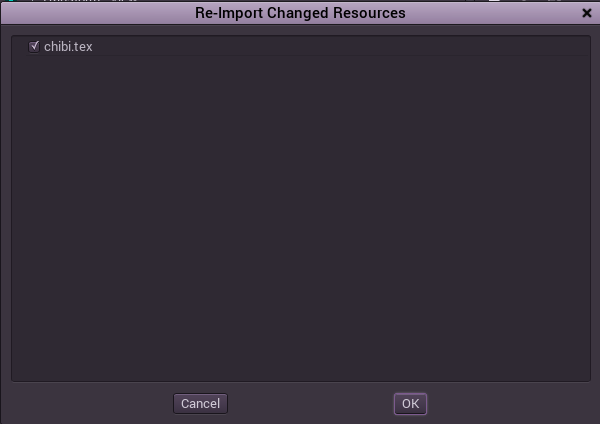
From that moment onward, the user can choose to re-import at any given time by clicking on the red-icon. When this action is done, a dialog will pop-up showing which resources can be re-imported (all selected by default).
Accepting that dialog will immediately re-import the resources and will update any of them currently in use in the editor (like a texture, model or audio file).
Manually re-importing
The re-import process is automatic, but it may be desired at some point to change the settings of an already imported file, so it can be re-imported differently. For this, the Import Settings window is provided.

This screen allows the user to re-open the corresponding import-window to re-import that asset again, with the ability to change any of the settings.