Work in progress
The content of this page was not yet updated for Godot
4.2
and may be outdated. If you know how to improve this page or you can confirm
that it's up to date, feel free to open a pull request.
Configuration de la zone de jeu
Dans cette première partie, nous allons mettre en place la zone de jeu. Commençons par importer les assets de départ et configurer la scène de jeu.
We've prepared a Godot project with the 3D models and sounds we'll use for this tutorial, linked in the index page. If you haven't done so yet, you can download the archive here: Squash the Creeps assets.
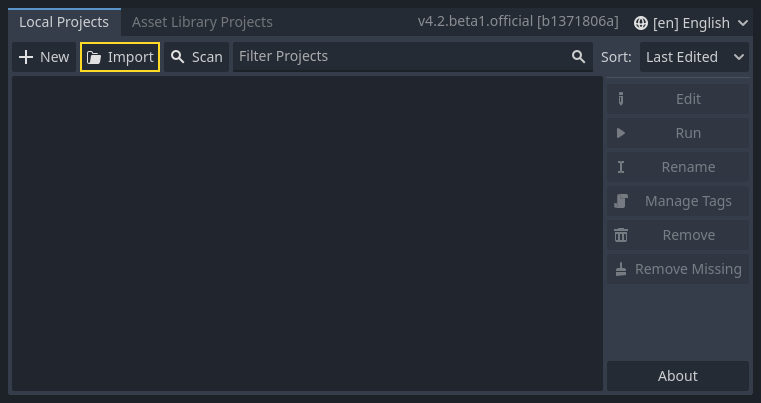
Once you downloaded it, extract the .zip archive on your computer. Open the Godot Project Manager and click the Import button.
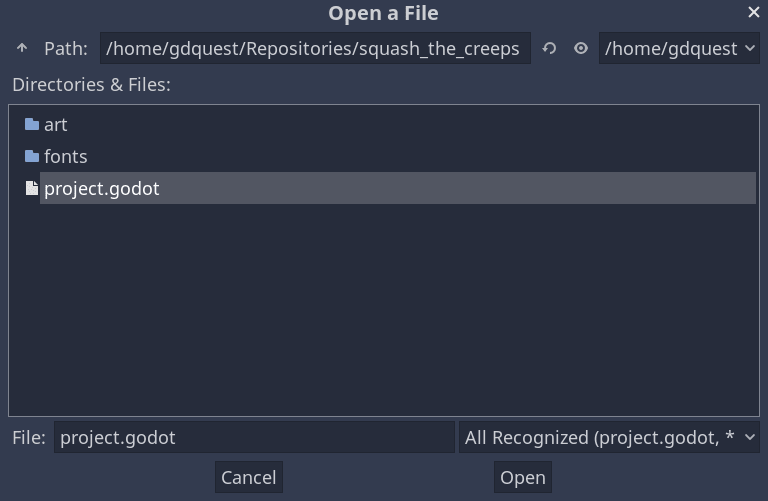
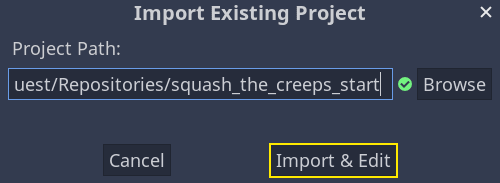
Dans la fenêtre d'importation, saisissez le chemin complet vers le dossier fraîchement créé squash_the_creeps_start/. Vous pouvez cliquer sur le bouton Parcourir à droite pour ouvrir le navigateur de fichiers et naviguer jusqu'au fichier project.godot que le dossier contient.
Cliquez sur Importer et modifier pour ouvrir le projet dans l’éditeur.
Le projet de démarrage contient une icône et deux dossiers : art/ et fonts/. Ici, vous trouverez les assets et la musique que nous utiliserons dans le jeu.
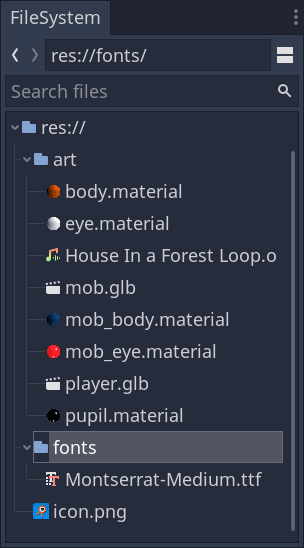
Il y a deux modèles 3D, player.glb et mob.glb, quelques matériaux qui appartiennent à ces modèles, et une piste musicale.
Configuration de la zone jouable
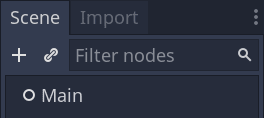
We're going to create our main scene with a plain Node as its root. In the
Scene dock, click the Add Child Node button represented by a "+" icon in the
top-left and double-click on Node. Name the node Main. An alternate method to rename the node is to right-click on Node and choose Rename (or F2). Alternatively, to add
a node to the scene, you can press Ctrl + a (or Cmd + a on macOS).
Save the scene as main.tscn by pressing Ctrl + s (Cmd + s on macOS).
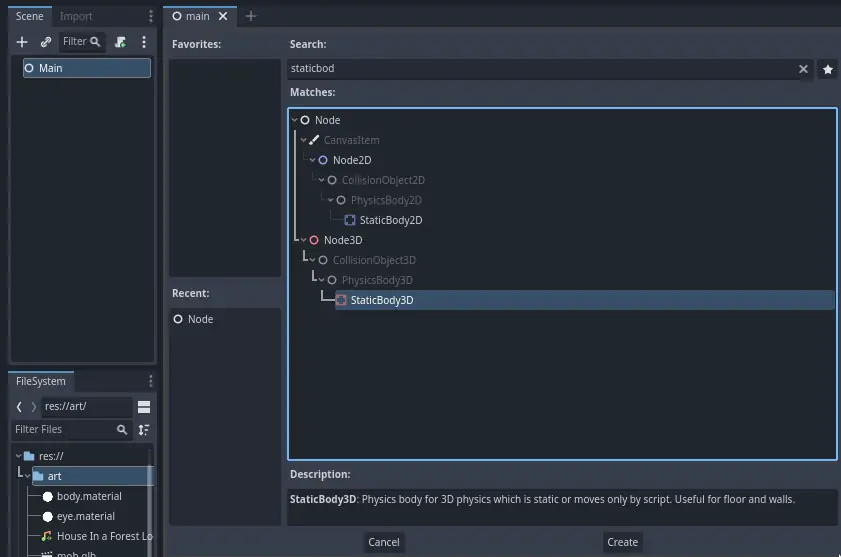
We'll start by adding a floor that'll prevent the characters from falling. To
create static colliders like the floor, walls, or ceilings, you can use StaticBody3D nodes. They require CollisionShape3D child nodes to
define the collision area. With the Main node selected, add a StaticBody3D
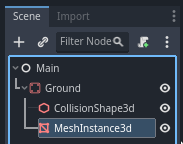
node, then a CollisionShape3D. Rename the StaticBody3D to Ground.
Votre hiérarchie devrait ressembler à ceci
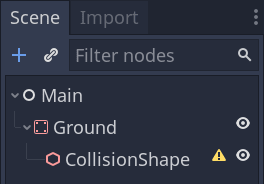
A warning sign next to the CollisionShape3D appears because we haven't defined its shape. If you click the icon, a popup appears to give you more information.

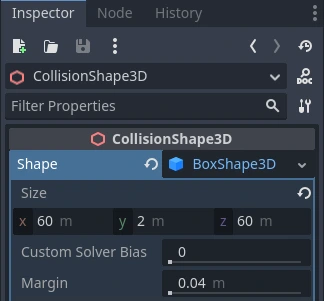
To create a shape, select the CollisionShape3D node, head to the Inspector and click the <empty> field next to the Shape property. Create a new BoxShape3D.
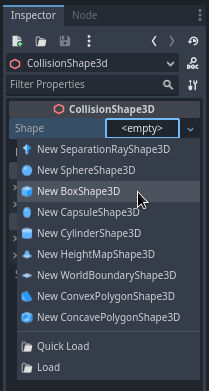
La forme de boîte est parfaite pour les sols plats et les murs. Son épaisseur la rend fiable même pour bloquer les objets qui se déplacent rapidement.
A box's wireframe appears in the viewport with three orange dots. You can click
and drag these to edit the shape's extents interactively. We can also precisely
set the size in the inspector. Click on the BoxShape3D to expand the resource.
Set its Size to 60 on the X axis, 2 for the Y axis, and 60 for
the Z axis.
Collision shapes are invisible. We need to add a visual floor that goes along
with it. Select the Ground node and add a MeshInstance3D as its child.
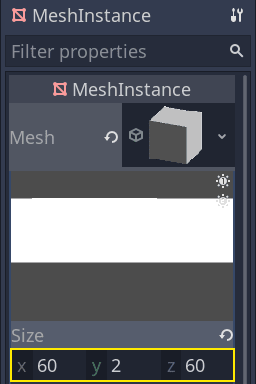
In the Inspector, click on the field next to Mesh and create a BoxMesh resource to create a visible box.

Once again, it's too small by default. Click the box icon to expand the
resource and set its Size to 60, 2, and 60.
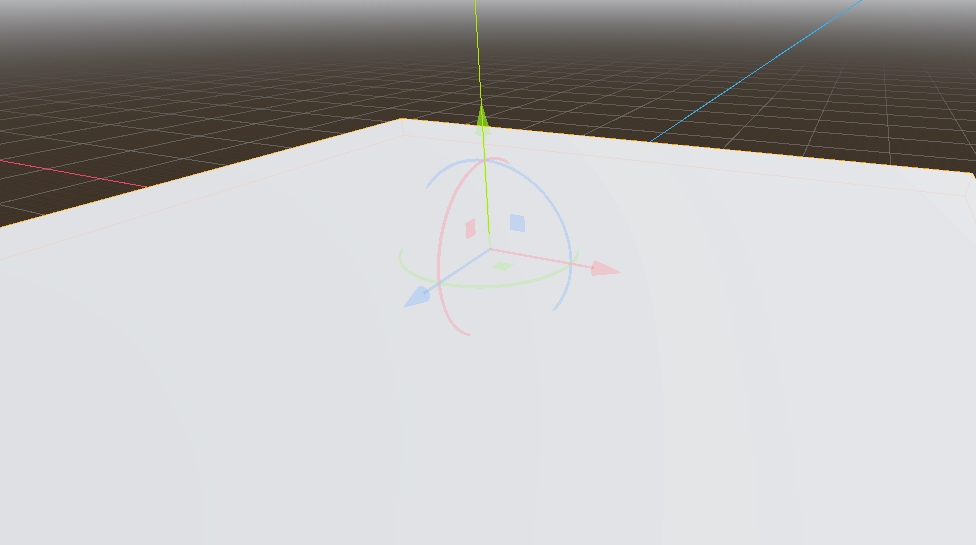
Vous devriez voir une large dalle grise qui couvre la grille et des axes bleus et rouges dans la fenêtre.
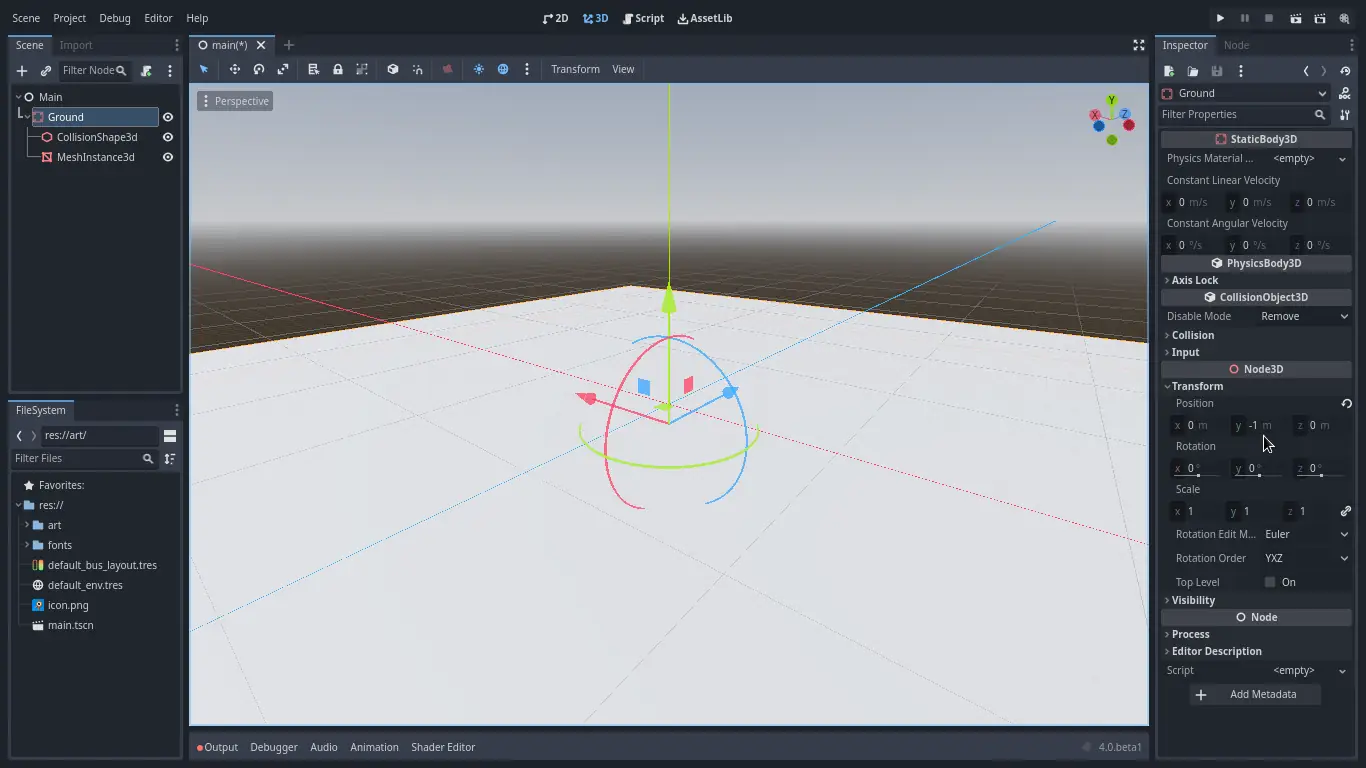
We're going to move the ground down so we can see the floor grid. Select the
Ground node, hold the Ctrl key down to turn on grid snapping,
and click and drag down on the Y axis. It's the green arrow in the move gizmo.
Note
Si vous ne pouvez pas voir le manipulateur d'objets 3D comme sur l'image ci-dessus, assurez-vous que le Mode sélection est actif dans la barre d'outils au-dessus de la vue.
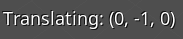
Move the ground down 1 meter, in order to have a visible editor grid. A label in the bottom-left corner of the
viewport tells you how much you're translating the node.
Note
Moving the Ground node down moves both children along with it. Ensure you move the Ground node, not the MeshInstance3D or the CollisionShape3D.
Ultimately, Ground's transform.position.y should be -1
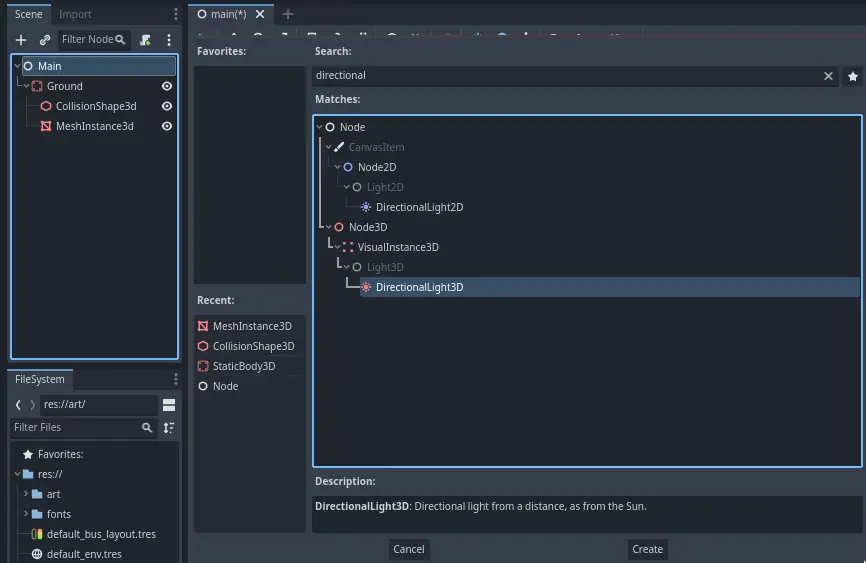
Let's add a directional light so our scene isn't all grey. Select the Main
node and add a child node DirectionalLight3D.
We need to move and rotate the DirectionalLight3D node. Move it up by clicking and dragging on the manipulator's green arrow and click and drag on the red arc to rotate it around the X axis, until the ground is lit.
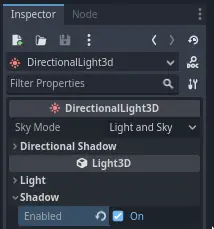
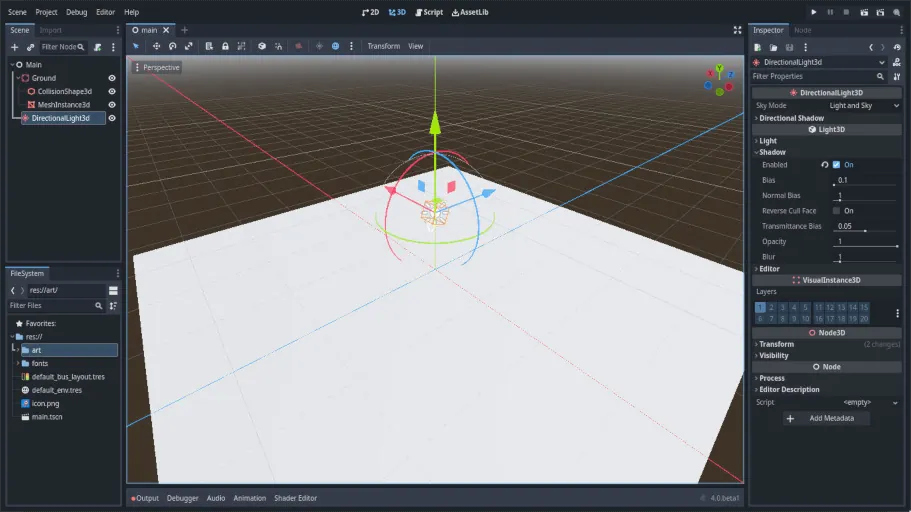
Dans l'Inspecteur, activez Shadow -> Enabled en cochant la case.
À ce stade, votre projet devrait ressembler à ceci.
Voilà notre point de départ. Dans la prochaine partie, nous travaillerons sur la scène du joueur et le mouvement de base.