Up to date
This page is up to date for Godot 4.2.
If you still find outdated information, please open an issue.
Gradle builds for Android
Godot provides the option to build using the gradle buildsystem. Instead of using the already pre-built template that ships with Godot, an Android Java project gets installed into your project folder. Godot will then build it and use it as an export template every time you export the project.
Є кілька причин, через які ви можете не захотіти робити це:
Зміна проєкту до його збірки.
Додавання зовнішніх SDK, які збираються разом із вашим проєктом.
Configuring the gradle build is a fairly straightforward process. But first you need to follow the steps in exporting for android up to Setting it up in Godot. After doing that, follow the steps below.
Set up the gradle build environment
Go to the Project menu, and install the Gradle Build template:
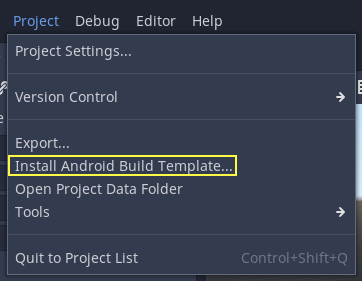
Переконайтеся, що шаблони експорту завантажені. Якщо ні, то це меню допоможе вам завантажити їх.
A Gradle-based Android project will be created under res://android/build.
Editing these files is not needed unless you really need to modify the project.
Enabling the gradle build and exporting
When setting up the Android project in the Project > Export dialog, Gradle Build needs to be enabled:
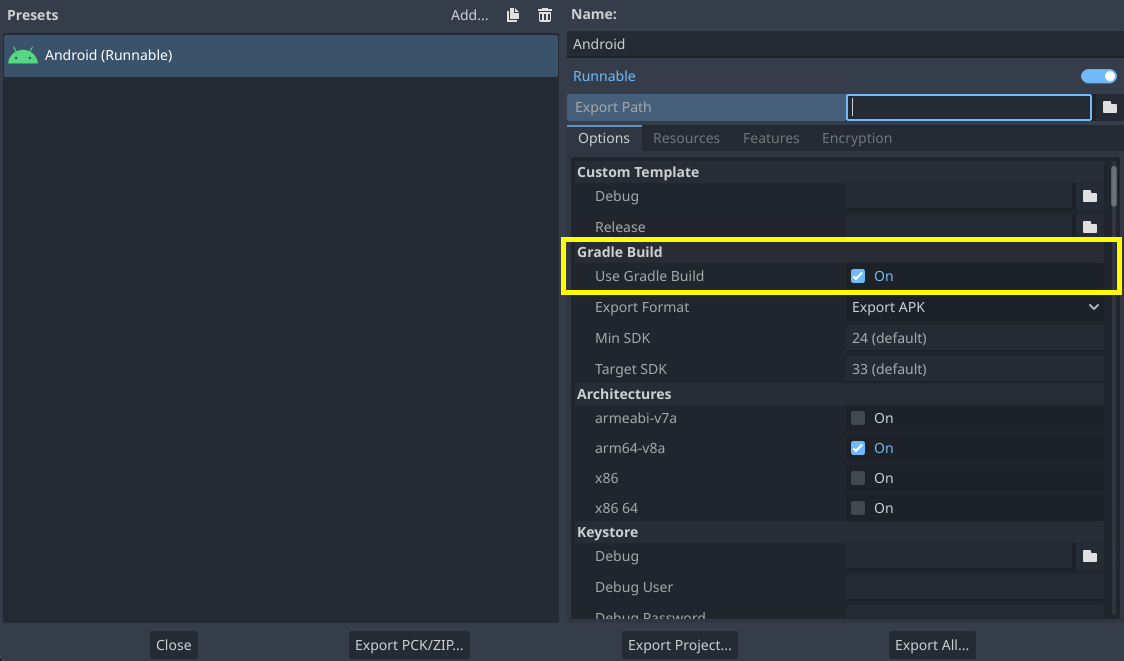
Відтепер спроба експортувати проєкт, або розгортання одним клацанням, викликатиме систему побудови Gradle для створення нових шаблонів (це вікно буде появлятися кожного разу):

Потім побудовані шаблони будуть використовуватися автоматично, тому подальша конфігурація не потрібна.
Примітка
When using the gradle Android build system, assets that are placed within a folder whose name begins with an underscore will not be included in the generated APK. This does not apply to assets whose file name begins with an underscore.
For example, _example/image.png will not be included as an asset,
but _image.png will.