Up to date
This page is up to date for Godot 4.3.
If you still find outdated information, please open an issue.
Verwenden des Projektmanagers
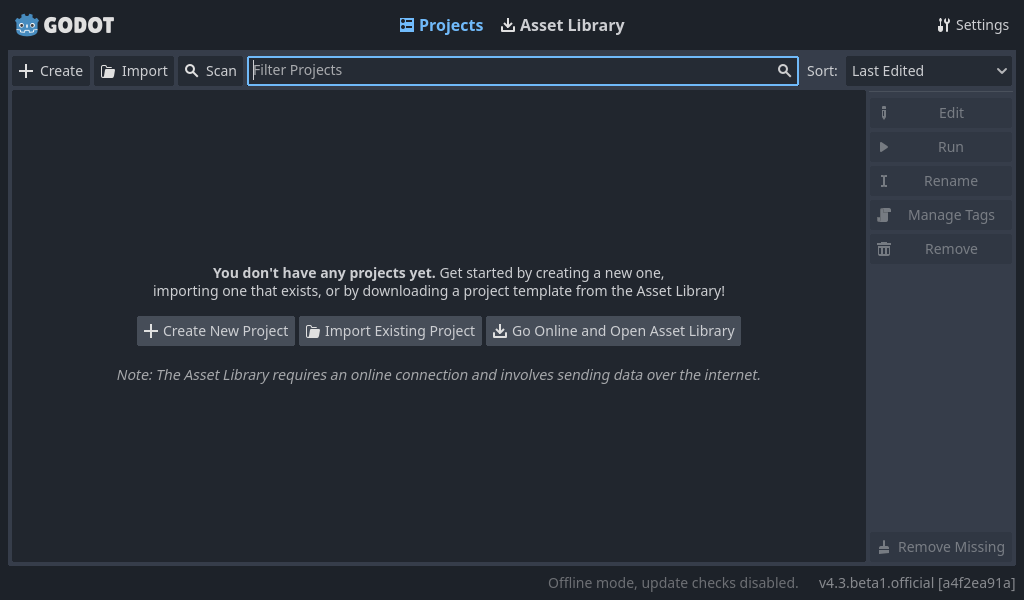
When you launch Godot, the first window you see is the Project Manager. It lets you create, remove, import, or play game projects:
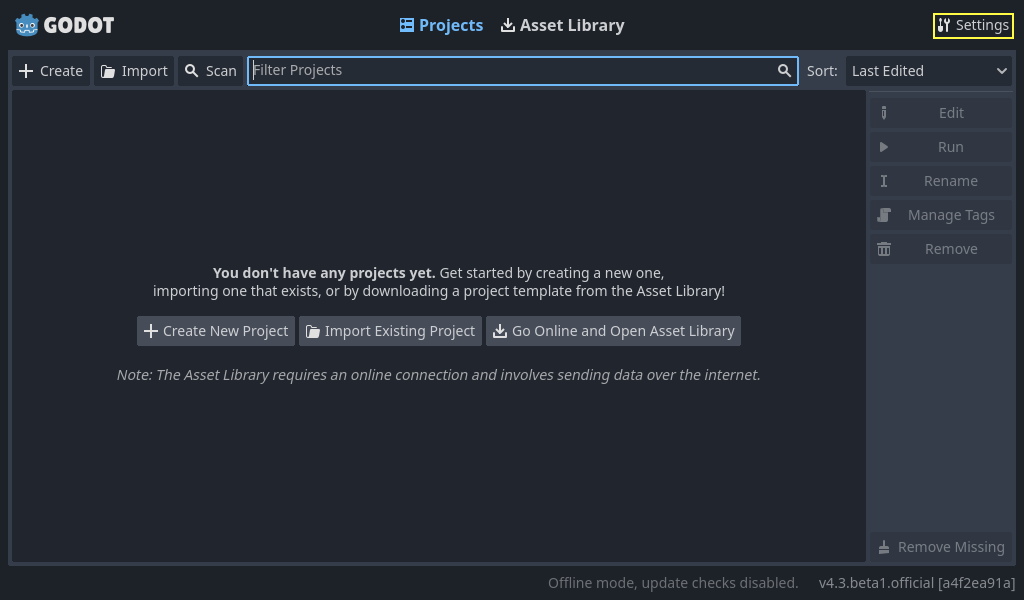
To change the editors language click on the Settings Button in the top right corner:
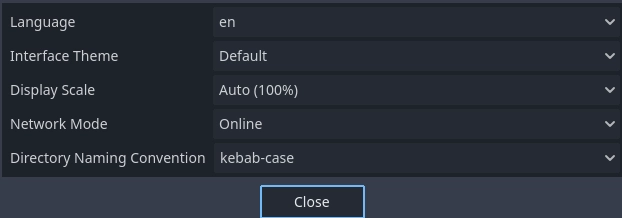
In Project Manager Settings, you can change the interface language from the language dropdown menu, which is the system default language by default.
You can also change the theme of the editor, the display scale for different interface element sizes, and the availability of online functionality using network mode. If network mode is online, Godot will also check and inform you about new versions of Godot.
The directory naming convention can also be changed to replace spaces according to the chosen format when creating folders automatically.
Erstellen und Importieren von Projekten
So erstellen Sie ein neues Projekt:
Click the Create button on the top-left of the window.
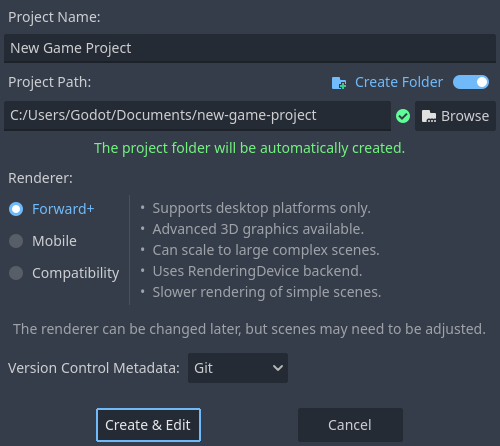
Give the project a name, then open the file browser using the Browse button, and choose an empty folder on your computer to save the files. Alternatively, you can enable Create Folder option to automatically create a new sub-folder with the project name, following the directory naming convention set in the settings. An empty folder will show a green tick on the right.
Select one of the rendering backends (this can also be changed later).
Klicken Sie auf den Button Erstellen & Bearbeiten, um den Projektordner zu erstellen und ihn im Editor zu öffnen.
Bemerkung
You can optionally choose a version control system. Currently, only git is supported and it needs the Godot Git Plugin to be installed, either manually or using the Asset Library. To learn more about the Godot Git Plugin, see its wiki.
Verwenden des Dateibrowsers
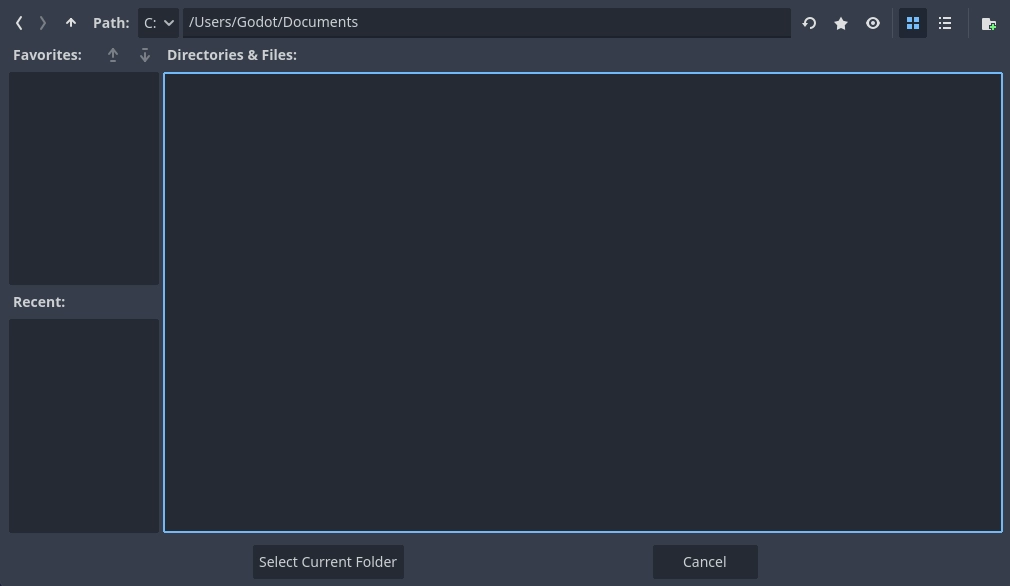
From the Create New Project window, click the Browse button to open Godot's file browser. You can pick a location or type the folder's path in the Path field, after choosing a drive.
Left of the path field on the top row contains arrows to navigate backward and forward through the last visited locations. The up arrow navigates to parent folder. On the right side of the path field, there are buttons to refresh the current folder's contents, favorite/unfavorite the current folder, and show/hide hidden folders.
Next, the buttons to switch the display type of the folders and files between grid view and list view are seen.
The last button on the right will create a new folder.
Favorited folders will be displayed on the left side under the Favorites section. You can sort the favorites using the up and down buttons in this section. Last chosen folders will be listed under the Recent list.
Öffnen und Importieren von Projekten
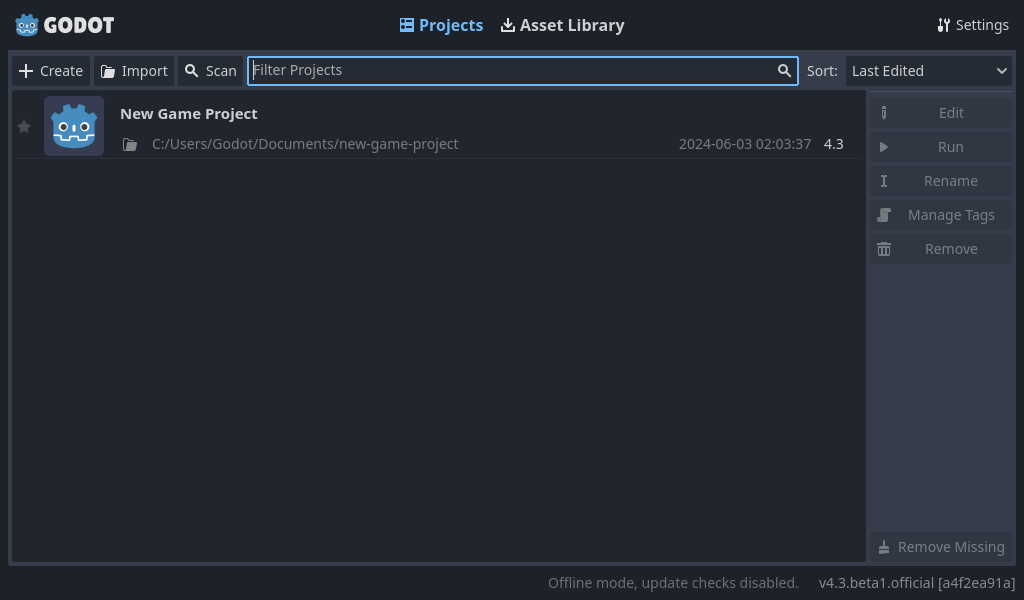
Wenn Sie das nächste Mal den Projektmanager öffnen, sehen Sie Ihr neues Projekt in der Liste. Doppelklicken Sie darauf, um es im Editor zu öffnen.
Sie können vorhandene Projekte auch über den Importieren-Button importieren. Suchen Sie den Ordner, der das Projekt oder die Datei project.godot enthält um es zu importieren und zu bearbeiten.
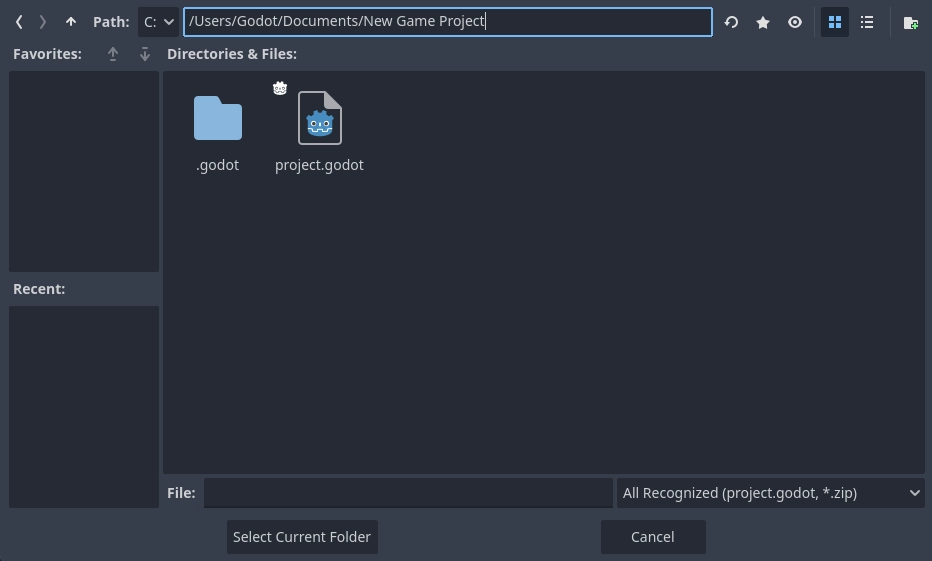
Alternatively, it is possible to choose a zip file to be automatically extracted by Godot.
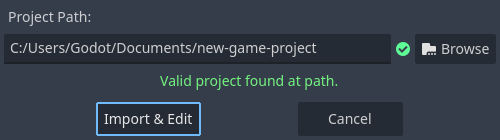
Wenn der Ordnerpfad korrekt ist, werden Sie einen grünen Haken sehen.
Herunterladen von Demos und Templates
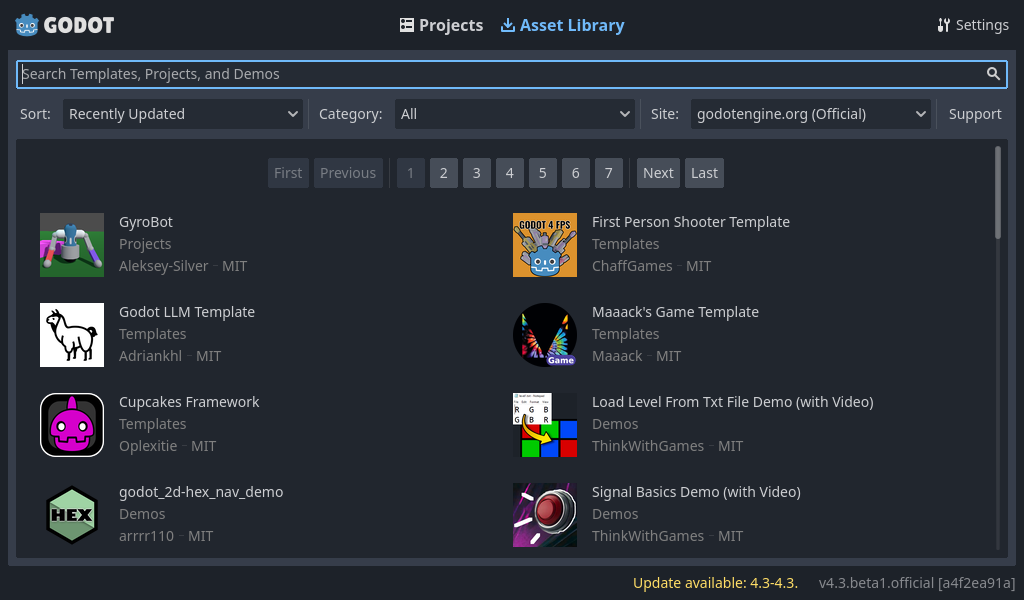
From the Asset Library tab you can download open source project templates and demos from the Asset Library to help you get started faster.
The first time you open this tab you'll notice that it's asking you to go online. For privacy reasons the project manager, and Godot editor, can't access the internet by default. To enable accessing the internet click the Go Online button. This will also allow project manager to notify you about updates. If you wish to turn this off in the future go into project manager settings and change Network Mode to "Offline"
Da Godot nun mit dem Internet verbunden ist, können Sie eine Demo oder eine Vorlage herunterladen, um dies zu tun:
Klicken Sie auf ihren Titel.
Auf der Seite die sich öffnet, klicken Sie auf den Download-Button.
Sobald der Download fertig ist, klicken Sie auf Installieren und wählen Sie einen Ort, an dem Sie das Projekt speichern möchten.
Projekte mit Tags verwalten
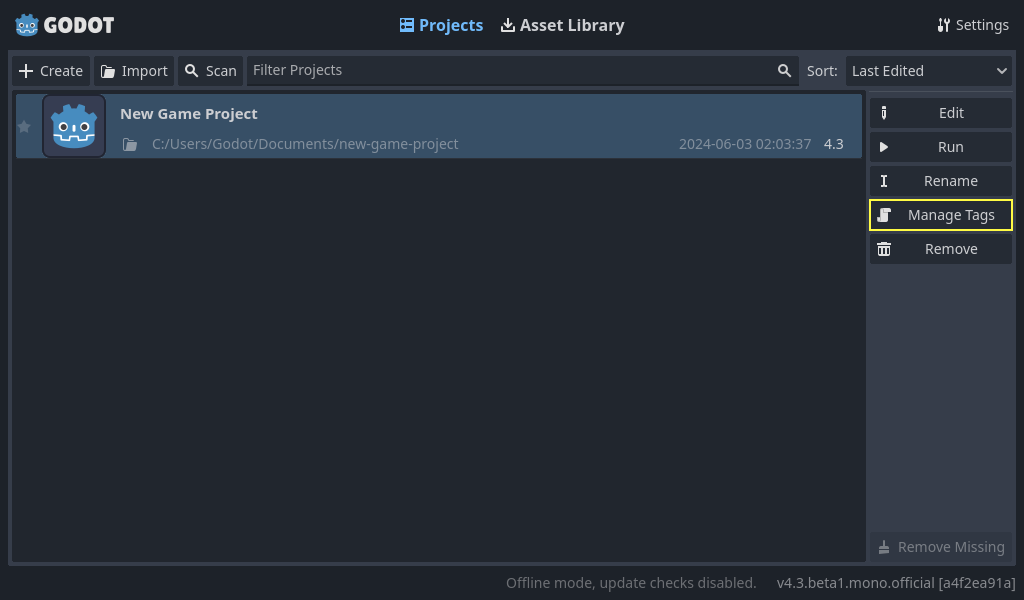
For users with a lot of projects on one PC it can be a lot to keep track of. To aid in this Godot allows you to create project tags. To add a tag to a project click on the project in the project manager, then click on the Manage Tags button
Daraufhin öffnet sich das Fenster zum Verwalten von Projekt-Tags. Um ein Tag hinzuzufügen, klicken Sie auf den Plus-Button.
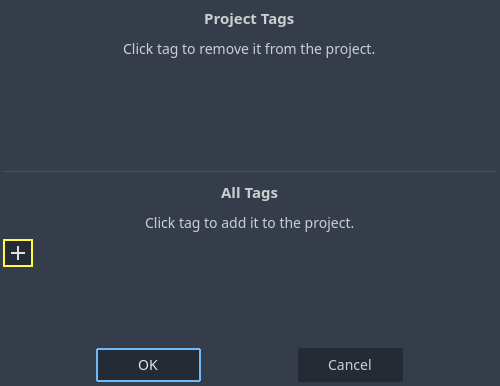
Type out the tag name, and click OK. Your project will now have a tag added to it. These tags can be used for any other project in your project manager.
To show projects with a specific tag only, you can click on the tags or write tag:
and type the tag you would like to search for in the filter bar. To limit the results
using multiple tags, you can click on another tag or add tag: after
a space and type another tag in the filter bar.
In addition, tags will stay with projects. So if you tag your project, send it to another machine, and import it into the project manager you will see the tags you created.
Um ein Tag aus dem Projektmanager zu entfernen, muss er aus allen Projekten entfernt werden, in denen er verwendet wird. Schließen Sie dann den Projektmanager, öffnen Sie ihn erneut, und der Tag sollte verschwunden sein.