Up to date
This page is up to date for Godot 4.2.
If you still find outdated information, please open an issue.
Xcоde
Xcode is a free macOS-only IDE. You can download it from the Mac App Store.
Импортирование проекта
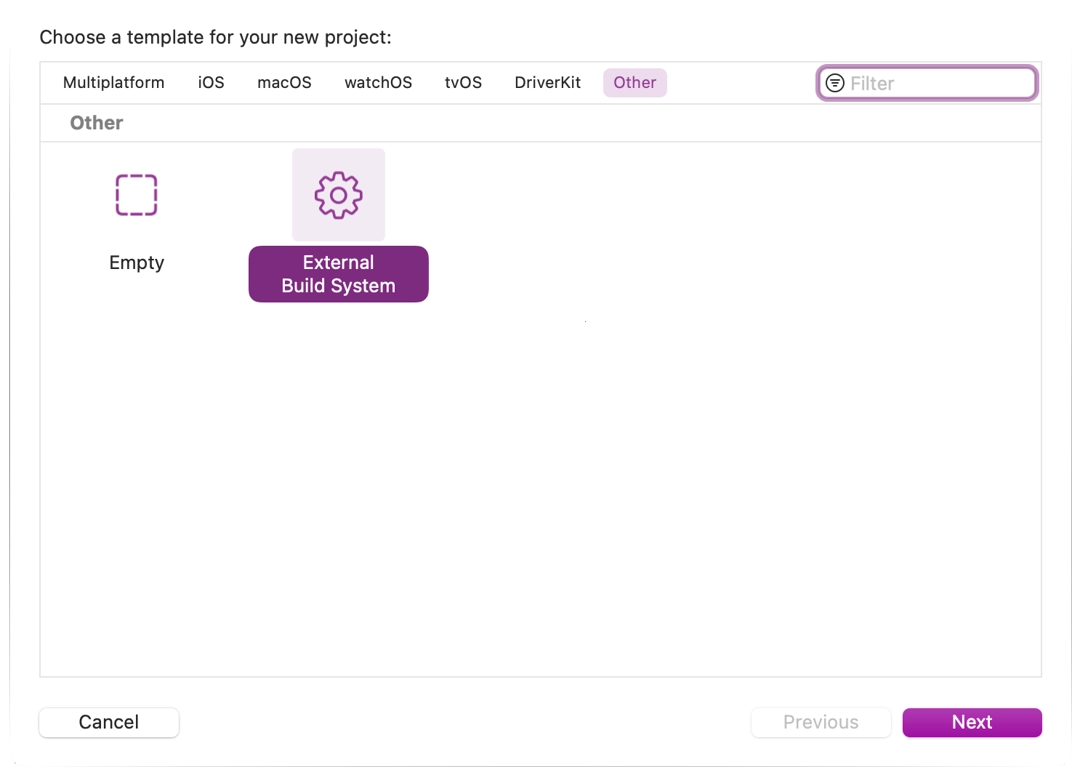
From Xcode's main screen create a new project using the Other > External Build System template.
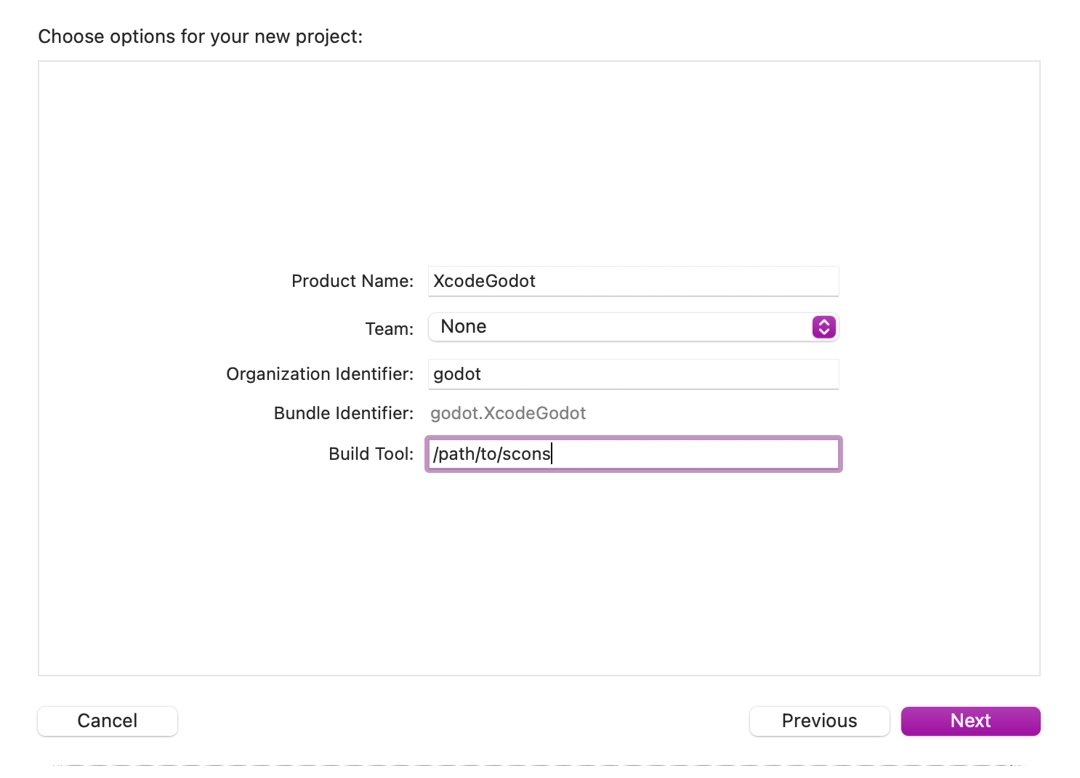
Now choose a name for your project and set the path to scons executable in build tool (to find the path you can type
where sconsin a terminal).
Open the main target from the Targets section and select the Info tab.
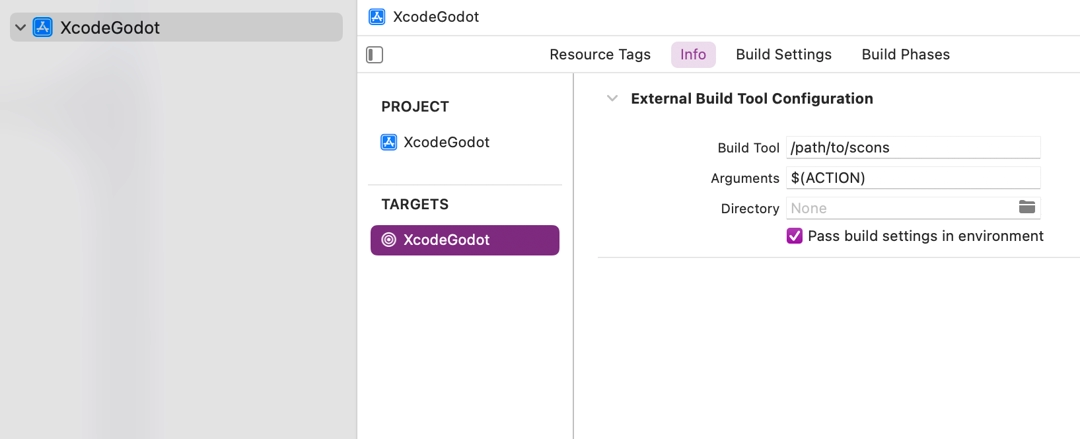
Fill out the form with the following settings:
Аргументы
See Введение в систему сборки for a full list of arguments.
Directory
A full path to the Godot root folder
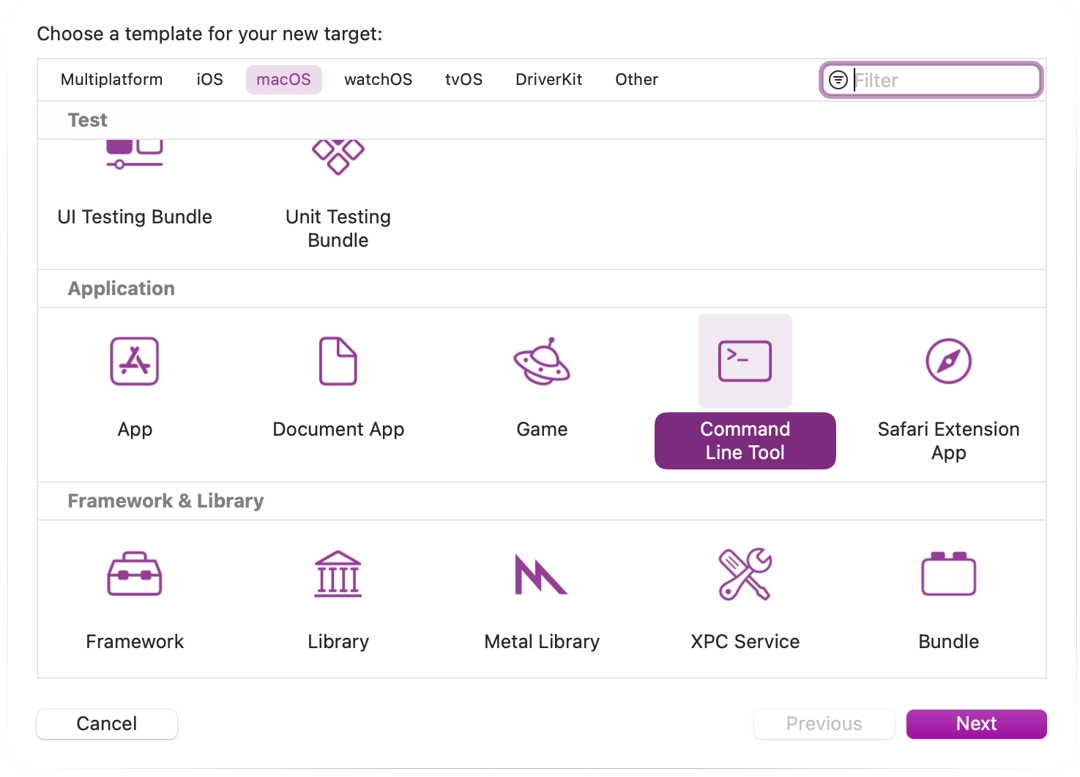
Add a Command Line Tool target which will be used for indexing the project by choosing File > New > Target....
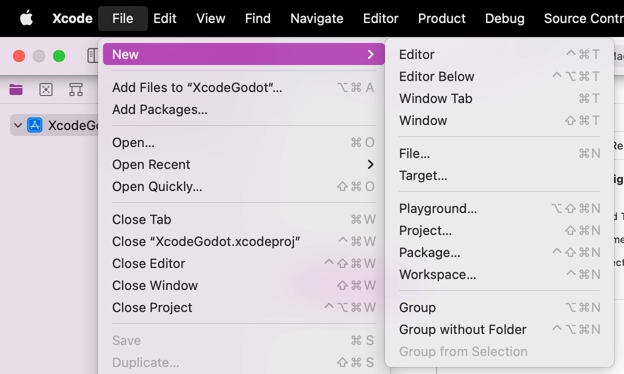
Select macOS > Application > Command Line Tool.
Примечание
Назовите его так, чтобы вы знали, что не нужно компилировать с этой целью (например, GodotXcodeIndex).
Для этой цели откройте вкладку Build Settings и найдите Header Search Paths.
Установите в Header Search Paths абсолютный путь к корневой папке Godot. Вам также нужно включить подкаталоги. Для этого добавьте две звездочки (
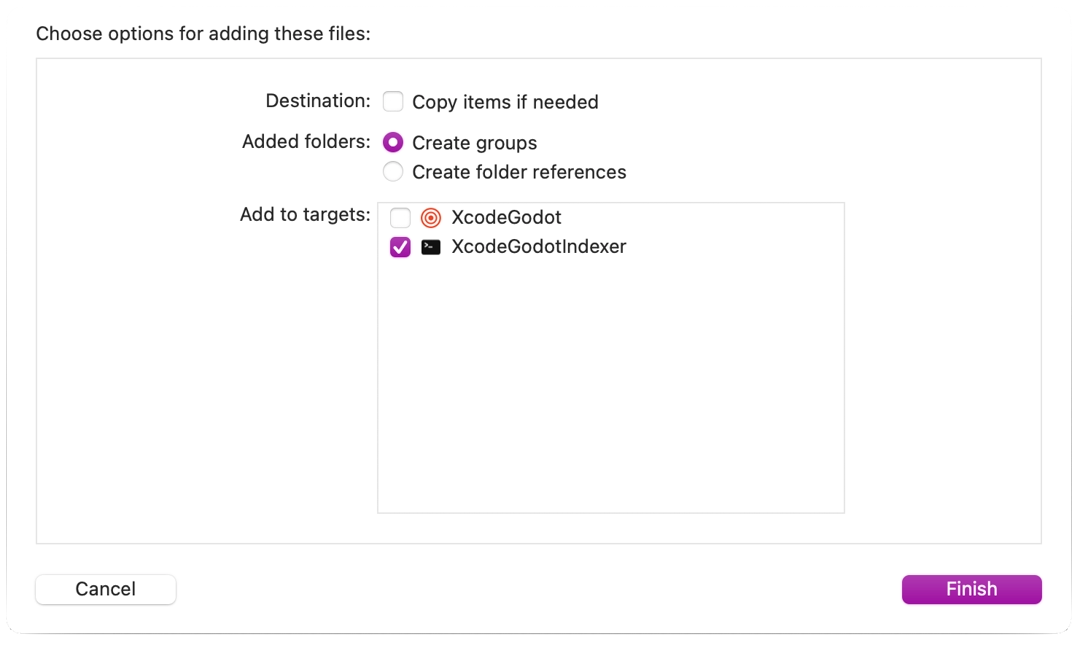
**) в конец пути, например/Users/me/repos/godot-source/**.Add the Godot source to the project by dragging and dropping it into the project file browser.
Select Create groups for the Added folders option and check only your command line indexing target in the Add to targets section.
Xcode will now index the files. This may take a few minutes.
Once Xcode is done indexing, you should have jump-to-definition, autocompletion, and full syntax highlighting.
Debugging the project
To enable debugging support you need to edit the external build target's build and run schemes.
Откройте редактор схемы внешней цели сборки.
Найдите раздел Build > Post Actions.
Add a new script run action
Under Provide build settings from select your project. This allows to reference the project directory within the script.
Создайте скрипт, который даст двоичному файлу имя, которое Xcode может распознать, например:
ln -f ${PROJECT_DIR}/godot/bin/godot.macos.tools.64 ${PROJECT_DIR}/godot/bin/godot

Соберите внешнюю цель сборки.
Откройте редактор схем снова и выберите Run.
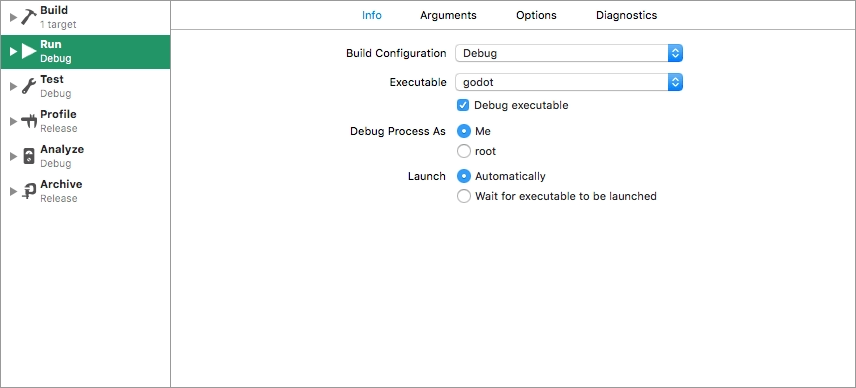
Установите Executable на файл который вы присоединили к вашему скрипту сборки.
Проверьте Debug executable.
You can add two arguments on the Arguments tab: the
-eflag opens the editor instead of the Project Manager, and the--pathargument tells the executable to open the specified project (must be provided as an absolute path to the project root, not theproject.godotfile).
To check that everything is working, put a breakpoint in platform/macos/godot_main_macos.mm and
run the project.
Если у вас возникнут какие-либо проблемы, обратитесь за помощью в один из каналов сообщества Godot.