Up to date
This page is up to date for Godot 4.3.
If you still find outdated information, please open an issue.
Creando la escena del jugador
Con la configuración del proyecto en su lugar, podemos comenzar a trabajar en el personaje controlado por el jugador.
La primer escena define el objeto Player. Uno de los beneficios de crear una escena aparte para el jugador es que se puede probar de manera separada, aún antes de haber creado otras partes del juego.
Estructura de nodos
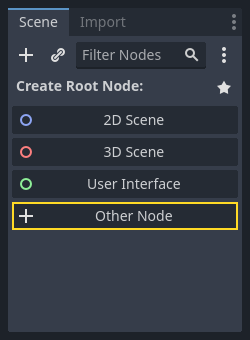
Para empezar, necesitamos elegir un nodo raíz para el objeto jugador. Como regla general, el nodo raíz de una escena debe reflejar la funcionalidad deseada del objeto - lo que el objeto es. Haz clic en el botón "Otro Nodo" y añade un nodo Area2D a la escena.
When you add the Area2D node, Godot will display the following warning icon
next to it in the scene tree:

This warning tells us that the Area2D node requires a shape to detect collisions or overlaps.
We can ignore the warning temporarily because we will first set up the player's visuals
(using an animated sprite). Once the visuals are ready, we will add a collision shape as a child
node. This will allow us to accurately size and position the shape based on the sprite’s appearance.
Con Area2D podemos detectar objetos que se superponen o entran en contacto con el jugador. Cambia el nombre del nodo a Player haciendo doble clic en él. Este es el nodo raíz de la escena. Podemos añadir nodos adicionales al player para añadir funcionalidad.
Antes de añadir un hijo al nodo Player, queremos asegurarnos de que no los movemos o re-dimensionamos accidentalmente haciendo clic sobre ellos. Selecciona el nodo y haz clic en el icono a la derecha del candado; su tooltip dice "Asegura que los hijos del objeto no son seleccionables."

Guarde la escena. Haga clic en Escena -> Guardar o presione Ctrl + S en Windows/Linux o Cmd + S en macOS.
Nota
Para este proyecto, seguiremos las convenciones de nomenclatura de Godot.
GDScript: Clases (nodos) usan PascalCase, variables y funciones utilizan snake_case, y las constantes TODO_MAYUSCULAS (Lee Guía de estilo de GDScript).
C#: Las clases, las variables de exportación y los métodos usan PascalCase, los campos privados usan _camelCase, las variables y los parámetros locales usan camelCase (Ver Guía de estilo de C#). Ten cuidado de escribir los nombres de los métodos de manera precisa al conectar señales.
Animación del sprite
Click on the Player node and add (Ctrl + A on Windows/Linux or
Cmd + A on macOS) a child node AnimatedSprite2D. The AnimatedSprite2D will handle the
appearance and animations for our player. Notice that there is a warning symbol
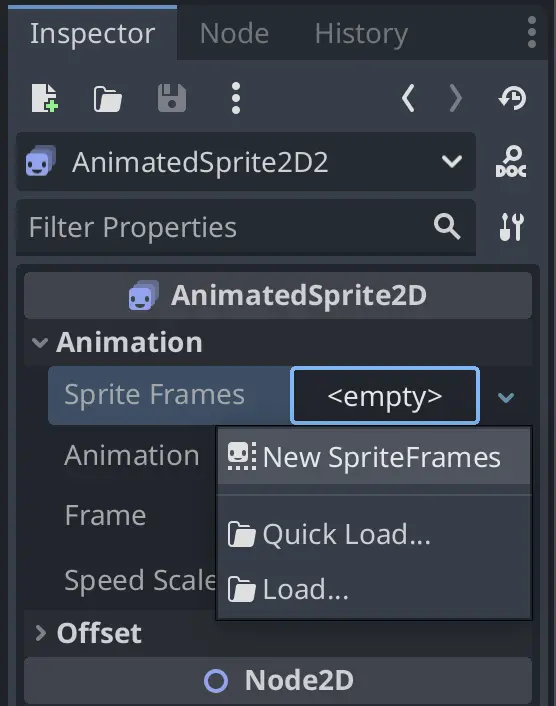
next to the node. An AnimatedSprite2D requires a SpriteFrames resource, which is a list of the animations it can
display. To create one, find the Sprite Frames property under the Animation tab in the Inspector and click
"[empty]" -> "New SpriteFrames":
Click on the SpriteFrames you just created to open the "SpriteFrames" panel:
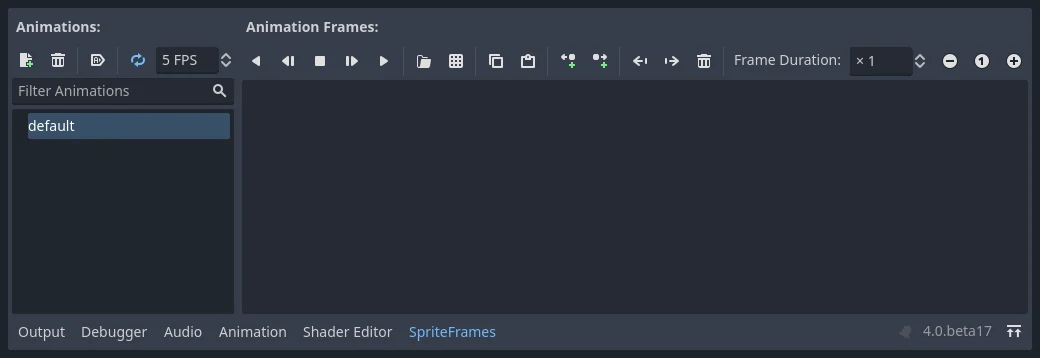
On the left is a list of animations. Click the "default" one and rename it to
"walk". Then click the "Add Animation" button to create a second animation named
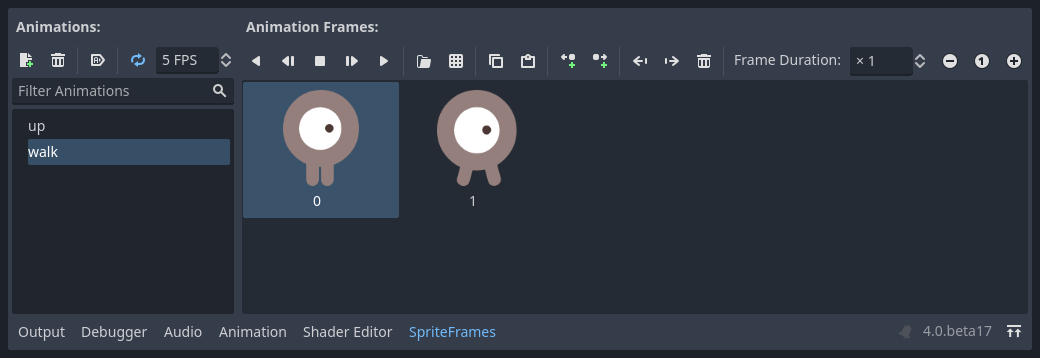
"up". Find the player images in the "FileSystem" tab - they're in the art
folder you unzipped earlier. Drag the two images for each animation, named
playerGrey_walk[1/2] and playerGrey_walk[2/2], into the "Animation Frames"
side of the panel for the corresponding animation:
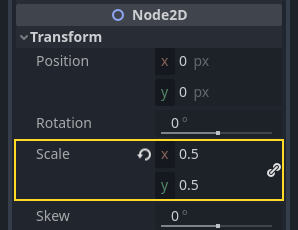
Las imágenes del player son un poco grandes para la ventana del juego, así que tenemos que reducirlas. Haz clic en el nodo AnimatedSprite2D y establece la propiedad Scale en (0.5, 0.5). Puedes encontrarla en el Inspector bajo la sección Node2D.
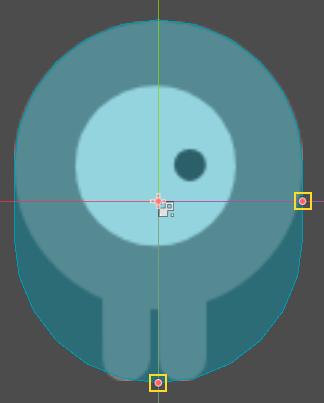
Finalmente, añade un CollisionShape2D como hijo de Player. Esto determinará el "hitbox" del jugador, o los límites de su área de colisión. Para este personaje, un nodo CapsuleShape2D sería el más indicado ya que se ajusta mejor a la imagen, así que junto a "Shape" en el Inspector, haz clic en "<vacío>" -> "Nuevo CapsuleShape2D". Usando los dos manejadores de tamaño redimensiona la forma de colisión para cubrir el sprite:
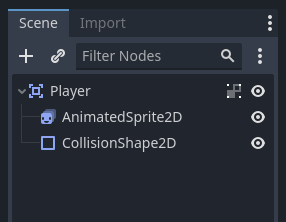
Cuando hayas terminado, tu escena Player debería verse así:
Once this is done, the warning on the Area2D node will disappear, as it now has
a shape assigned and can interact with other objects.
Estate seguro de salvar la escena de nuevo después de estos cambios.
En la siguiente parte, agregaremos un script al nodo de Player para moverlo y animarlo. Luego, configuraremos la detección de colisiones para saber cuándo el jugador fue golpeado por algo.