Сцена гравця та дій введення
В наступних двох уроках ми спроектуємо сцену гравця, зареєструємо спеціальні дії введення та закодуємо рух гравця. Зрештою, у вас вийде ігровий персонаж, який рухається у восьми напрямках.
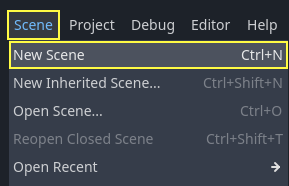
Create a new scene by going to the Scene menu in the top-left and clicking New Scene.
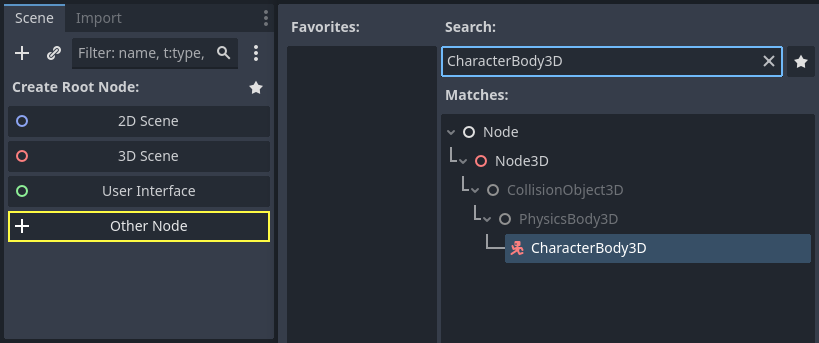
Click the Other Node button and select the CharacterBody3D node type
to create a CharacterBody3D as the root node.
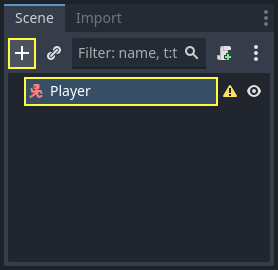
Rename the CharacterBody3D to Player.
Character bodies are complementary to the area and rigid bodies used in the 2D
game tutorial. Like rigid bodies, they can move and collide with the
environment, but instead of being controlled by the physics engine, you dictate
their movement. You will see how we use the node's unique features when we code
the jump and squash mechanics.
Дивись також
Щоб дізнатися більше про різні типи фізичних вузлів, перегляньте Вступ до курсу фізики.
На даний момент ми збираємося створити базовий конструкт (риг) для 3D-моделі нашого персонажа. Він дозволить нам обертати модель пізніше за допомогою коду, поки вона відтворює анімацію.
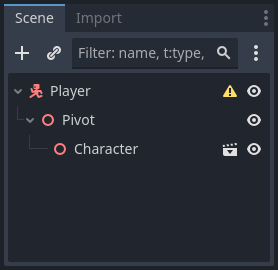
Add a Node3D node as a child of Player.
Select the Player node in the Scene tree and click the "+" button to add a child node.
Rename it to Pivot.
Потім у доку FileSystem розгорніть папку art/, двічі клацнувши її, і перетягніть player.glb на Pivot.
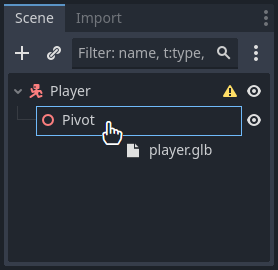
Це має створити екземпляр моделі як дочірнього елемента Pivot. Ви можете перейменувати його на Character.
Примітка
Файли .glb містять дані 3D-сцени на основі специфікації glTF 2.0 з відкритим кодом. Вони є сучасною та потужною альтернативою власному формату, такому як FBX, який Godot також підтримує. Щоб створити ці файли, ми розробили модель у Blender 3D та експортували її до glTF.
As with all kinds of physics nodes, we need a collision shape for our character
to collide with the environment. Select the Player node again and add a child node
CollisionShape3D. In the Inspector, on the Shape property,
add a new SphereShape3D.
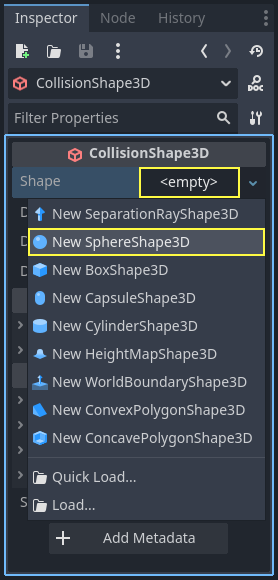
Сітка сфери зʼявляється під персонажем.
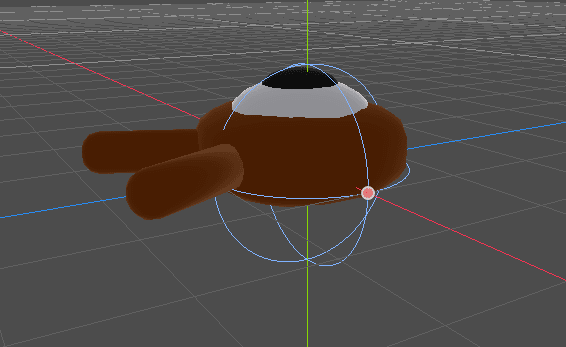
Це буде форма, яку використовує фізичний механізм для зіткнення з навколишнім середовищем, тому ми хочемо, щоб вона краще відповідала 3D-моделі. Зробіть його трохи більшим, перетягнувши помаранчеву крапку у вікні перегляду. Моя сфера має радіус приблизно 0,8 метрів.
Потім перемістіть форму зіткнення вгору, щоб її низ приблизно вирівнявся з площиною сітки.
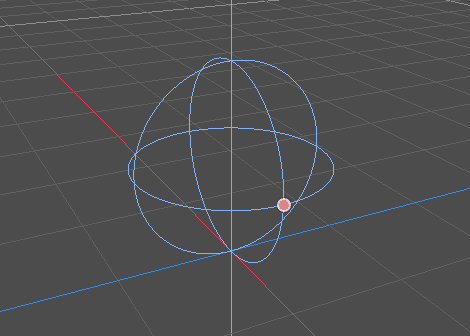
To make moving the shape easier, you can toggle the model's visibility by clicking
the eye icon next to the Character or the Pivot nodes.
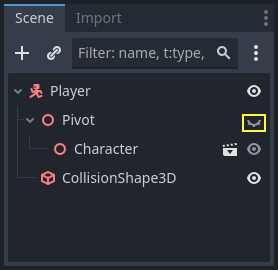
Save the scene as player.tscn.
Підготувавши вузли ми можемо переходити до кодування. Але спочатку необхідно визначити деякі дії введення.
Створення дій введення
Щоб перемістити персонажа, ми прислухаємося до введення гравця, наприклад, натискання клавіш зі стрілками. У Godot, хоча ми могли б прописати всі прив'язки клавіш в коді, є потужна система, яка дозволяє призначити мітку комбінаціям клавіш і кнопок. Це спрощує наші скрипти і робить їх більш читабельними.
This system is the Input Map. To access its editor, head to the Project menu and select Project Settings....
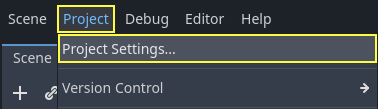
At the top, there are multiple tabs. Click on Input Map. This window allows you to add new actions at the top; they are your labels. In the bottom part, you can bind keys to these actions.
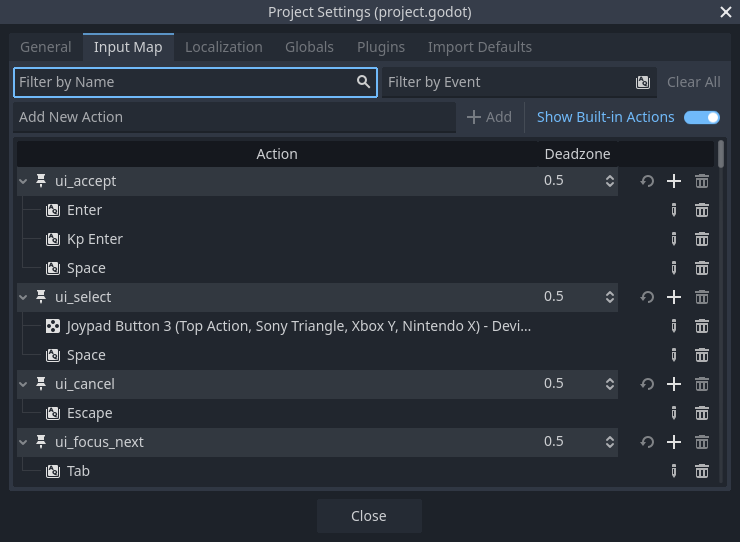
Godot projects come with some predefined actions designed for user interface design (see above screenshot). These will become visible if you enable the Show Built-in Actions toggle. We could use these here, but instead we're defining our own to support gamepads. Leave Show Built-in Actions disabled.
Ми назвемо наші дії move_left, move_right, move_forward, move_back, та jump.
To add an action, write its name in the bar at the top and press Enter or click the Add button.

Створіть наступні п’ять дій:
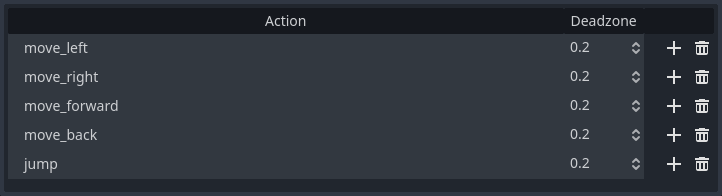
To bind a key or button to an action, click the "+" button to its right. Do this
for move_left. Press the left arrow key and click OK.
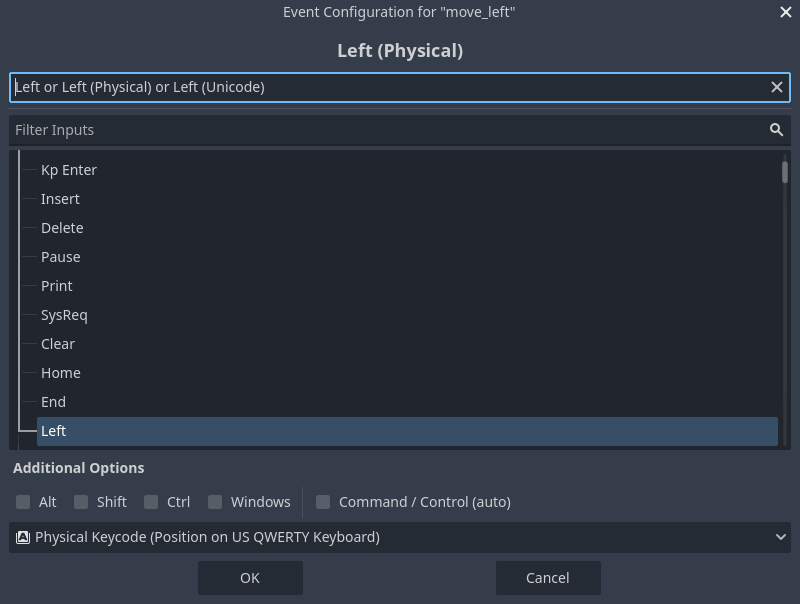
Повʼяж також кнопку A з подією move_left.

Let's now add support for a gamepad's left joystick. Click the "+" button again but this time, select the input within the input tree yourself. Select the negative X axis of the left joystick under Joypad Axes.
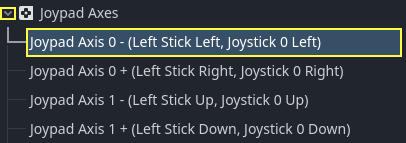
Leave the other values as default and press OK.
Примітка
Якщо ви хочете щоб контролери мали різні вхідні події, потрібно скористатися з налаштувань Пристрою в Додаткових Опціях. Пристрій 0 відповіда за перший підʼєднаний геймпад, Пристрій 1 відповіда за другий підʼєднаний геймпад і так далі.
Виконайте те саме для інших дій введення. Наприклад, прив’яжіть стрілку вправо D і позитивну вісь лівого джойстика до move_right. Після прив’язки всіх ключів ваш інтерфейс має виглядати так.
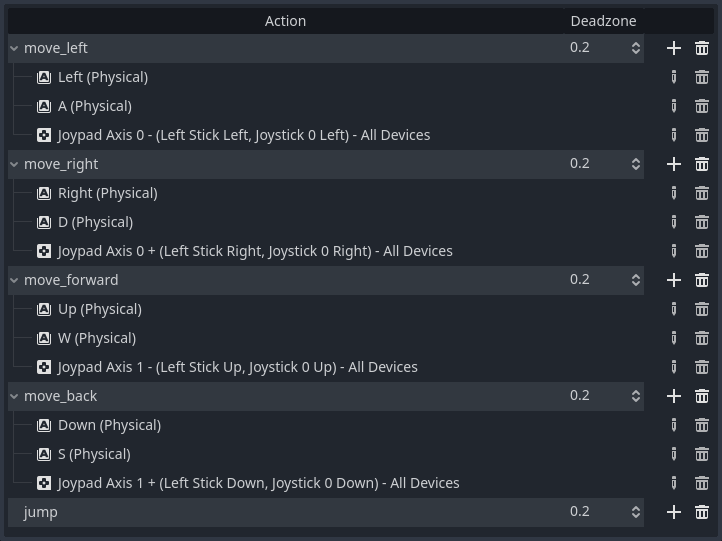
The final action to set up is the jump action. Bind the Space key and the gamepad's
A button located under Joypad Buttons.
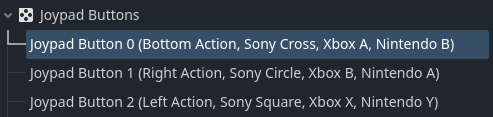
Дія введення для стрибка має виглядати так.

Це всі дії, які нам потрібні для цієї гри. За допомогою цього меню можна позначити будь-які групи клавіш і кнопок у ваших проектах.
У наступній частині ми закодуємо і перевіримо рух гравця.