Work in progress
The content of this page was not yet updated for Godot
4.5
and may be outdated. If you know how to improve this page or you can confirm
that it's up to date, feel free to open a pull request.
Using SoftBody3D
Soft Body(またはSoft Bodyダイナミクス )は、変形可能なオブジェクトの動き、形状の変化、その他の物理的特性をシミュレートします。 これは、たとえば、布をシミュレートしたり、よりリアルなキャラクターを作成するために使用できます。
基本的なセットアップ
SoftBody3D ノードは、ソフトボディのシミュレーションに使用されます。
弾力のある立方体を作成して、ソフトボディのセットアップを示します。
Create a new scene with a Node3D node as root. Then, create a SoftBody3D node. Add a CubeMesh in the mesh property of the node in the inspector and increase the subdivision of the mesh for simulation.
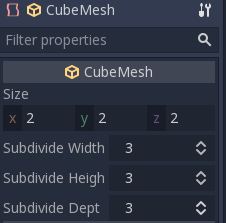
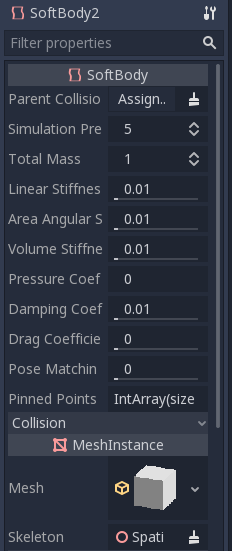
パラメーターを設定して、目的のソフトボディのタイプを取得します。Simulation Precision を5以上に維持してください。そうしないと、ソフトボディが破たんする可能性があります。
注釈
一部の値は奇妙な結果につながる可能性があるため、一部のパラメーターは注意して処理してください。 たとえば、シェイプが完全に閉じられておらず、pressureを0より大きい値に設定すると、ソフトボディは強風の下でビニール袋のように飛び回ります。
シーンを再生してシミュレーションを表示します。
Tip
シミュレーションの結果を改善するために、Simulation Precision を上げると、パフォーマンスを犠牲にして大幅に改善されます。
マントのシミュレーション
Platformer3Dのデモでマントを作りましょう。
Open the Player scene, add a SoftBody3D node and assign a PlaneMesh to it.
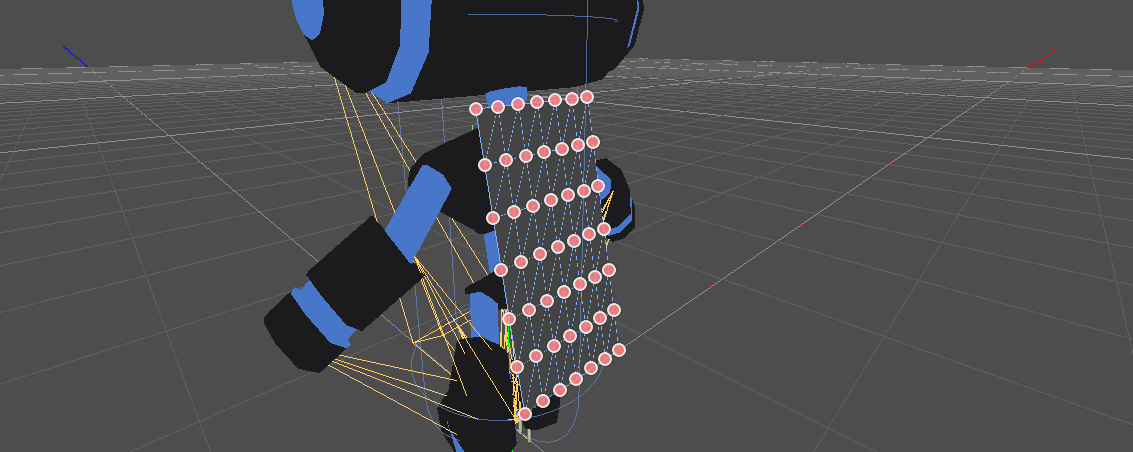
Open the PlaneMesh properties and set the size(x: 0.5 y: 1) then set Subdivide Width and Subdivide Depth to 5. Adjust the SoftBody3D's position. You should end up with something like this:
Tip
サブディビジョンでは、より優れたシミュレーションのために、よりテッセレーションされたメッシュが生成されます。
スケルトンノードの下に BoneAttachment3D ノードを追加し、Neckボーンを選択してマントをキャラクタースケルトンにアタッチします。
注釈
BoneAttachment3D ノードは、オブジェクトをアーマチュアのボーンにアタッチします。 アタッチされたオブジェクトはボーンの動きに追従します。キャラクターの武器はこの方法でアタッチできます。
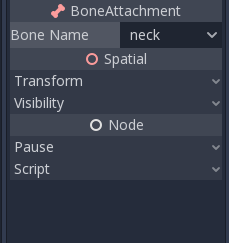
ピンジョイントを作成するには、SoftBody3D ノードの上部の頂点を選択します:
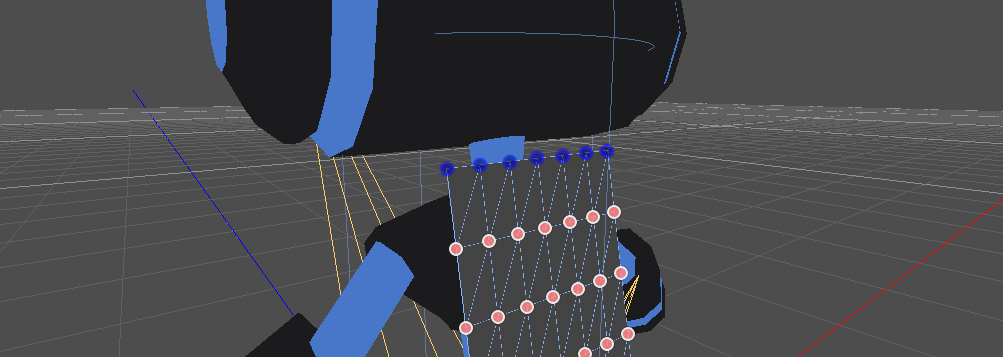
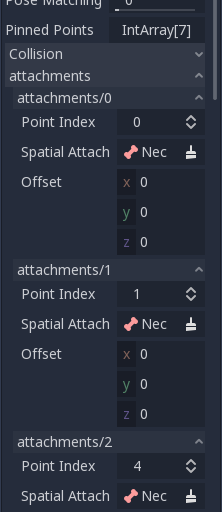
The pinned joints can be found in SoftBody3D's Attachments property, choose the BoneAttachment as the SpatialAttachment for each pinned joints, the pinned joints are now attached to the neck.
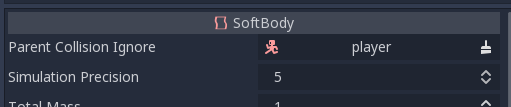
Last step is to avoid clipping by adding the Kinematic Body Player to Parent Collision Ignore of the SoftBody3D.
シーンを再生すると、マントは正しくシミュレートされます。
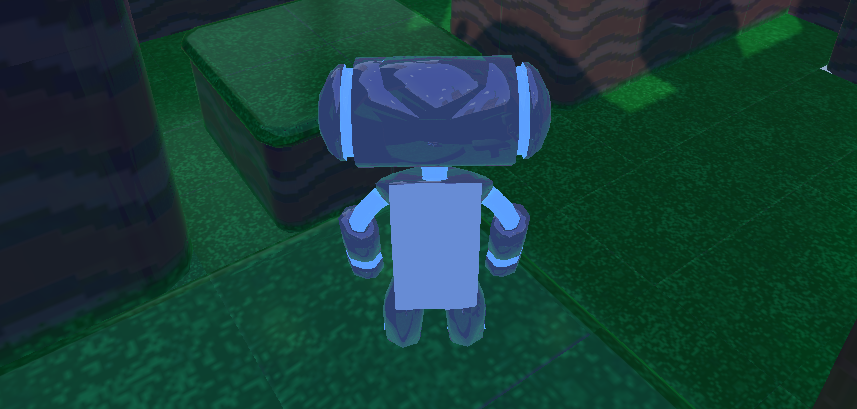
これは、ソフトボディの基本設定をカバーし、ゲームを作成するときに目標とする効果を達成するためのパラメーターを実験できます。
Using Imported Meshes
The Save to File option in the Advanced Import Settings dialog allows you
to save a mesh to a standalone resource file that you can then attach to
SoftBody3D nodes.
You may also want to disable LOD generation or change the LOD generation options
when importing a mesh for use with SoftBody3D. The default import settings
will produce an LOD that merges adjacent faces that are nearly flat with
respect to each other, even at very close render distances. This works well for
static meshes, but is often undesirable for use with SoftBody3D if you want
these faces to be able to bend and move with respect to each other, instead of
being rendered as a single plane.
See インポートの構成 and Mesh level of detail (LOD) for more details.