Attention: Here be dragons
This is the latest
(unstable) version of this documentation, which may document features
not available in or compatible with released stable versions of Godot.
Checking the stable version of the documentation...
Pierwsze spojrzenie na interface Godota
Znajdziesz tutaj krótki przegląd interfejsu Godota. Aby pomóc Ci lepiej zorientować się w otoczeniu, pokażemy Ci różne okna główne oraz doki.
Zobacz także
Aby uzyskać wyczerpujący opis interfejsu edytora i sposobu korzystania z niego, zobacz instrukcję obsługi Edytora.
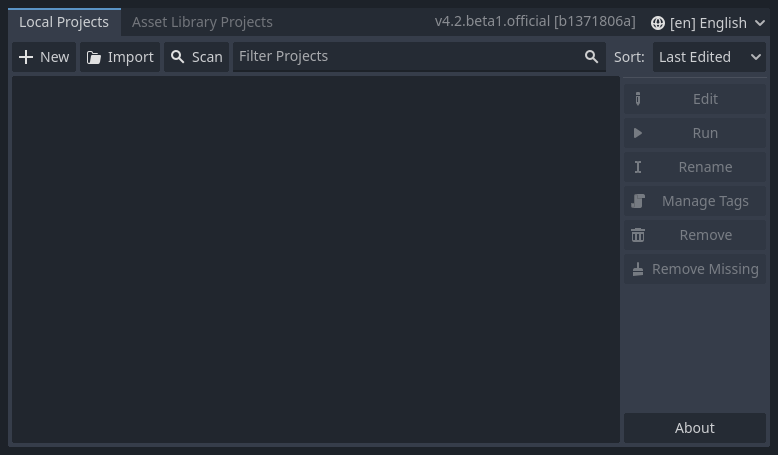
Menedżer projektów
Po uruchomieniu Godota, pierwszym oknem, które zobaczysz, jest Menedżer Projektów. W domyślnej zakładce Projekty możesz zarządzać już utworzonymi projektami, zaimportować lub stworzyć nowe, i wiele więcej.
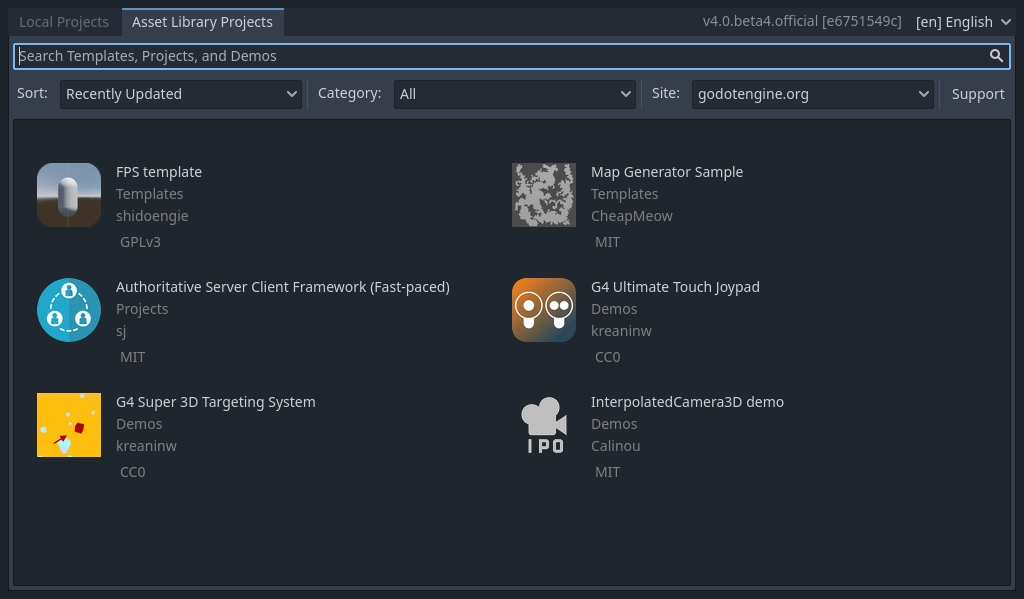
Na górze okna znajduje się inna zakładka pod nazwą Biblioteka Zasobów. Gdy ją otworzysz po raz pierwszy, zobaczysz przycisk z napisem Przejdź do trybu online. Aby zachować prywatność domyślnie menedżer projektów nie pozwala na połączenie z internetem. Aby to zmienić kliknij przycisk "Przejdź do trybu online". Jeżeli później będziesz chciał przywrócić to ustawienie, możesz to zrobić w ustawieniach.
Gdyż już zmienisz ustawienia sieciowe na "online" będziesz mieć możliwość wyszukiwania projektów demonstracyjnych z biblioteki open source, która zawiera mnóstwo projektów stworzonych przez społeczność:
Ustawienia Menadżera Projektów można otworzyć używając menu Ustawienia:

Z tego miejsca możesz zmienić język edytora(domyślnym językiem jest język systemu operacyjnego), motyw graficzny , a także jego skalę, tryb dostępu do sieci, czy też konwencję nazewnictwa katalogów.
Zobacz także
Aby poznać wszystkie tajniki Menadżera Projektów, przeczytaj Using the Project Manager.
Pierwsze spojrzenie na edytor Godota
Kiedy otworzysz nowy lub istniejący projekt, pojawi się interfejs edytora. Spójrzmy na jego główne obszary:
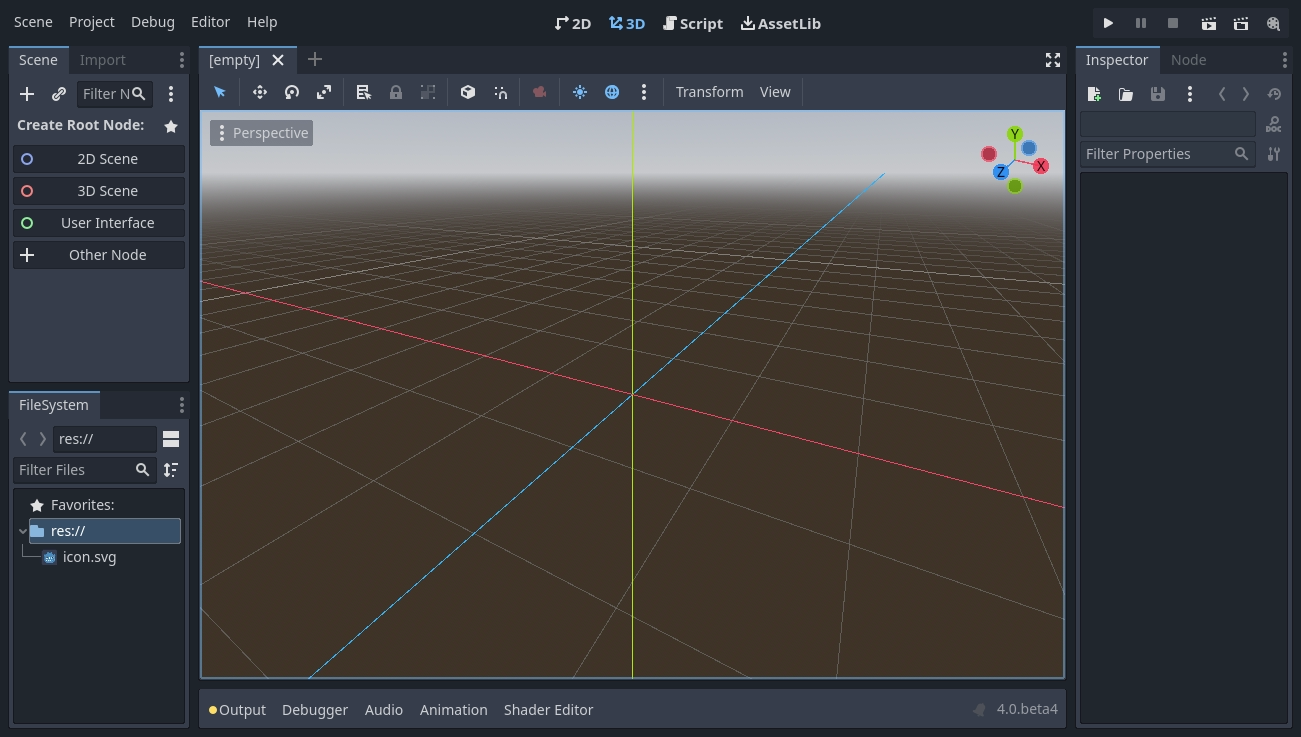
By default, along the window's top edge, it features main menu on the left, workspace switching buttons in the center (active workspace is highlighted), and playtest buttons and the Movie Maker Mode toggle on the right:

Just below the workspace buttons, the opened scenes as tabs are seen. The plus (+) button right next to the tabs will add a new scene to the project. With the button on the far right, distraction-free mode can be toggled, which maximizes or restores the viewport's size by hiding docks in the interface:

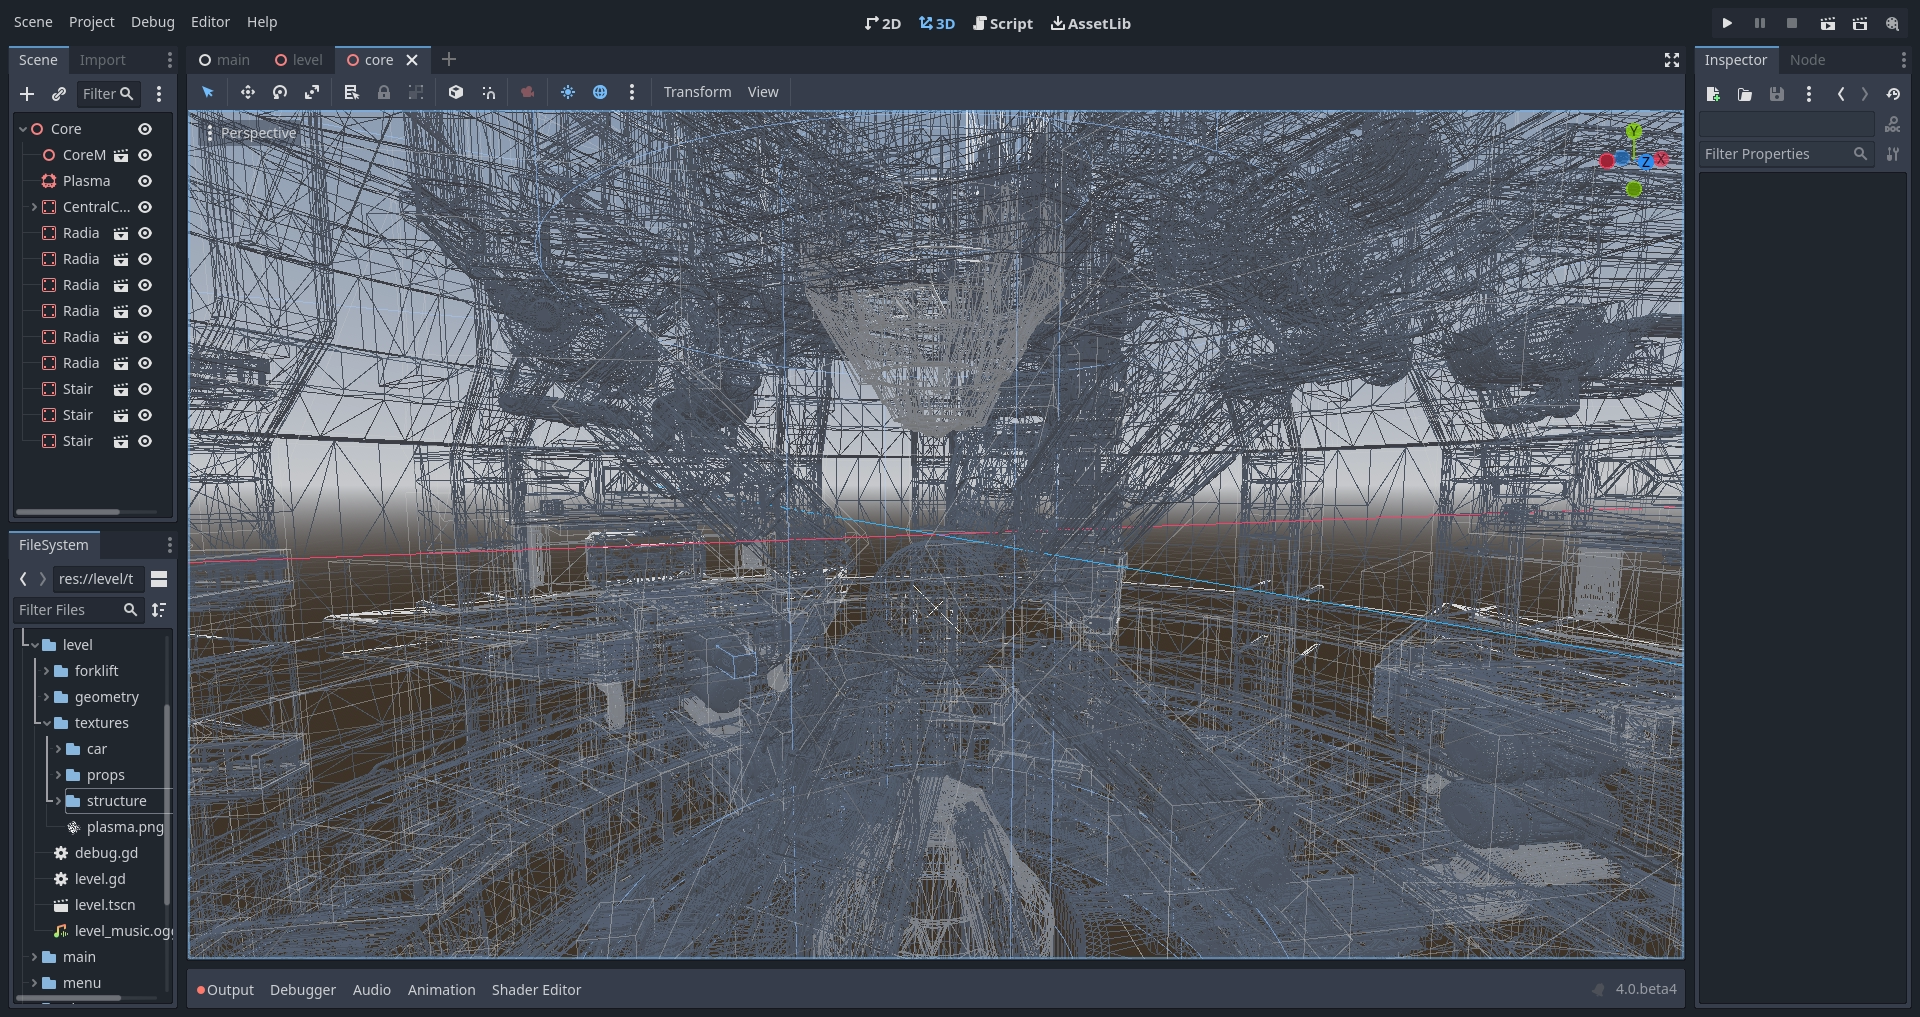
In the center, below the scene selector is the viewport with its toolbar at the top, where you'll find different tools to move, scale, or lock the scene's nodes (currently the 3D workspace is active):
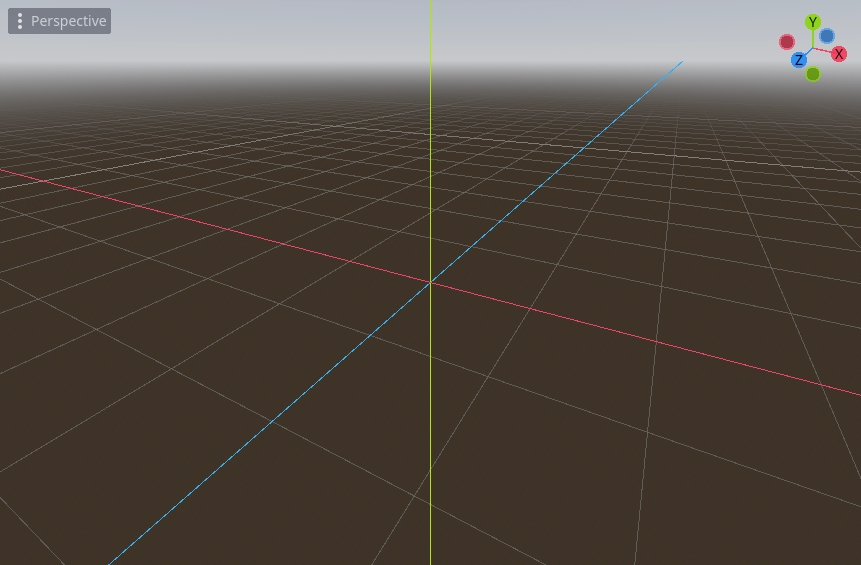
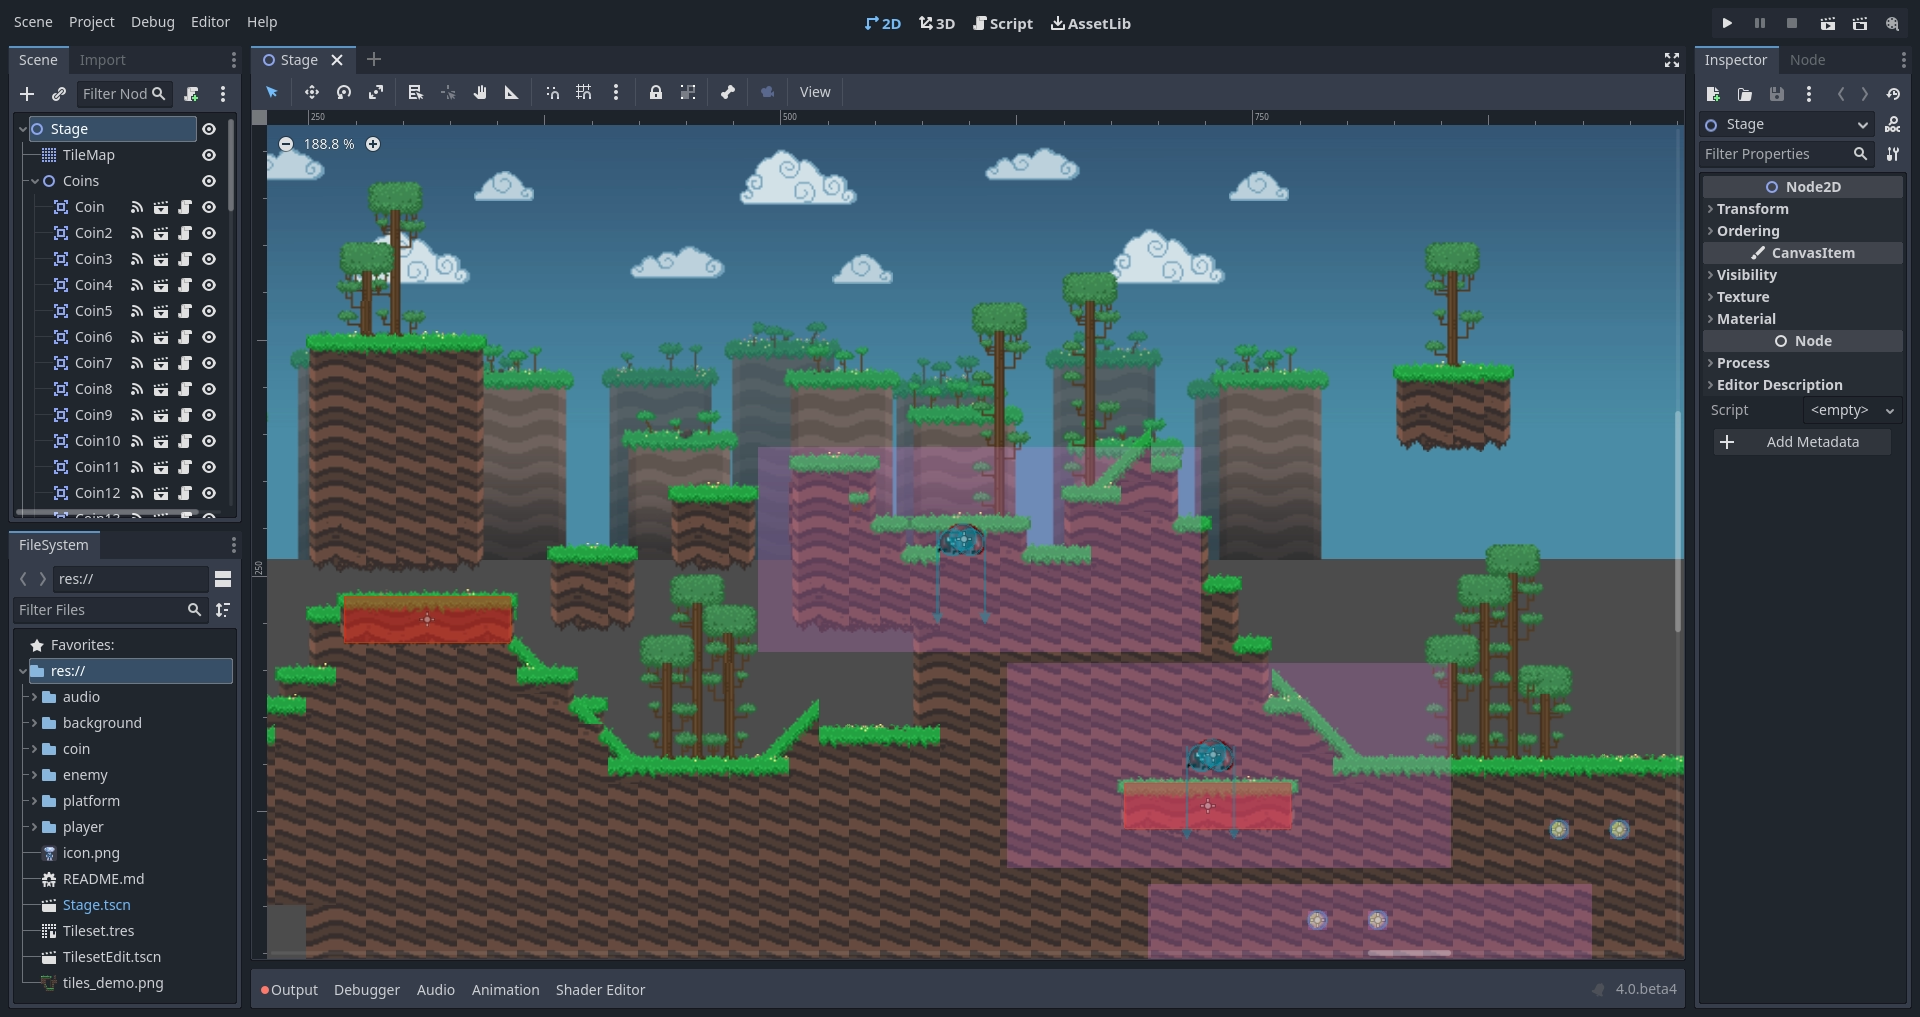
This toolbar changes based on the context and selected node. Here is the 2D toolbar:

Below is the 3D one:

Zobacz także
To learn more on workspaces, read The five main screens.
Zobacz także
To learn more on the 3D viewport and 3D in general, read Wprowadzenie do 3D.
Po obu stronach rzutni mieszczą się doki. A na dole okna znajduje się dolny panel.
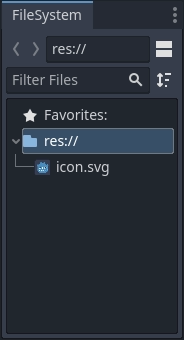
Let's look at the docks. The FileSystem dock lists your project files, including scripts, images, audio samples, and more:
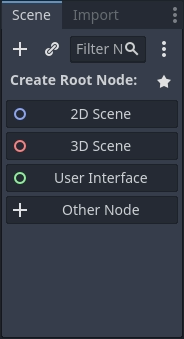
The Scene dock lists the active scene's nodes:
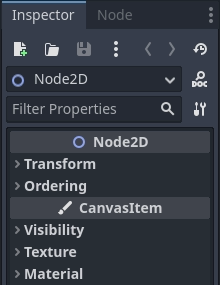
The Inspector allows you to edit the properties of a selected node:
Zobacz także
To read more on inspector, see Inspector Dock.
Zobacz także
Docks can be customized. Read more on Moving and resizing docks.
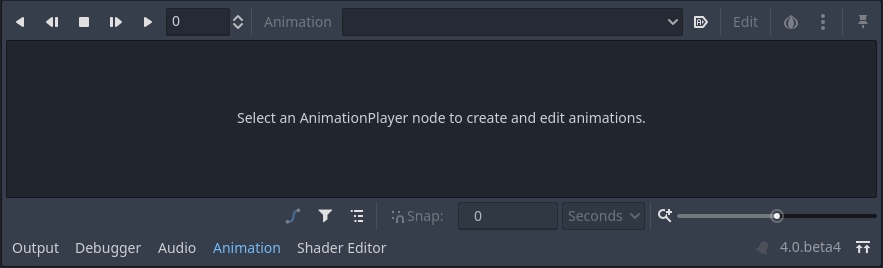
The bottom panel, situated below the viewport, is the host for the debug console, the animation editor, the audio mixer, and more. They can take precious space, that's why they're folded by default:

When you click on one, it expands vertically. Below, you can see the animation editor opened:
Bottom panels can also be shown or hidden using the shortcuts defined in Editor Settings > Shortcuts, under the Bottom Panels category.
The five main screens
There are five main screen buttons centered at the top of the editor: 2D, 3D, Script, Game and Asset Library.
Z przestrzeni roboczej 2D będziesz korzystać we wszystkich typach gier. Poza grami 2D, przestrzeń robocza 2D jest miejscem gdzie budujesz swój interfejs.
W obszarze roboczym 3D możesz pracować z siatkami, światłami i projektować poziomy dla gier 3D.
Informacja
Przeczytaj Wprowadzenie do 3D aby poznać więcej szczegółów o przestrzeni roboczej 3D.
The Game screen is where your project will appear when running it from the editor. You can go through your project to test it, and pause it and adjust it in real time. Note that this is for testing how adjustments would work, any changes made here are not saved when the game stops running.

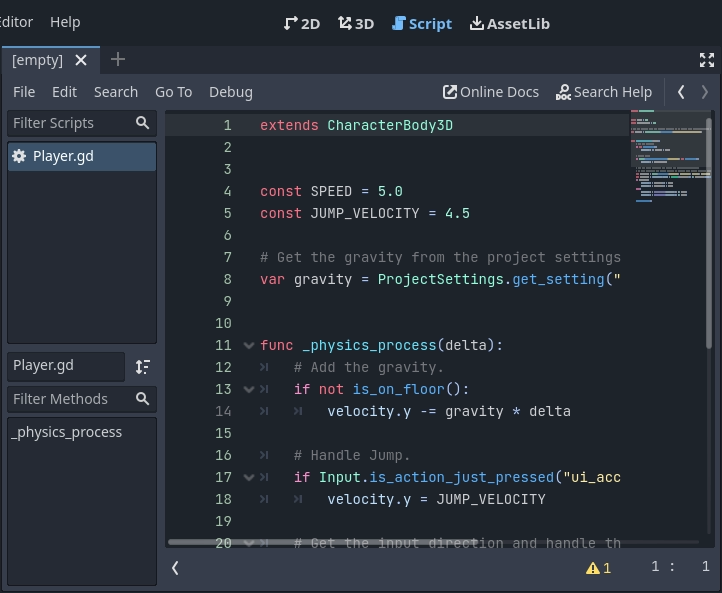
Script jest pełnoprawnym edytorem kodu z debuggerem, auto-uzupełnianiem oraz wbudowanymi referencjami kodu.
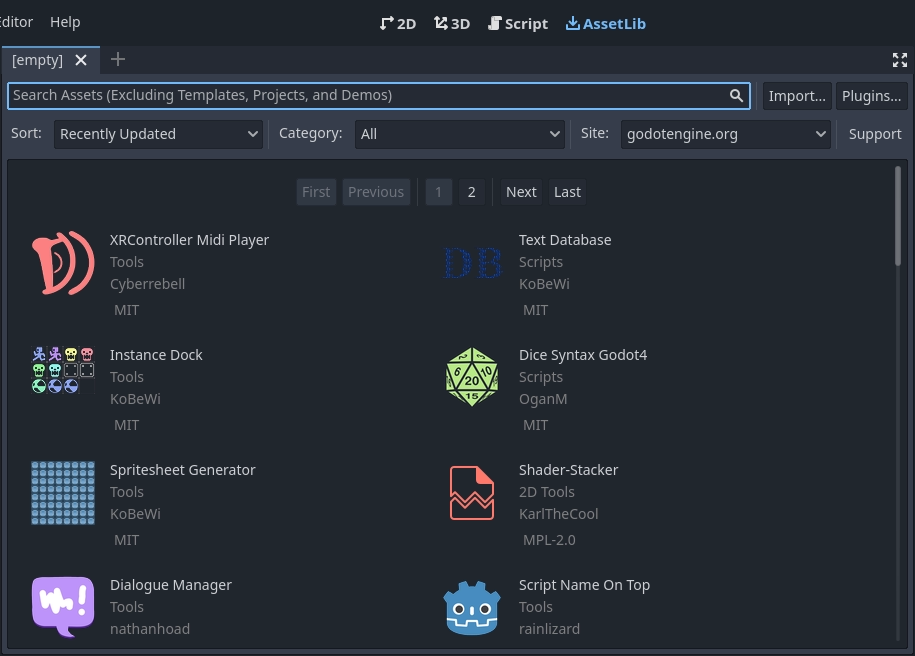
Finally, the Asset Library is a library of free and open source add-ons, scripts, and assets to use in your projects.
Zobacz także
Możesz więcej przeczytać o bibliotece zasobów w O Bibliotece Zasobów.
Wbudowane odniesienia do klasy
Godot posiada wbudowaną referencję klas.
Możesz wyszukiwać informacje o klasach, metodach, właściwościach, stałych, lub sygnałach na dowolny z następujących sposobów:
Pressing F1 (or Opt + Space on macOS, or Fn + F1 for laptops with a Fn key) anywhere in the editor.
Klikając w przycisk "Wyszukaj w pomocy" w prawym górnym rogu okna Script.
Wybierając menu "Pomoc" i "Wyszukaj w pomocy...".
Ctrl + Click (Cmd + Click na macOS) nazwę klasy, nazwę funkcji, lub wbudowaną zmienną w edytorze kodu.

Gdy skorzystasz z którejś z tych opcji, otworzy się nowe okno. Możesz wyszukać dowolny element, w tym dostępne obiekty i metody.
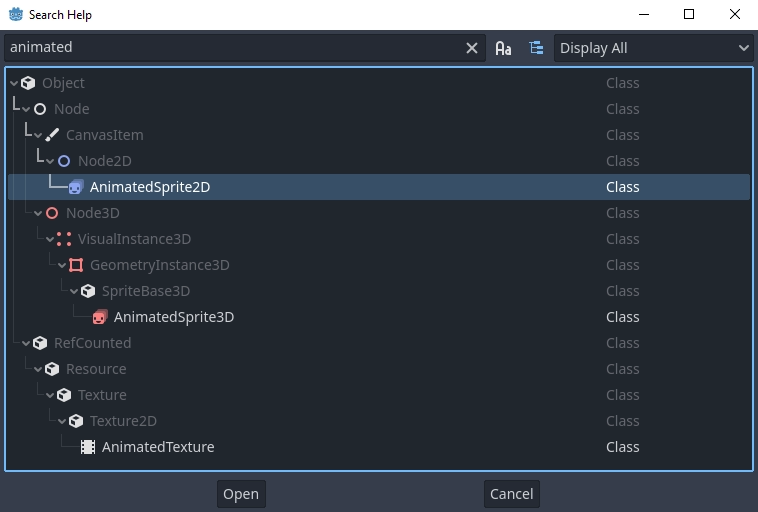
Dwukrotne kliknięcie na elemencie otworzy powiązaną z nim stronę w edytorze tekstu.
Alternatively,
Clicking while pressing Ctrl (Cmd on macOS) on a class name, function name, or built-in variable in the script editor.
Right-clicking on nodes and choosing Open Documentation or choosing Lookup Symbol for elements in script editor will directly open their documentation.