Up to date
This page is up to date for Godot 4.2.
If you still find outdated information, please open an issue.
Customizing the mouse cursor
全体的なデザインに合うように、ゲームのマウスカーソルの外観を変更することができます。マウスカーソルをカスタマイズするには2つの方法があります:
プロジェクト設定を使用する
スクリプトを使用する
Using project settings is a simpler (but more limited) way to customize the mouse cursor. The second way is more customizable, but involves scripting:
注釈
You could display a "software" mouse cursor by hiding the mouse cursor and
moving a Sprite2D to the cursor position in a _process() method, but
this will add at least one frame of latency compared to an "hardware" mouse
cursor. Therefore, it's recommended to use the approach described here
whenever possible.
If you have to use the "software" approach, consider adding an extrapolation step to better display the actual mouse input.
プロジェクト設定を使用する
Open project settings, go to Display>Mouse Cursor. You will see Custom Image, Custom Image Hotspot and Tooltip Position Offset.
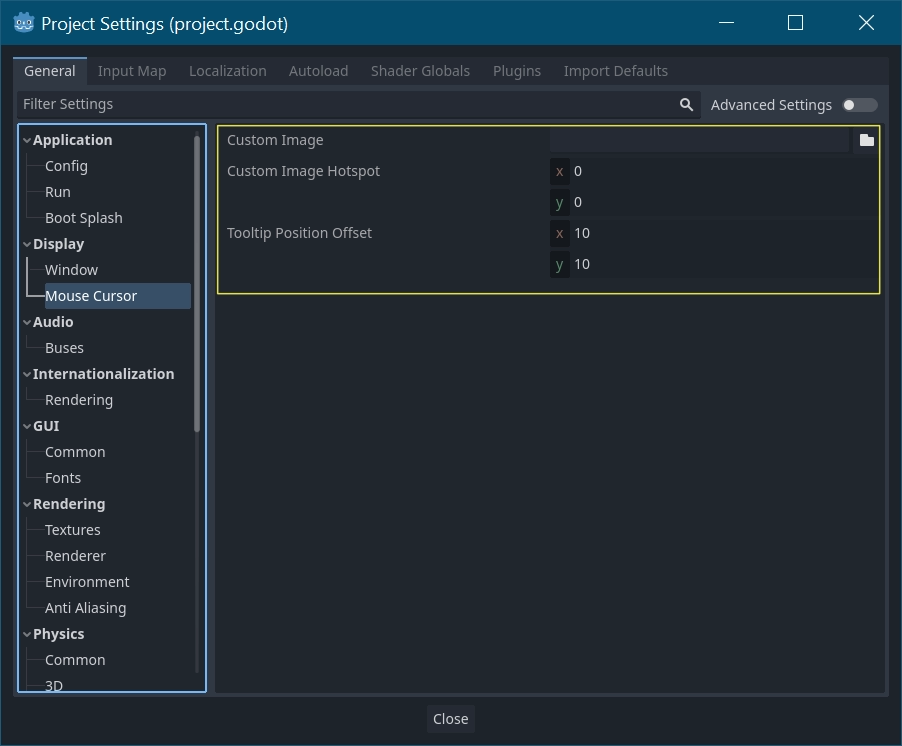
カスタムイメージ(Custom Image)は、マウスカーソルとして設定する目的のイメージです。カスタムホットスポット(Custom Hotspot)は、カーソルの検出ポイントとして使用する画像内のポイントです。
警告
The custom image must be 256×256 pixels at most. To avoid rendering issues, sizes lower than or equal to 128×128 are recommended.
On the web platform, the maximum allowed cursor image size is 128×128.
スクリプトを使用する
ノードを作成し、次のスクリプトをアタッチします。
extends Node


# Load the custom images for the mouse cursor.
var arrow = load("res://arrow.png")
var beam = load("res://beam.png")


func _ready():
    # Changes only the arrow shape of the cursor.
    # This is similar to changing it in the project settings.
    Input.set_custom_mouse_cursor(arrow)

    # Changes a specific shape of the cursor (here, the I-beam shape).
    Input.set_custom_mouse_cursor(beam, Input.CURSOR_IBEAM)
public override void _Ready()
{
    // Load the custom images for the mouse cursor.
    var arrow = ResourceLoader.Load("res://arrow.png");
    var beam = ResourceLoader.Load("res://beam.png");

    // Changes only the arrow shape of the cursor.
    // This is similar to changing it in the project settings.
    Input.SetCustomMouseCursor(arrow);

    // Changes a specific shape of the cursor (here, the I-beam shape).
    Input.SetCustomMouseCursor(beam, Input.CursorShape.Ibeam);
}
参考
Check Input.set_custom_mouse_cursor()'s documentation for more information on usage and platform-specific caveats.
カーソルリスト
Input クラス(CursorShape 列挙型を参照)で文書化されているように、定義できるマウスカーソルは複数あります。どちらを使用するかは、ユースケースによって異なります。