Up to date
This page is up to date for Godot 4.2.
If you still find outdated information, please open an issue.
Using GridMaps
소개
GridMap은 2D 게임의 TileMap과 유사한 방식으로 3D 게임 레벨을 만드는 툴입니다. 격자 위에 메시를 배치하려면, 미리 정의해 놓은 3D 메시 모음 (MeshLibrary)이 필요합니다. 메시 모음은 마치 무한한 레고 블록처럼 사용됩니다.
콜리전과 내비게이션도 메시에 추가될 수 있습니다. TileMap의 타일과 똑같죠.
예제 프로젝트
To learn how GridMaps work, start by downloading the sample project: gridmap_starter.zip.
프로젝트 압축을 풀고 "가져오기(Import)" 버튼으로 프로젝트 매니저(Project Manager)에 추가하세요.
MeshLibrary 만들기
To begin, you need a MeshLibrary, which is a collection of individual meshes that can be used in the gridmap. Open the "mesh_library_source.tscn" scene to see an example of how to set up the mesh library.
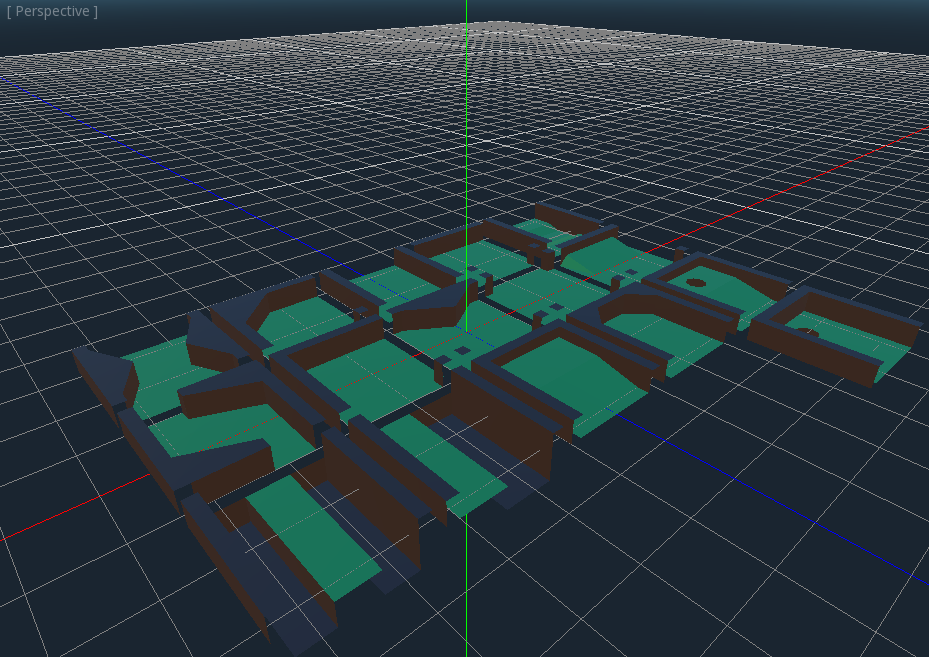
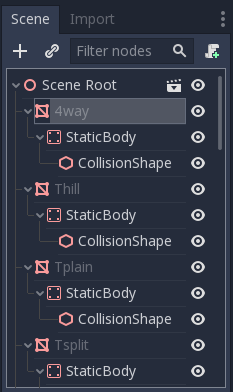
As you can see, this scene has a Node3D node as its root, and a number of MeshInstance3D node children.
씬에서 물리 엔진이 필요 없다면, 이게 끝입니다. 하지만 대부분의 경우, 메시에 콜리전 바디가 필요할 것입니다.
콜리전(Collision)
You can manually assign a StaticBody3D and CollisionShape3D to each mesh. Alternatively, you can use the "Mesh" menu to automatically create the collision body based on the mesh data.

"컨벡스" 콜리전 바디는 단순한 메시에 더 잘 작동합니다. 복잡한 모양이라면 "Trimesh Static Body 만들기(Create Trimesh Static Body)"를 선택하세요. 각 메시마다 PhysicsBody와 ColliisionShape를 가졌다면, MeshLibrary를 사용할 준비가 되었습니다.
머티리얼
MeshLibrary를 생성할 때는 메시 안에 있는 머티리얼만 사용됩니다. 노드에 설정된 머티리얼은 무시됩니다.
NavigationMeshes
Like all mesh instances, MeshLibrary items can be assigned a NavigationMesh resource, which can be created manually, or baked as described below.
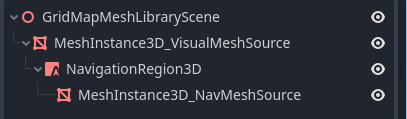
To create the NavigationMesh from a MeshLibrary scene export, place a NavigationRegion3D child node below the main MeshInstance3D for the GridMap item. Add a valid NavigationMesh resource to the NavigationRegion3D and some source geometry nodes below and bake the NavigationMesh.
참고
With small grid cells it is often necessary to reduce the NavigationMesh properties for agent radius and region minimum size.
Nodes below the NavigationRegion3D are ignored for the MeshLibrary scene export, so additional nodes can be added as source geometry just for baking the navmesh.
경고
The baked cell size of the NavigationMesh must match the NavigationServer map cell size to properly merge the navigation meshes of different grid cells.
MeshLibrary 내보내기
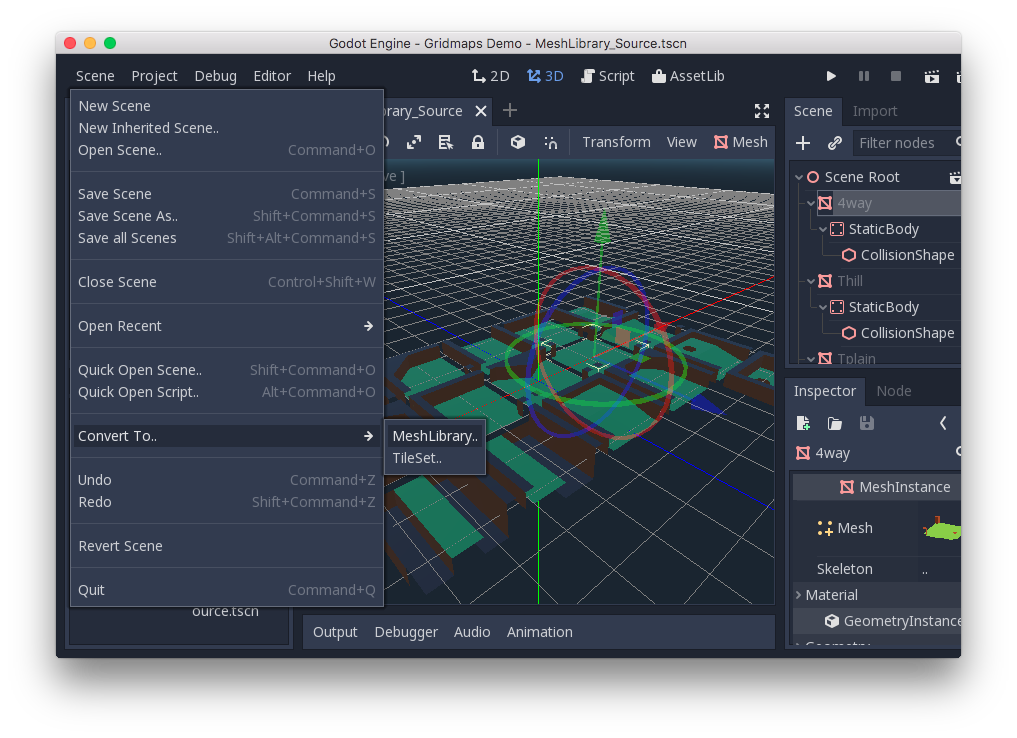
To export the library, click on Scene > Export As... > MeshLibrary..., and save it as a resource.
프로젝트에서 내보낸 MeshLibrary를 "MeshLibrary.tres"라는 이름으로 볼 수 있습니다.
GridMap 사용하기
새 씬을 만들고 GridMap 노드를 추가하세요. 파일 시스템(FileSystem) 독에서 리소스 파일을 드래그한 다음, 인스펙터(Inspector)의 "Mesh Library" 속성에 드롭해서 MeshLibrary를 추가하세요.
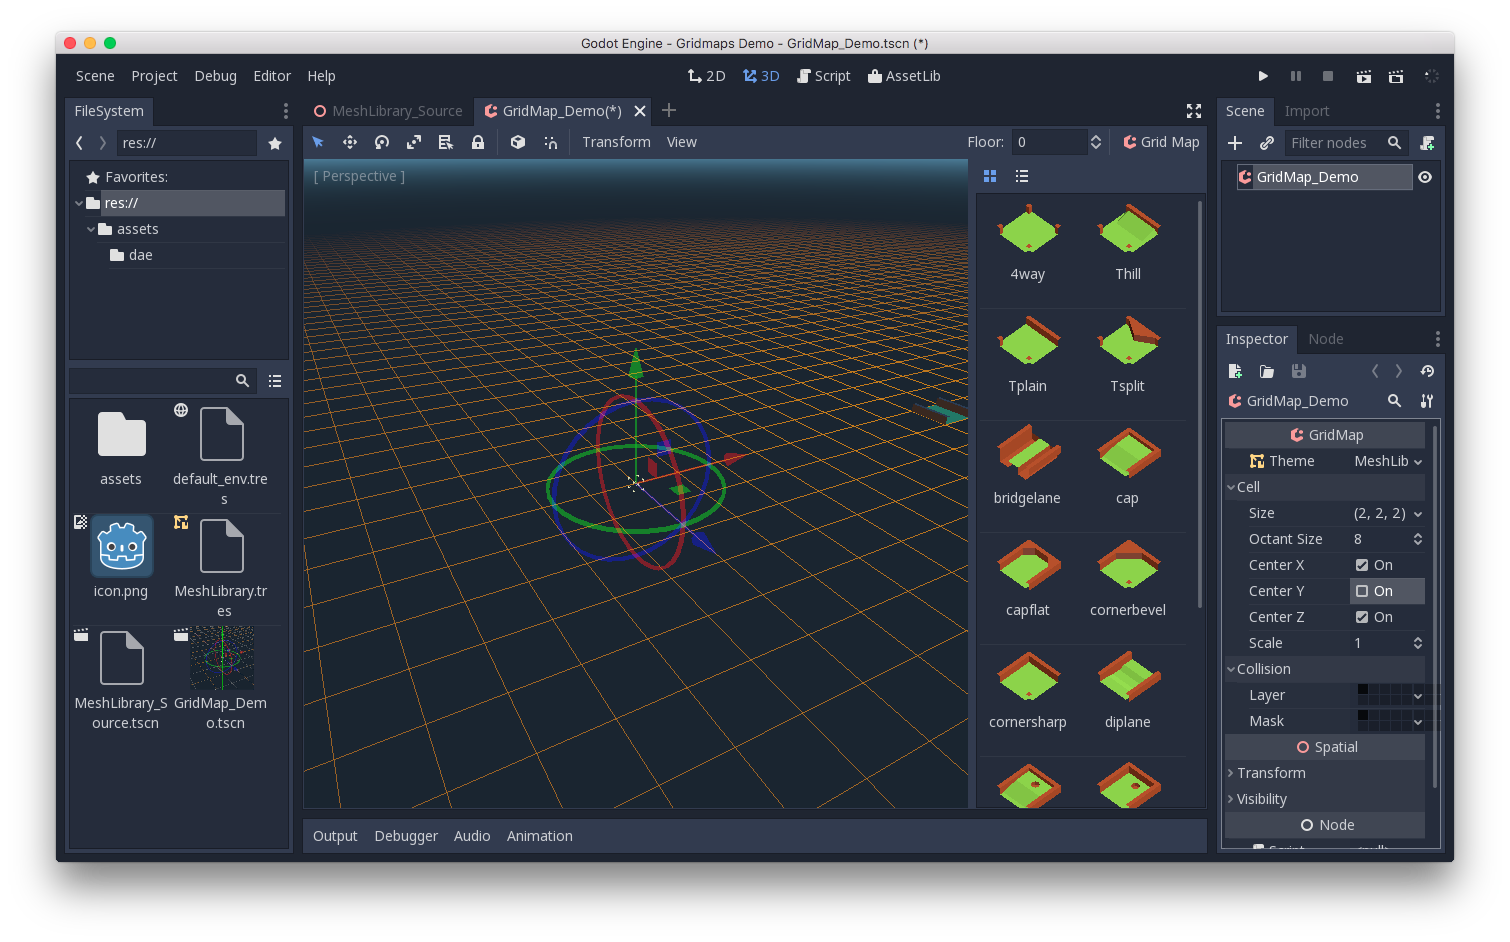
"Cell/Size" 속성은 메시의 크기를 설정합니다. 데모에서는 기본 값으로 두어도 됩니다. "Center Y" 속성을 끄세요.
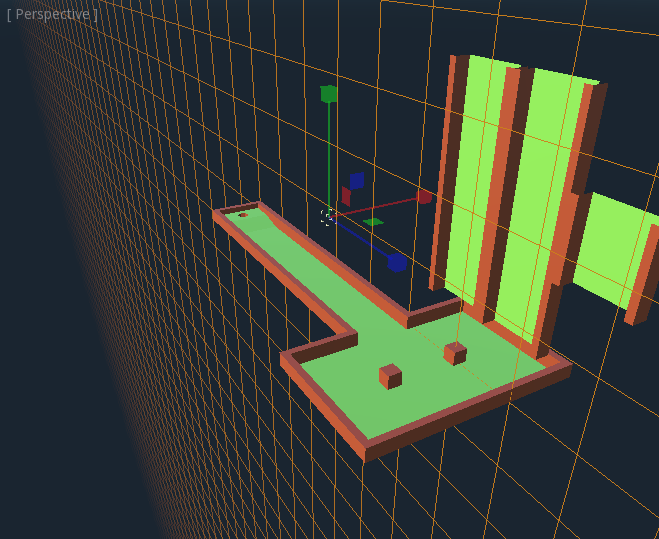
Now you can start designing the level by choosing a tile from the palette and placing it with Left-Click in the editor window. Use Right-click to remove a tile.
Use the arrows next to the "GridMap" menu to change the floor that you are working on.
Click on the "GridMap" menu to see options and shortcuts. For example, pressing S rotates a tile around the y-axis.
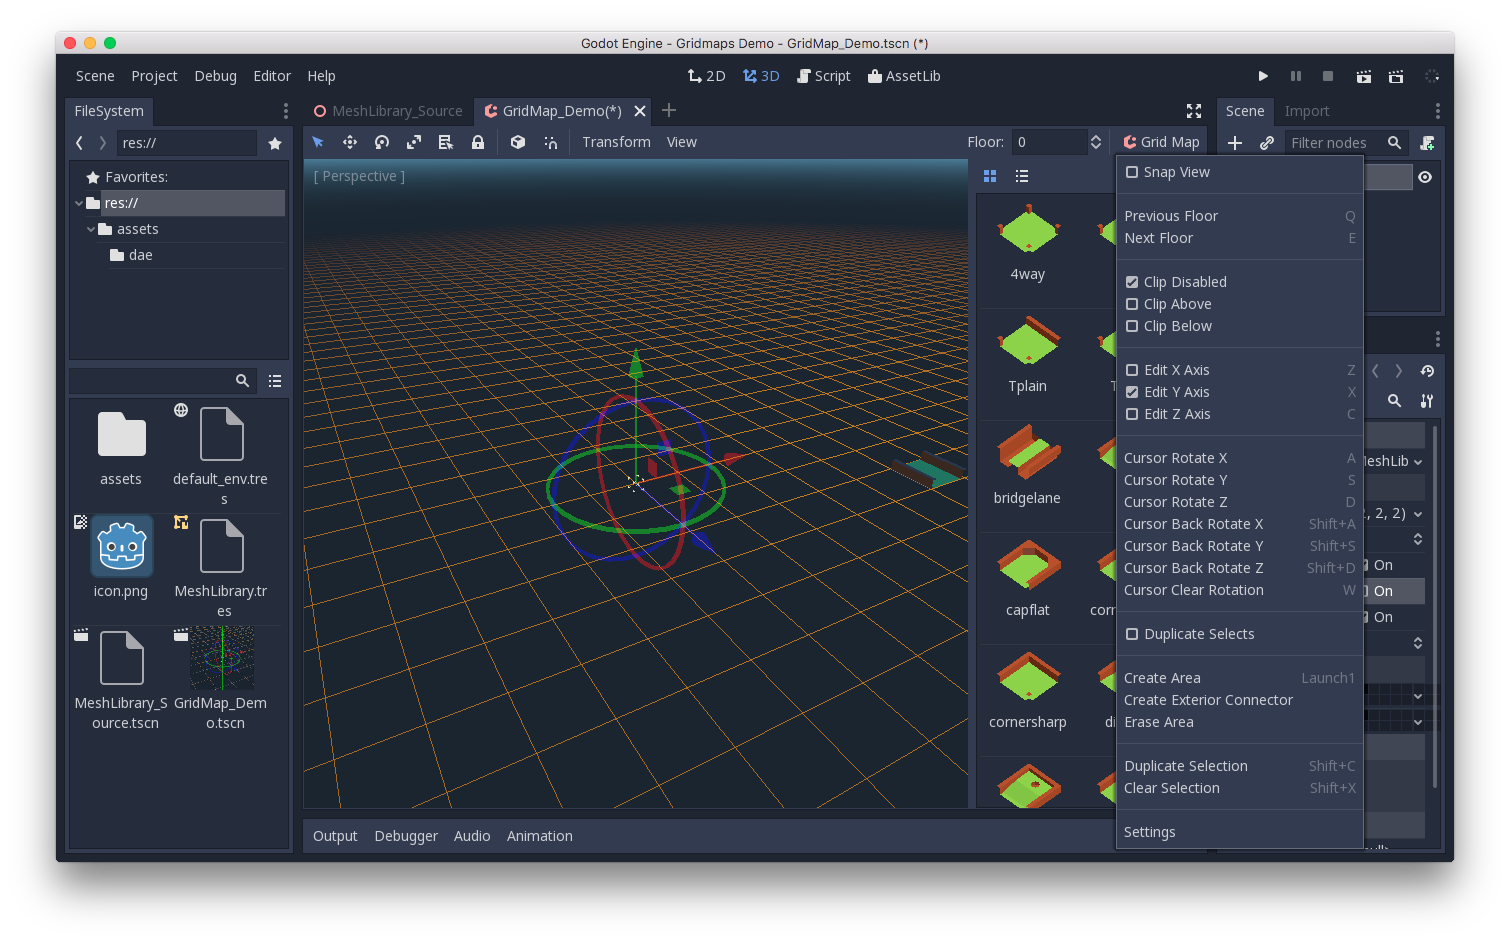
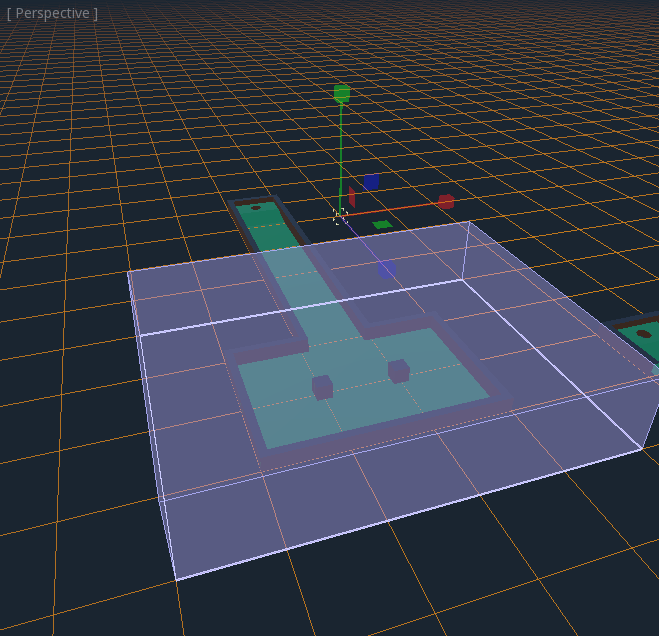
Holding Shift and dragging with the left mouse button will draw a selection box. You can duplicate or clear the selected area using the respective menu options.
메뉴에서 타일이 배치되는 격자의 높이와 축도 바꿀 수 있습니다.
코드로 GridMap 사용하기
노드의 메서드와 멤버 변수에 대한 자세한 설명은 GridMap을 참고하세요.