Up to date
This page is up to date for Godot 4.3.
If you still find outdated information, please open an issue.
Création d'images de documentation et de vidéos
Throughout the documentation, images are often needed to make the explanation of a feature or concept as clear as possible for a reader. This page will explain the process from beginning to end.
Images
Capturing an image
To take a picture of something in Godot, a screen capture tool can be used.
On Windows 10 and 11 that would be the Snip & Sketch program. Pressing Windows + Shift + S lets you take a screenshot of a portion of the screen and save it to the clipboard. After pressing those keys, click and drag over the area you wish to take a picture of.
On macOS, pressing Shift + Command + 3 does the same. To take a picture of the entire screen press Shift + Command + 4. All screenshots taken will be saved to the desktop.
Each Linux desktop environment has it's own screenshot tool. For example, on KDE Plasma the program Spectacle is used for taking screenshots. If your distribution doesn't come with one by default try searching its package repository, or Flathub if that's supported.
All screenshots should ideally be taken on a 1080p screen. Anything higher resolution is adding detail that doesn't make the documentation better and dramatically increases file size. If you're taking screenshots on a higher resolution screen the screenshot should be scaled down. There are instructions on how to do this later on this page.
Conversion de format
Le format actuel pour les images dans la documentation de Godot est le WebP (.webp). Bien que certains programmes Linux supportent sauvegarder des captures d'écran dans ce format, macOS et le programme Snip & Sketch sur Windows ne le font pas. Pour les images qui n'ont pas besoin d'édition, tel que du rognage précis ou de l'ajout de contours, Squoosh peut être utilisé. Squoosh est un convertisseur développé par Google, open source, qui ne donne pas à Google de droits d'image en l'utilisant. Lorsque vous choisissez la compression, si vous pouvez obtenir une image de moins de 300KB en taille, utilisez une compression sans perte. Si c'est plus de 300KB, utilisez juste une compression suffisante pour l'obtenir sous cette taille. Si cela entraîne des artéfacts de compression notables, utiliser moins de compression ira bien, même si la taille du fichier est plus grande.
If you already have an image editor such as GIMP, Krita or Photoshop installed it may have the ability to open an image then save it as a WebP file.
Recadrer
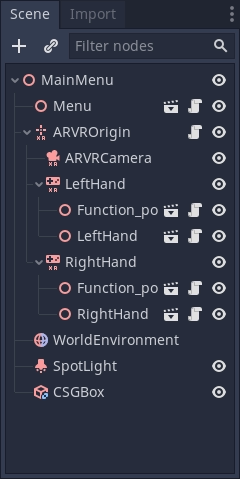
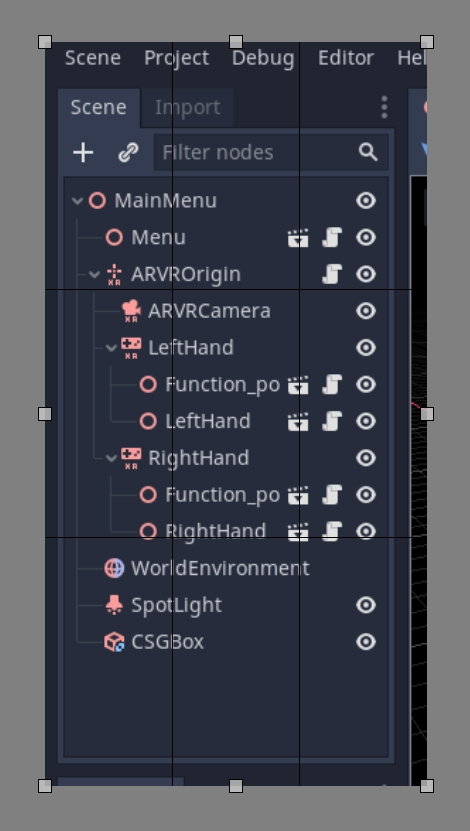
Pour une capture d'écran d'une scène 2D ou 3D dans l'éditeur, les étapes ci-dessus suffiront. Mais pour la plupart des images de l'interface utilisateur, il faut faire un travail supplémentaire, en particulier rogner pour faire une image propre. Voici un exemple de bon rognage.
Pour le rognage, Krita est le programme recommandé. Bien que certains programmes de capture d'écran ont des fonctionnalités de rognage incluses, il n'est pas toujours facile d'obtenir quelque chose de précis. Et bien que Krita soit conçu comme un programme de peinture, l'outil de rognage vous donne une précision au pixel par défaut. Bien sûr, n'hésitez pas à utiliser un programme différent que vous connaissez.
Si vous n'avez jamais utilisé Krita avant, téléchargez le depuis le site officiel de Krita, sur Linux, vous pouvez également le télécharger depuis votre dépôt de distribution, flathub est également une option. Une fois installé sur votre ordinateur, ouvrez Krita puis ouvrez l'image que vous voulez rogner. Ce bouton sur le panneau gauche est l'outil de rognage.

Après l'avoir sélectionnée, cliquez sur l'image, vous devriez maintenant avoir des outils de rognage disponibles.
Cliquez et faites glisser les boîtes blanches pour régler ce qui est recadré, si vous zoomez dans l'image, vous verrez les pixels individuels dans une image, qui est utile pour la précision.
Si vous faites une erreur et sur-rognez ne vous inquiétez pas, le rognage est non-destructif dans Krita et peut être ajusté. Cliquez sur l'image avec votre outil de rognage encore sélectionné et les contrôles reviendront.
Scaling down an image
As explained earlier on this page, all images taken on a screen that is a higher resolution than 1080p should be scaled down. To do this in Krita click on Image on the top bar, and from the dropdown menu select Scale Image To New Size. This menu can also be opened by pressing Ctrl + Alt + I. On this menu you want to adjust the pixel dimensions. For anything taken on a 4K monitor change the value of the width and height to half of its current value, for anything taken on a 1440p monitor multiply the width and height by 0.75. Make sure the Constrain Proportions box at the bottom of the menu is checked so you only have to change 1 value.
Sauvegarder en WebP dans Krita
To save an image as webp if it isn't already one, Go to File > Save As. Select webp from the Save as type: dropdown, then choose wherever you want to save it. After clicking Save a menu will popup with webp options. Make sure Lossless is checked and Quality is set to 100%. This means the image will not lose detail and will be as small as possible.
If the image is over 300KB in size try compressing it losslessly using Squoosh. If it's still over 300KB change to lossy compression and slowly increase the compression until it's under 300KB. If this results in noticeable compression artifacts using less compression is fine, even if the file size is bigger.
contours, flèches et texte
Sometimes an image needs something extra to properly direct the readers attention, or make something clear. Outlines and arrows can be used for this purpose. For these types of edits Inkscape is the recommended open source program, it can be downloaded from the official Inkscape website. Like Krita, if you're on Linux you can also check your distributions repository or get it from Flathub.
A full tutorial on creating outlines is not provided here, we recommend searching
for various tutorials on how to use it online. However there are two standards
for doc image outlines and arrows. First, the color should be yellow, specifically
this hex color: fffb44 (fffb44ff if there is a transparency value like in Inkscape).
This color was chosen specifically to make sure color blind people do not have
issues reading the documentation, other colors can be used in addition to this yellow
if multiple outlines on an image are needed, red should be avoided. The second standard
is that all outlines and arrow lines should be 2 pixels wide.
Finally, some images might require text to differentiate multiple parts of an image. There are no strict requirements other than use an easy to read non fancy font. As for color the yellow color from before should also be used, but black or other colors can be used if appropriate. For example, if yellow blends into the image, or if there are multiple outlines in multiple colors.
Ajouter une image à une page de documentation
Once you've finished working on your image, it can be added to the documentation.
All images are stored in folders named img next to the page they are used in.
To add your image, add it to the img folder that's in the same folder as the
.rst file for the page (create it if it doesn't exist). In the .rst page,
images should be included with the following code snippet:
.. image:: img/documentation_image.webp
Where documentation_image.webp would be changed to the name of the image you
created. Name your images in a way that makes their meaning clear, possibly with
a prefix that makes their relationship to a documentation page explicit.
Vidéos
Capturing a video
Pour enregistrer une vidéo de quelque chose dans Godot, un outil de capture d'écran peut être utilisé. Les systèmes d'exploitation ne sont généralement pas dotés d'outils suffisamment flexibles pour cela, vous devrez donc installer un utilitaire tiers.
OBS Studio is the most popular option, but SimpleScreenRecorder can be used as an alternative on Linux. ShareX can be used as an alternative on Windows. All these tools can be configured to record the entire screen, a specific window or a predetermined rectangle.
The recommended framerate for video recordings is 60 FPS, although you can use 30 FPS for longer videos to reduce their file size. For fullscreen videos, use a resolution of 1280×720.
Note
Godot's Movie Maker mode can be used to record the output of a running project, including its audio. This doesn't require installing any third-party software and avoids any frame drops (even when recording on a slow device), but it's less flexible.
Compressing the captured video
The recommendation is to record your video in the highest quality possible (without dropping frames due to excessive CPU/GPU utilization), then re-encode it later to reduce its file size. This results in more efficient compression than directly aiming for a small file size, as real-time compression methods are less efficient than slower compression methods.
To re-encode videos for a smaller file size, use HandBrake or the FFmpeg <https://ffmpeg.org/> command line below:
ffmpeg -i input.mp4 -crf 23 output.webm
The number after -crf adjusts the video quality, with higher numbers
resulting in lower quality (and smaller file sizes). A CRF of 23 is a good
starting point, but you may need to use a higher value for longer videos to
ensure the file size remains reasonable. Try to aim for a file size under 2 MB
if possible.
If the video was recorded in a higher resolution or framerate, you can adjust its output resolution and framerate as follows:
ffmpeg -i input.mp4 -crf 23 -vf scale=1280:-2 -r 30 output.webm
This results in a video resolution around 1280×720 at 30 FPS. The exact video resolution will vary depending on the source's aspect ratio.
Astuce
If the video was recorded with an audio track but this audio track is not
necessary, consider stripping it by adding the -an option to the FFmpeg
command line (before the output file name). This will reduce file size and
also ensure audio controls don't show up on the video when played in a
browser.
Adding a video to a documentation page
Once you've finished working on your video, it can be added to the documentation.
All videos are stored in folders named video next to the page they are used in.
To add your video, add it to the video folder that's in the same folder as the
.rst file for the page (create it if it doesn't exist). In the .rst page,
videos should be included with the following code snippet:
.. video:: video/csg_tools.webm
   :alt: Put a text description of the video here
   :autoplay:
   :loop:
   :muted:
Où documentation_video.webp serait changé en le nom de la vidéo que vous avez créé. Nommez vos vidéos d'une manière qui rend leur sens clair, éventuellement avec un préfixe qui rend leur relation à une page de documentation explicite.
Les options :autoplay:, :loop: et :muted: doivent toujours être spécifiées à moins que la vidéo ait besoin de jouer du son. Dans ce cas, ne spécifiez aucun de ces drapeaux.