Up to date
This page is up to date for Godot 4.3.
If you still find outdated information, please open an issue.
First look at Godot's interface
Cette page va vous donner un bref aperçu de l'interface de Godot. Nous allons regarder les différents écrans principaux et docks pour vous aider à vous situer.
Voir aussi
For a comprehensive breakdown of the editor's interface and how to use it, see the Editor manual.
Le Gestionnaire de projets
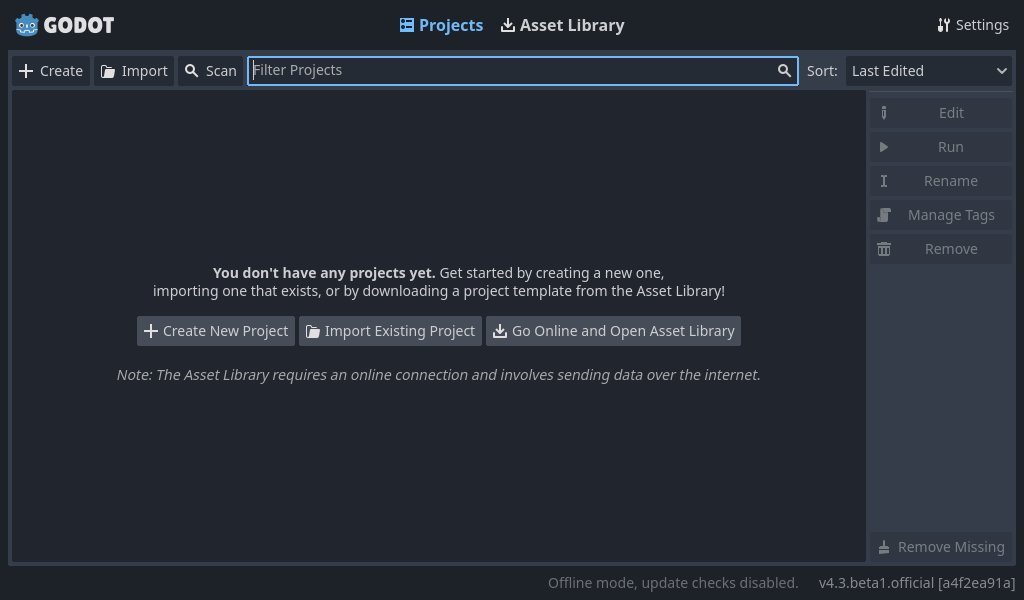
When you launch Godot, the first window you see is the Project Manager. In the default tab Projects, you can manage existing projects, import or create new ones, and more.
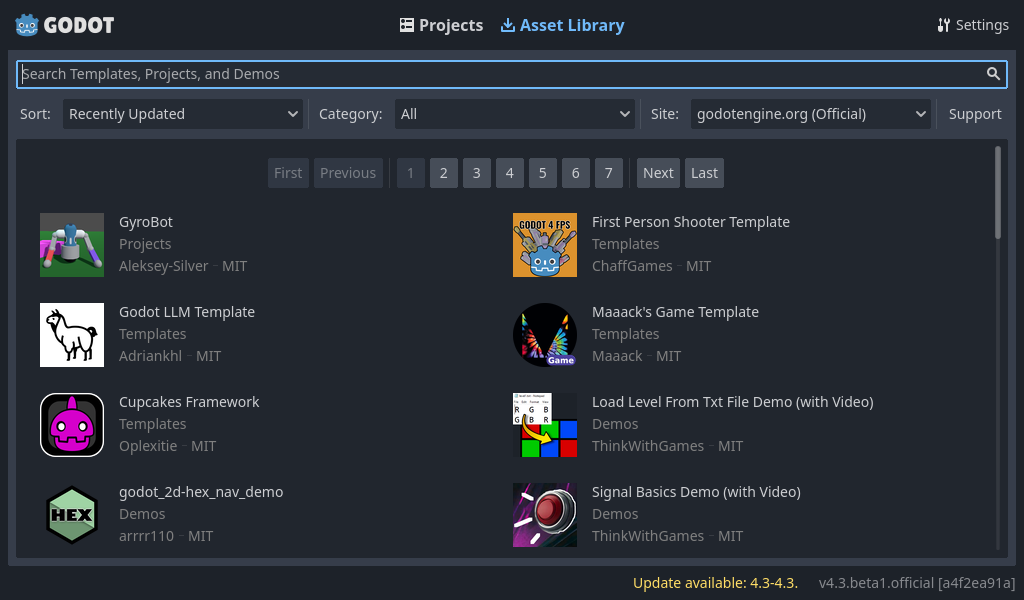
At the top of the window, there is another tab named Asset Library. The first time you go to this tab you'll see a "Go Online" button. For privacy reasons, the Godot project manager does not access the internet by default. To change this click the "Go Online" button. You can change this option later in the settings.
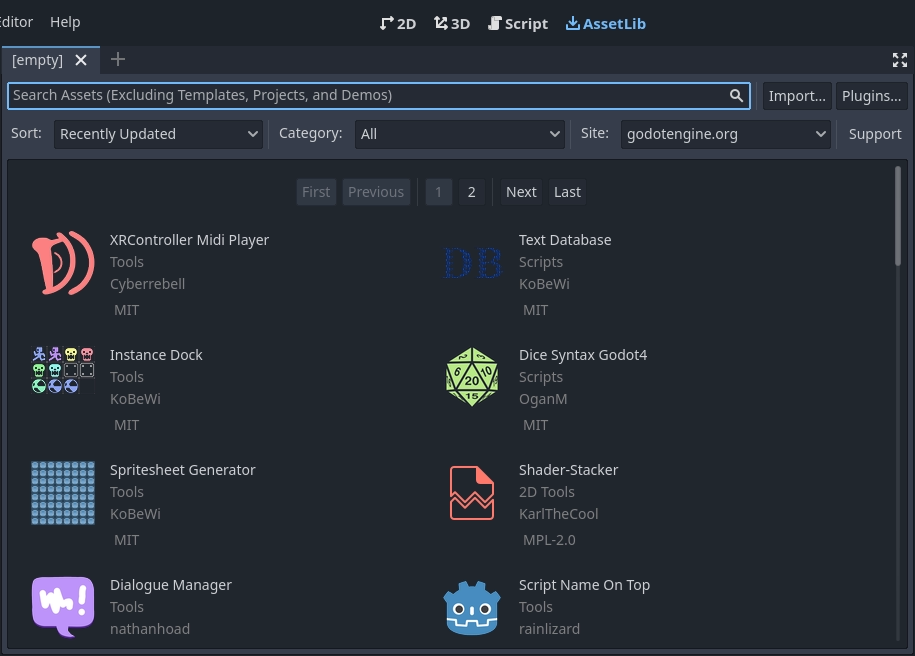
Once your network mode is set to "online", you can search for demo projects in the open source asset library, which includes many projects developed by the community:
The Project Manager's settings can be opened using the Settings menu:
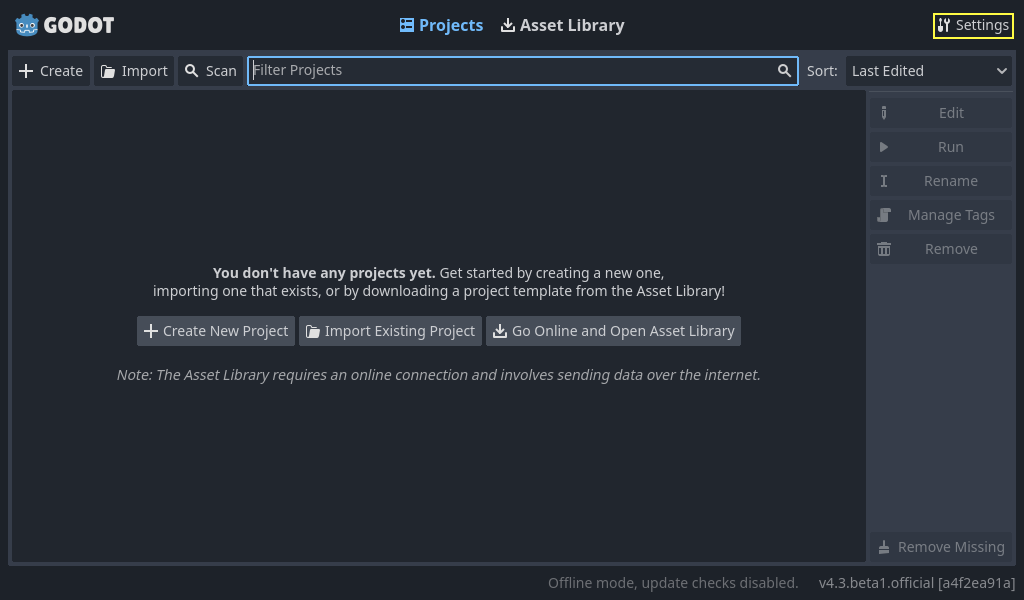
From here, you can change the editor's language (default is the system language), interface theme, display scale, network mode, and also the directory naming convention.
Voir aussi
Pour en apprendre plus sur le Gestionnaire de projets, lisez Utiliser le gestionnaire de projets.
Premier coup d’œil à l'éditeur de Godot
When you open a new or an existing project, the editor's interface appears. Let's look at its main areas:
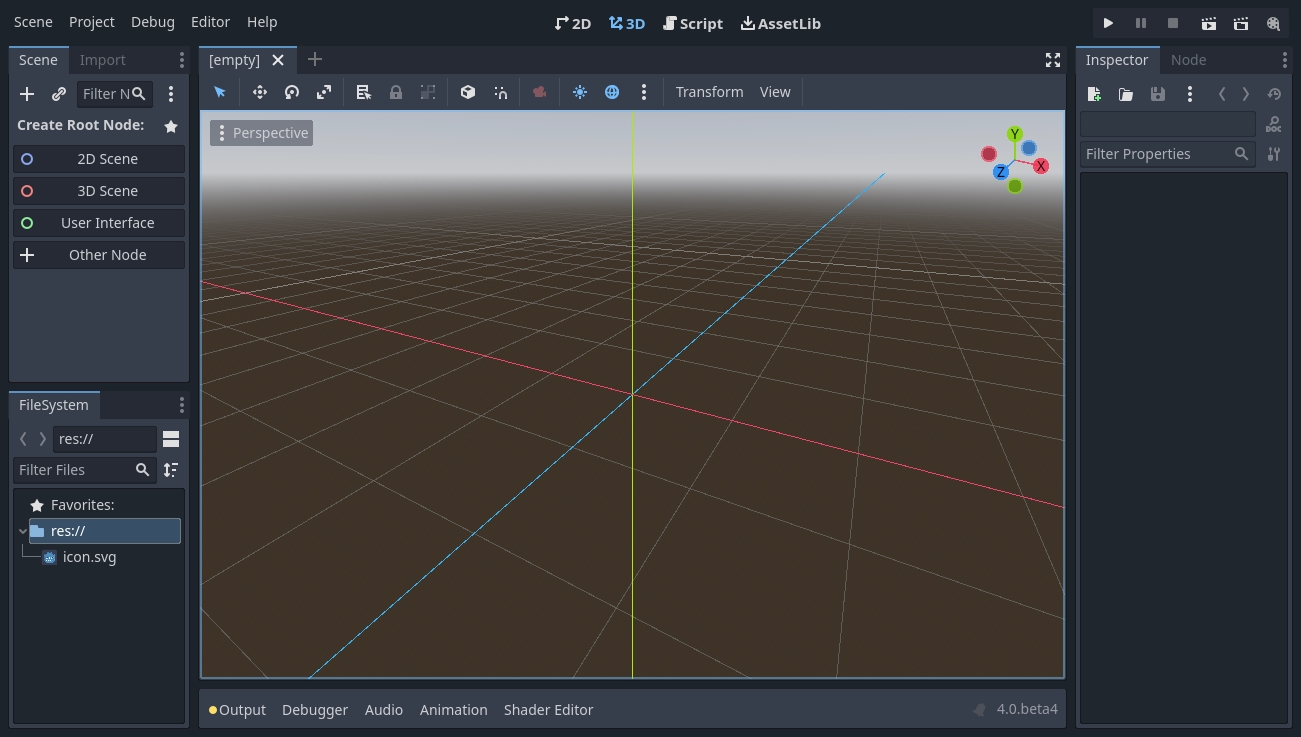
By default, along the window's top edge, it features main menu on the left, workspace switching buttons in the center (active workspace is highlighted), and playtest buttons on the right:

Just below the workspace buttons, the opened scenes as tabs are seen. The plus (+) button right next to the tabs will add a new scene to the project. With the button on the far right, distraction-free mode can be toggled, which maximizes or restores the viewport's size by hiding docks in the interface:

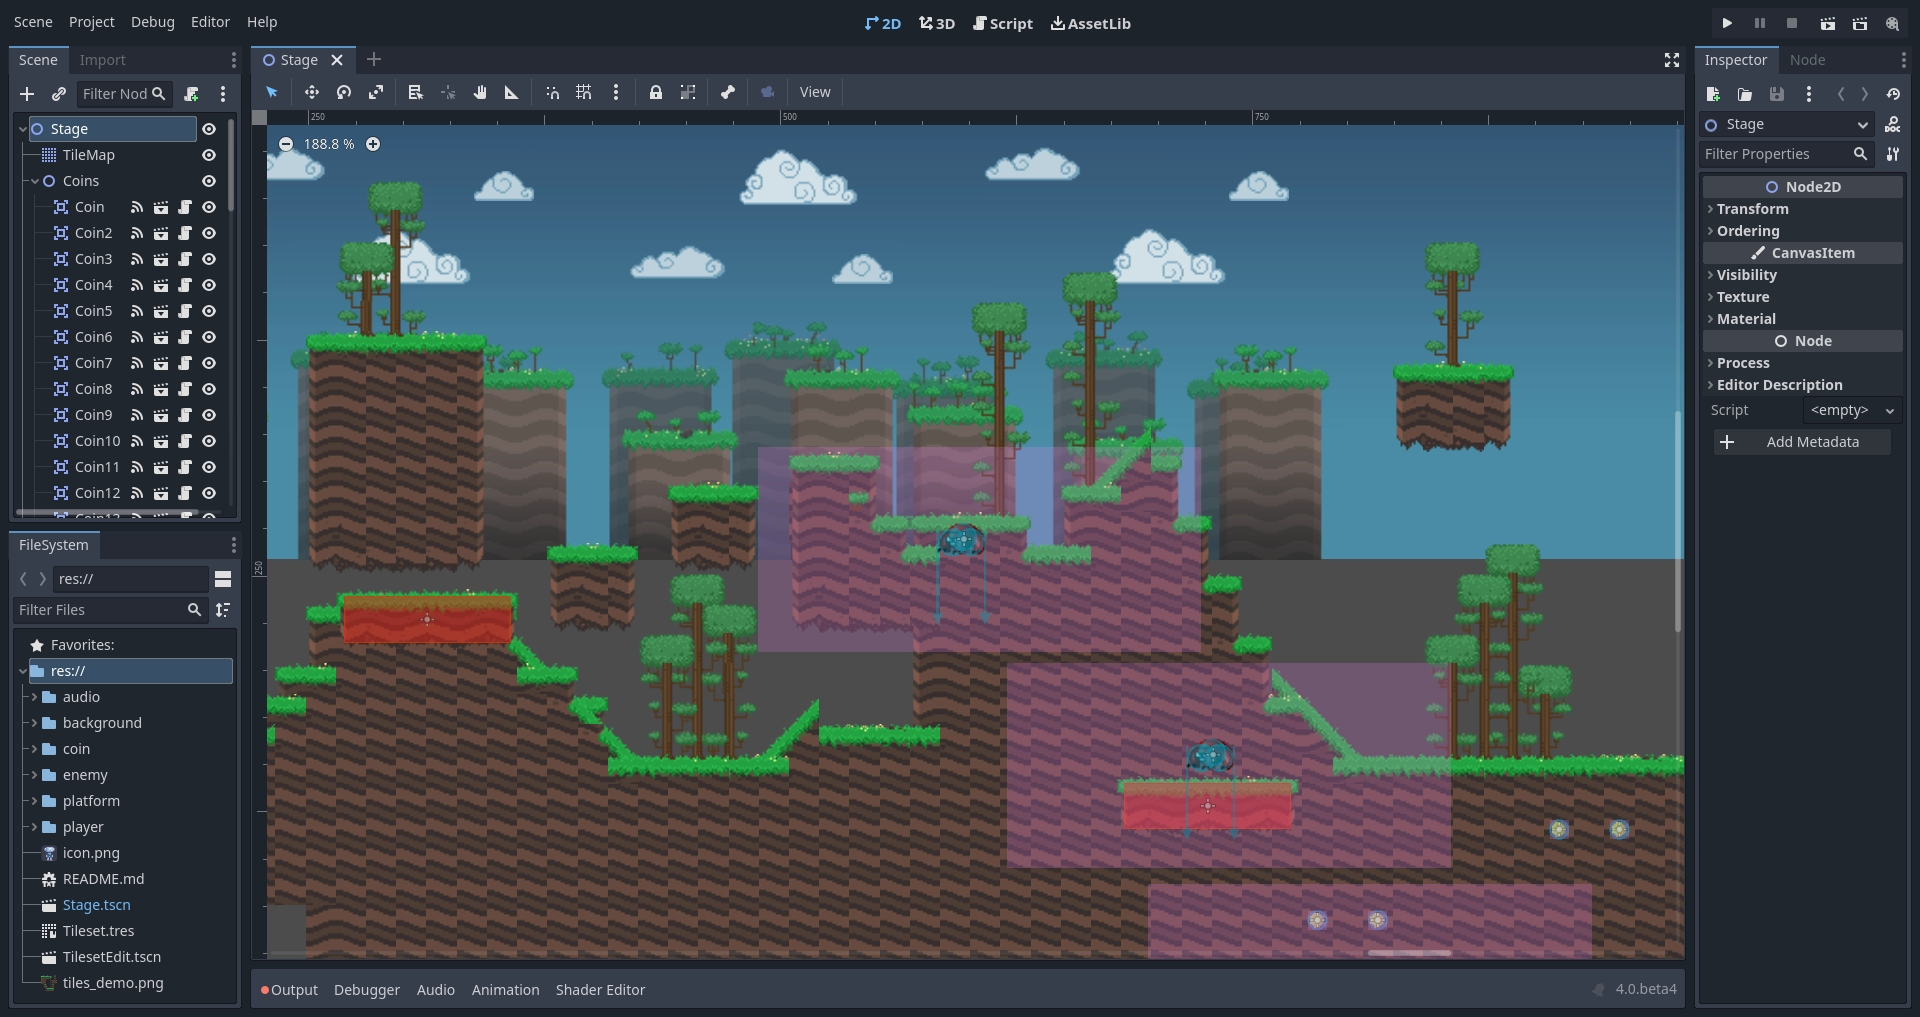
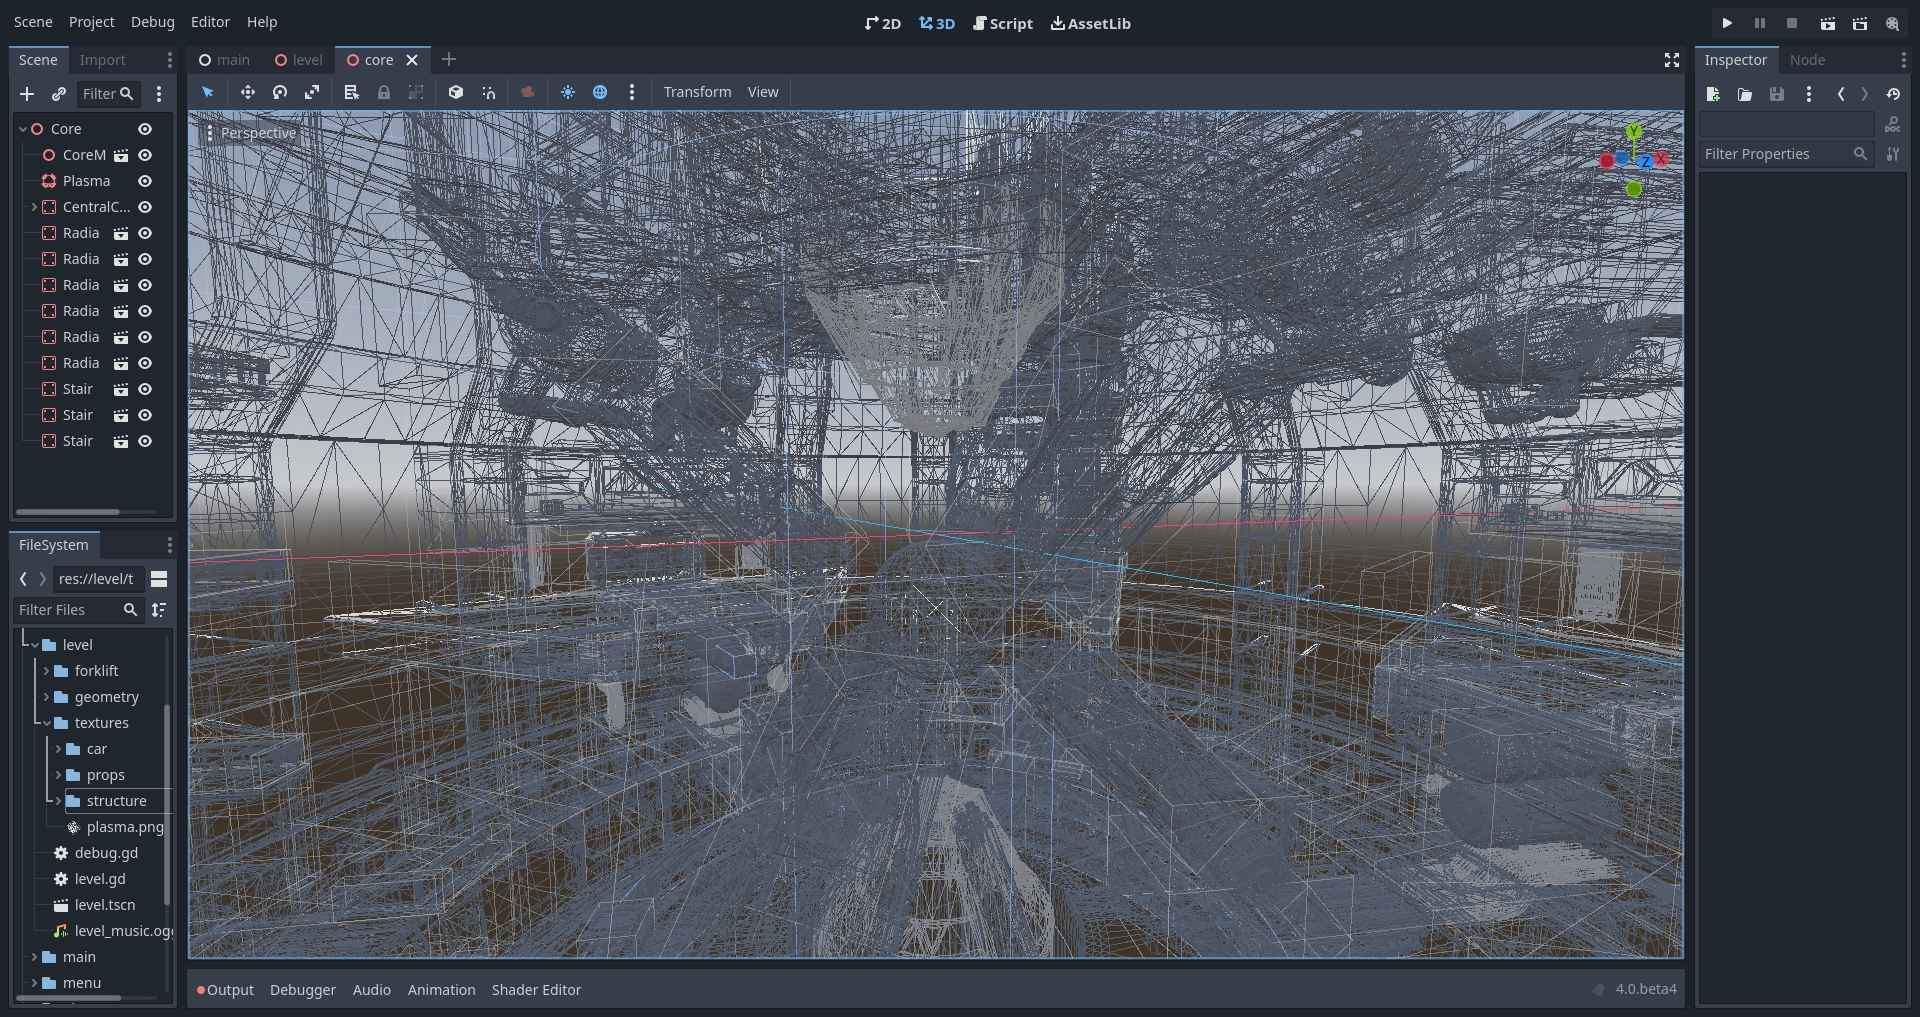
In the center, below the scene selector is the viewport with its toolbar at the top, where you'll find different tools to move, scale, or lock the scene's nodes (currently the 3D workspace is active):
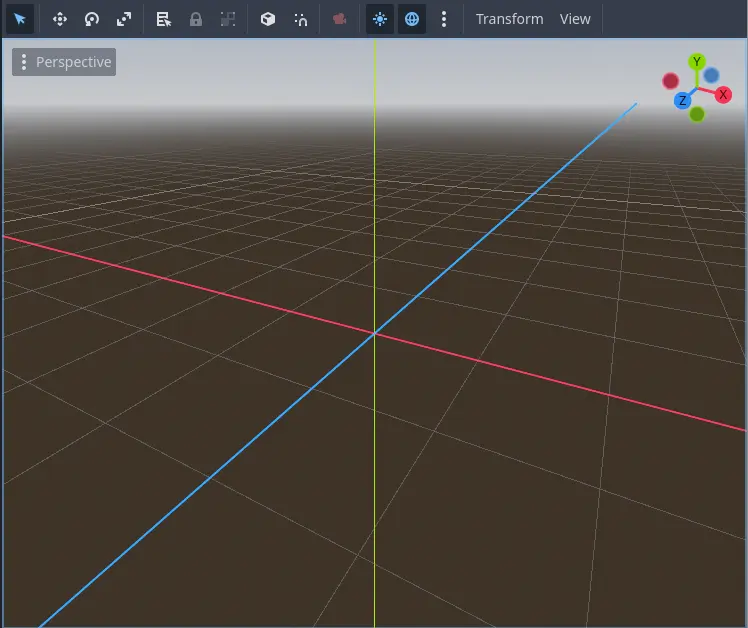
This toolbar changes based on the context and selected node. Here is the 2D toolbar:

Below is the 3D one:

Voir aussi
To learn more on workspaces, read Les quatre écrans principaux.
Voir aussi
To learn more on the 3D viewport and 3D in general, read Introduction à la 3D.
De chaque côté de la fenêtre se trouvent les docks. Et en bas de la fenêtre se trouve le panneau inférieur.
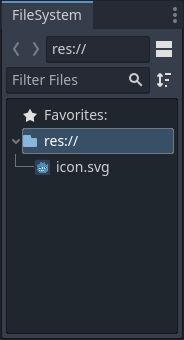
Let's look at the docks. The FileSystem dock lists your project files, including scripts, images, audio samples, and more:
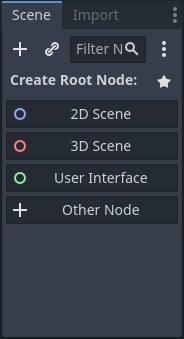
The Scene dock lists the active scene's nodes:
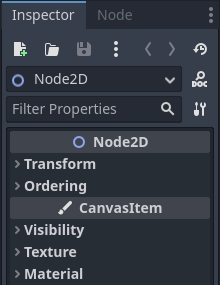
The Inspector allows you to edit the properties of a selected node:
Voir aussi
To read more on inspector, see L'inspecteur.
Voir aussi
Docks can be customized. Read more on Déplacer et redimensionner des docks.
The bottom panel, situated below the viewport, is the host for the debug console, the animation editor, the audio mixer, and more. They can take precious space, that's why they're folded by default:

When you click on one, it expands vertically. Below, you can see the animation editor opened:

Bottom panels can also be shown or hidden using the shortcuts defined in Editor Settings > Shortcuts, under the Bottom Panels category.
Les quatre écrans principaux
There are four main screen buttons centered at the top of the editor: 2D, 3D, Script, and Asset Library.
Vous utiliserez l'écran 2D pour tous les types de jeux. En plus des jeux en 2D, l'écran 2D est l'endroit où vous construirez vos interfaces.
Dans l'écran 3D, vous pouvez travailler avec des maillages, des lumières et concevoir des niveaux pour des jeux en 3D.
Note
Lisez Introduction à la 3D pour plus de détails sur l'écran principal 3D.
L'Écran Script est un éditeur de code complet avec un débogueur, une riche auto-complétion et une référence de code intégrée.

Finally, the Asset Library is a library of free and open source add-ons, scripts, and assets to use in your projects.
Voir aussi
Vous pouvez en savoir plus sur l'assetlib dans À propos de la bibliothèque d'Asset.
Référence de classe intégrée
Godot possède une classe de référence intégrée.
Vous pouvez rechercher des informations sur une classe, une méthode, une propriété, une constante ou un signal par l'une des méthodes suivantes :
Pressing F1 (or Opt + Space on macOS, or Fn + F1 for laptops with a Fn key) anywhere in the editor.
En cliquant sur le bouton "Rechercher dans l'aide" en haut à droite de l'écran principal Script.
Cliquer sur le menu Aide et Rechercher dans l'aide.
Ctrl + Click (Cmd + Click sur macOS) sur un nom de classe, un nom de fonction ou une variable intégrée dans l'éditeur de script.

Lorsque vous effectuez l'une de ces opérations, une fenêtre s'ouvre. Tapez pour rechercher n'importe quel élément. Vous pouvez également l'utiliser pour parcourir les objets et les méthodes disponibles.
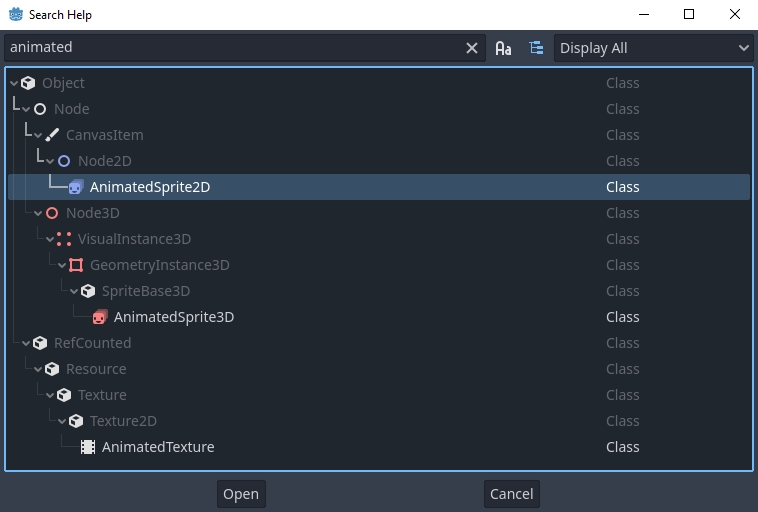
Double-cliquez sur un élément pour ouvrir la page correspondante dans l'écran principal Script.
Alternatively,
Clicking while pressing the Ctrl key on a class name, function name, or built-in variable in the script editor.
Right-clicking on nodes and choosing Open Documentation or choosing Lookup Symbol for elements in script editor will directly open their documentation.