Interpolazione
L'interpolazione è un'operazione comune nella programmazione grafica, utilizzata per fondere o passare tra due valori. L'interpolazione si può utilizzare anche per rendere più fluido un movimento, una rotazione, ecc. È utile familiarizzarsi con questa operazione per ampliare i propri orizzonti come sviluppatore di giochi.
L'idea di base è che si desidera passare da A a B. Il valore t rappresenta gli stati intermedi.
Ad esempio, se t è 0, allora lo stato è A. Se t è 1, allora lo stato è B. Qualsiasi valore intermedio è un'interpolazione.
Tra due numeri reali (in virgola mobile), un'interpolazione può essere descritta come:
interpolation = A * (1 - t) + B * t
E spesso semplificata in:
interpolation = A + (B - A) * t
Il nome di questo tipo di interpolazione, che trasforma un valore in un altro a una velocità costante, è "lineare". Quindi, quando si sente parlare di interpolazione lineare, ci si riferisce a questa formula.
Esistono altri tipi di interpolazioni, che non saranno trattati qui. Si consiglia di leggere successivamente la pagina Bezier.
Interpolazione vettoriale
Anche i tipi di vettori (Vector2 e Vector3) possono essere interpolati; e sono dotati di funzioni utili per farlo Vector2.lerp() e Vector3.lerp().
Per l'interpolazione cubica, ci sono anche Vector2.cubic_interpolate() e Vector3.cubic_interpolate(), che eseguono un'interpolazione di stile Bezier.
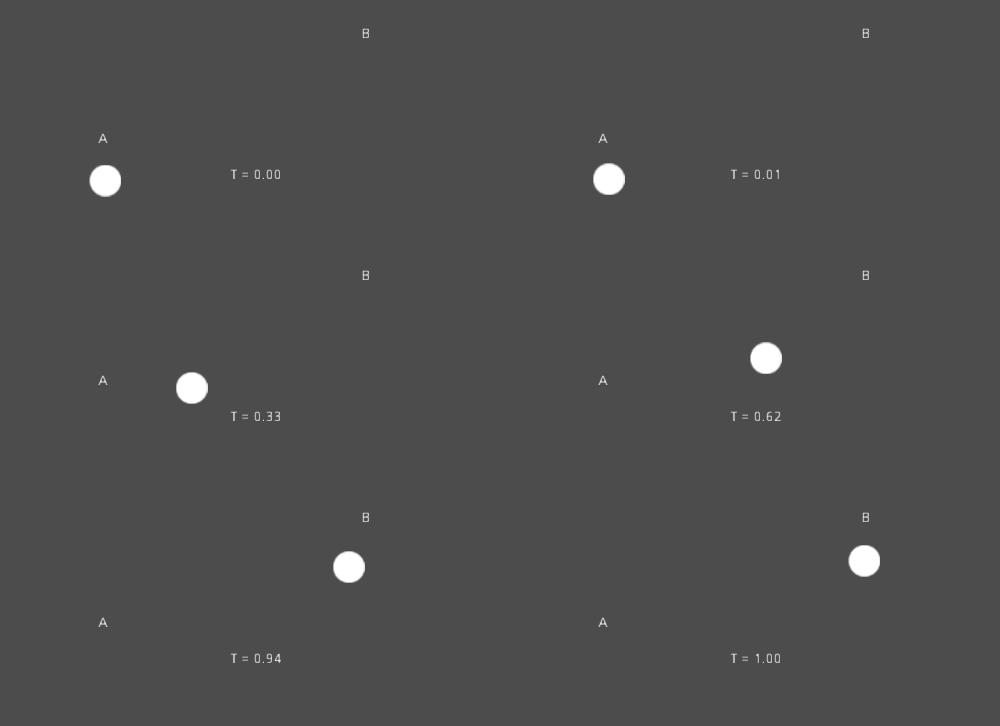
Ecco un esempio di pseudo-codice per passare dal punto A al punto B tramite l'interpolazione:
var t = 0.0

func _physics_process(delta):
    t += delta * 0.4

    $Sprite2D.position = $A.position.lerp($B.position, t)
private float _t = 0.0f;

public override void _PhysicsProcess(double delta)
{
    _t += (float)delta * 0.4f;

    Marker2D a = GetNode<Marker2D>("A");
    Marker2D b = GetNode<Marker2D>("B");
    Sprite2D sprite = GetNode<Sprite2D>("Sprite2D");

    sprite.Position = a.Position.Lerp(b.Position, _t);
}
Ciò produrrà il seguente movimento:
Interpolazione di trasformazioni
È anche possibile interpolare intere trasformazioni (assicurandosi che abbiano una scala uniforme o, almeno, la stessa scala non uniforme). Per fare ciò, si può utilizzare la funzione Transform3D.interpolate_with().
Ecco un esempio di trasformazione di una scimmia da Position1 a Position2:
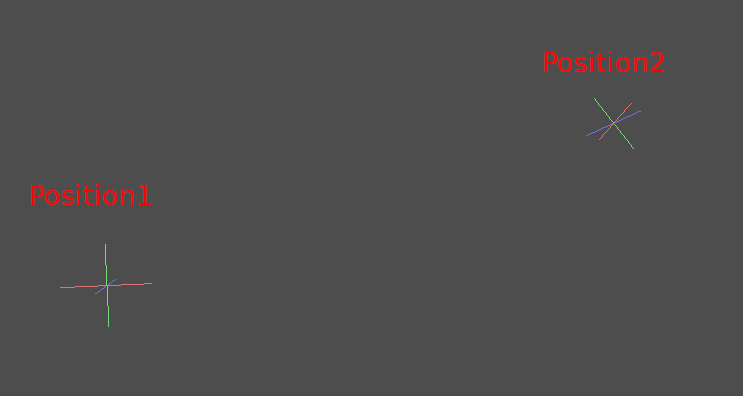
Utilizzando il seguente pseudo-codice:
var t = 0.0

func _physics_process(delta):
    t += delta

    $Monkey.transform = $Position1.transform.interpolate_with($Position2.transform, t)
private float _t = 0.0f;

public override void _PhysicsProcess(double delta)
{
    _t += (float)delta;

    Marker3D p1 = GetNode<Marker3D>("Position1");
    Marker3D p2 = GetNode<Marker3D>("Position2");
    CSGMesh3D monkey = GetNode<CSGMesh3D>("Monkey");

    monkey.Transform = p1.Transform.InterpolateWith(p2.Transform, _t);
}
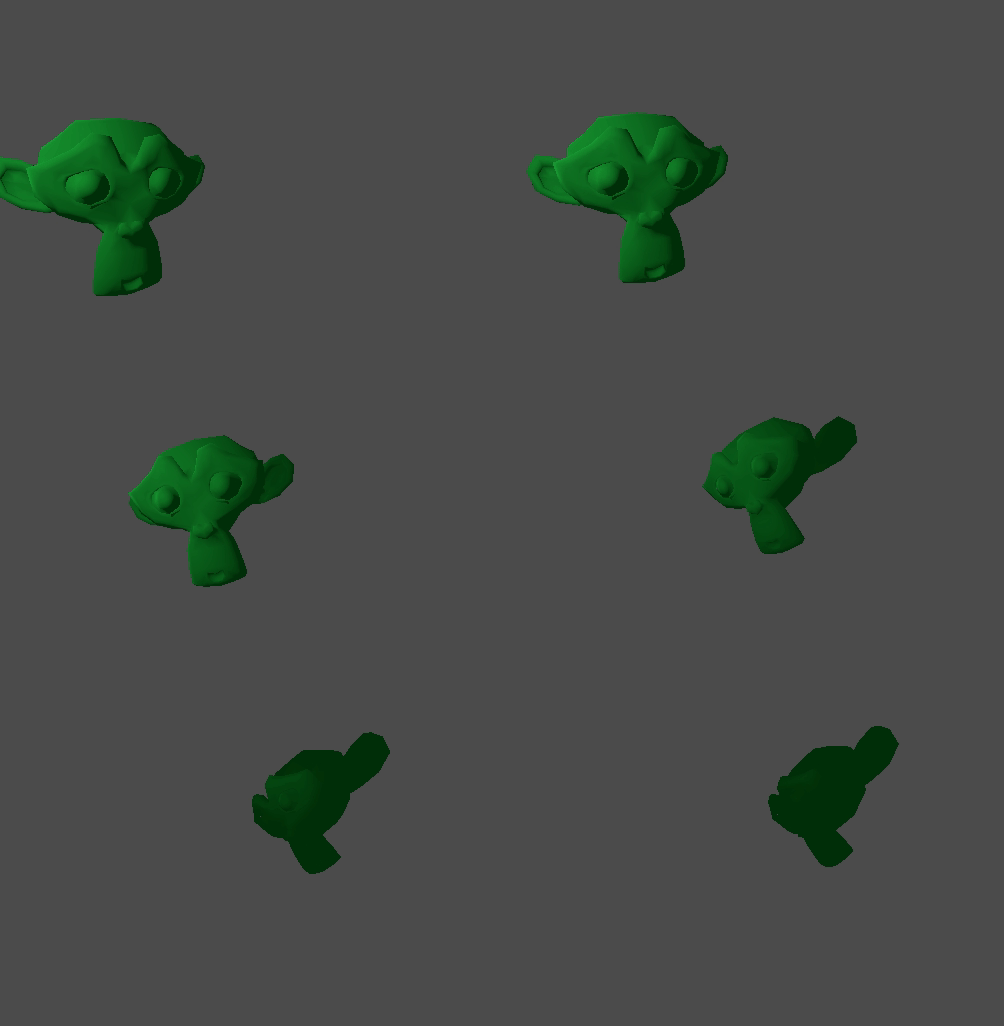
E di nuovo, produrrà il seguente movimento:
Smoothing motion
Interpolation can be used to smoothly follow a moving target value, such as a
position or a rotation. Each frame, lerp() moves the current value towards
the target value by a fixed percentage of the remaining difference between the values.
The current value will smoothly move towards the target, slowing down as it gets
closer. Here is an example of a circle following the mouse using interpolation smoothing:
const FOLLOW_SPEED = 4.0

func _physics_process(delta):
    var mouse_pos = get_local_mouse_position()

    $Sprite2D.position = $Sprite2D.position.lerp(mouse_pos, delta * FOLLOW_SPEED)
private const float FollowSpeed = 4.0f;

public override void _PhysicsProcess(double delta)
{
    Vector2 mousePos = GetLocalMousePosition();

    Sprite2D sprite = GetNode<Sprite2D>("Sprite2D");

    sprite.Position = sprite.Position.Lerp(mousePos, (float)delta * FollowSpeed);
}
Ecco come appare:

This is useful for smoothing camera movement, for allies following the player (ensuring they stay within a certain range), and for many other common game patterns.
Nota
Despite using delta, the formula used above is framerate-dependent, because
the weight parameter of lerp() represents a percentage of the remaining
difference in values, not an absolute amount to change. In _physics_process(),
this is usually fine because physics is expected to maintain a constant framerate,
and therefore delta is expected to remain constant.
For a framerate-independent version of interpolation smoothing that can also
be used in process(), use the following formula instead:
const FOLLOW_SPEED = 4.0

func _process(delta):
    var mouse_pos = get_local_mouse_position()
    var weight = 1 - exp(-FOLLOW_SPEED * delta)
    $Sprite2D.position = $Sprite2D.position.lerp(mouse_pos, weight)
private const float FollowSpeed = 4.0f;

public override void _Process(double delta)
{
    Vector2 mousePos = GetLocalMousePosition();

    Sprite2D sprite = GetNode<Sprite2D>("Sprite2D");
    float weight = 1f - Mathf.Exp(-FollowSpeed * (float)delta);
    sprite.Position = sprite.Position.Lerp(mousePos, weight);
}
Deriving this formula is beyond the scope of this page. For an explanation, see Improved Lerp Smoothing or watch Lerp smoothing is broken.