Sistema di documentazione per GDExtension
Nota
Adding documentation for GDExtensions is only possible for Godot 4.3 and later. The support can be integrated into your project
regardless because the snippet will check if you use the appropriate godot-cpp version.
If you set the compatibility_minimum to 4.2 and you load a project with the extension through a 4.2 editor, the
documentation page for that class will be empty. The extension itself will still work.
The GDExtension documentation system works in a similar manner to the built-in engine documentation. It uses a series of XML files (one per class) to document the exposed constructors, properties, methods, constants, signals, and theme items of each class.
Nota
We are assuming you are using the project files explained in the GDExtension C++ Example with the following structure:
gdextension_cpp_example/  # GDExtension directory
|
+--demo/                  # game example/demo to test the extension
|   |
|   +--main.tscn
|   |
|   +--bin/
|       |
|       +--gdexample.gdextension
|
+--godot-cpp/             # C++ bindings
|
+--src/                   # source code of the extension we are building
|   |
|   +--register_types.cpp
|   +--register_types.h
|   +--gdexample.cpp
|   +--gdexample.h
Inside the Godot demo project directory of your GDExtension directory, run the following terminal command:
# Replace "godot" with the full path to a Godot editor binary
# if Godot is not installed in your `PATH`.
godot --doctool ../ --gdextension-docs
This command calls upon the Godot editor binary to generate documentation via the --doctool
and --gdextension-docs commands. The ../ addition is to let Godot know where the GDExtension
SConstruct file is located. By calling this command, Godot generates a doc_classes directory inside the
project directory in which it generates XML files for the GDExtension classes. Those files
can then be edited to add information about member variables, methods, signals, and more.
To add the now edited documentation to the GDExtension and let the editor load it, you need to add the following lines to your SConstruct file:
if env["target"] in ["editor", "template_debug"]:
try:
    doc_data = env.GodotCPPDocData("src/gen/doc_data.gen.cpp", source=Glob("doc_classes/*.xml"))
    sources.append(doc_data)
except AttributeError:
    print("Not including class reference as we're targeting a pre-4.3 baseline.")
The if-statement checks if we are compiling the GDExtension library with the editor and template_debug
flags. SCons then tries to load all the XML files inside the doc_classes directory and appends them
to the sources variable which already includes all the source files of your extension. If it fails
it means we are currently trying to compile the library when the godot_cpp is set to a version before 4.3.
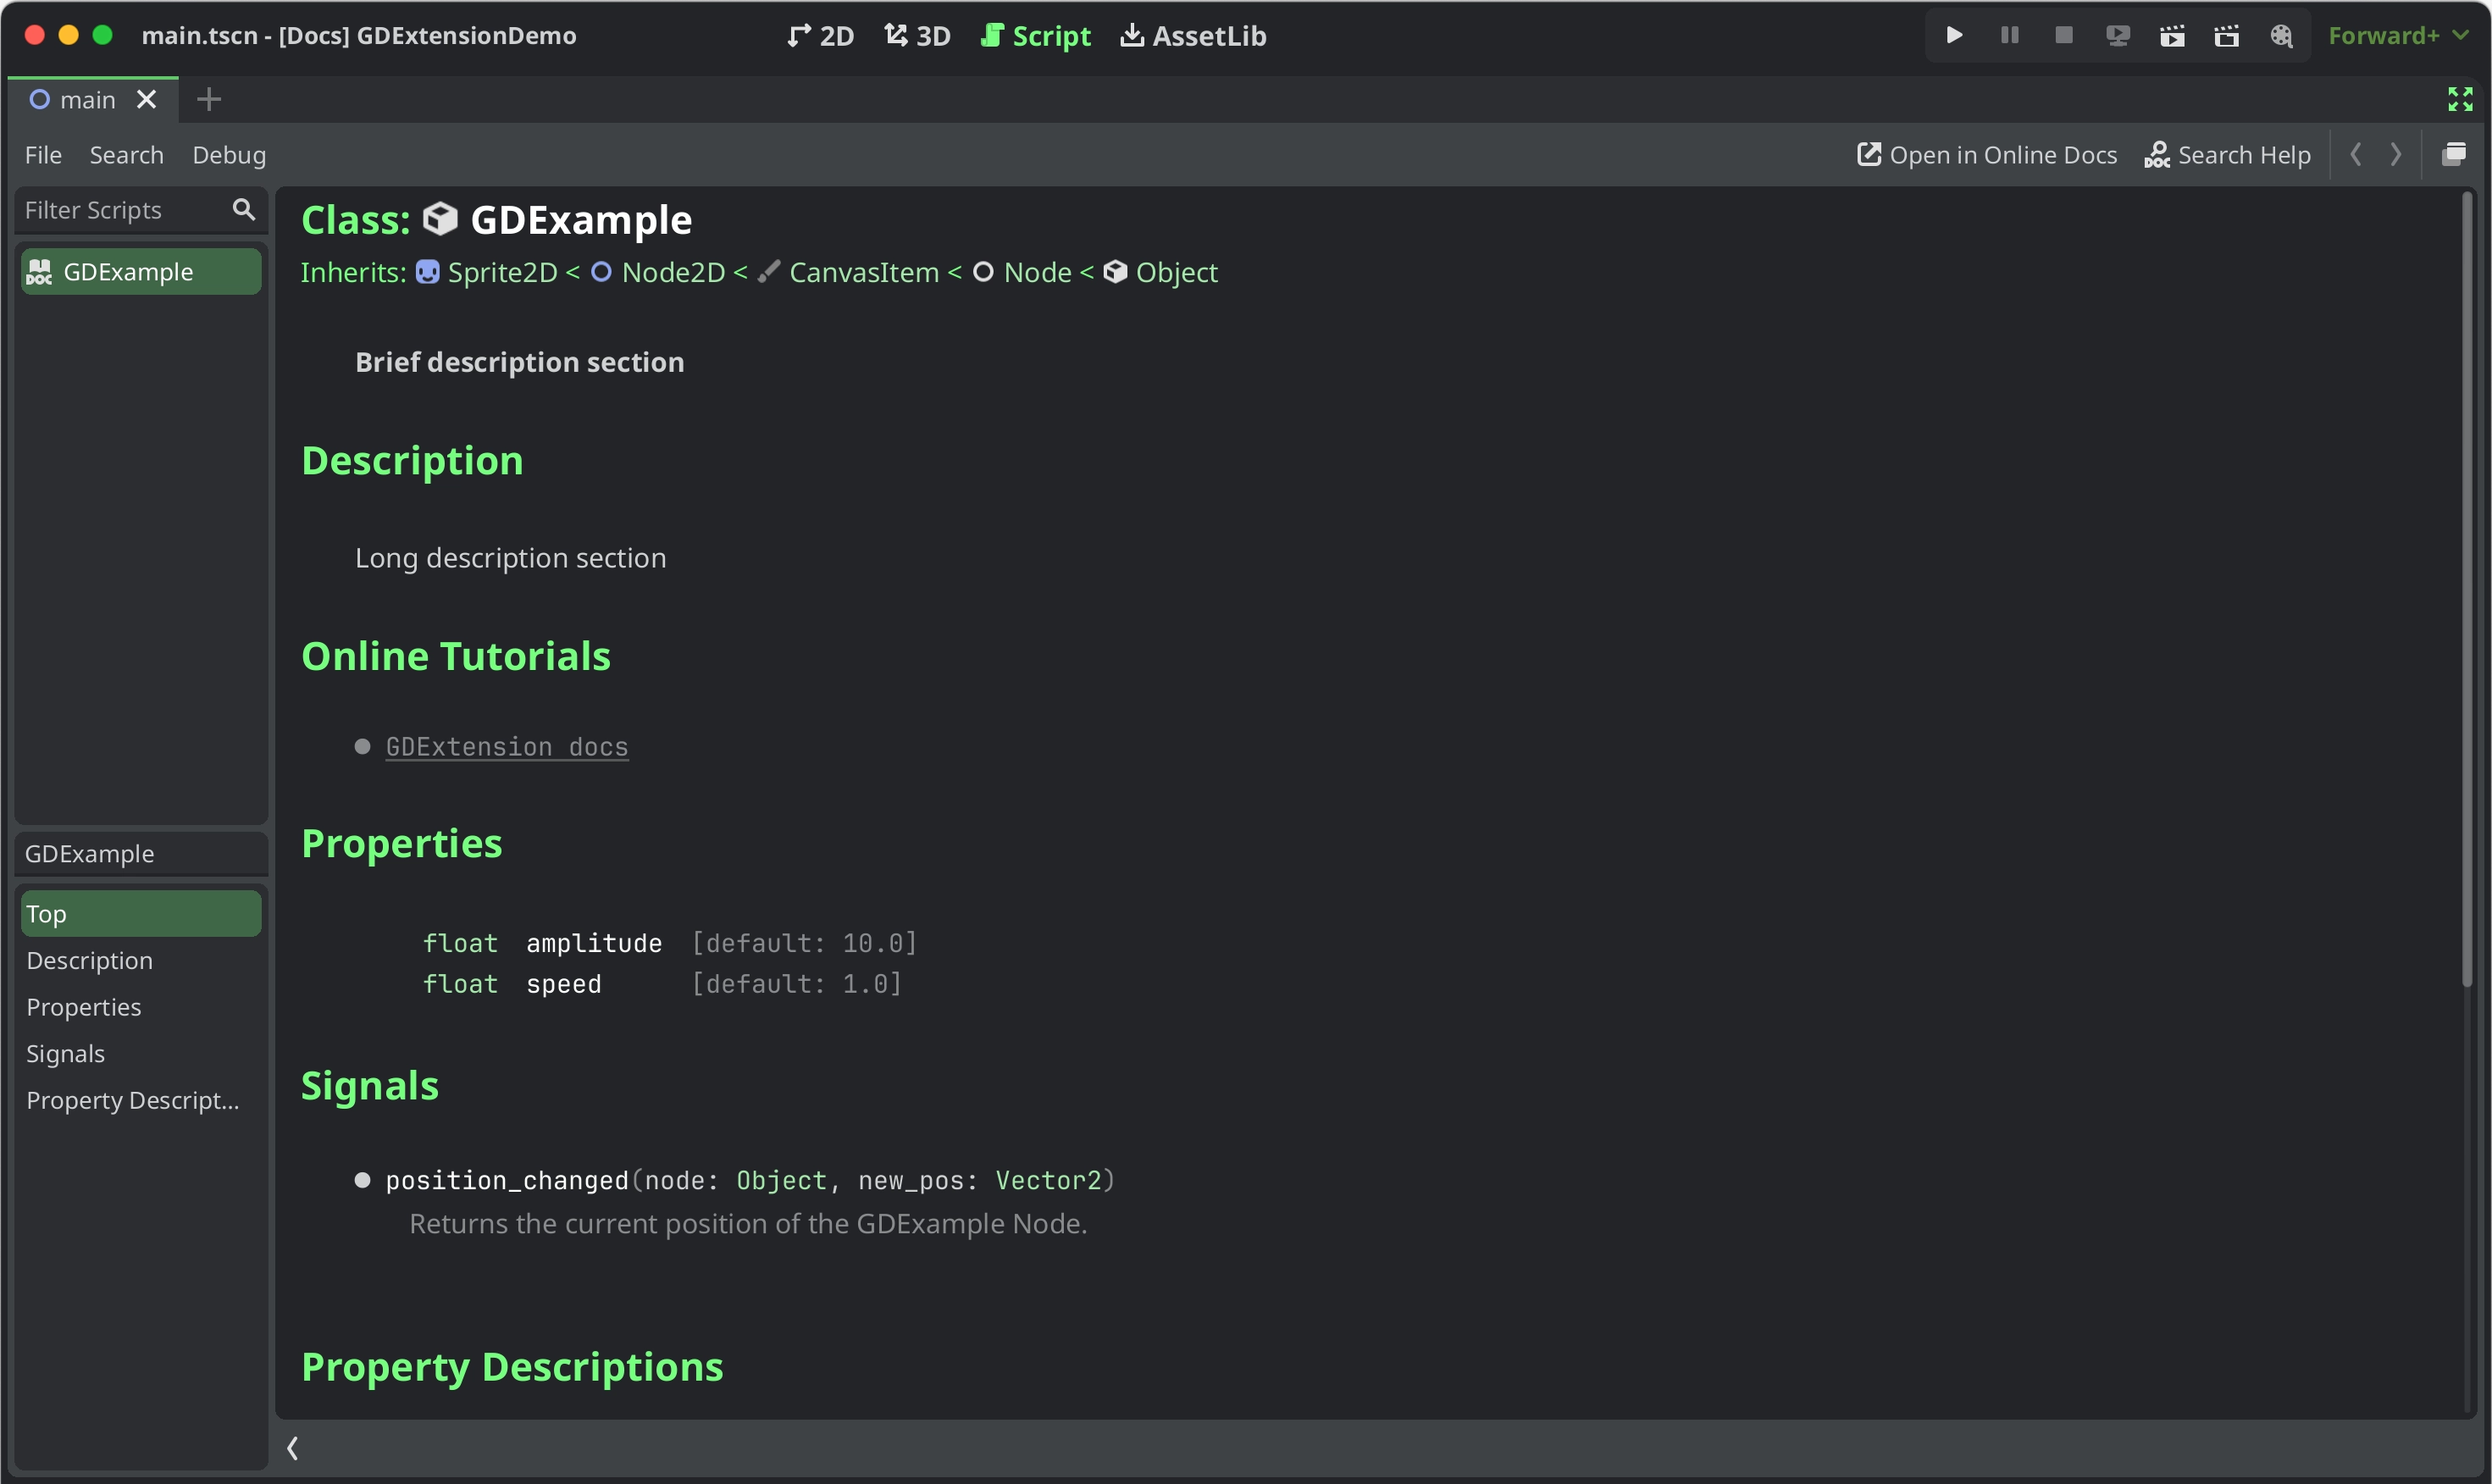
After loading the extension in a 4.3 Godot editor or later and open the documentation of your extension class either by Ctrl + Click in the script editor or the Editor help dialog you will see something like this:
Stilizzazione della documentazione
To style specific parts of text you can use BBCode tags similarly to how they can be used in RichTextLabels. You can set text as bold, italic, underlined, colored, codeblocks etc. by embedding them in tags like this:
[b]this text will be shown as bold[/b]
Attualmente i tag supportati per il sistema di documentazione GDExtension sono:
Tag |
Esempio |
b
Fa in modo che
{testo} utilizzi il font grassetto (o grassetto corsivo) di RichTextLabel. |
|
i
Fa in modo che
{testo} utilizzi il font corsivo (o grassetto corsivo) di RichTextLabel. |
|
u
Rende
{testo} sottolineato. |
|
s
Rende
{testo} barrato. |
|
kbd
Fa in modo che
{text} utilizzi uno sfondo grigio smussato, indicando una scorciatoia da tastiera. |
|
code
Fa in modo che
{text} in riga utilizzi il font monospazio e stilizza il colore del testo e lo sfondo come codice. |
|
codeblocks
Fa in modo che
{text} su più righe utilizzi il font monospazio e stilizza il colore del testo e lo sfondo come codice.L'aggiunta del tag
[gdscript] evidenzia la sintassi specifica a GDScript. |
[codeblocks][gdscript]{testo}[/gdscript][/codeblocks] |
center
Rende
{testo} centrato orizzontalmente.Uguale a
[p align=center]. |
|
url
Crea un collegamento ipertestuale (testo sottolineato e cliccabile). Può contenere
{testo} facoltativo o visualizzare {link} così com'è. |
[url]{link}[/url][url=<link>]{testo}[/url] |
img
Inserisce un'immagine dal
{percorso} (può essere qualsiasi risorsa Texture2D valida).Se la
{larghezza} è specificata, l'immagine cercherà di adattarsi a quella larghezza mantenendo le proporzioni.Se sia
{larghezza} sia {altezza} sono specificati, l'immagine sarà ridimensionata a tali dimensioni.Aggiungi
% alla fine del valore di {larghezza} o {altezza} per specificarlo come percentuale delle dimensioni del controllo anziché in pixel.Se una configurazione
{valign} è specificata, l'immagine tenterà di allinearsi al testo circostante, vedi Allineamento verticale di immagini e tabelle.Supporta le opzioni di configurazione, consulta Opzioni di immagine.
|
[img]{percorso}[/img][img=<larghezza>]{percorso}[/img][img=<larghezza>x<altezza>]{percorso}[/img][img={valign}]{percorso}[/img][img {opzioni}]{percorso}[/img] |
color
Cambia il colore di
{testo}. Il colore deve essere specificato con un nome comune (consulta Colori con nome) o in formato HEX (ad esempio #ff00ff, consulta Codici colori esadecimali). |
|
Pubblicazione della documentazione online
Potresti voler pubblicare un riferimento online per la tua GDExtension, simile a questo sito web. Il passaggio più importante è creare file reStructuredText (.rst) dal tuo riferimento classi in XML:
# You need a version.py file, so download it first.
curl -sSLO https://raw.githubusercontent.com/godotengine/godot/refs/heads/master/version.py

# Edit version.py according to your project before proceeding.
# Then, run the rst generator. You'll need to have Python installed for this command to work.
curl -sSL https://raw.githubusercontent.com/godotengine/godot/master/doc/tools/make_rst.py | python3 - -o "docs/classes" -l "en" doc_classes
Your .rst files will now be available in docs/classes/. From here, you can use
any documentation builder that supports reStructuredText syntax to create a website from them.
godot-docs uses Sphinx. You can use the repository as a basis to build your own documentation system. The following guide describes the basic steps, but they are not exhaustive: You will need a bit of personal insight to make it work.
Aggiungi godot-docs come sotto-modulo alla tua cartella
docs/.Copy over its
conf.py,index.rst,.readthedocs.yamlfiles into/docs/. You may later decide to copy over and edit more of godot-docs' files, like_templates/layout.html.Modify these files according to your project. This mostly involves adjusting paths to point to the
godot-docssubfolder, as well as strings to reflect it's your project rather than Godot you're building the docs for.Create an account on readthedocs.org. Import your project, and modify its base
.readthedocs.yamlfile path to/docs/.readthedocs.yaml.
Once you have completed all these steps, your documentation should be available at <repo-name>.readthedocs.io.