Il tuo secondo shader 3D
From a high-level, what Godot does is give the user a bunch of parameters that
can be optionally set (AO, SSS_Strength, RIM, etc.). These
parameters correspond to different complex effects (Ambient Occlusion,
SubSurface Scattering, Rim Lighting, etc.). When not written to, the code is
thrown out before it is compiled and so the shader does not incur the cost of
the extra feature. This makes it easy for users to have complex PBR-correct
shading, without writing complex shaders. Of course, Godot also allows you to
ignore all these parameters and write a fully customized shader.
For a full list of these parameters see the spatial shader reference doc.
A difference between the vertex function and a fragment function is that the
vertex function runs per vertex and sets properties such as VERTEX
(position) and NORMAL, while the fragment shader runs per pixel and, most
importantly, sets the ALBEDO color of the MeshInstance3D.
Your first spatial fragment function
Come accennato nella parte precedente di questo tutorial, l'uso standard della funzione "fragment" in Godot è quello di impostare diverse proprietà dei materiali e lasciare che Godot si occupi del resto. Per offrire ancora più flessibilità, Godot offre anche le cosiddette modalità di rendering. Le modalità di rendering si impostano in cima allo shader, direttamente sotto shader_type, e specificano il tipo di funzionalità che si desidera assegnare agli aspetti integrati dello shader.
Ad esempio, se non vuoi che le luci influenzino un oggetto, imposta la modalità di rendering su unshaded:
render_mode unshaded;
You can also stack multiple render modes together. For example, if you want to use toon shading instead of more-realistic PBR shading, set the diffuse mode and specular mode to toon:
render_mode diffuse_toon, specular_toon;
This model of built-in functionality allows you to write complex custom shaders by changing only a few parameters.
For a full list of render modes see the Spatial shader reference.
In this part of the tutorial, we will walk through how to take the bumpy terrain from the previous part and turn it into an ocean.
First let's set the color of the water. We do that by setting ALBEDO.
ALBEDO is a vec3 that contains the color of the object.
Let's set it to a nice shade of blue.
void fragment() {
  ALBEDO = vec3(0.1, 0.3, 0.5);
}
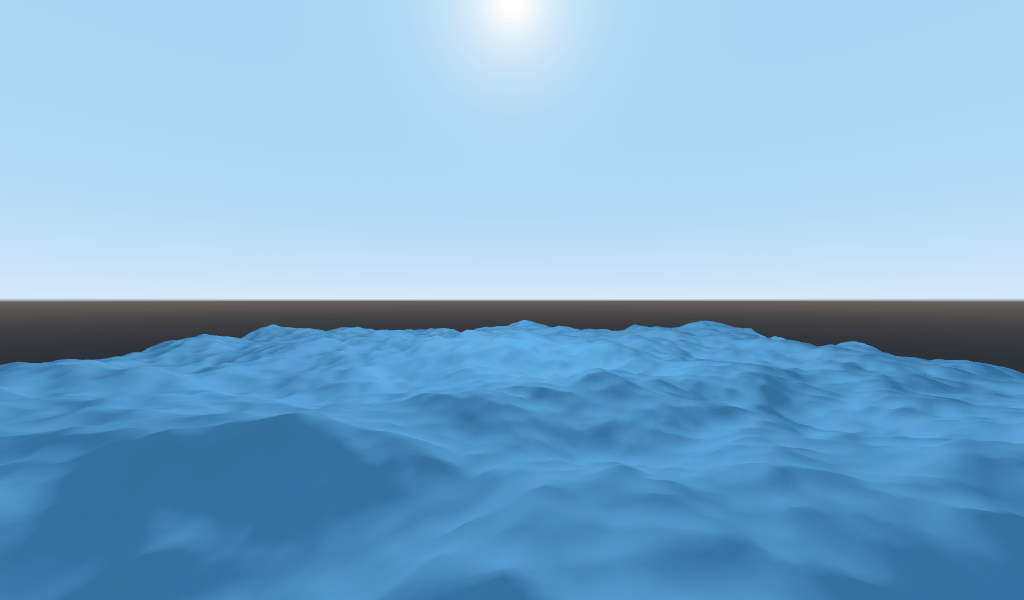
We set it to a very dark shade of blue because most of the blueness of the water will come from reflections from the sky.
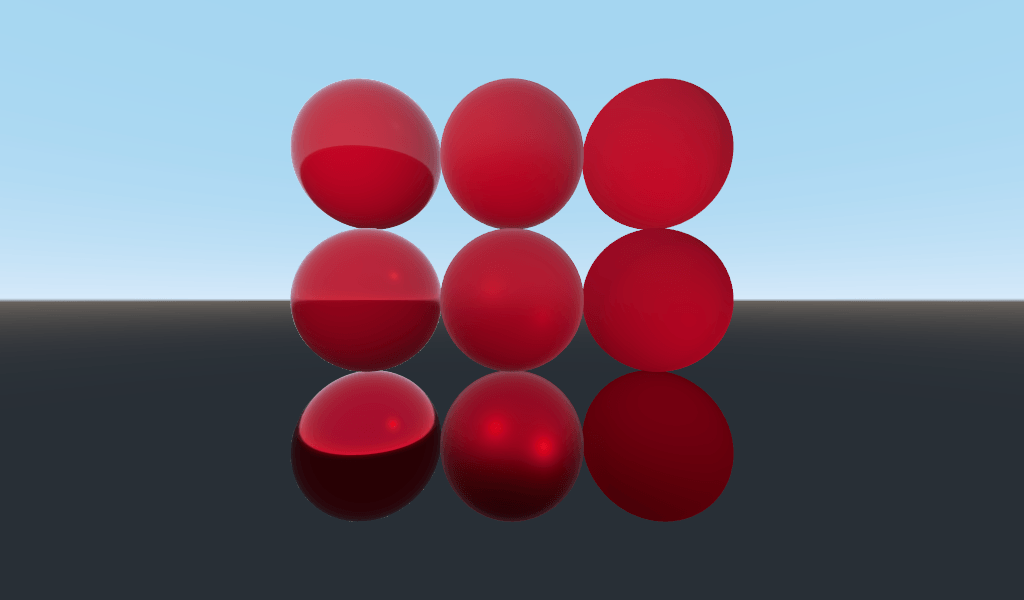
The PBR model that Godot uses relies on two main parameters: METALLIC and
ROUGHNESS.
ROUGHNESS specifies how smooth/rough the surface of a material is. A low
ROUGHNESS will make a material appear like a shiny plastic, while a high
roughness makes the material appear more solid in color.
METALLIC specifies how much like a metal the object is. It is better set
close to 0 or 1. Think of METALLIC as changing the balance between
the reflection and the ALBEDO color. A high METALLIC almost ignores
ALBEDO altogether, and looks like a mirror of the sky. While a low
METALLIC has a more equal representation of sky color and ALBEDO color.
ROUGHNESS increases from 0 to 1 from left to right while
METALLIC increase from 0 to 1 from top to bottom.
Nota
METALLIC should be close to 0 or 1 for proper PBR shading.
Only set it between them for blending between materials.
Water is not a metal, so we will set its METALLIC property to 0.0. Water
is also highly reflective, so we will set its ROUGHNESS property to be quite
low as well.
void fragment() {
  METALLIC = 0.0;
  ROUGHNESS = 0.01;
  ALBEDO = vec3(0.1, 0.3, 0.5);
}
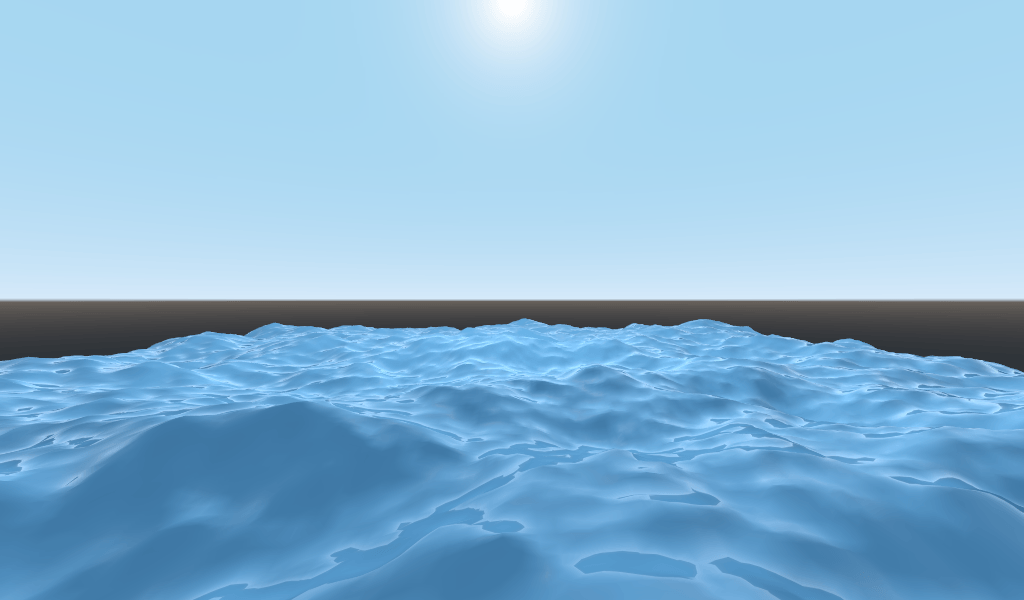
Now we have a smooth plastic looking surface. It is time to think about some particular properties of water that we want to emulate. There are two main ones that will take this from a weird plastic surface to nice stylized water. The first is specular reflections. Specular reflections are those bright spots you see from where the sun reflects directly into your eye. The second is fresnel reflectance. Fresnel reflectance is the property of objects to become more reflective at shallow angles. It is the reason why you can see into water below you, but farther away it reflects the sky.
Per aumentare i riflessi speculari, faremo due cose. Innanzitutto, cambieremo la modalità di rendering da speculare a toon, perché la modalità di rendering toon ha riflessi speculari più larghi.
render_mode specular_toon;
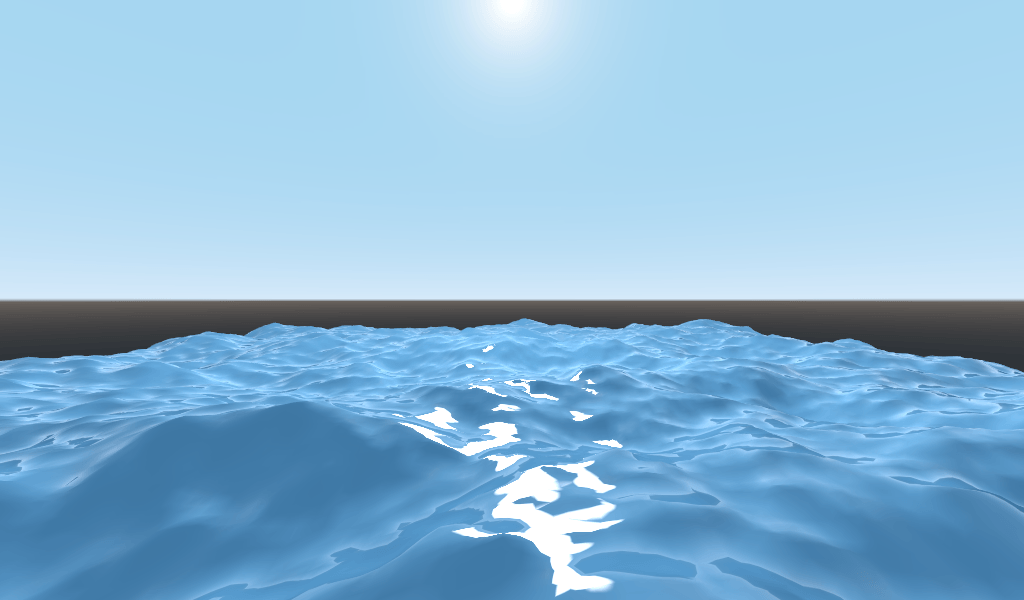
Second we will add rim lighting. Rim lighting increases the effect of light at glancing angles. Usually it is used to emulate the way light passes through fabric on the edges of an object, but we will use it here to help achieve a nice watery effect.
void fragment() {
  RIM = 0.2;
  METALLIC = 0.0;
  ROUGHNESS = 0.01;
  ALBEDO = vec3(0.1, 0.3, 0.5);
}
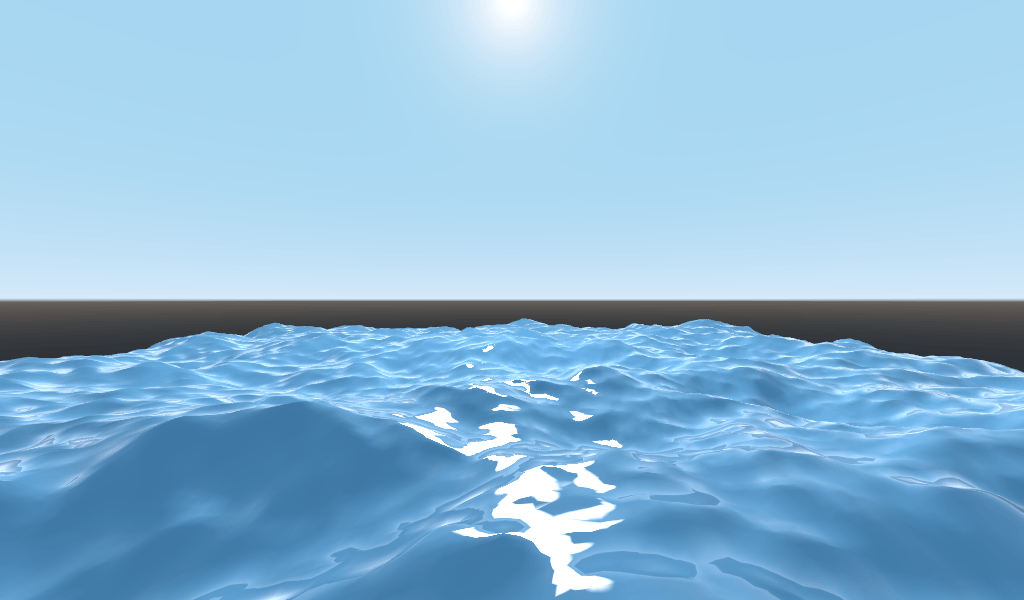
In order to add fresnel reflectance, we will compute a fresnel term in our
fragment shader. Here, we aren't going to use a real fresnel term for
performance reasons. Instead, we'll approximate it using the dot product of the
NORMAL and VIEW vectors. The NORMAL vector points away from the
mesh's surface, while the VIEW vector is the direction between your eye and
that point on the surface. The dot product between them is a handy way to tell
when you are looking at the surface head-on or at a glancing angle.
float fresnel = sqrt(1.0 - dot(NORMAL, VIEW));
And mix it into both ROUGHNESS and ALBEDO. This is the benefit of
ShaderMaterials over StandardMaterial3Ds. With StandardMaterial3D, we could set
these properties with a texture, or to a flat number. But with shaders we can
set them based on any mathematical function that we can dream up.
void fragment() {
  float fresnel = sqrt(1.0 - dot(NORMAL, VIEW));
  RIM = 0.2;
  METALLIC = 0.0;
  ROUGHNESS = 0.01 * (1.0 - fresnel);
  ALBEDO = vec3(0.1, 0.3, 0.5) + (0.1 * fresnel);
}
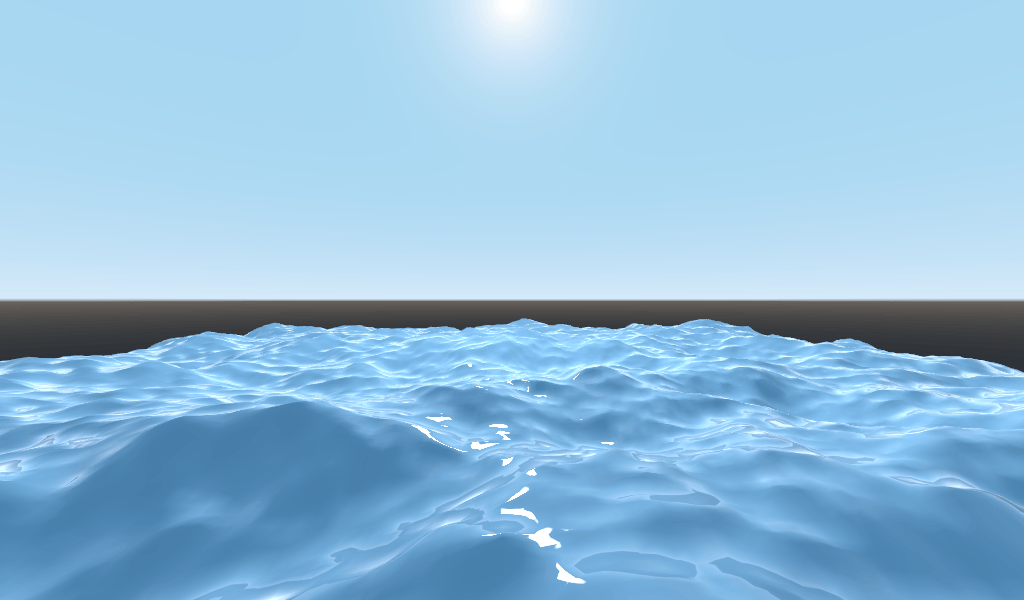
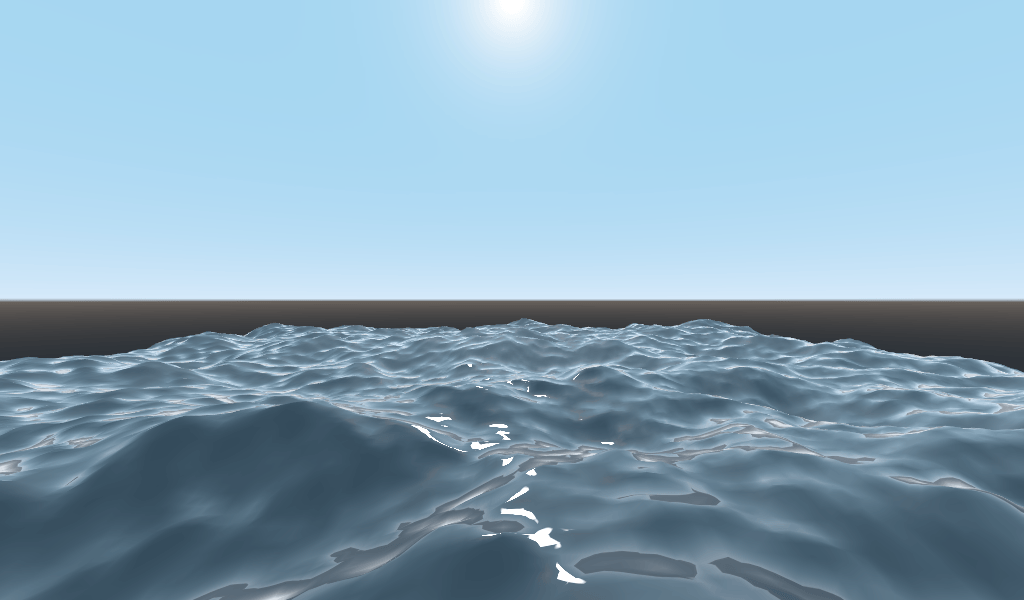
E ora, con solamente 5 righe di codice, puoi ottenere un'acqua dall'aspetto complesso. Ora che abbiamo l'illuminazione, quest'acqua sembra troppo chiara. Oscuriamola. Questo si fa facilmente diminuendo i valori di vec3 che passiamo in ALBEDO. Impostiamoli a vec3(0.01, 0.03, 0.05).
Animare con TIME
Tornando alla funzione vertex, possiamo animare le onde utilizzando la variabile integrata TIME.
TIME è una variabile integrata che è accessibile dalle funzioni vertex e fragment.
Nell'ultimo tutorial abbiamo calcolato l'altezza leggendola da una heightmap. In questo tutorial faremo lo stesso. Inserisci il codice della heightmap in una funzione chiamata height().
float height(vec2 position) {
  return texture(noise, position / 10.0).x; // Scaling factor is based on mesh size (this PlaneMesh is 10×10).
}
Per poter utilizzare TIME nella funzione height(), dobbiamo passarlo.
float height(vec2 position, float time) {
}
E assicurati di passarlo correttamente dentro la funzione vertex.
void vertex() {
  vec2 pos = VERTEX.xz;
  float k = height(pos, TIME);
  VERTEX.y = k;
}
Invece di usare una mappa normale per calcolare le normali, le calcoleremo manualmente nella funzione vertex(). Per farlo, utilizza la seguente riga di codice.
NORMAL = normalize(vec3(k - height(pos + vec2(0.1, 0.0), TIME), 0.1, k - height(pos + vec2(0.0, 0.1), TIME)));
Dobbiamo calcolare NORMAL manualmente perché nella prossima sezione useremo la matematica per creare onde dall'aspetto complesso.
Adesso renderemo la funzione height() un po' più complicata, compensando position con il coseno di TIME.
float height(vec2 position, float time) {
  vec2 offset = 0.01 * cos(position + time);
  return texture(noise, (position / 10.0) - offset).x;
}
Questo risulta in onde che si muovono lentamente, ma non in modo molto naturale. La prossima sezione approfondirà l'uso degli shader per creare effetti più complessi, in questo caso onde realistiche, aggiungendo qualche funzione matematica in più.
Effetti avanzati: onde
What makes shaders so powerful is that you can achieve complex effects by using
math. To illustrate this, we are going to take our waves to the next level by
modifying the height() function and by introducing a new function called
wave().
wave() ha un solo parametro, position, che è lo stesso che è in height().
Chiameremo wave() più volte in height() per simulare l'aspetto delle onde.
float wave(vec2 position){
  position += texture(noise, position / 10.0).x * 2.0 - 1.0;
  vec2 wv = 1.0 - abs(sin(position));
  return pow(1.0 - pow(wv.x * wv.y, 0.65), 4.0);
}
Sembra complicato a prima vista. Pertanto, analizziamolo riga per riga.
position += texture(noise, position / 10.0).x * 2.0 - 1.0;
Compensa la posizione con la texture noise. Questo curverà le onde, affinché non siano linee rette completamente allineate con la griglia.
vec2 wv = 1.0 - abs(sin(position));
Define a wave-like function using sin() and position. Normally sin()
waves are very round. We use abs() to absolute to give them a sharp ridge
and constrain them to the 0-1 range. And then we subtract it from 1.0 to put
the peak on top.
return pow(1.0 - pow(wv.x * wv.y, 0.65), 4.0);
Moltiplica l'onda direzionale x per l'onda direzionale y ed elevalo a una potenza per accentuare i picchi. Quindi sottrai questo risultato da 1.0 in modo che le creste diventino picchi e elevalo a una potenza per accentuare i picchi.
Ora possiamo sostituire il contenuto della nostra funzione height() con wave().
float height(vec2 position, float time) {
  float h = wave(position);
  return h;
}
Utilizzando questo, ottieni:
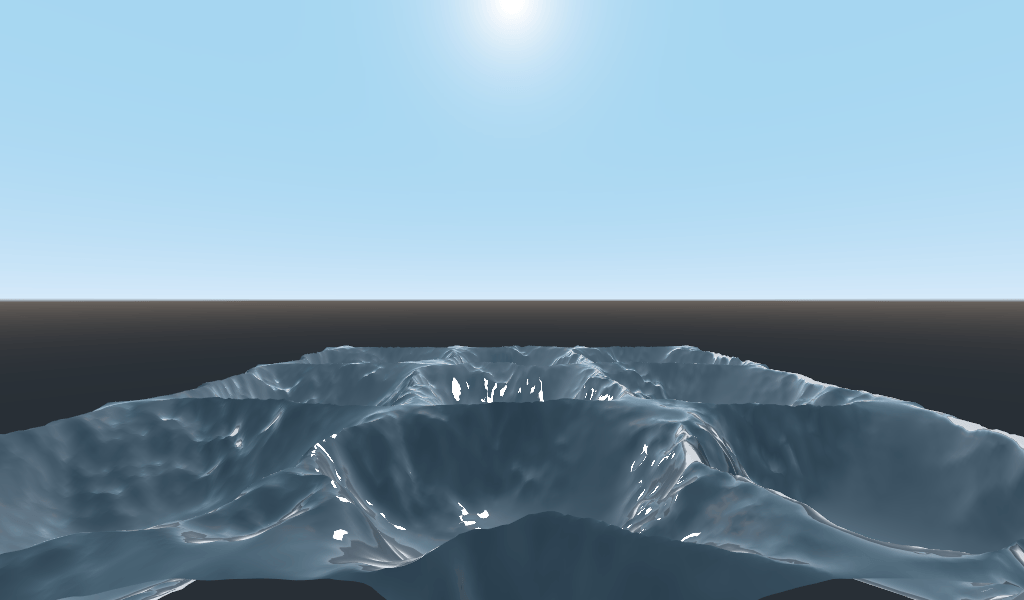
La forma dell'onda sinusoidale è troppo evidente. Quindi, distribuiamo un po' le onde. Lo facciamo ridimensionando position.
float height(vec2 position, float time) {
  float h = wave(position * 0.4);
  return h;
}
Now it looks much better.
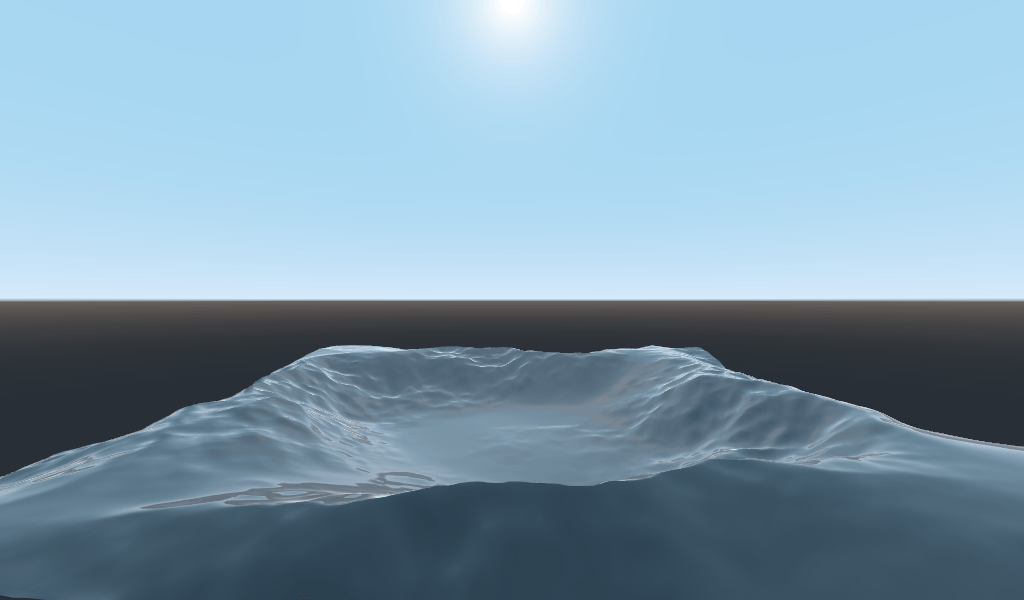
Possiamo fare ancora meglio se sovrapponiamo più onde una sopra l'altra a frequenze e ampiezze diverse. Ciò significa che ridimensioneremo la posizione di ciascuna per renderle più sottili o più larghe (frequenza). E moltiplicheremo l'output dell'onda per renderle più corte o più alte (ampiezza).
Ecco un esempio di come potresti sovrapporre le quattro onde per ottenere onde più gradevoli.
float height(vec2 position, float time) {
  float d = wave((position + time) * 0.4) * 0.3;
  d += wave((position - time) * 0.3) * 0.3;
  d += wave((position + time) * 0.5) * 0.2;
  d += wave((position - time) * 0.6) * 0.2;
  return d;
}
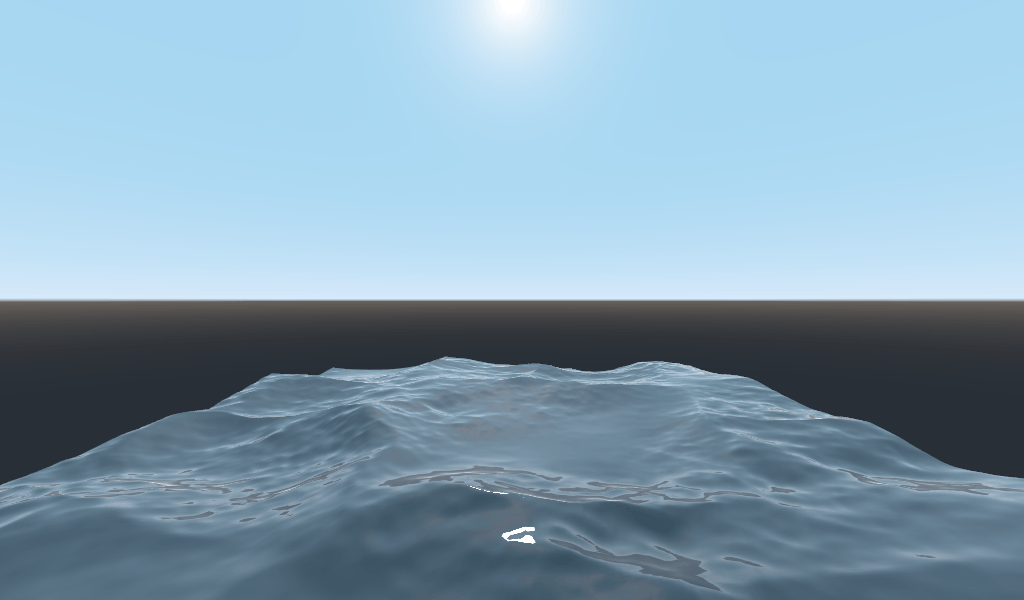
Noda che sommiamo il tempo a due e lo sottraiamo dalle altre due. Questo fa in modo che le onde si muovano in direzioni diverse, creando un effetto complesso. Nota inoltre che le ampiezze (il numero per cui è moltiplicato il risultato) sommate danno tutte 1.0. Questo mantiene l'onda nell'intervallo 0-1.
With this code you should end up with more complex looking waves and all you had to do was add a bit of math!
For more information about Spatial shaders read the Shading Language doc and the Spatial Shaders doc. Also look at more advanced tutorials in the Shading section and the 3D sections.