Android用のコンパイル
参考
This page describes how to compile Android export template binaries from source. If you're looking to export your project to Android instead, read Android用にエクスポート.
注意
たいていの場合、デプロイヤーとエクスポートテンプレートはビルトインのもので十分です。Android APKを手動でコンパイルするのは、デプロイヤーのためにカスタムビルドやカスタムパッケージを用意する場合がほとんどです。
また、カスタムのエクスポート テンプレートを作成するときでも、チュートリアルAndroid用にエクスポートのステップを追う必要があります。
必要条件
Windows、Linux、またはmacOSでコンパイルするには、次のことが必要です:
SCons 4.0+ build system.
Android SDK (コマンドライン ツールで十分です)。
Required SDK components will be automatically installed.
On Linux, do not use an Android SDK provided by your distribution's repositories as it will often be outdated.
On macOS, do not use an Android SDK provided by Homebrew as it will not be installed in a unified location.
Gradle(欠落している場合は自動的にダウンロードされ、インストールされます)。
JDK 17 (either OpenJDK or Oracle JDK).
You can download a build from Adoptium.
参考
To get the Godot source code for compiling, see ソースの取得.
Godotにおける基本的なSconsの使い方については、ビルドシステムの説明を参照してください。
ビルドシステムのセットアップ
Set the environment variable
ANDROID_HOMEto point to the Android SDK. If you downloaded the Android command-line tools, this would be the folder where you extracted the contents of the ZIP archive.Windows: Press Windows + R, type "control system", then click on Advanced system settings in the left pane, then click on Environment variables on the window that appears.
Linux or macOS: Add the text
export ANDROID_HOME="/path/to/android-sdk"to your.bashrcor.zshrcwhere/path/to/android-sdkpoints to the root of the SDK directories.
Install the necessary SDK components in this folder:
Accept the SDK component licenses by running the following command where
android_sdk_pathis the path to the Android SDK, then answering all the prompts withy:
cmdline-tools/latest/bin/sdkmanager --sdk_root=<android_sdk_path> --licenses
Complete setup by running the following command where
android_sdk_pathis the path to the Android SDK.
cmdline-tools/latest/bin/sdkmanager --sdk_root=<android_sdk_path> "platform-tools" "build-tools;34.0.0" "platforms;android-34" "cmdline-tools;latest" "cmake;3.10.2.4988404" "ndk;23.2.8568313"
After setting up the SDK and environment variables, be sure to restart your terminal to apply the changes. If you are using an IDE with an integrated terminal, you need to restart the IDE.
Run
scons platform=android. If this fails, go back and check the steps. If you completed the setup correctly, the NDK will begin downloading. If you are trying to compile GDExtension, you need to first compile the engine to download the NDK, then you can compile GDExtension.
エクスポートテンプレートのビルド
Godot needs three export templates for Android: the optimized "release"
template (android_release.apk), the debug template (android_debug.apk),
and the Gradle build template (android_source.zip).
As Google requires all APKs to include ARMv8 (64-bit) libraries since August 2019,
the commands below build templates containing both ARMv7 and ARMv8 libraries.
Compiling the standard export templates is done by calling SCons from the Godot root directory with the following arguments:
リリーステンプレート(Debugging Enabled をオフにしてエクスポートするときに使用)
scons platform=android target=template_release arch=arm32
scons platform=android target=template_release arch=arm64 generate_apk=yes
デバッグテンプレート(Debugging Enabled をオンにしてエクスポートするときに使用)
scons platform=android target=template_debug arch=arm32
scons platform=android target=template_debug arch=arm64 generate_apk=yes
(Optional) Dev template (used when troubleshooting)
scons platform=android target=template_debug arch=arm32 dev_build=yes
scons platform=android target=template_debug arch=arm64 dev_build=yes generate_apk=yes
The resulting templates will be located under the bin directory:
bin/android_release.apkfor the release templatebin/android_debug.apkfor the debug templatebin/android_dev.apkfor the dev templatebin/android_source.zipfor the Gradle build template
注釈
If you are changing the list of architectures you're building, remember to add
generate_apk=yesto the last architecture you're building, so that the template files are generated after the build.To include debug symbols in the generated templates, add the
debug_symbols=yesparameter to the SCons command.
参考
If you want to enable Vulkan validation layers, see Vulkan validation layers on Android.
x86デバイスのサポートの追加
If you also want to include support for x86 and x86_64 devices, run the SCons
command a third and fourth time with the arch=x86_32, and
arch=x86_64 arguments before building the APK with Gradle. For
example, for the release template:
scons platform=android target=template_release arch=arm32
scons platform=android target=template_release arch=arm64
scons platform=android target=template_release arch=x86_32
scons platform=android target=template_release arch=x86_64 generate_apk=yes
This will create template binaries that works on all platforms. The final binary size of exported projects will depend on the platforms you choose to support when exporting; in other words, unused platforms will be removed from the binary.
エクスポートテンプレートのクリーニング
次のコマンドを使用して、生成されたエクスポートテンプレートを削除できます:
cd platform/android/java
# On Windows
.\gradlew clean
# On Linux and macOS
./gradlew clean
エクスポートテンプレートの使用
Godot needs release and debug binaries that were compiled against the same version/commit as the editor. If you are using official binaries for the editor, make sure to install the matching export templates, or build your own from the same version.
When exporting your game, Godot uses the templates as a base, and updates their content as needed.
テンプレートのインストール
The newly-compiled templates (android_debug.apk
, android_release.apk, and android_source.zip) must be copied to Godot's templates folder
with their respective names. The templates folder can be located in:
Windows:
%APPDATA%\Godot\export_templates\<version>\Linux:
$HOME/.local/share/godot/export_templates/<version>/macOS:
$HOME/Library/Application Support/Godot/export_templates/<version>/
<version> is of the form major.minor[.patch].status using values from
version.py in your Godot source repository (e.g. 4.1.3.stable or 4.2.dev).
You also need to write this same version string to a version.txt file located
next to your export templates.
However, if you are writing your custom modules or custom C++ code, you might instead want to configure your template binaries as custom export templates here:
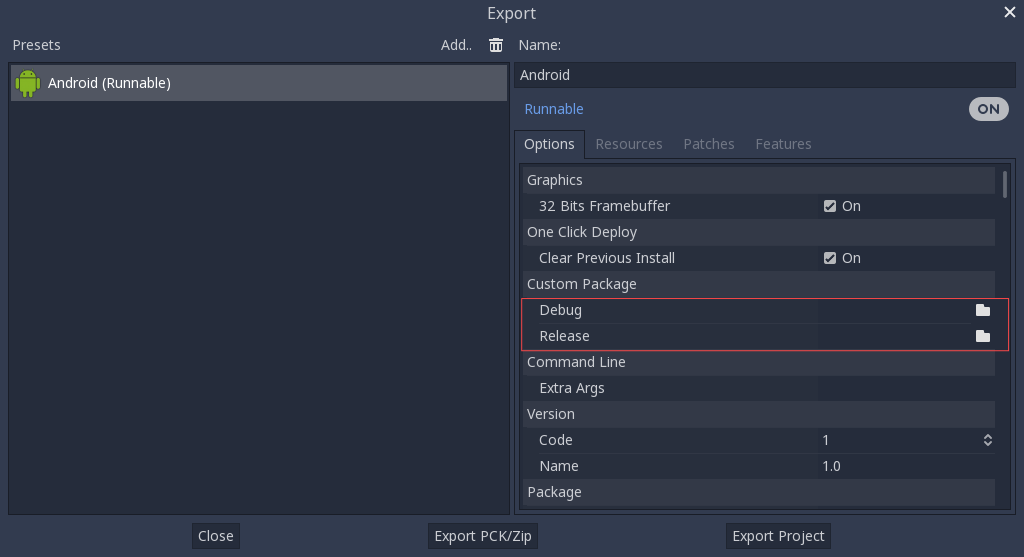
コピーする必要もなく、Godotソースフォルダの bin\ ディレクトリで結果のファイルを参照するだけで、次回ビルド時にカスタム テンプレートが自動的に参照されます。
Building the Godot editor
Compiling the editor is done by calling SCons from the Godot root directory with the following arguments:
scons platform=android arch=arm32 production=yes target=editor
scons platform=android arch=arm64 production=yes target=editor
scons platform=android arch=x86_32 production=yes target=editor
scons platform=android arch=x86_64 production=yes target=editor generate_apk=yes
You can add the
dev_build=yesparameter to generate a dev build of the Godot editor.You can add the
debug_symbols=yesparameter to include the debug symbols in the generated build.You can skip certain architectures depending on your target device to speed up compilation.
Remember to add generate_apk=yes to the last architecture you're building, so that binaries are generated after the build.
The resulting binaries will be located under bin/android_editor_builds/.
Removing the Editor binaries
You can use the following commands to remove the generated editor binaries:
 cd platform/android/java
 # On Windows
.\gradlew clean
# On Linux and macOS
./gradlew clean
Installing the Godot editor APK
With an Android device with Developer Options enabled, connect the Android device to your computer via its charging cable to a USB/USB-C port. Open up a Terminal/Command Prompt and run the following commands from the root directory with the following arguments:
adb install ./bin/android_editor_builds/android_editor-release.apk
トラブルシューティング
Platform doesn't appear in SCons
Double-check that you've set the ANDROID_HOME
environment variable. This is required for the platform to appear in SCons'
list of detected platforms.
See Setting up the buildsystem
for more information.
アプリケーションがインストールされていません
Androidは、アプリケーションが正しくインストールされていないことを訴えます。その場合:
デバッグ キーストアが正しく生成されていることを確認します。
jarsigner実行可能ファイルがJDK 8からのものであることを確認します。
それでも失敗する場合は、コマンドラインを開き、`logcat <https://developer.android.com/studio/command-line/logcat>`_を実行します。
adb logcat
次に、アプリケーションのインストール中に出力を確認します。エラーメッセージが表示されます。理解できない場合は支援を求めてください。
アプリケーションは直ちに終了します
アプリケーションは実行されてもすぐに終了する場合は、次のいずれかの理由が考えられます:
エディタのバージョンと一致するエクスポートテンプレートを使用してください。 新しいGodotバージョンを使用する場合は、テンプレートも更新する必要があります。
libgodot_android.sois not inlibs/<arch>/where<arch>is the device's architecture.デバイスのアーキテクチャが、エクスポートされたものと一致しません。テンプレートがそのデバイスのアーキテクチャ用に構築されていること、およびエクスポート設定にそのアーキテクチャのサポートが含まれていることを確認してください。
いずれの場合も、adb logcat にはエラーの原因も表示されます。