プレイヤーシーンと入力アクション
次の2つのレッスンでは、プレイヤーのシーンをデザインし、カスタム入力アクションを登録し、プレイヤーの動きをコーディングします。最後には、8方向に動くプレイ可能なキャラクターが完成します。
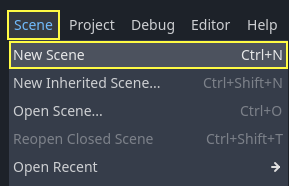
Create a new scene by going to the Scene menu in the top-left and clicking New Scene.
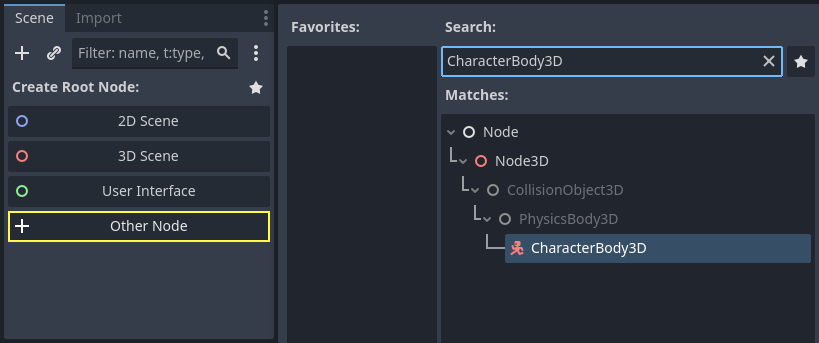
Click the Other Node button and select the CharacterBody3D node type
to create a CharacterBody3D as the root node.
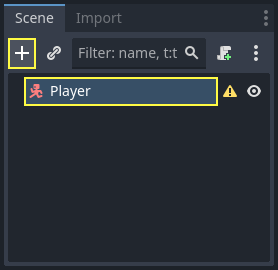
Rename the CharacterBody3D to Player.
Character bodies are complementary to the area and rigid bodies used in the 2D
game tutorial. Like rigid bodies, they can move and collide with the
environment, but instead of being controlled by the physics engine, you dictate
their movement. You will see how we use the node's unique features when we code
the jump and squash mechanics.
参考
さまざまな物理ノードの種類についての詳細は、 物理の紹介 を参照してください。
とりあえず、キャラクタの3D モデルに対して基本的なリグを作成します。これによって、後でアニメーションを再生しながら、コードを使用してモデルを回転させることができます。
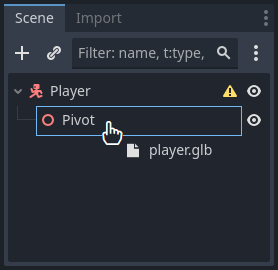
Add a Node3D node as a child of Player.
Select the Player node in the Scene tree and click the "+" button to add a child node.
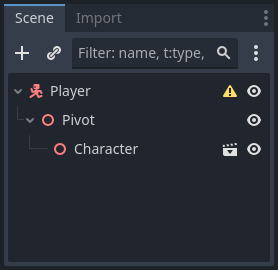
Rename it to Pivot.
次に、 ファイルシステム(FileSystem) ドックで、 art/ フォルダをダブルクリックして展開し、 player.glb を Pivot ノードにドラッグ アンド ドロップしてください。
これで、 Pivot の子としてモデルがインスタンス化されるはずです。このノードの名前を Character に変更しておきましょう。
注釈
.glb ファイルは、オープンソースの glTF 2.0 仕様に基づく 3D シーン データを含んでいます。これは、FBX のような独自のフォーマットに代わる、現代的で強力なフォーマットで、Godot もこれをサポートしています。これらのファイルを作成するために、 Blender 3D でモデルを設計し、それを glTF にエクスポートしました。
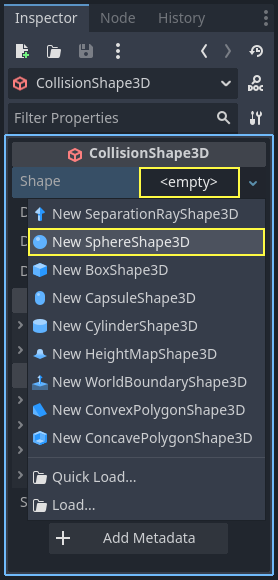
As with all kinds of physics nodes, we need a collision shape for our character
to collide with the environment. Select the Player node again and add a child node
CollisionShape3D. In the Inspector, on the Shape property,
add a new SphereShape3D.
球体のワイヤーフレームがキャラクターの下に表示されます。
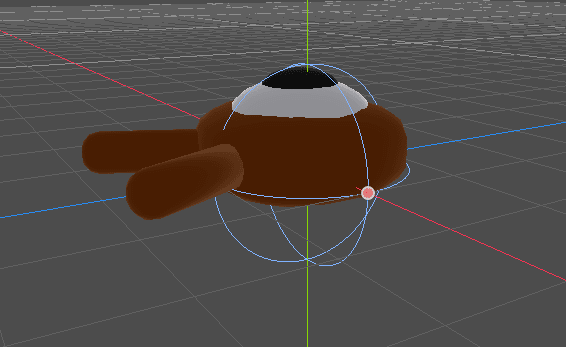
これは3Dモデルが周りのオブジェクトと衝突するときに、物理エンジンが使用する型になります。なので、3Dモデルにうまくフィットするようにしましょう。ビューポートでオレンジ色のドットをドラッグして、少し縮小してください。球体の半径は、 0.8 メートルほどです。
次に、この衝突のための型を上に移動して、型の底がグリッドの平面とほぼ一致するようにします。
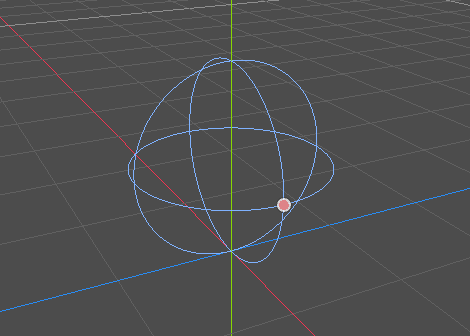
To make moving the shape easier, you can toggle the model's visibility by clicking
the eye icon next to the Character or the Pivot nodes.
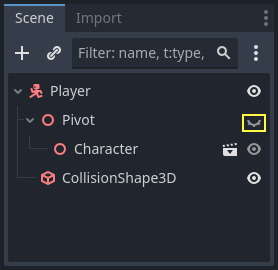
Save the scene as player.tscn.
ノードの準備ができたので、ほとんどコーディングできるようになりました。しかしその前に、いくつかの入力アクションを定義する必要があります。
入力アクションの作成
キャラクターを動かすために、矢印キーを押した、などのようなプレイヤーの入力操作を認識する必要があります。Godotでは、全てのキーバインドをコードで書くこともできますが、キーやボタンのセットに操作のラベルを割り当てられる便利な機能があります。この機能により、スクリプトをよりシンプルで読みやすくすることができます。
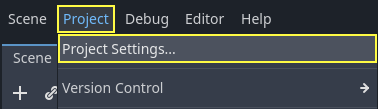
This system is the Input Map. To access its editor, head to the Project menu and select Project Settings....
At the top, there are multiple tabs. Click on Input Map. This window allows you to add new actions at the top; they are your labels. In the bottom part, you can bind keys to these actions.
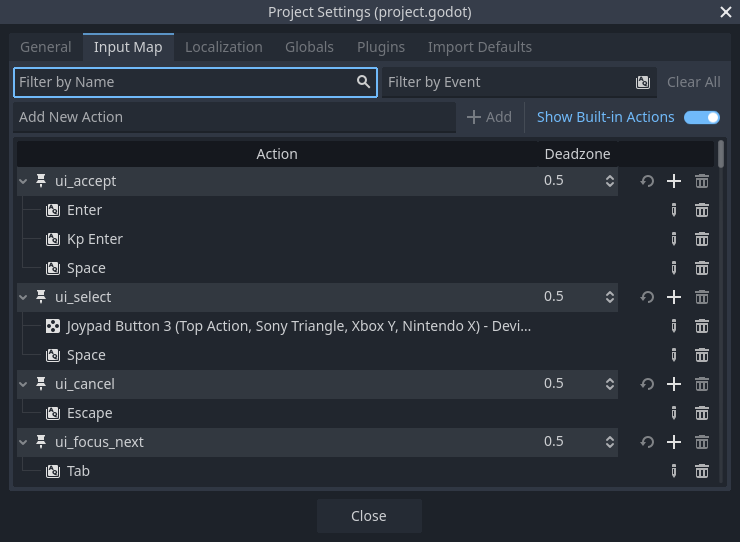
Godot projects come with some predefined actions designed for user interface design (see above screenshot). These will become visible if you enable the Show Built-in Actions toggle. We could use these here, but instead we're defining our own to support gamepads. Leave Show Built-in Actions disabled.
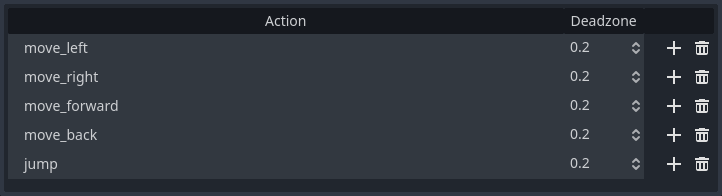
これから定義するアクションには move_left 、 move_right 、 move_forward 、 move_back 、 そして jump という名前をつけてみましょう。
To add an action, write its name in the bar at the top and press Enter or click the Add button.

以下の5つのアクションを作成してください:
To bind a key or button to an action, click the "+" button to its right. Do this
for move_left. Press the left arrow key and click OK.
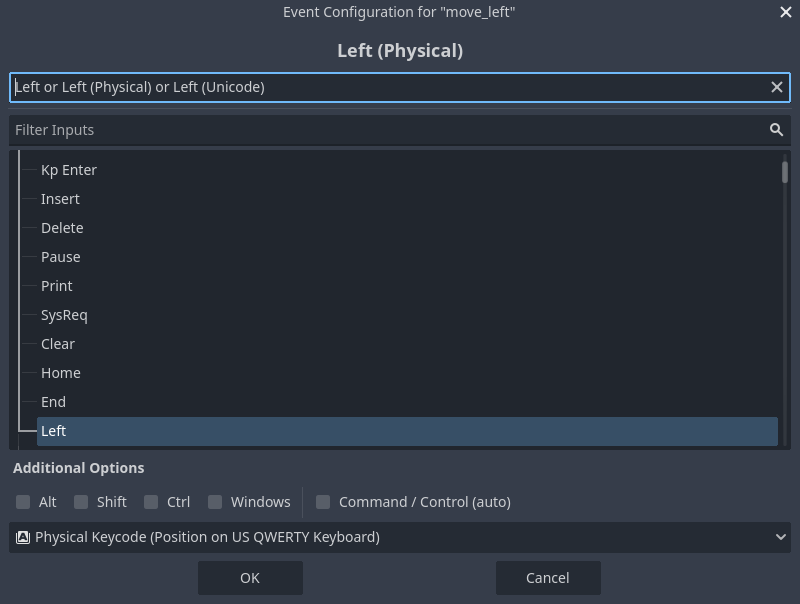
同様に、 A キーも、 move_left のアクションに紐づけておきましょう。

Let's now add support for a gamepad's left joystick. Click the "+" button again but this time, select the input within the input tree yourself. Select the negative X axis of the left joystick under Joypad Axes.
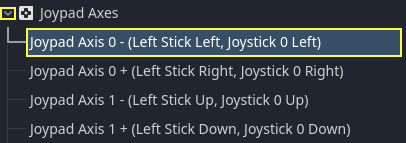
Leave the other values as default and press OK.
注釈
コントローラごとに異なる入力アクションを紐づけたい場合には、「 追加のオプション (Additional Options)」の「 デバイス (Devices)」オプションを使用します。デバイス 0は最初に接続されたゲームパッドに対応し、デバイス 1は2番目に接続されたゲームパッドに対応します。
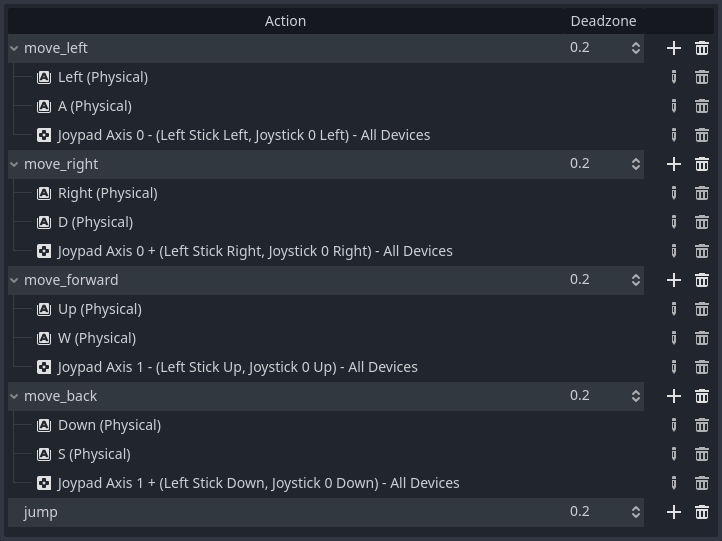
他の入力アクションも同じように紐づけます。例えば、右方向キー、D、ジョイスティックの左軸を右側に倒した時の操作は move_right にバインドします。すべてのキーをバインドすると、インプットマップは次のようになります。
The final action to set up is the jump action. Bind the Space key and the gamepad's
A button located under Joypad Buttons.
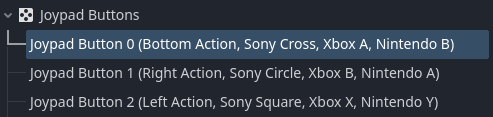
ジャンプ入力のアクションはこのようになるはずです。

これで、このゲームに必要なアクションが用意できました。このメニューを使って、プロジェクト内のキーやボタンのグループにラベルを付けることができます。
次のパートでは、プレーヤーの動きをコーディングしてテストしていきます。