Instancing
Rationale
Having a scene and throwing nodes into it might work for small projects, but as a project grows, more and more nodes are used and it can quickly become unmanageable. To solve this, Godot allows a project to be separated into several scenes. This, however, does not work the same way as in other game engines. In fact, it’s quite different, so please do not skip this tutorial!
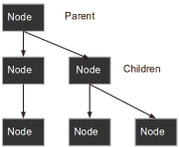
To recap: A scene is a collection of nodes organized as a tree, where they can have only one single node as the tree root.
In Godot, a scene can be created and saved to disk. As many scenes can be created and saved as desired.
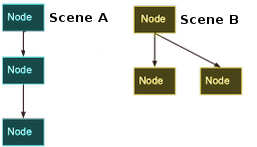
Afterwards, while editing an existing or a new scene, other scenes can be instanced as part of it:
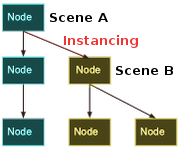
In the above picture, Scene B was added to Scene A as an instance. It may seem weird at first, but at the end of this tutorial it will make complete sense!
Instancing, step by step
To learn how to do instancing, let’s start with downloading a sample
project: instancing.zip.
Unzip this project in any place of your preference. Then, add this project to the project manager using the ‘Import’ option:
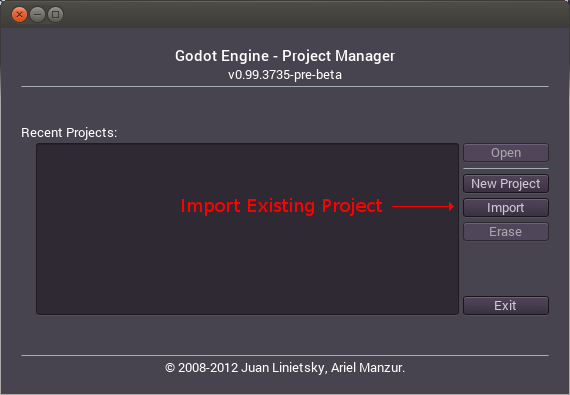
Simply browse to inside the project location and open the “engine.cfg” file. The new project will appear on the list of projects. Edit the project by using the ‘Edit’ option.
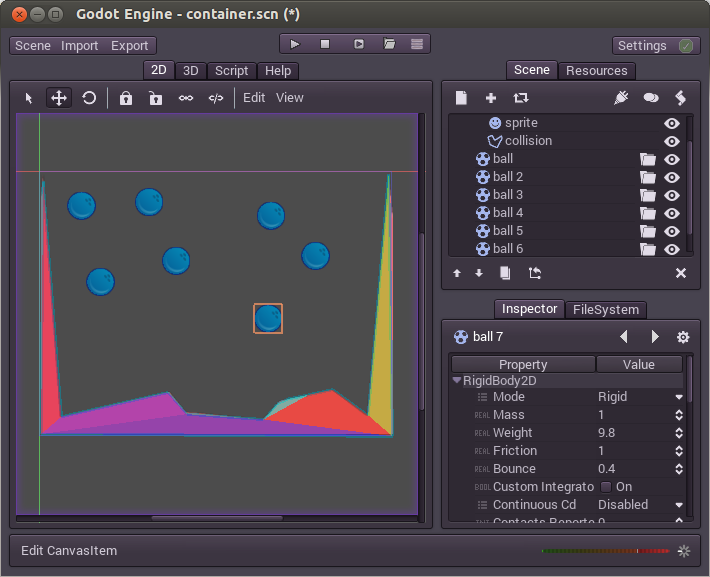
This project contains two scenes “ball.scn” and “container.scn”. The ball scene is just a ball with physics, while container scene has a nicely shaped collision, so balls can be thrown in there.

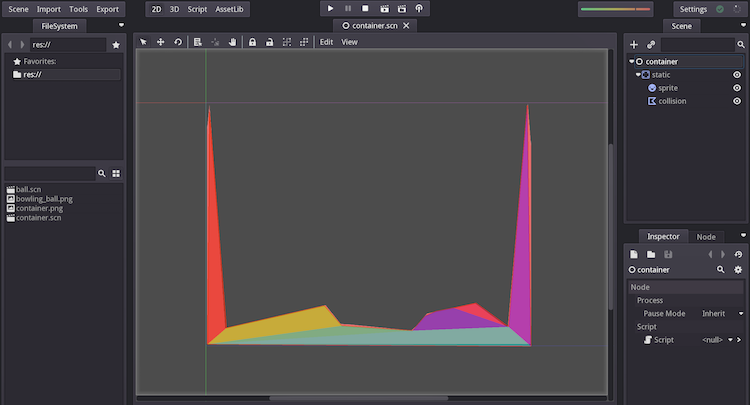
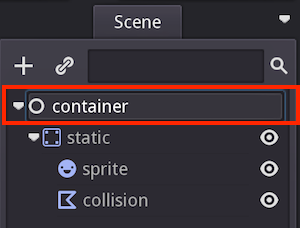
Open the container scene, then select the root node:
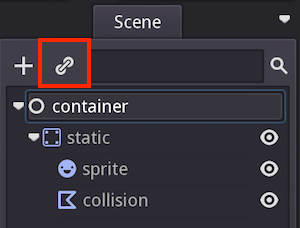
Afterwards, push the link shaped button, this is the instancing button!
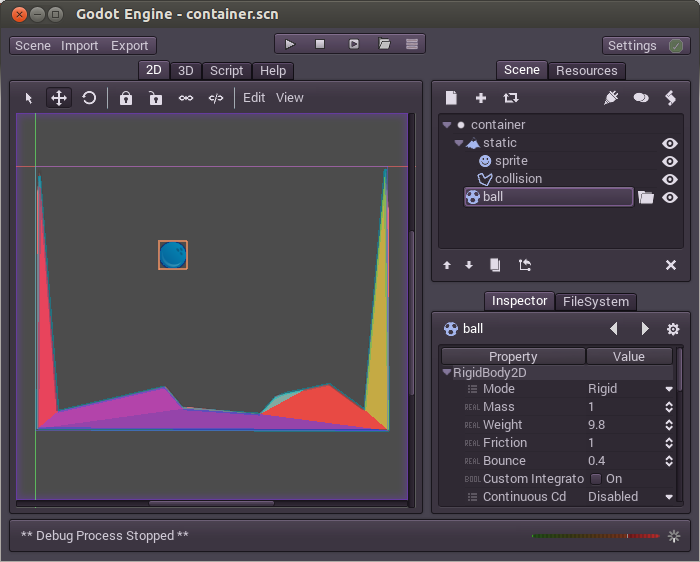
Select the ball scene (ball.scn), the ball should appear at the origin (0,0), move it to the center
of the scene, like this:
Press Play and Voila!
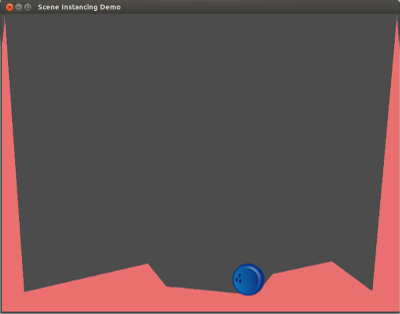
The instanced ball fell to the bottom of the pit.
A little more
There can be as many instances as desired in a scene, just try instancing more balls, or duplicating them (Ctrl-D or duplicate button):
Then try running the scene again:
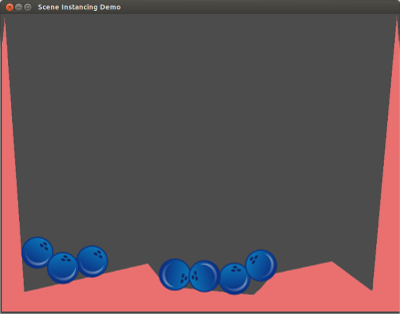
Cool, huh? This is how instancing works.
Editing instances
Select one of the many copies of the balls and go to the property editor. Let’s make it bounce a lot more, so look for the Bounce parameter and set it to 1.0:
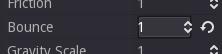
Grey “revert” button will appear. When this button is present, it means we modified a property in the instanced scene to override a specific value in this instance. Even if that property is modified in the original scene, the custom value will always overwrite it. Pressing the revert button will restore the property to the original value that came from the scene.
Conclusion
Instancing seems handy, but there is more to it than meets the eye! The next part of the instancing tutorial should cover the rest..