Rooms and Portals example
Download this tutorial project: Simple Portals Example .
Introdução
This tutorial will introduce you to building a "Hello World" room system with two rooms, and a portal in between.
Passo 1
Crie um novo projeto.
Add a Spatial as the scene root (on the screenshot, it's called "Root").
Next add a RoomManager node. We will need this later to process the room system.
Next we need to start defining our rooms. We create all our rooms under another Spatial we have called 'RoomList'.
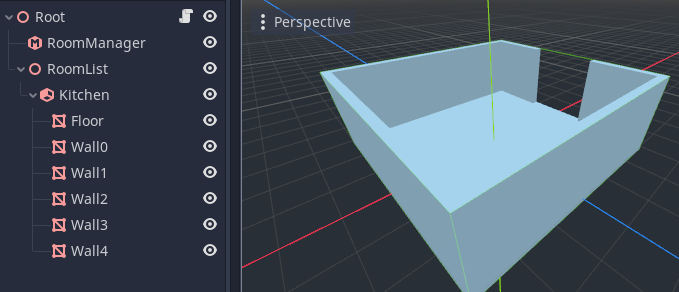
Add a new Room node as a child of the roomlist.
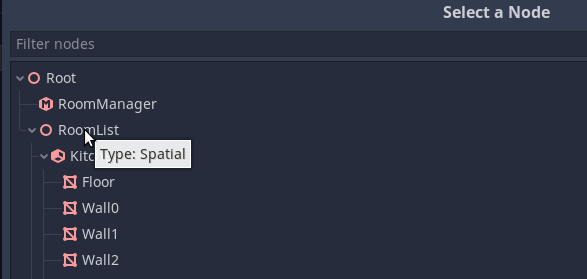
We have named the room
Kitchen.We will now create the geometry of our room. The names you give to the geometry is up to you.
Create a MeshInstance for the floor. Create a box by adding a CubeMesh resource to the MeshInstance. Scale and position it to form a floor.
Create MeshInstances for the walls. Create more box meshes for this, then scale and position them. Be sure to leave an opening on one side. You will need to create two wall segments to do this on that side.
Passo 2
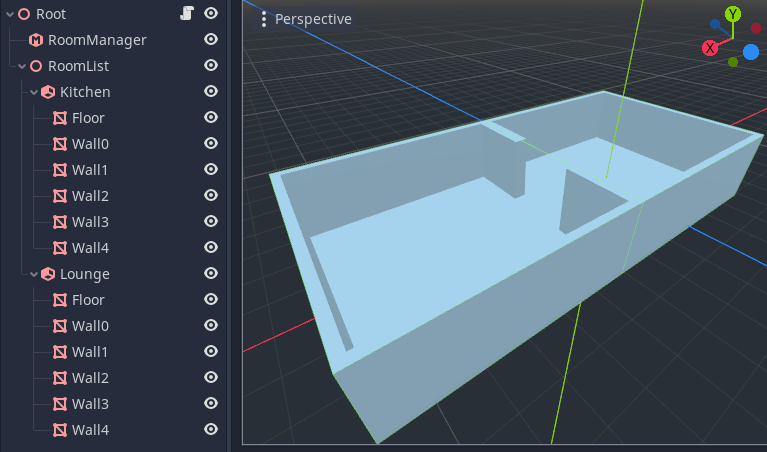
Now we need to create the other room.
You can do this simply by duplicating the first room (select the
Kitchennode, right click and choose Duplicate).Rotate and position the second room so that the openings line up.
Rename the second room to
Lounge.
Passo 3
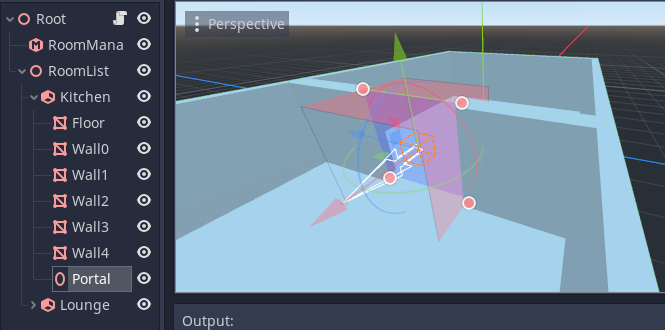
Next, we will add a portal between the two rooms.
Crie um novo Portal na cozinha.
Scale and position the portal using the node
Transformin the inspector, so it fits within the opening between the two rooms.The portal plane should face outward from the source room, i.e. towards the lounge. This direction is indicated by the arrow in the editor gizmo, and portal gizmo's color.
Passo 4
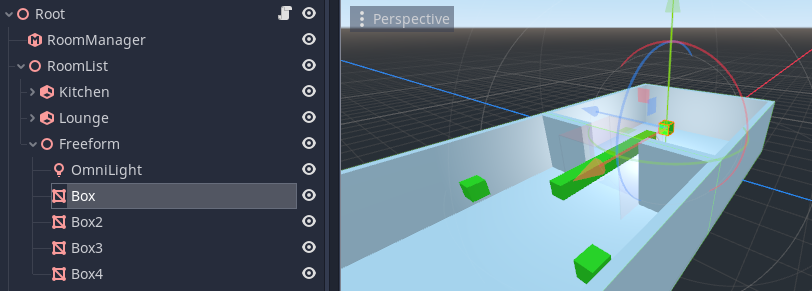
To make things more exciting, we want to add a few more boxes to the rooms.
Placing these boxes as children or grandchildren of the room nodes explicitly tells the system which room the objects should be in. However, we can also create these objects outside the rooms. Provided they are in the RoomList branch, the system will attempt to automatically place them in the correct room at runtime.
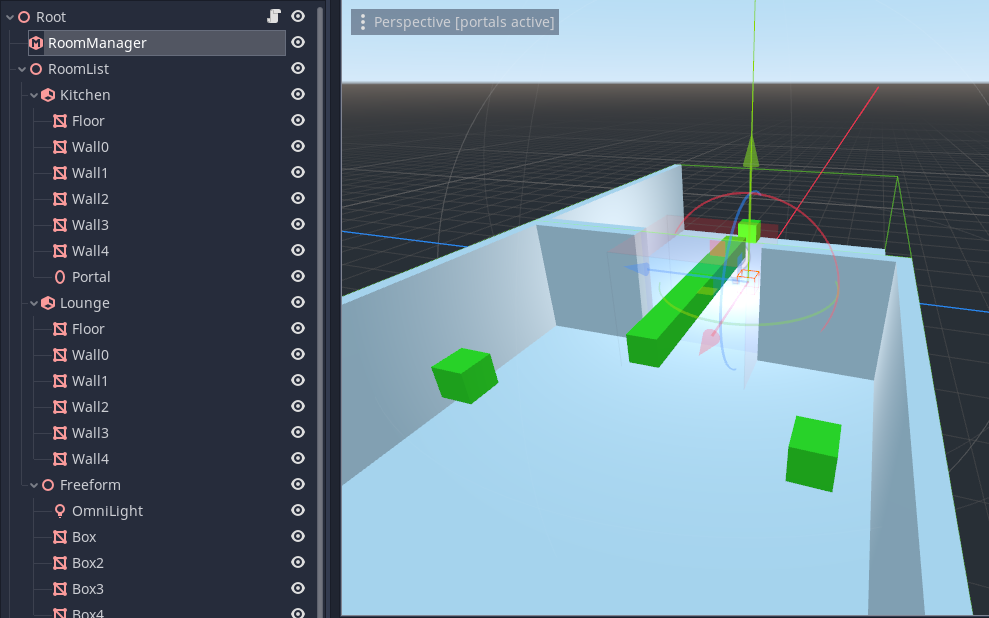
On the screenshot, the boxes were places as children of a Spatial I have called
Freeformto keep things tidy.Boxes also have a green SpatialMaterial assigned to them to make them stand out more from the rest of the room.
Let's also create an OmniLight so it will be autoplaced in one of the rooms.
Passo 5
Next comes a crucial stage. We must let the RoomManager know where the rooms are!
Select the RoomManager and look in the Inspector window in the Paths section.
You need to assign the Room List to point to the RoomList node we created earlier (which is the parent of all the rooms).
Passo 6
Make sure you have saved your project before this next step. It is always a good idea to save and make a backup before converting.
Select the RoomManager, and you will see a button in the toolbar at the top of the 3d editor viewport called Convert Rooms. Press this button.
If all goes well, the RoomManager will have created the runtime data (the room graph) to perform occlusion culling at runtime.
You can see a log of the conversion process in the output window. This is helpful for finding problems.
If you now move the editor camera inside the rooms, you should see the meshes in the opposite room being culled depending on what you can see through the portal.
Conclusão
This concludes this simple tutorial. Don't be afraid to experiment with the new room system you have created.
Algumas coisas para tentar
Create different types of geometry. CSG nodes, Particle systems, and Multimeshes are all supported by the portal system.
Try creating a Camera and adding it to the scene. If you run the scene you will notice that the portal culling is not active. This is because the
room graphmust be created each time you load a level, by converting the rooms. Instead of using a button in the editor, in real games you call a function in the RoomManager to convert the level, calledrooms_convert(). Try this out with a script, perhaps running within a_ready()function.A geometria que você criou até agora é toda
STATIC(sem movimento). Se você procurar no inspetor por nós de geometria, verá que eles derivam deCullInstance. Aqui você pode definir o Modo Portal para objetos no sistema do portal. Isso determina como o nó é processado.If you now write a script to move one of your objects within a room and view it through a Camera as the scene runs, you may notice that the object gets culled incorrectly. This is because
STATICobjects are assumed not to move in the system. If you instead change the object toDYNAMIC, it should now update the culling correctly.Existem vários
portal_modes, estes são descritos na documentação principal.Tente ativar e desativar o portal durante a execução do seu script. Você pode chamar
set_portal_active()para abrir e fechar o portal.Se você selecionar o portal, deverá ver 4 manipuladores aparecerem. Tente arrastar os pontos do portal com o mouse e veja como isso afeta os objetos que são selecionados.
Se você selecionar uma sala e clicar no botão Gerar pontos na barra de ferramentas, ele armazenará os pontos da estrutura da sala no inspetor de salas. Agora você pode editá-los com os manipuladores do gizmo.