Up to date
This page is up to date for Godot 4.3.
If you still find outdated information, please open an issue.
設定遊戲區域
在第一部分中,我們將設定遊戲區域。讓我們從匯入初始素材、設定遊戲場景入手。
我們準備了一些遊戲素材,以便我們可以直接跳到程式碼。你可以在這裡下載它們: Squash the Creeps assets 。
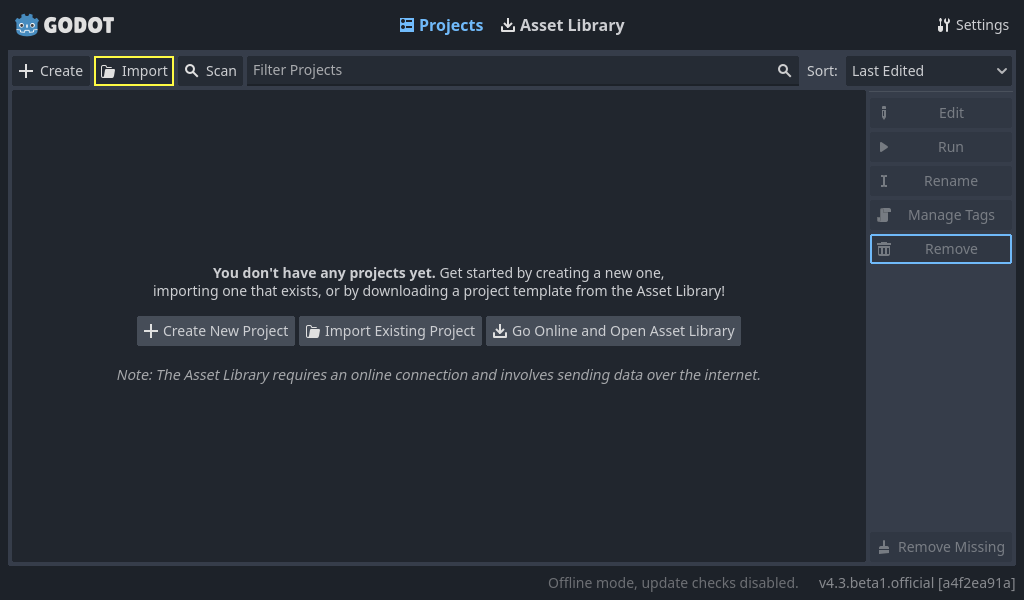
一旦下在完成,解壓縮到任意處,然後打開 Godot 並在專案管理員裡點擊 [匯入] 按鈕來新增該專案。
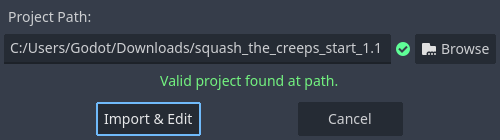
請在匯入彈出框中輸入剛才新建的目錄 squash_the_creeps_start/ 的完整路徑。你也可以點擊右側的*瀏覽*按鈕,打開檔瀏覽器並找到該資料夾所包含的 project.godot 檔案。
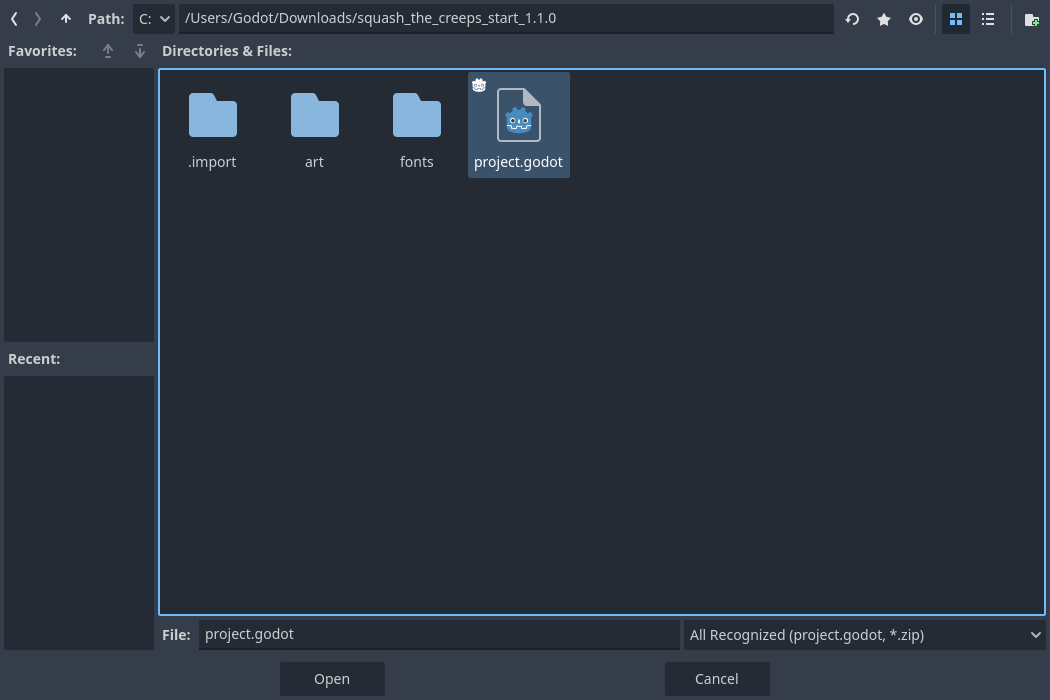
點擊*匯入並編輯*在編輯器中打開該專案。
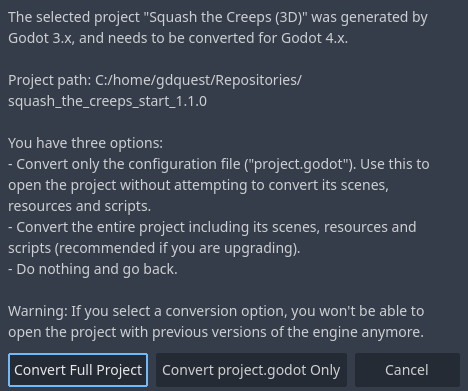
A window notifying you that the project was generated by an older Godot version may appear. Click Convert Full Project to convert the project to your current Godot version.
起始專案中包含一個圖示和兩個資料夾:art/ 和 fonts/。你可以在裡面找到遊戲中我們會用到的藝術素材和音樂。
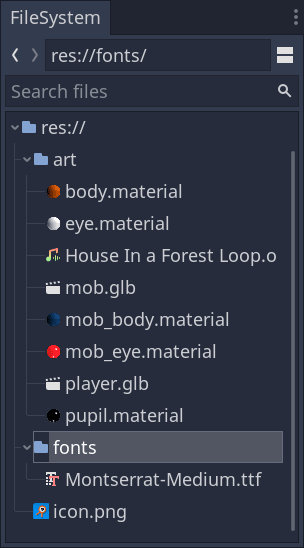
裡面有兩個 3D 模型,player.glb 和 mob.glb,一些模型使用的材質,以及一首音樂。
設定建置系統
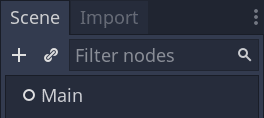
We're going to create our main scene with a plain Node as its root. In the
Scene dock, click the Add Child Node button represented by a "+" icon in the
top-left and double-click on Node. Name the node Main. An alternate method to rename the node is to right-click on Node and choose Rename (or F2). Alternatively, to add
a node to the scene, you can press Ctrl + A (Cmd + A on macOS).
Save the scene as main.tscn by pressing Ctrl + S (Cmd + S on macOS).
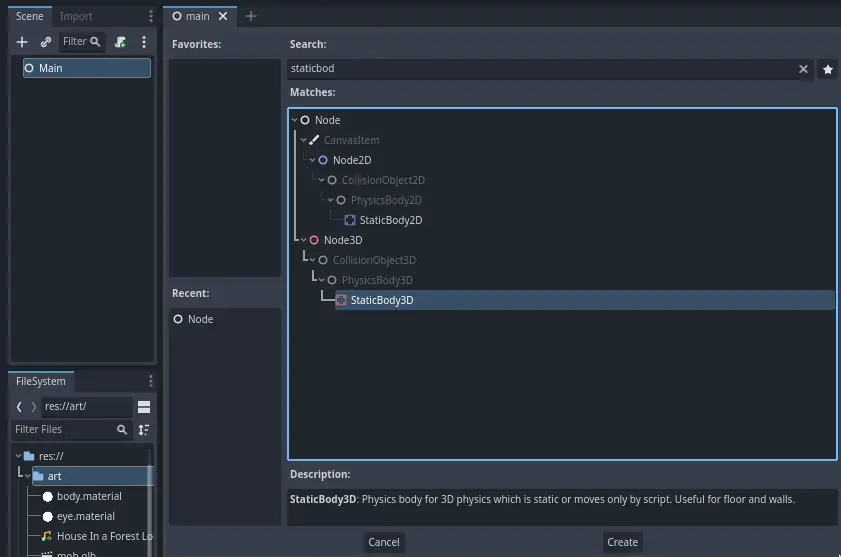
我們先新增一個地板,以防止角色掉落。要建立地板、牆壁或天花板等靜態碰撞器,可以使用 StaticBody3D 節點。它們需要 CollisionShape3D 子節點來定義碰撞區域。選擇 Main 節點後,新增 StaticBody3D 節點,然後新增 CollisionShape3D。將 StaticBody3D 重命名為 Ground 。
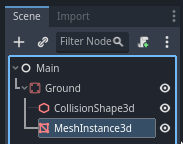
現在場景看起來會這樣:
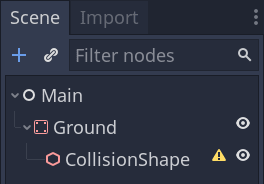
在 CollisionShape3D 旁邊會出現一個警告旗標,因為我們還沒有定義它的形狀。如果你點擊這個圖示,就會彈出一個視窗,為你提供更多資訊。

要建立形狀,請選中 CollisionShape3D,轉到*屬性面板*,然後按一下 Shape*(形狀)屬性旁邊的 *<空> 欄位。建立一個新的 BoxShape3D。
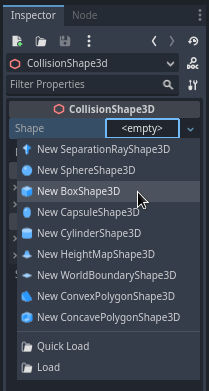
盒子形狀非常適合平坦的地面和牆壁。它的厚度使它能夠可靠地阻擋甚至快速移動的物體。
A box's wireframe appears in the viewport with three orange dots. You can click
and drag these to edit the shape's extents interactively. We can also precisely
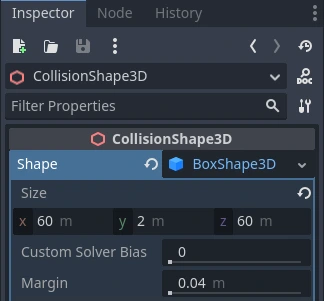
set the size in the inspector. Click on the BoxShape3D to expand the resource.
Set its Size to 60 on the X-axis, 2 for the Y-axis, and 60 for
the Z-axis.
碰撞形狀是不可見的。我們需要新增一個與之配套的視覺層。選擇 Ground 節點並新增一個 MeshInstance3D 作為其子節點。
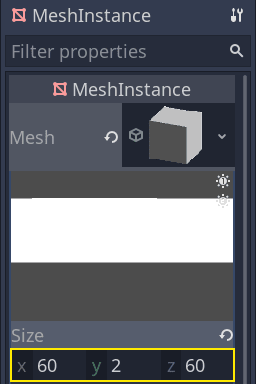
在*屬性面板*中,點擊 Mesh 旁邊的欄位,建立一個 BoxMesh 資源,建立一個可見的立方體。
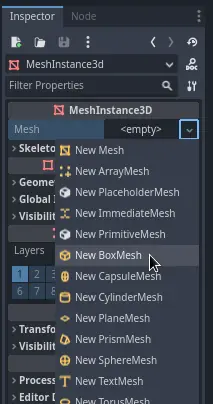
再次設定大小,對於預設值來說它有點太小了。點擊立方體圖示展開資源,並將其 Size 設定為 60、2、60。由於立方體資源使用的是大小(size)而不是範圍(extents),我們需要使用這些值,以便它與我們的碰撞形狀相配對。
您應該會在視口中看到一個覆蓋網格以及藍色和紅色軸的寬灰色平板。
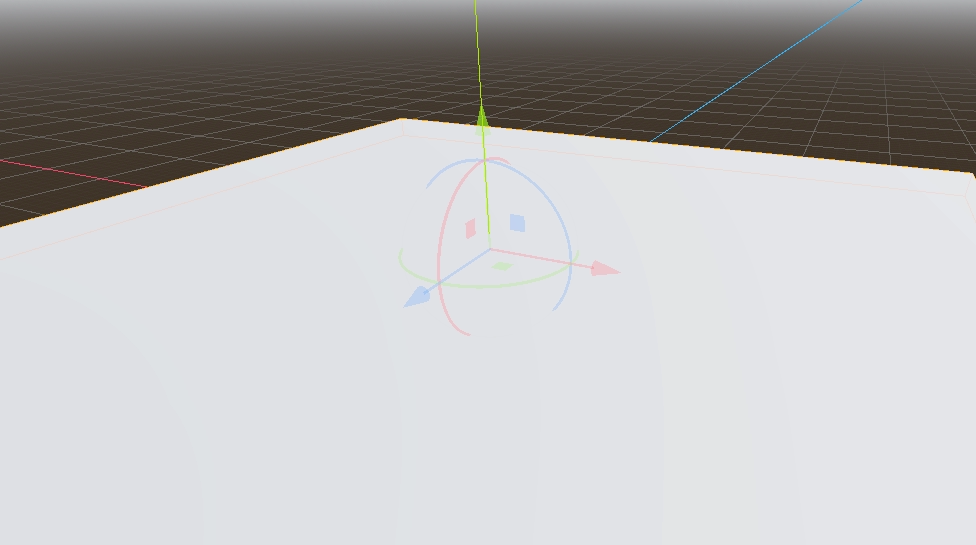
We're going to move the ground down so we can see the floor grid. To do this, the grid snapping feature can be used. Grid snapping can be activated 2 ways in the 3D editor. The first is by pressing the Use Snap button (or pressing the Y key). The second is by selecting a node, dragging a handle on the gizmo then holding Ctrl while still clicking to enable snapping as long as Ctrl is held.

Start by setting snapping with your preferred method. Then move the Ground node using the Y-axis (the green arrow on the gizmo).
備註
如果你沒有看到如上圖所示的 3D 物件操作器,請確保已啟動視圖上方工具列中的*選擇模式*。
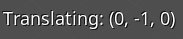
為了有一個可見的編輯器柵格,可以將地面往下移動 1 米。視口左下角的標籤會顯示你將該節點平移了多遠。
備註
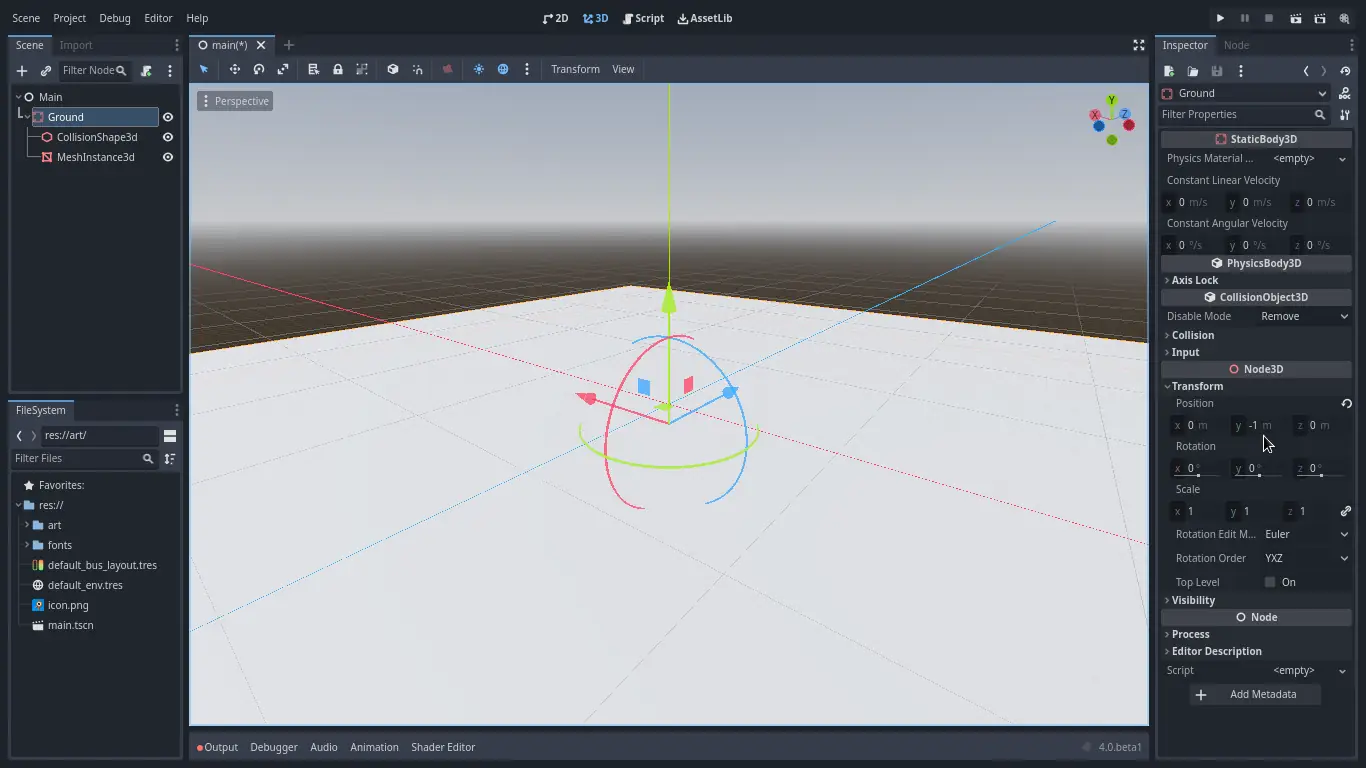
子節點會跟隨 Ground 節點一起往下移動。請確保你移動的是 Ground 節點,而不是 MeshInstance3D 和 CollisionShape3D。
最終,Ground 的 transform.position.y 應當是 -1
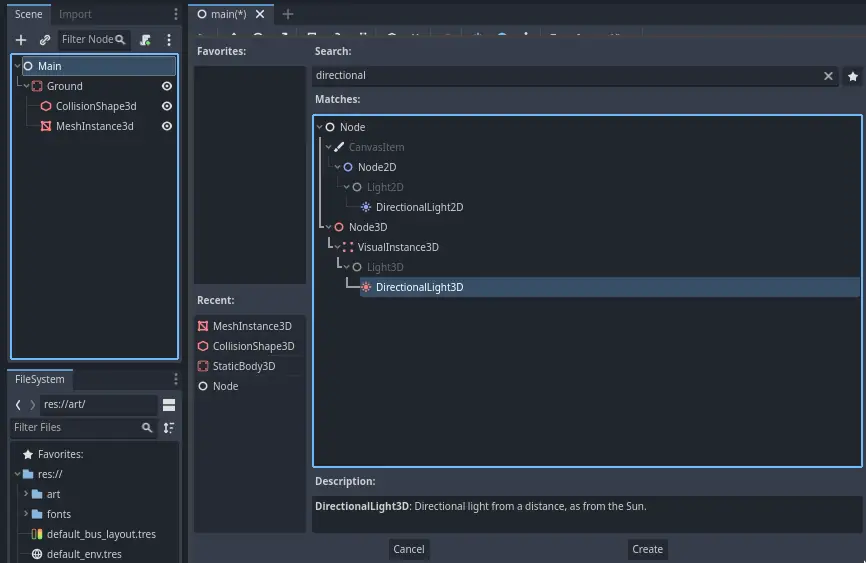
現在來新增一個平行光,從而讓我們的整個場景不全都是灰色的。選擇 Main 節點,然後新增一個子節點 DirectionalLight3D。
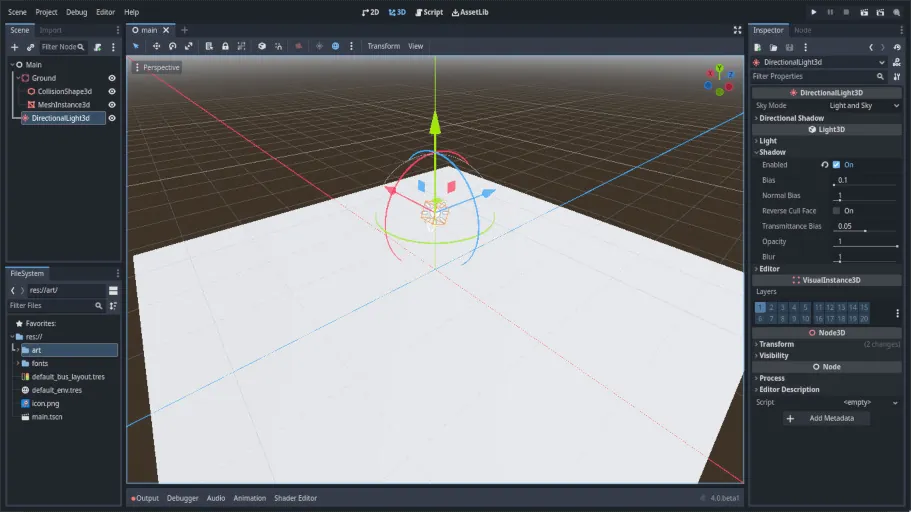
We need to move and rotate the DirectionalLight3D node. Move it up by clicking and dragging on the manipulator's green arrow and click and drag on the red arc to rotate it around the X-axis, until the ground is lit.
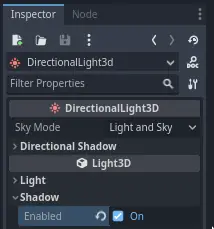
在*屬性面板*中,勾選核取方塊打開*Shadow -> Enabled*。
腳本最終看起來應該長這樣:
這就是我們的起點了。在下一部分中,我們將處理玩家場景與基礎移動。