Up to date
This page is up to date for Godot 4.3.
If you still find outdated information, please open an issue.
自訂滑鼠游標
您可能希望更改遊戲中滑鼠游標的外觀,以便適應總體設計。自訂滑鼠游標有兩種方法:
Using project settings. This is simpler, but more limited.
Using a script. This is more customizable, but involves scripting.
備註
You could display a "software" mouse cursor by hiding the mouse cursor and
moving a Sprite2D to the cursor position in a _process() method, but
this will add at least one frame of latency compared to a "hardware" mouse
cursor. Therefore, it's recommended to use the approach described here
whenever possible.
如果您必須使用“軟體”的做法,可以考慮新增一個外推步驟,以便更好地顯示實際的滑鼠輸入。
使用專案設定
Open the Project Settings and go to Display > Mouse Cursor. You will see the settings Custom Image, Custom Image Hotspot, and Tooltip Position Offset.
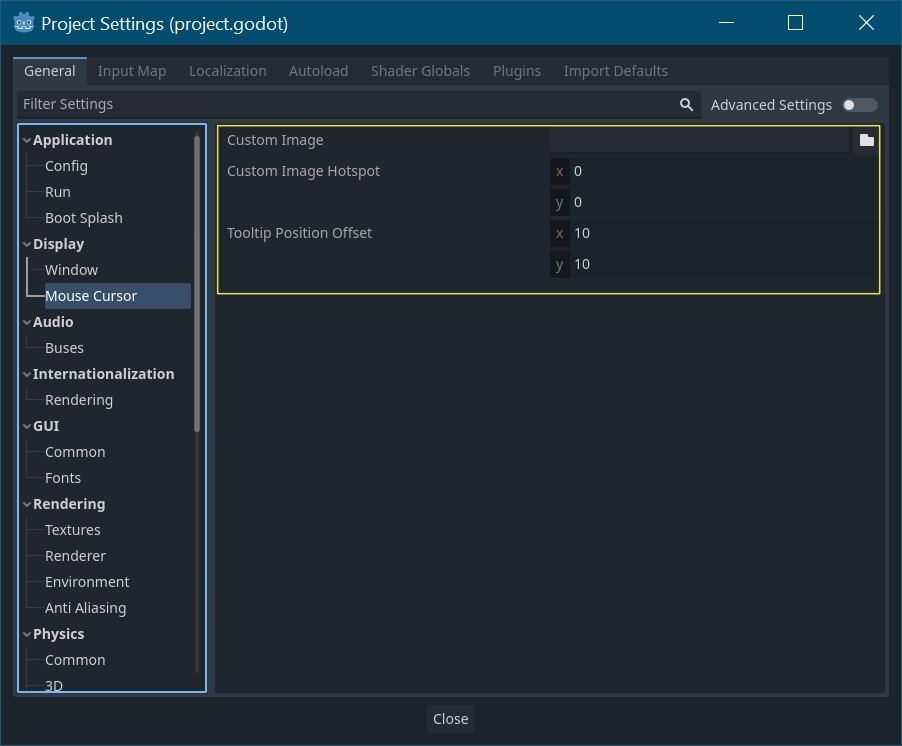
Custom Image is the desired image that you would like to set as the mouse cursor. Custom Hotspot is the point in the image that you would like to use as the cursor's detection point.
警告
The custom image must be 256×256 pixels at most. To avoid rendering issues, sizes of 128×128 or smaller are recommended.
在網頁平台上,允許的最大遊標影像尺寸為128×128。
使用腳本
建立一個 Node 節點並附加下面的腳本。
extends Node


# Load the custom images for the mouse cursor.
var arrow = load("res://arrow.png")
var beam = load("res://beam.png")


func _ready():
    # Changes only the arrow shape of the cursor.
    # This is similar to changing it in the project settings.
    Input.set_custom_mouse_cursor(arrow)

    # Changes a specific shape of the cursor (here, the I-beam shape).
    Input.set_custom_mouse_cursor(beam, Input.CURSOR_IBEAM)
using Godot;

public partial class MyNode : Node
{
    public override void _Ready()
    {
        // Load the custom images for the mouse cursor.
        var arrow = ResourceLoader.Load("res://arrow.png");
        var beam = ResourceLoader.Load("res://beam.png");

        // Changes only the arrow shape of the cursor.
        // This is similar to changing it in the project settings.
        Input.SetCustomMouseCursor(arrow);

        // Changes a specific shape of the cursor (here, the I-beam shape).
        Input.SetCustomMouseCursor(beam, Input.CursorShape.Ibeam);
    }
}
也參考
游標列表
There are multiple mouse cursors you can define, documented in the Input.CursorShape enum. Which ones you want to use depends on your use case.