Custom builds for Android
Godot provides the option to use custom build Android templates. Instead of using the already pre-built template that ships with Godot, an actual Android Java project gets installed into your project folder. Godot will then build it and use it as an export template every time you export the project.
There are some reasons why you may want to do this:
Modify the project before it's built.
Add external SDKs that build with your project.
Configuring the custom build is a fairly straightforward process. But first you need to follow the steps in exporting for android up to Setting it up in Godot. After doing that, follow the steps below.
Set up the custom build environment
Go to the Project menu, and install the Custom Build template:
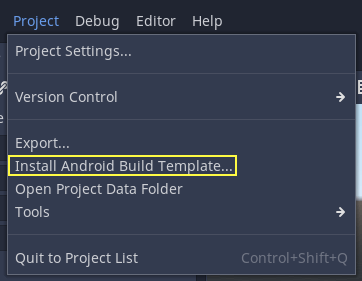
Make sure export templates are downloaded. If not, this menu will help you download them.
A Gradle-based Android project will be created under res://android/build.
Editing these files is not needed unless you want to create
your own add-ons, or you really need to modify the project.
Enabling the custom build and exporting
When setting up the Android project in the Project > Export dialog, Custom Build needs to be enabled:

From now on, attempting to export the project or one-click deploy will call the Gradle build system to generate fresh templates (this window will appear every time):
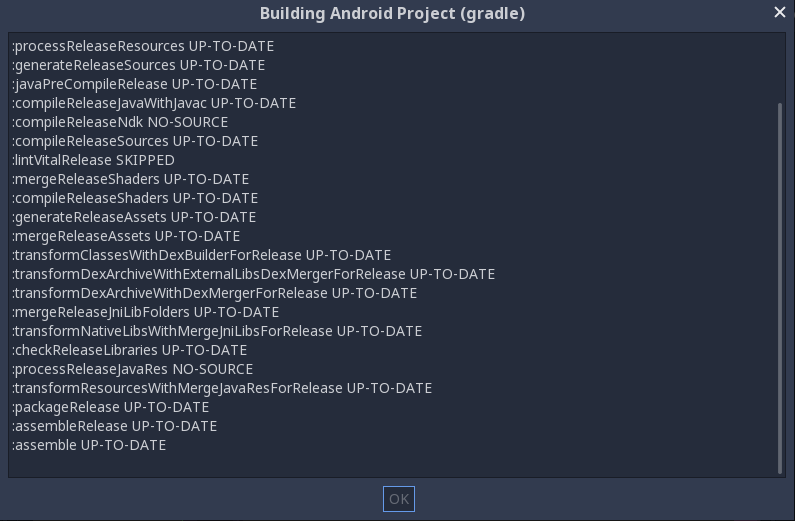
The templates built will be used automatically afterwards, so no further configuration is needed.