Setting up the project
In this short first part, we'll set up and organize the project.
Launch Godot and create a new project.

Download dodge_assets.zip.
The archive contains the images and sounds you'll be using
to make the game. Extract the archive and move the art/
and fonts/ directories to your project's directory.
Download dodge_assets.zip.
The archive contains the images and sounds you'll be using
to make the game. Extract the archive and move the art/
and fonts/ directories to your project's directory.
Ensure that you have the required dependencies to use C# in Godot. You need the .NET Core 3.1 SDK, and an editor such as VS Code. See Setting up C# for Godot.
Download dodge_assets_with_gdnative.zip.
The archive contains the images and sounds you'll be using
to make the game. It also contains a starter GDNative project
including a SConstruct file, a dodge_the_creeps.gdnlib
file, a player.gdns file, and an entry.cpp file.
Ensure that you have the required dependencies to use GDNative C++. You need a C++ compiler such as GCC or Clang or MSVC that supports C++14. On Windows you can download Visual Studio 2019 and select the C++ workload. You also need SCons to use the build system (the SConstruct file). Then you need to download the Godot C++ bindings and place them in your project.
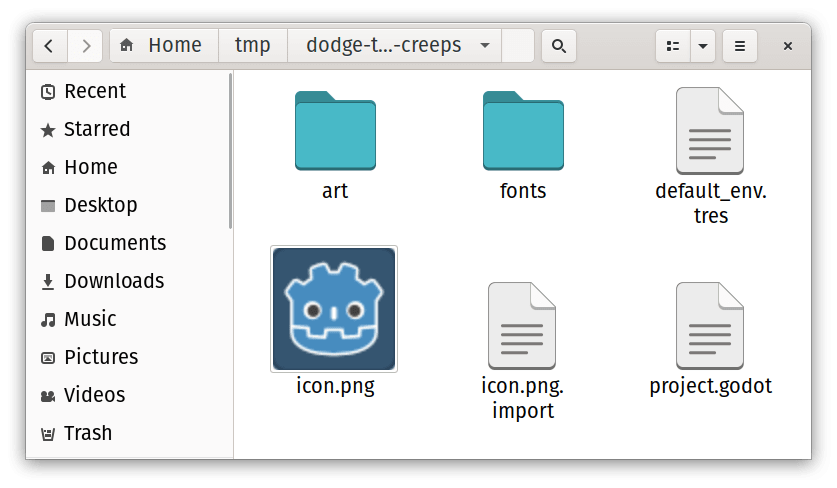
Your project folder should look like this.
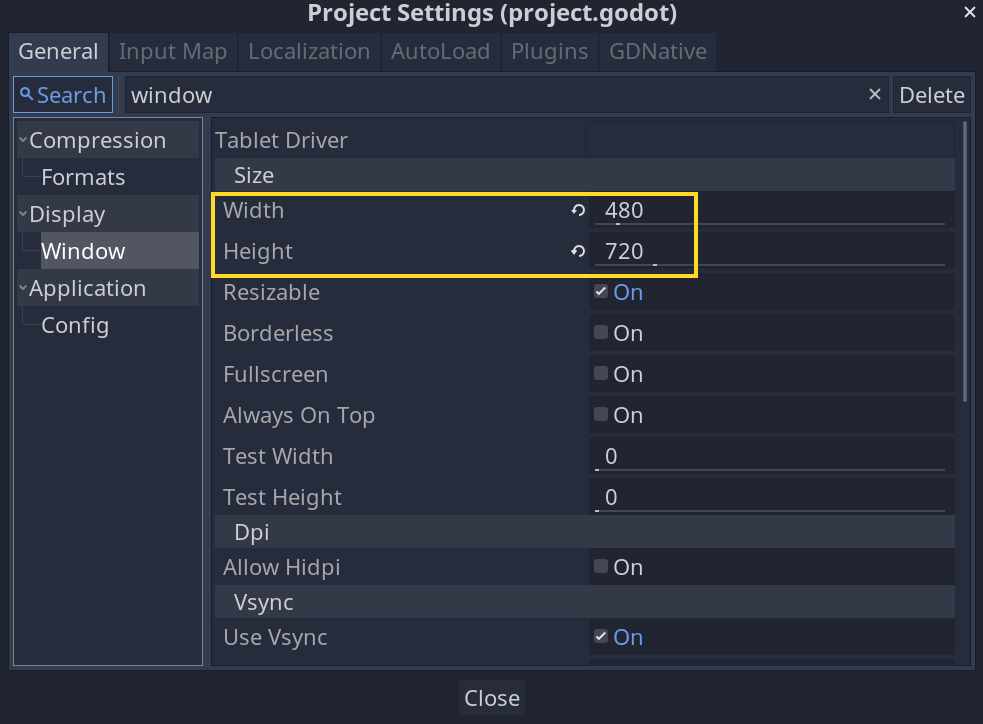
This game is designed for portrait mode, so we need to adjust the size of the
game window. Click on Project -> Project Settings to open the project settings
window and in the left column, open the Display -> Window tab. There, set
"Width" to 480 and "Height" to 720.
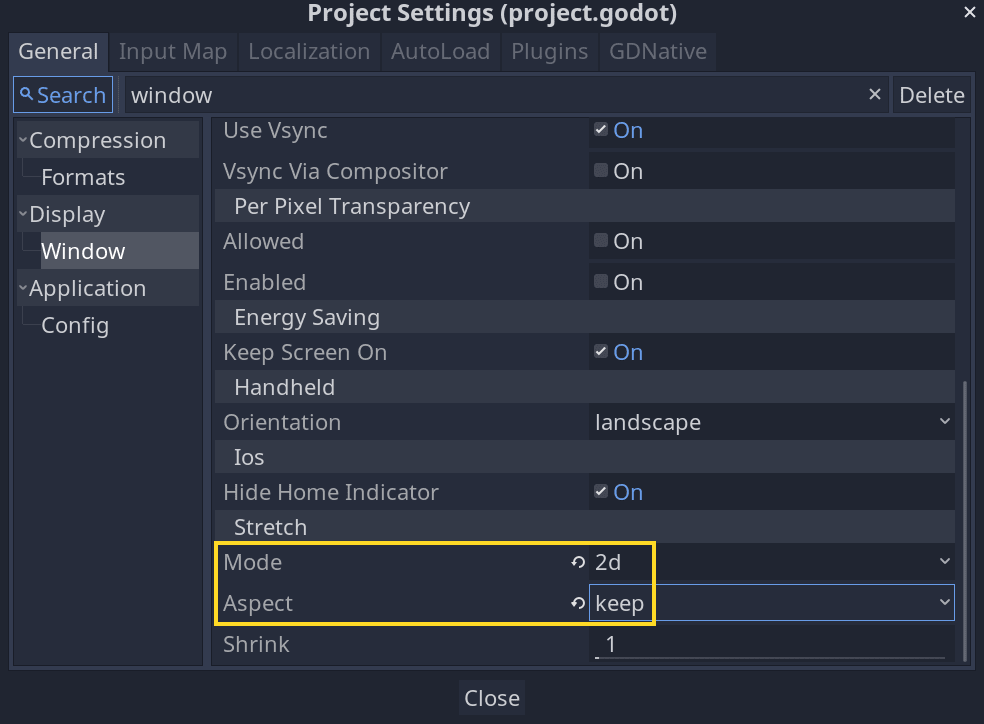
Also, scroll down to the bottom of the section and, under the "Stretch" options,
set Mode to "2d" and Aspect to "keep". This ensures that the game scales
consistently on different sized screens.
Organizing the project
In this project, we will make 3 independent scenes: Player, Mob, and
HUD, which we will combine into the game's Main scene.
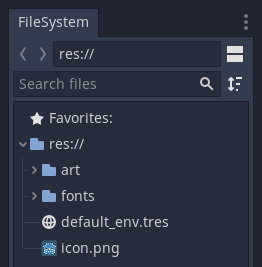
In a larger project, it might be useful to create folders to hold the various
scenes and their scripts, but for this relatively small game, you can save your
scenes and scripts in the project's root folder, identified by res://. You
can see your project folders in the FileSystem dock in the lower left corner:
With the project in place, we're ready to design the player scene in the next lesson.