Custom HTML page for Web export
While Web export templates provide a default HTML page fully capable of launching the project without any further customization, it may be beneficial to create a custom HTML page. While the game itself cannot easily be directly controlled from the outside yet, such page allows to customize the initialization process for the engine.
Some use-cases where customizing the default page is useful include:
Loading files from a different directory than the page;
Loading a
.zipfile instead of a.pckfile as the main pack;Loading the engine from a different directory than the main pack file;
Adding a click-to-play button so that games can be started in the fullscreen mode;
Loading some extra files before the engine starts, making them available in the project file system as soon as possible;
Passing custom command line arguments, e.g.
-sto start aMainLoopscript.
The default HTML page is available in the Godot Engine repository at /misc/dist/html/full-size.html but the following template can be used as a much simpler example:
<!DOCTYPE html>
<html>
    <head>
        <title>My Template</title>
        <meta charset="UTF-8">
    </head>
    <body>
        <canvas id="canvas"></canvas>
        <script src="$GODOT_URL"></script>
        <script>
            var engine = new Engine($GODOT_CONFIG);
            engine.startGame();
        </script>
    </body>
</html>
Setup
As shown by the example above, it is mostly a regular HTML document, with few placeholders
which needs to be replaced during export, an html <canvas> element, and some simple
JavaScript code that calls the Engine() class.
The only required placeholders are:
$GODOT_URL: The name of the main JavaScript file, which provides theEngine()class required to start the engine and that must be included in the HTML as a<script>. The name is generated from the Export Path during the export process.$GODOT_CONFIG: A JavaScript object, containing the export options and can be later overridden. SeeEngineConfigfor the full list of overrides.
The following optional placeholders will enable some extra features in your custom HTML template.
$GODOT_PROJECT_NAME: The project name as defined in the Project Settings. It is a good idea to use it as a<title>in your template.$GODOT_HEAD_INCLUDE: A custom string to include in the HTML document just before the end of the<head>tag. It is customized in the export options under the Html / Head Include section. While you fully control the HTML page you create, this variable can be useful for configuring parts of the HTMLheadelement from the Godot Editor, e.g. for different Web export presets.
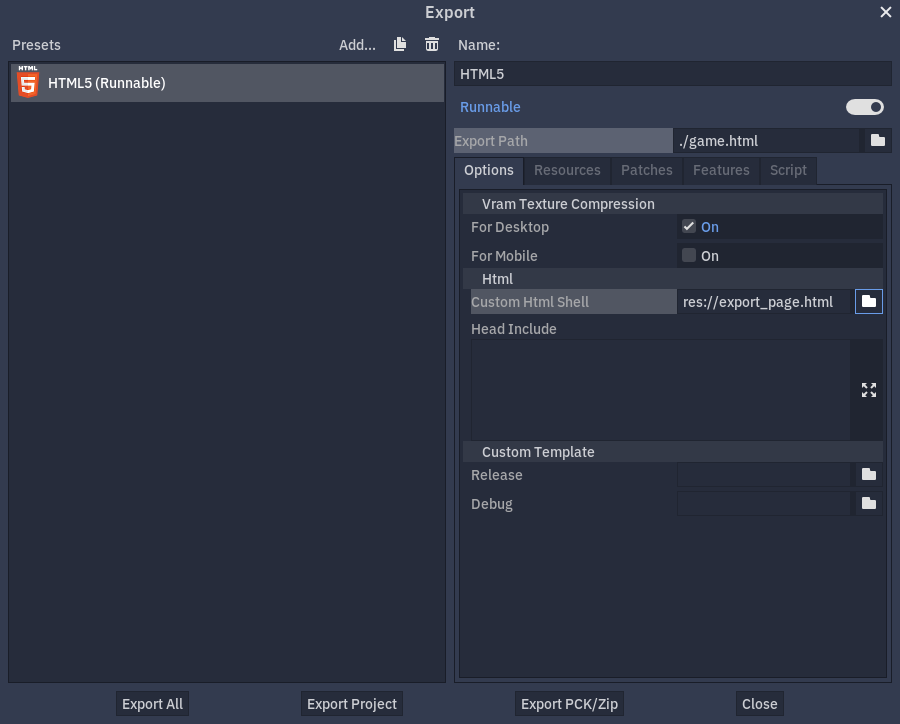
When the custom page is ready, it can be selected in the export options under the Html / Custom Html Shell section.
Starting the project
To be able to start the game, you need to write a script that initializes the engine — the control code. This process consists of three steps, though as shown most of them can be skipped depending on how much customization is needed (or be left to a default behavior).
See the HTML5 shell class reference, for the full list of methods and options available.
First, the engine must be loaded, then it needs to be initialized, and after this the project
can finally be started. You can perform every of these steps manually and with great control.
However, in the simplest case all you need to do is to create an instance of the Engine()
class with the exported configuration, and then call the engine.startGame method
optionally overriding any EngineConfig parameters.
const engine = new Engine($GODOT_CONFIG);
engine.startGame({
    /* optional override configuration, eg. */
    // unloadAfterInit: false,
    // canvasResizePolicy: 0,
    // ...
});
This snippet of code automatically loads and initializes the engine before starting the game.
It uses the given configuration to to load the engine. The engine.startGame
method is asynchronous and returns a Promise. This allows your control code to track if
the game was loaded correctly without blocking execution or relying on polling.
In case your project needs to have special control over the start arguments and dependency files,
the engine.start method can be used instead. Note, that this method do not
automatically preload the pck file, so you will probably want to manually preload it
(and any other extra file) via the engine.preloadFile method.
Optionally, you can also manually engine.init to perform specific actions after
the module initialization, but before the engine starts.
This process is a bit more complex, but gives you full control over the engine startup process.
const myWasm = 'mygame.wasm';
const myPck = 'mygame.pck';
const engine = new Engine();
Promise.all([
    // Load and init the engine
    engine.init(myWasm),
    // And the pck concurrently
    engine.preloadFile(myPck),
]).then(() => {
    // Now start the engine.
    return engine.start({ args: ['--main-pack', myPck] });
}).then(() => {
    console.log('Engine has started!');
});
To load the engine manually the Engine.load() static method must be called. As
this method is static, multiple engine instances can be spawned if the share the same wasm.
Note
Multiple instances cannot be spawned by default, as the engine is immediately unloaded after it is initialized.
To prevent this from happening see the unloadAfterInit override option. It is still possible
to unload the engine manually afterwards by calling the Engine.unload() static method. Unloading the engine
frees browser memory by unloading files that are no longer needed once the instance is initialized.
Customizing the behavior
In the Web environment several methods can be used to guarantee that the game will work as intended.
If you target a specific version of WebGL, or just want to check if WebGL is available at all,
you can call the Engine.isWebGLAvailable() method. It optionally takes an argument that
allows to test for a specific major version of WebGL.
As the real executable file does not exist in the Web environment, the engine only stores a virtual
filename formed from the base name of loaded engine files. This value affects the output of the
OS.get_executable_path() method and defines the name of
the automatically started main pack. The executable override option can be
used to override this value.
Customizing the presentation
Several configuration options can be used to further customize the look and behavior of the game on your page.
By default, the first canvas element on the page is used for rendering. To use a different canvas
element the canvas override option can be used. It requires a reference to the DOM
element itself.
const canvasElement = document.querySelector("#my-canvas-element");
engine.startGame({ canvas: canvasElement });
The way the engine resize the canvas can be configured via the canvasResizePolicy
override option.
If your game takes some time to load, it may be useful to display a custom loading UI which tracks
the progress. This can be achieved with the onProgress callback option, which
allows to set up a callback function that will be called regularly as the engine loads new bytes.
function printProgress(current, total) {
    console.log("Loaded " + current + " of " + total + " bytes");
}
engine.startGame({ onProgress: printProgress });
Be aware that in some cases total can be 0. This means that it cannot be calculated.
If your game supports multiple languages, the locale override option can be used to
force a specific locale, provided you have a valid language code string. It may be good to use server-side
logic to determine which languages a user may prefer. This way the language code can be taken from the
Accept-Language HTTP header, or determined by a GeoIP service.
Debugging
To debug exported projects, it may be useful to read the standard output and error streams generated
by the engine. This is similar to the output shown in the editor console window. By default, standard
console.log and console.warn are used for the output and error streams respectively. This
behavior can be customized by setting your own functions to handle messages.
Use the onPrint override option to set a callback function for the output stream,
and the onPrintError override option to set a callback function for the error stream.
function print(text) {
    console.log(text);
}
function printError(text) {
    console.warn(text);
}
engine.startGame({ onPrint: print, onPrintError: printError });
When handling the engine output keep in mind, that it may not be desirable to print it out in the finished product.