Exporting for Android
See also
This page describes how to export a Godot project to Android. If you're looking to compile export template binaries from source instead, read Compiling for Android.
Exporting for Android has fewer requirements than compiling Godot for Android. The following steps detail what is needed to set up the Android SDK and the engine.
Install OpenJDK 11
Download and install OpenJDK 11.
Download the Android SDK
Download and install the Android SDK.
You can install it using Android Studio version 4.1 or later.
Run it once to complete the SDK setup using these instructions.
Ensure that the required packages are installed as well.
Android SDK Platform-Tools version 30.0.5 or later
Android SDK Build-Tools version 30.0.3
Android SDK Platform 29
Android SDK Command-line Tools (latest)
CMake version 3.10.2.4988404
NDK version 21.4.7075529
You can install it using the command line tools.
Once the command line tools are installed, run the sdkmanager command to complete the setup process:
sdkmanager --sdk_root=<android_sdk_path> "platform-tools" "build-tools;30.0.3" "platforms;android-29" "cmdline-tools;latest" "cmake;3.10.2.4988404" "ndk;21.4.7075529"
Note
If you are using Linux, do not use an Android SDK provided by your distribution's repositories as it will often be outdated.
Create a debug.keystore
Android needs a debug keystore file to install to devices and distribute
non-release APKs. If you have used the SDK before and have built
projects, ant or eclipse probably generated one for you (in the ~/.android directory on Linux and
macOS, in the C:\Users\<user>\.android\ directory on Windows).
If you can't find it or need to generate one, the keytool command from the JDK can be used for this purpose:
keytool -keyalg RSA -genkeypair -alias androiddebugkey -keypass android -keystore debug.keystore -storepass android -dname "CN=Android Debug,O=Android,C=US" -validity 9999 -deststoretype pkcs12
This will create a debug.keystore file in your current directory. You should move it to a memorable location such as %USERPROFILE%\.android\, because you will need its location in a later step. For more information on keytool usage, see this Q&A article.
Setting it up in Godot
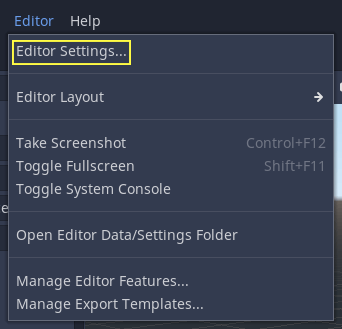
Enter the Editor Settings screen. This screen contains the editor settings for the user account in the computer (it's independent of the project).
Scroll down to the section where the Android settings are located:
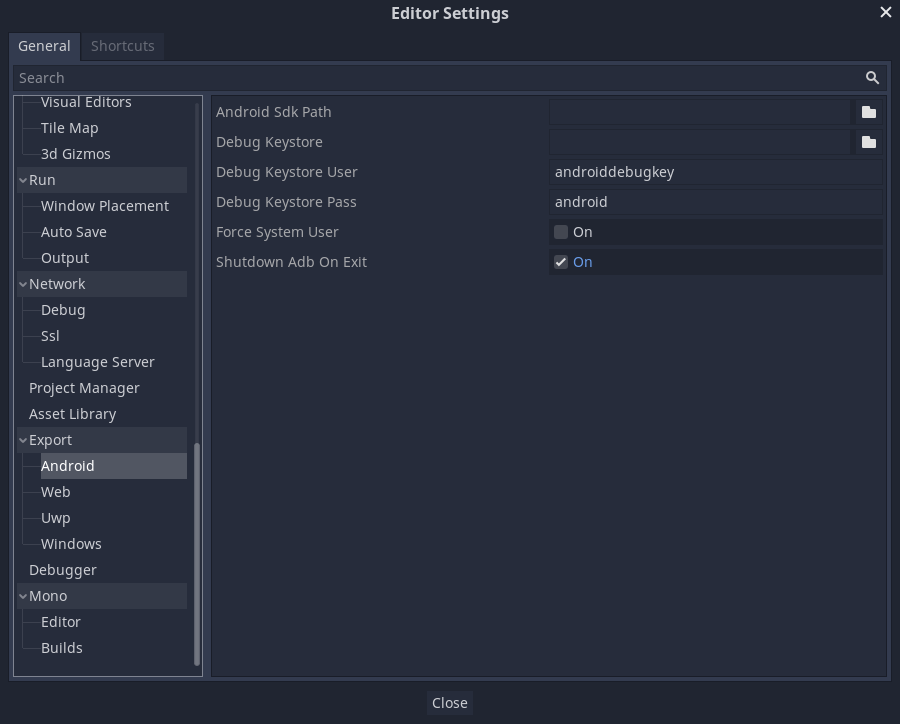
In that screen, 2 paths need to be set:
The
Android Sdk Pathshould be the location where the Android SDK was installed. - For example%LOCALAPPDATA%\Android\Sdk\on Windows or/Users/$USER/Library/Android/sdk/on macOS.The debug
.keystorefile - It can be found in the folder where you put thedebug.keystorefile you created above.
Once that is configured, everything is ready to export to Android!
Note
If you get an error saying "Could not install to device.", make sure you do not have an application with the same Android package name already installed on the device (but signed with a different key).
If you have an application with the same Android package name but a different signing key already installed on the device, you must remove the application in question from the Android device before exporting to Android again.
Providing launcher icons
Launcher icons are used by Android launcher apps to represent your application to users. Godot only requires high-resolution icons (for xxxhdpi density screens) and will automatically generate lower-resolution variants.
There are two types of icons required by Godot:
Main Icon: The "classic" icon. This will be used on all Android versions up to Android 8 (Oreo), exclusive. Must be at least 192×192 px.
Adaptive Icons: Starting from Android 8 (inclusive), Adaptive Icons were introduced. Applications will need to include separate background and foreground icons to have a native look. The user's launcher application will control the icon's animation and masking. Must be at least 432×432 px.
See also
It's important to adhere to some rules when designing adaptive icons. Google Design has provided a nice article that helps to understand those rules and some of the capabilities of adaptive icons.
Caution
The most important adaptive icon design rule is to have your icon critical elements inside the safe zone: a centered circle with a diameter of 66dp (264 pixels on xxxhdpi) to avoid being clipped by the launcher.
If you don't provide some of the requested icons, Godot will replace them using a fallback chain, trying the next in line when the current one fails:
Main Icon: Provided main icon -> Project icon -> Default Godot main icon.
Adaptive Icon Foreground: Provided foreground icon -> Provided main icon -> Project icon -> Default Godot foreground icon.
Adaptive Icon Background: Provided background icon -> Default Godot background icon.
It's highly recommended to provide all the requested icons with their specified resolutions. This way, your application will look great on all Android devices and versions.
Exporting for Google Play Store
Uploading an APK to Google's Play Store requires you to sign using a non-debug keystore file; such file can be generated like this:
keytool -v -genkey -keystore mygame.keystore -alias mygame -keyalg RSA -validity 10000
This keystore and key are used to verify your developer identity, remember the password and keep it in a safe place! Use Google's Android Developer guides to learn more about APK signing.
Now fill in the following forms in your Android Export Presets:
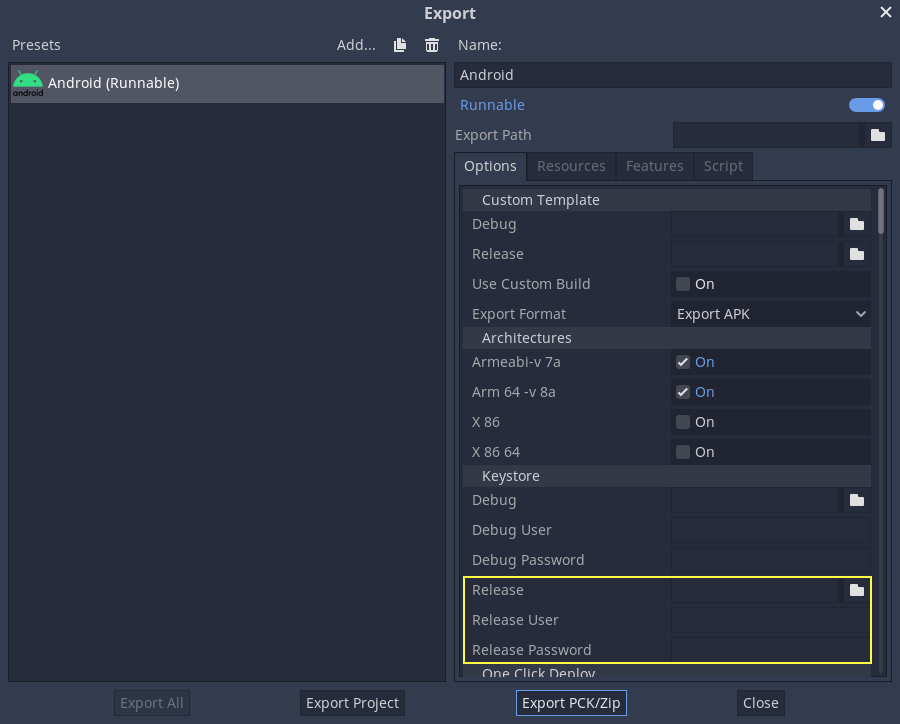
Release: Enter the path to the keystore file you just generated.
Release User: Replace with the key alias.
Release Password: Key password. Note that the keystore password and the key password currently have to be the same.
Your export_presets.cfg file now contains sensitive information. If you use
a version control system, you should remove it from public repositories and add
it to your .gitignore file or equivalent.
Don't forget to uncheck the Export With Debug checkbox while exporting.

Optimizing the APK size
By default, the APK will contain native libraries for both ARMv7 and ARMv8 architectures. This increases its size significantly. To create a smaller APK, uncheck either Armeabi-v 7a or Arm 64 -v 8a in your project's Android export preset. This will create an APK that only contains a library for a single architecture. Note that applications targeting ARMv7 can also run on ARMv8 devices, but the opposite is not true.
Since August 2019, Google Play requires all applications to be available in 64-bit form. This means you cannot upload an APK that contains just an ARMv7 library. To solve this, you can upload several APKs to Google Play using its Multiple APK support. Each APK should target a single architecture; creating an APK for ARMv7 and ARMv8 is usually sufficient to cover most devices in use today.
You can optimize the size further by compiling an Android export template with only the features you need. See Optimizing a build for size for more information.
Troubleshooting rendering issues
To improve out-of-the-box performance on mobile devices, Godot automatically uses low-end-friendly settings by default on both Android and iOS.
This can cause rendering issues that do not occur when running the project on a desktop platform. See Mobile rendering limitations for more information.