Attention: Here be dragons
This is the latest
(unstable) version of this documentation, which may document features
not available in or compatible with released stable versions of Godot.
Checking the stable version of the documentation...
自定义后期处理
介绍
Godot 开箱即用,自带了许多后处理特效,包括泛光(Bloom)、景深(DOF)和屏幕空间环境光遮蔽(SSAO),这些都在 环境和后期处理 文档中有详细说明。不过,一些进阶的使用场景可能需要用到自定义的特效。这篇文章就将教你如何编写属于你自己的自定义特效。
实现自定义后期处理着色器的最简单方法是使用Godot的内置功能从屏幕纹理中读取. 如果你不熟悉这个, 你应该先阅读 屏幕阅读着色器教程 .
单阶段后期处理
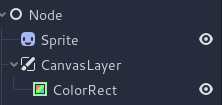
后处理特效(Post-processing effects)是指 Godot 渲染完一帧画面后,再叠加应用的着色器效果。要想给画面应用一个着色器,首先创建一个 CanvasLayer (画布层),然后在里面放一个 ColorRect 。接着,给这个新建的 ColorRect 分配一个新的 ShaderMaterial (着色器材质),并将 ColorRect 的锚点预设(anchor preset)设置为 Full Rect(全矩形):

将 ColorRect 节点的锚点预设(anchor preset)设置为 Full Rect(全矩形)
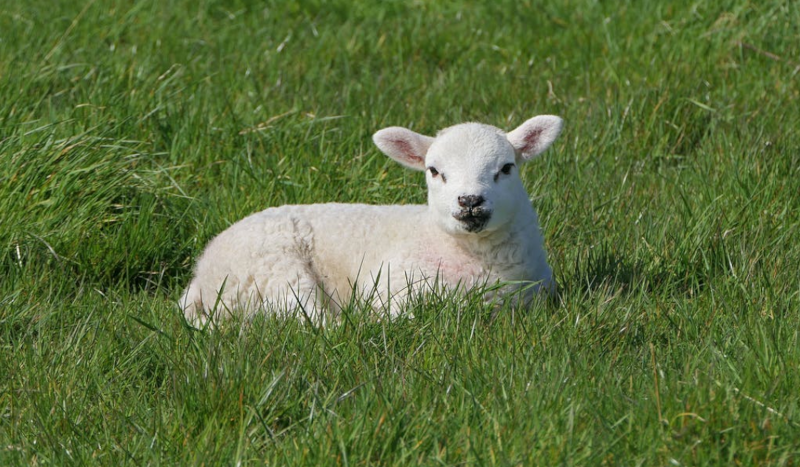
你的场景树应该类似这样:
备注
另一种更高效的方法是使用 BackBufferCopy 节点,把屏幕上的一块区域复制到一个缓冲区里。然后,你就可以在着色器脚本中,通过带有 hint_screen_texture 提示的 sampler2D 来访问并使用它啦。
备注
在撰写本文时,Godot 还不支持同时向多个缓冲区(buffers)进行渲染。因此,你的后处理着色器将无法访问那些 Godot 没有直接暴露出来的其他渲染通道和缓冲区(比如深度、法线或粗糙度等数据)。你只能获取到 Godot 以采样器(samplers)形式提供出来的最终渲染帧画面和特定的缓冲区。
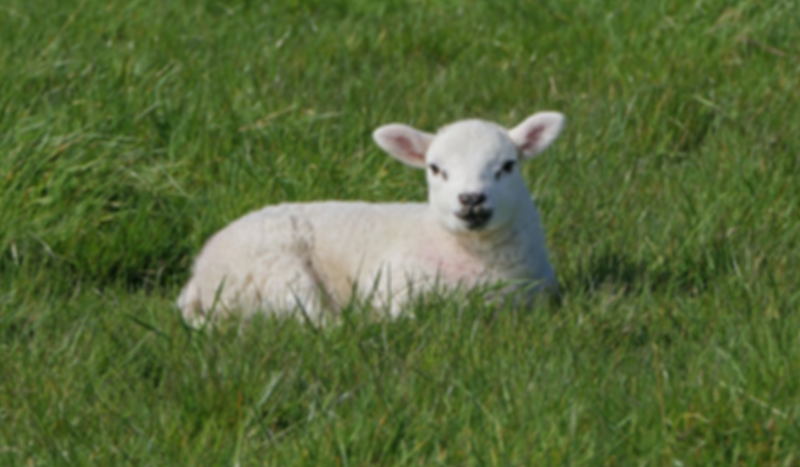
这个演示中,我们使用的是这张小羊的精灵。
给 ColorRect 的 ShaderMaterial (着色器材质)分配一个新的 Shader 。你可以使用带有 hint_screen_texture 提示的 sampler2D 以及内置的 SCREEN_UV 变量,来获取当前画面的纹理和 UV 坐标。
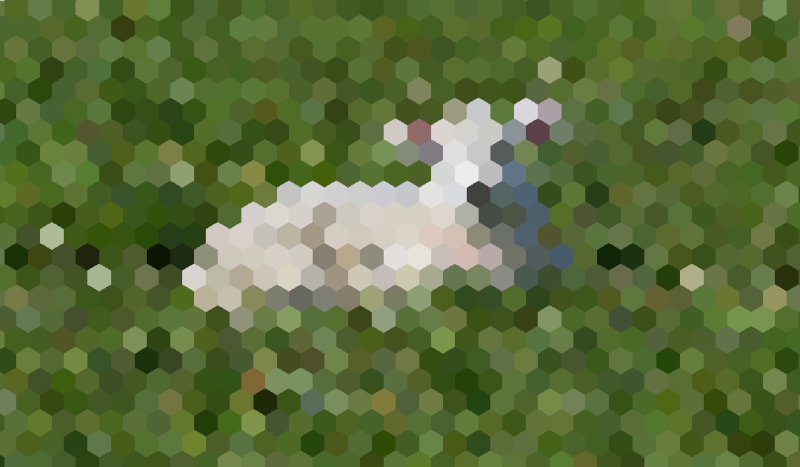
将以下代码复制到着色器. 上面的代码是单通道边缘检测滤波器, Sobel 滤波器 ,
shader_type canvas_item;

uniform vec2 size = vec2(32.0, 28.0);
// If you intend to read from mipmaps with `textureLod()` LOD values greater than `0.0`,
// use `filter_nearest_mipmap` instead. This shader doesn't require it.
uniform sampler2D screen_texture : hint_screen_texture, repeat_disable, filter_nearest;

void fragment() {
        vec2 norm_size = size * SCREEN_PIXEL_SIZE;
        bool less_than_half = mod(SCREEN_UV.y / 2.0, norm_size.y) / norm_size.y < 0.5;
        vec2 uv = SCREEN_UV + vec2(norm_size.x * 0.5 * float(less_than_half), 0.0);
        vec2 center_uv = floor(uv / norm_size) * norm_size;
        vec2 norm_uv = mod(uv, norm_size) / norm_size;
        center_uv += mix(vec2(0.0, 0.0),
                         mix(mix(vec2(norm_size.x, -norm_size.y),
                                 vec2(0.0, -norm_size.y),
                                 float(norm_uv.x < 0.5)),
                             mix(vec2(0.0, -norm_size.y),
                                 vec2(-norm_size.x, -norm_size.y),
                                 float(norm_uv.x < 0.5)),
                             float(less_than_half)),
                         float(norm_uv.y < 0.3333333) * float(norm_uv.y / 0.3333333 < (abs(norm_uv.x - 0.5) * 2.0)));

        COLOR = textureLod(screen_texture, center_uv, 0.0);
}
小羊就会变成这样:
多阶段后期处理
模糊之类的后期处理效果属于资源密集型效果,将其拆分为多个阶段就可以大幅提升运行速度。在多阶段材质中,每个阶段都会使用上一阶段的结果作为输入,从而进行处理。
想要实现一个多遍后处理着色器,你只需要把 CanvasLayer 和 ColorRect 节点像叠汉堡一样堆叠起来就行。在上面那个例子里,就是利用一个 CanvasLayer 对象,去获取它下面那一层的画面,然后在这张画面上运行着色器。除了节点结构(Node structure)稍微复杂一点之外,其他的操作步骤其实和单遍后处理着色器是一模一样的。
你的场景树应该类似这样:
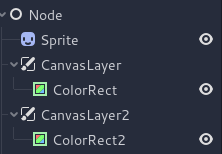
例如,可以通过将下面的代码段附加到每个 ColorRect 上来编写全屏高斯模糊效果。应用着色器的顺序取决于场景树中 CanvasLayer 的位置,越往上越早应用。对于这个模糊着色器而言,顺序是无所谓的。
shader_type canvas_item;

uniform sampler2D screen_texture : hint_screen_texture, repeat_disable, filter_nearest;

// Blurs the screen in the X-direction.
void fragment() {
    vec3 col = texture(screen_texture, SCREEN_UV).xyz * 0.16;
    col += texture(screen_texture, SCREEN_UV + vec2(SCREEN_PIXEL_SIZE.x, 0.0)).xyz * 0.15;
    col += texture(screen_texture, SCREEN_UV + vec2(-SCREEN_PIXEL_SIZE.x, 0.0)).xyz * 0.15;
    col += texture(screen_texture, SCREEN_UV + vec2(2.0 * SCREEN_PIXEL_SIZE.x, 0.0)).xyz * 0.12;
    col += texture(screen_texture, SCREEN_UV + vec2(2.0 * -SCREEN_PIXEL_SIZE.x, 0.0)).xyz * 0.12;
    col += texture(screen_texture, SCREEN_UV + vec2(3.0 * SCREEN_PIXEL_SIZE.x, 0.0)).xyz * 0.09;
    col += texture(screen_texture, SCREEN_UV + vec2(3.0 * -SCREEN_PIXEL_SIZE.x, 0.0)).xyz * 0.09;
    col += texture(screen_texture, SCREEN_UV + vec2(4.0 * SCREEN_PIXEL_SIZE.x, 0.0)).xyz * 0.05;
    col += texture(screen_texture, SCREEN_UV + vec2(4.0 * -SCREEN_PIXEL_SIZE.x, 0.0)).xyz * 0.05;
    COLOR.xyz = col;
}
shader_type canvas_item;

uniform sampler2D screen_texture : hint_screen_texture, repeat_disable, filter_nearest;

// Blurs the screen in the Y-direction.
void fragment() {
    vec3 col = texture(screen_texture, SCREEN_UV).xyz * 0.16;
    col += texture(screen_texture, SCREEN_UV + vec2(0.0, SCREEN_PIXEL_SIZE.y)).xyz * 0.15;
    col += texture(screen_texture, SCREEN_UV + vec2(0.0, -SCREEN_PIXEL_SIZE.y)).xyz * 0.15;
    col += texture(screen_texture, SCREEN_UV + vec2(0.0, 2.0 * SCREEN_PIXEL_SIZE.y)).xyz * 0.12;
    col += texture(screen_texture, SCREEN_UV + vec2(0.0, 2.0 * -SCREEN_PIXEL_SIZE.y)).xyz * 0.12;
    col += texture(screen_texture, SCREEN_UV + vec2(0.0, 3.0 * SCREEN_PIXEL_SIZE.y)).xyz * 0.09;
    col += texture(screen_texture, SCREEN_UV + vec2(0.0, 3.0 * -SCREEN_PIXEL_SIZE.y)).xyz * 0.09;
    col += texture(screen_texture, SCREEN_UV + vec2(0.0, 4.0 * SCREEN_PIXEL_SIZE.y)).xyz * 0.05;
    col += texture(screen_texture, SCREEN_UV + vec2(0.0, 4.0 * -SCREEN_PIXEL_SIZE.y)).xyz * 0.05;
    COLOR.xyz = col;
}
使用上面的代码, 你应该得到如下所示的全屏模糊效果.