Work in progress
The content of this page was not yet updated for Godot
4.5
and may be outdated. If you know how to improve this page or you can confirm
that it's up to date, feel free to open a pull request.
Using SoftBody3D
Les corps mous (ou corps mou dynamique) simulent les mouvements, les changements de forme et d'autres propriétés physiques des objets déformables. Ceci peut par exemple être utilisé pour simuler le tissu ou pour créer des personnages plus réalistes.
Configuration de base
Un nœud SoftBody3D est utilisé pour les simulations de corps mou.
Nous allons créer un cube gonflable pour démontrer la mise en place d'un corps mou.
Create a new scene with a Node3D node as root. Then, create a SoftBody3D node. Add a CubeMesh in the mesh property of the node in the inspector and increase the subdivision of the mesh for simulation.
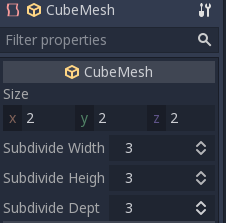
Réglez les paramètres pour obtenir le type de corps mou que vous recherchez. Essayez de maintenir la Simulation Precision au-dessus de 5, sinon le corps mou risque de s'effondrer.
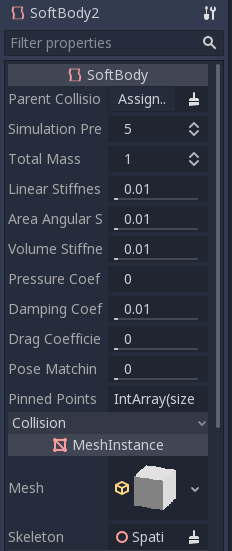
Note
Manipulez certains paramètres avec précaution, car certaines valeurs peuvent conduire à des résultats étranges. Par exemple, si la forme n'est pas complètement fermée et que vous réglez la pression à plus de 0, le corps mou volera comme un sac plastique sous un vent fort.
Jouez la scène pour voir la simulation.
Astuce
Pour améliorer le résultat de la simulation, augmentez la Simulation Precision, cela donnera une amélioration significative au prix de la performance.
Simulation de cape
Faisons une cape dans la démo de Platformer3D.
Note
Vous pouvez télécharger la démo de Platformer3D sur GitHub ou la bibliothèque de ressources.
Open the Player scene, add a SoftBody3D node and assign a PlaneMesh to it.
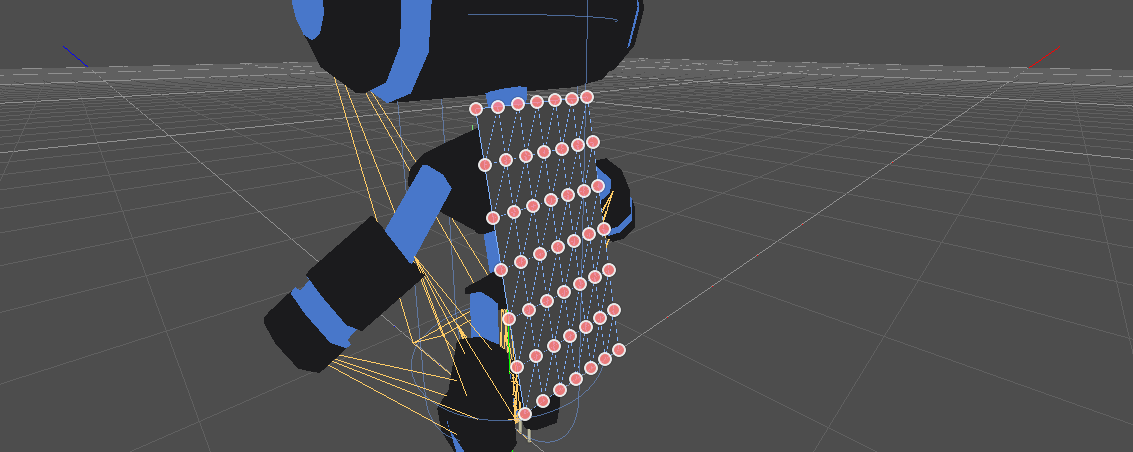
Open the PlaneMesh properties and set the size(x: 0.5 y: 1) then set Subdivide Width and Subdivide Depth to 5. Adjust the SoftBody3D's position. You should end up with something like this:
Astuce
La subdivision génère un mesh davantage tessellé pour de meilleur simulations.
Ajoutez un nœud BoneAttachment3D sous le nœud squelette et sélectionnez l'os du cou pour attacher la cape au squelette du personnage.
Note
BoneAttachment3D node is to attach objects to a bone of an armature. The attached object will follow the bone's movement, weapon of a character can be attached this way.
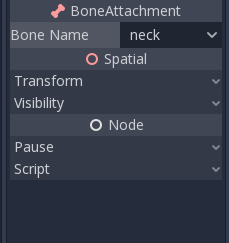
To create pinned joints, select the upper vertices in the SoftBody3D node:
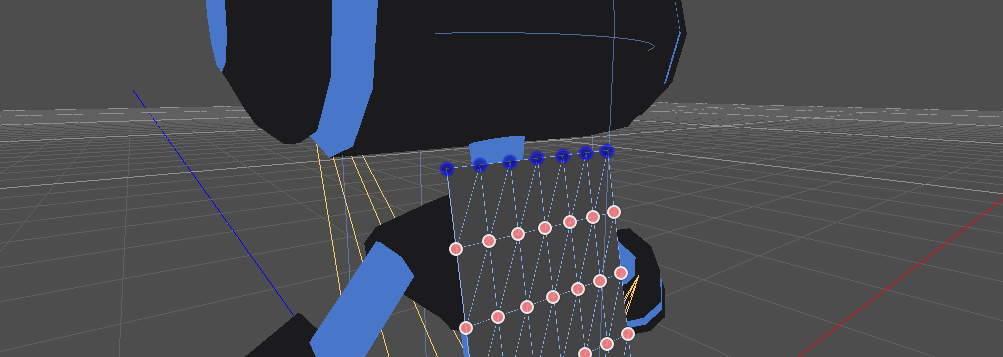
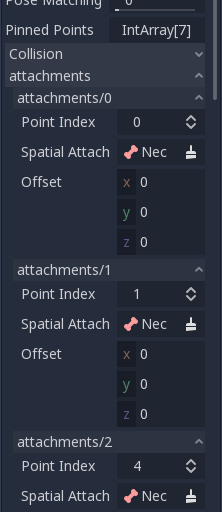
The pinned joints can be found in SoftBody3D's Attachments property, choose the BoneAttachment as the SpatialAttachment for each pinned joints, the pinned joints are now attached to the neck.
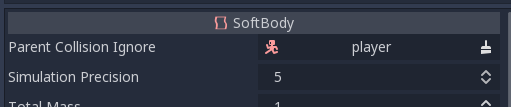
Last step is to avoid clipping by adding the Kinematic Body Player to Parent Collision Ignore of the SoftBody3D.
Jouez la scène et la cape devrait être simuler correctement.
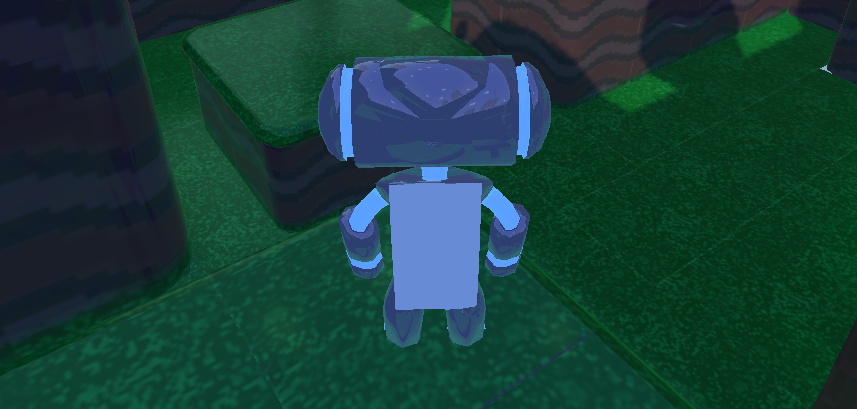
Ceci couvre les réglages de base du softbody, expérimentez avec les paramètres pour obtenir l'effet que vous visez en faisant votre jeu.
Using Imported Meshes
The Save to File option in the Advanced Import Settings dialog allows you
to save a mesh to a standalone resource file that you can then attach to
SoftBody3D nodes.
You may also want to disable LOD generation or change the LOD generation options
when importing a mesh for use with SoftBody3D. The default import settings
will produce an LOD that merges adjacent faces that are nearly flat with
respect to each other, even at very close render distances. This works well for
static meshes, but is often undesirable for use with SoftBody3D if you want
these faces to be able to bend and move with respect to each other, instead of
being rendered as a single plane.
See Import configuration and Niveau de détail d'un maillage (LOD) for more details.