Up to date
This page is up to date for Godot 4.3.
If you still find outdated information, please open an issue.
First look at Godot's interface
ここでは、Godot のインターフェイスについて簡単に説明します。様々なメイン画面とドックした画面を見せることが、あなたの画面構成の助けになるはずです。
参考
For a comprehensive breakdown of the editor's interface and how to use it, see the Editor manual.
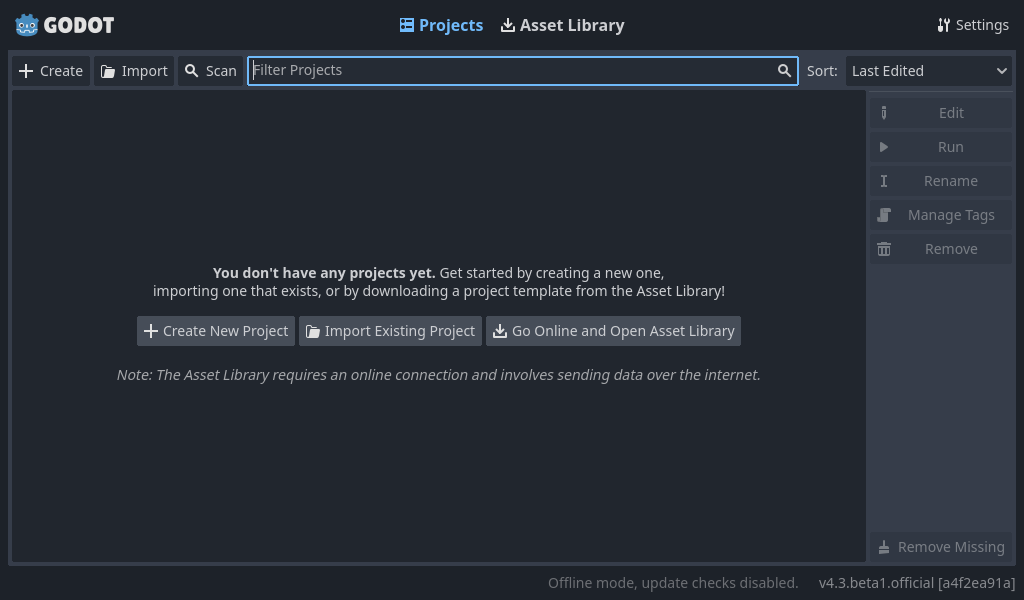
プロジェクトマネージャー
When you launch Godot, the first window you see is the Project Manager. In the default tab Projects, you can manage existing projects, import or create new ones, and more.
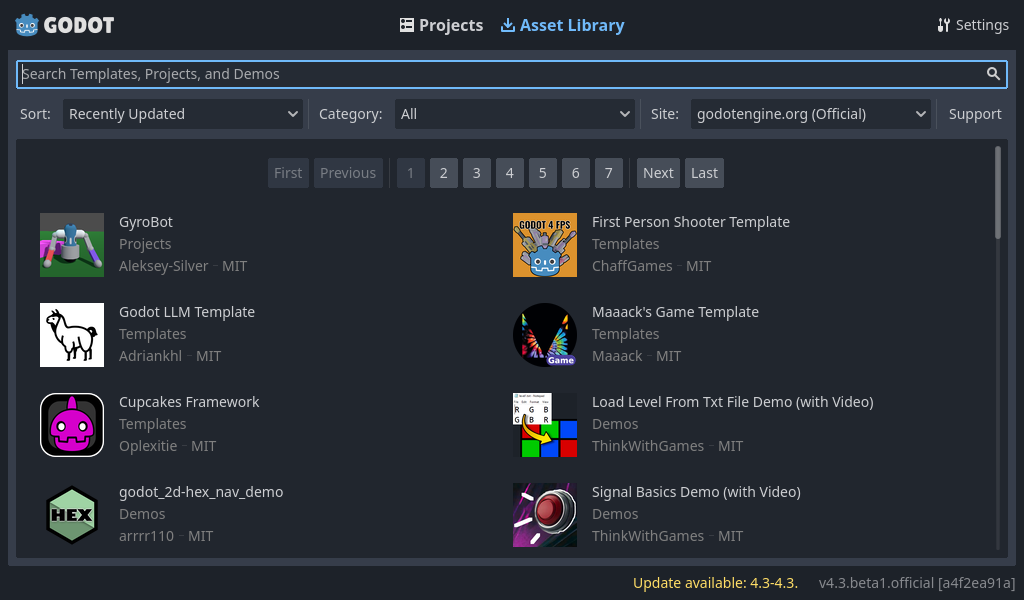
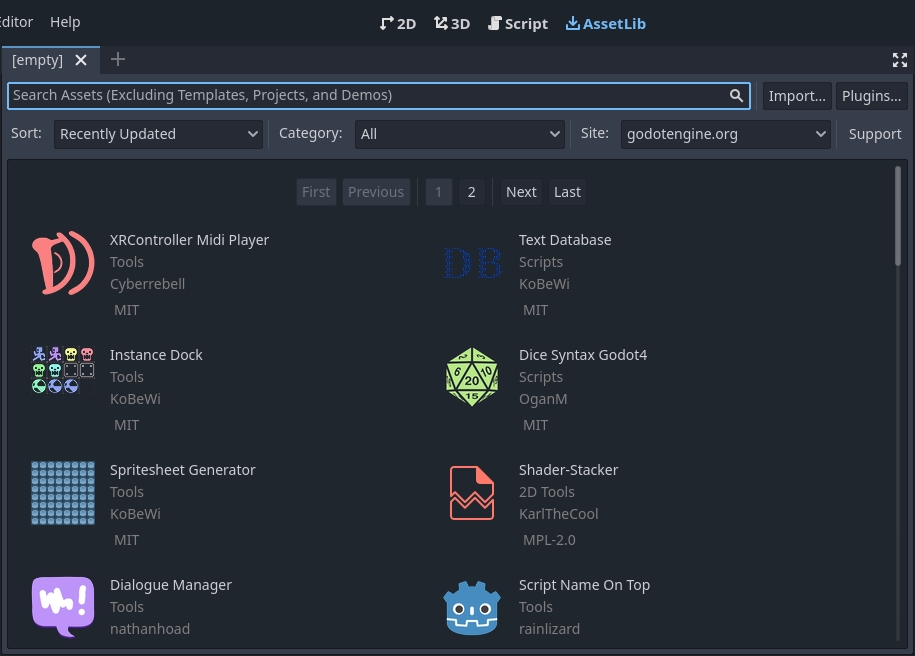
At the top of the window, there is another tab named Asset Library. The first time you go to this tab you'll see a "Go Online" button. For privacy reasons, the Godot project manager does not access the internet by default. To change this click the "Go Online" button. You can change this option later in the settings.
Once your network mode is set to "online", you can search for demo projects in the open source asset library, which includes many projects developed by the community:
The Project Manager's settings can be opened using the Settings menu:
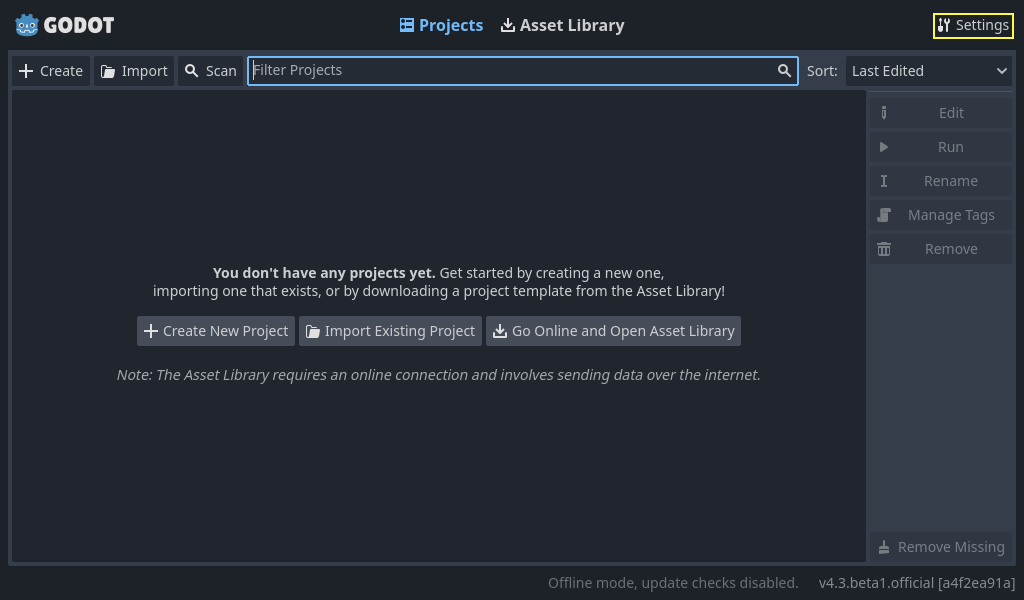
From here, you can change the editor's language (default is the system language), interface theme, display scale, network mode, and also the directory naming convention.
参考
プロジェクトマネージャーの詳細については、 プロジェクトマネージャーの使用 をお読みください。
はじめてのGodotエディタ
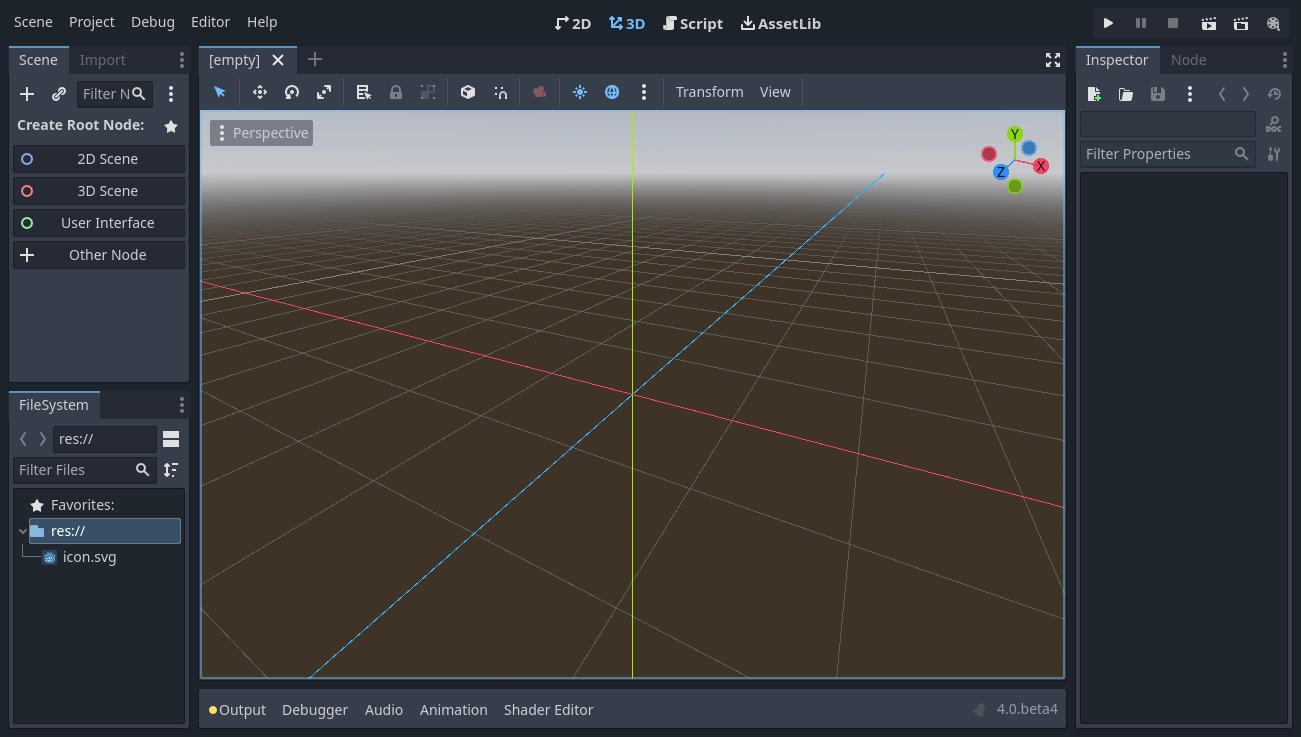
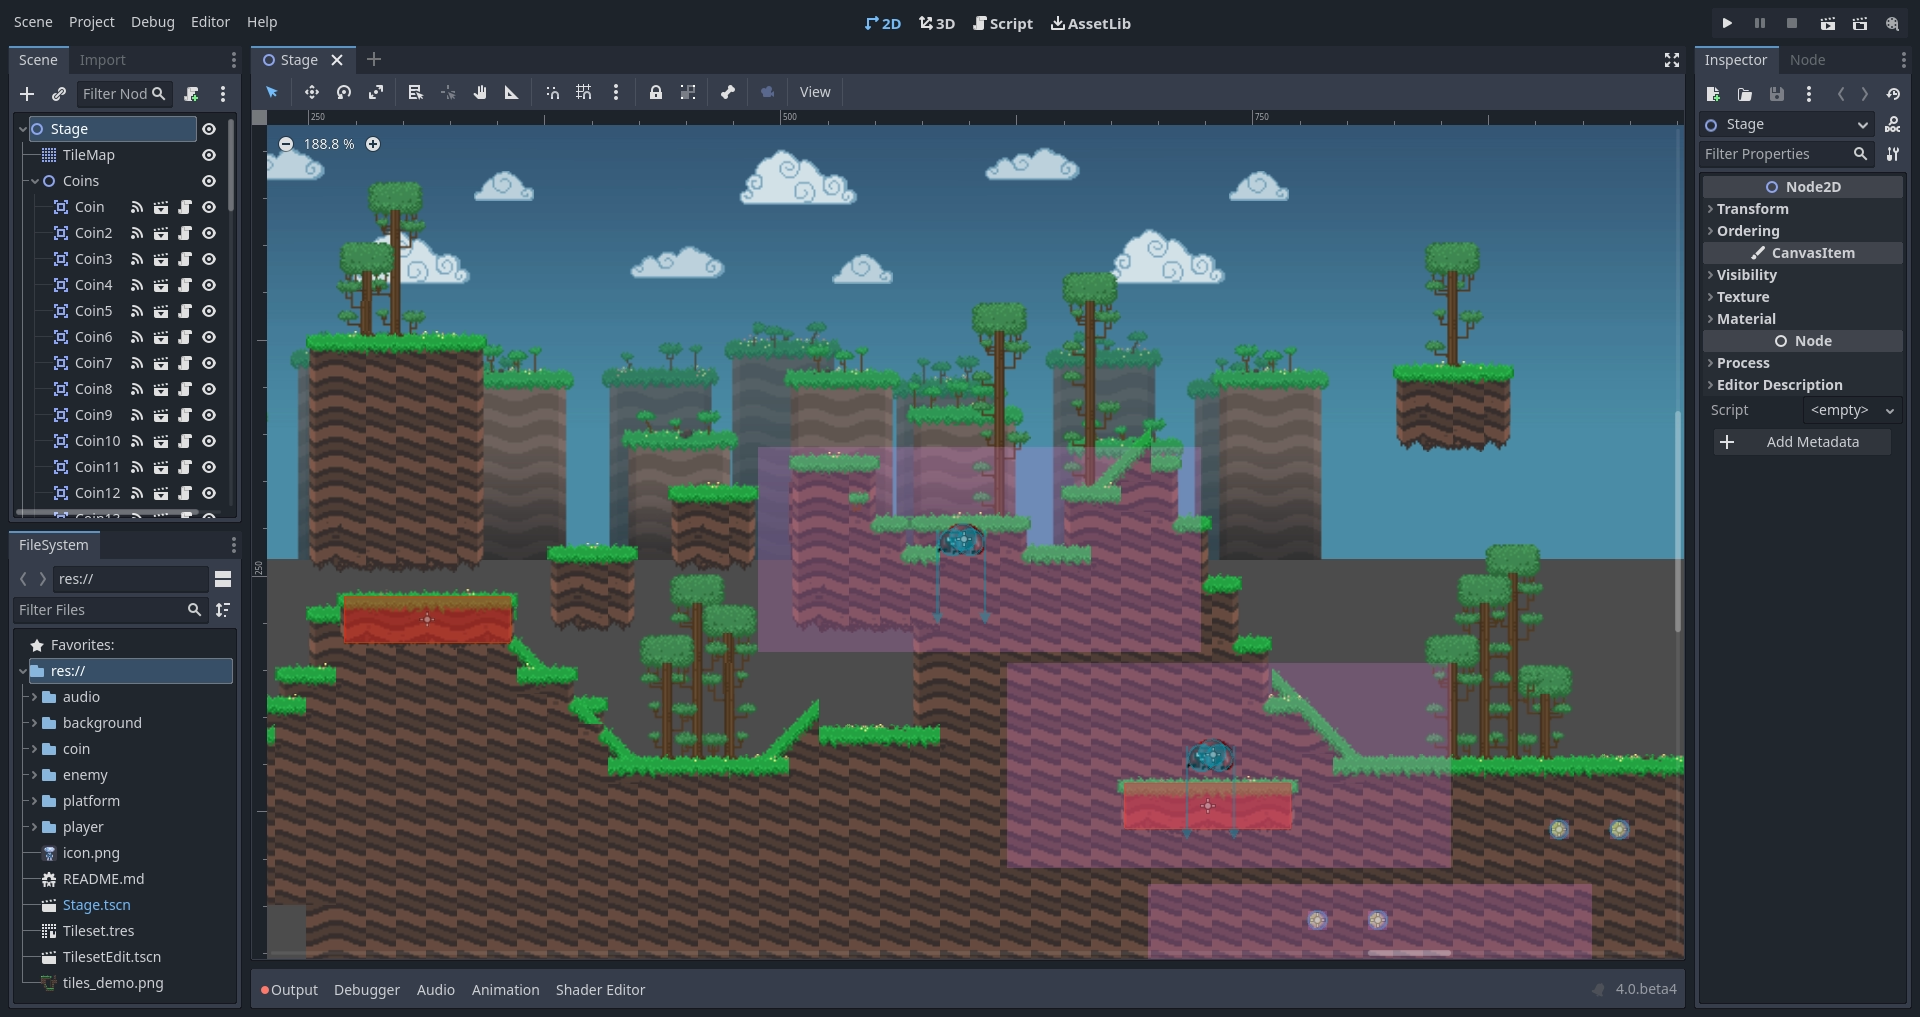
When you open a new or an existing project, the editor's interface appears. Let's look at its main areas:
By default, along the window's top edge, it features main menu on the left, workspace switching buttons in the center (active workspace is highlighted), and playtest buttons on the right:

Just below the workspace buttons, the opened scenes as tabs are seen. The plus (+) button right next to the tabs will add a new scene to the project. With the button on the far right, distraction-free mode can be toggled, which maximizes or restores the viewport's size by hiding docks in the interface:

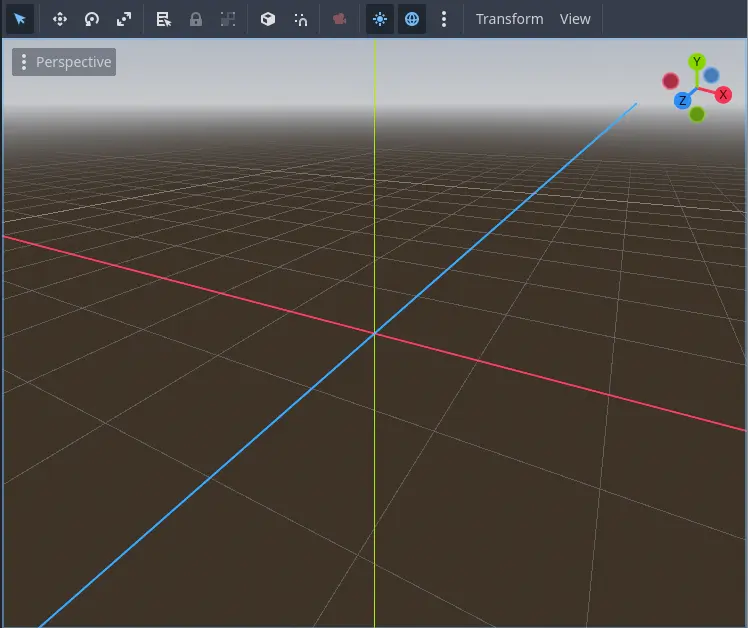
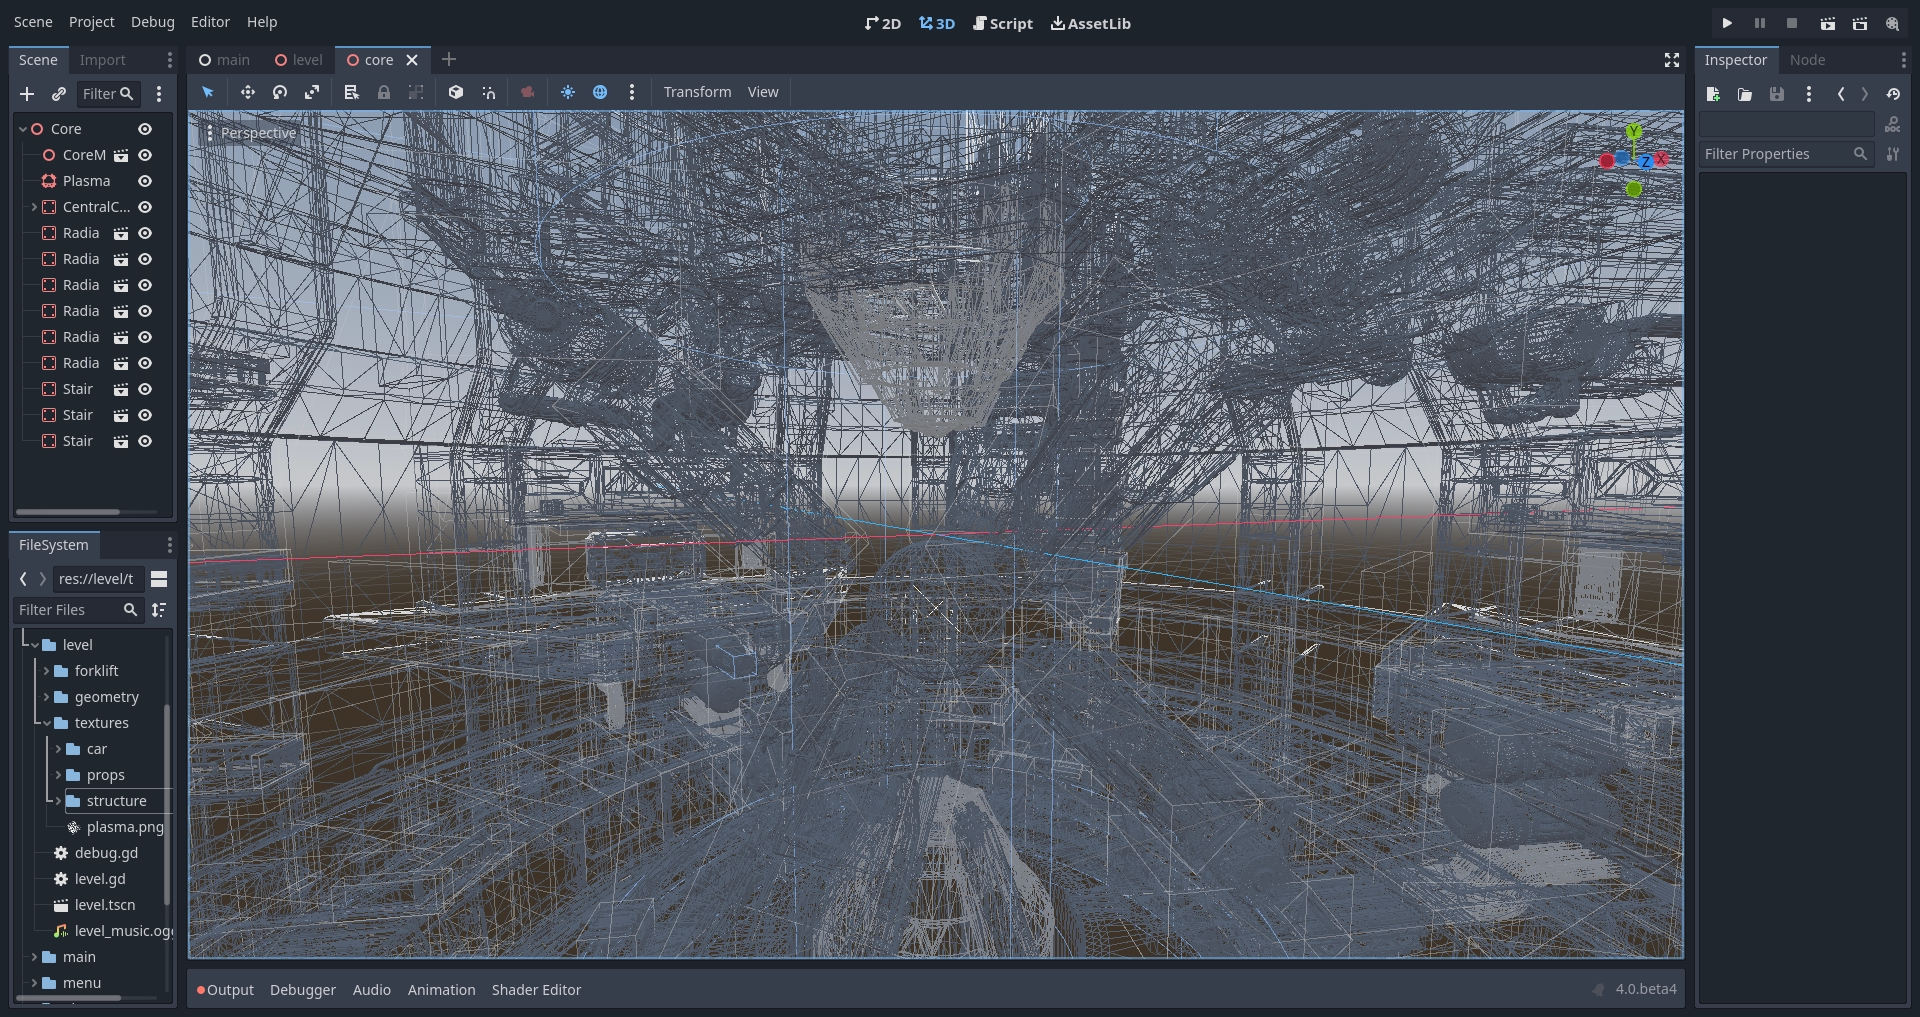
In the center, below the scene selector is the viewport with its toolbar at the top, where you'll find different tools to move, scale, or lock the scene's nodes (currently the 3D workspace is active):
This toolbar changes based on the context and selected node. Here is the 2D toolbar:

Below is the 3D one:

参考
To learn more on workspaces, read 4つのワークスペース (メイン画面).
参考
To learn more on the 3D viewport and 3D in general, read 3Dの概要.
ビューポートの両側には ドックしたパネル が配置されていて、画面下には 下パネル が並んでいます。
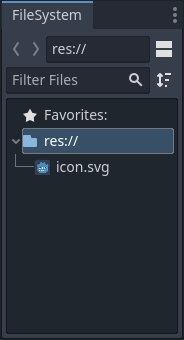
Let's look at the docks. The FileSystem dock lists your project files, including scripts, images, audio samples, and more:
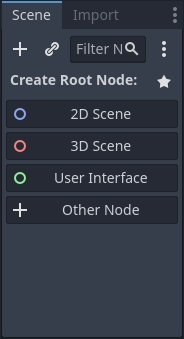
The Scene dock lists the active scene's nodes:
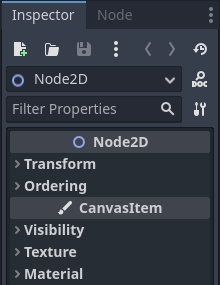
The Inspector allows you to edit the properties of a selected node:
参考
To read more on inspector, see インスペクタ.
参考
Docks can be customized. Read more on Moving and resizing docks.
The bottom panel, situated below the viewport, is the host for the debug console, the animation editor, the audio mixer, and more. They can take precious space, that's why they're folded by default:

When you click on one, it expands vertically. Below, you can see the animation editor opened:
Bottom panels can also be shown or hidden using the shortcuts defined in Editor Settings > Shortcuts, under the Bottom Panels category.
4つのワークスペース (メイン画面)
There are four main screen buttons centered at the top of the editor: 2D, 3D, Script, and Asset Library.
2D ワークスペース はあらゆる種類のゲームおいて使用されます。2D ゲームだけでなく、2D ワークスペースでインターフェイスを構築する場合にも使用します。
3D ワークスペース では、3D ゲームにおける、メッシュモデルや光源の操作、レベルデザインといった作業がおこなえます。
注釈
3Dワークスペースの詳細については3Dの概要をご覧ください。
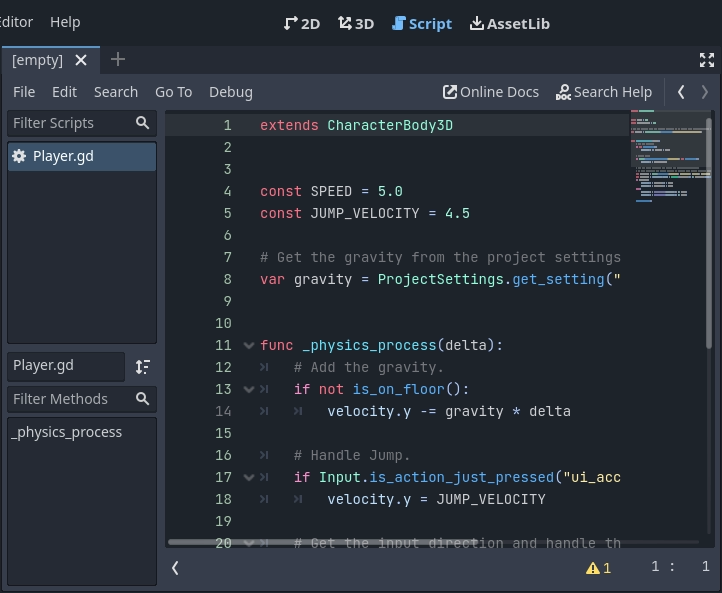
スクリプト画面 ではオートコンプリートと組み込みのコードリファレンス、デバッガーを備えた、完全なコードエディタが使用できます。
Finally, the Asset Library is a library of free and open source add-ons, scripts, and assets to use in your projects.
参考
アセットライブラリーの詳細については、アセットライブラリについて を参照してください。
統合されたクラスリファレンス
Godotには組み込みクラスのリファレンスが付属しています。
クラス、メソッド、プロパティ、定数、シグナルに関する情報は、以下のいずれかの方法で検索できます。
Pressing F1 (or Opt + Space on macOS, or Fn + F1 for laptops with a Fn key) anywhere in the editor.
スクリプト画面の右上にある「ヘルプを検索」ボタンをクリックする。
「ヘルプ」メニューをクリックし、「ヘルプを検索」する。
スクリプトエディター内で、クラス名、関数名、組み込み変数の上で Ctrl + Click (macOS では Cmd + Click ) する。

これらのいずれかを行うと、ウィンドウがポップアップします。タイプして任意の項目を検索することができます。また、利用可能なオブジェクトやメソッドを閲覧するのにも使用できます。
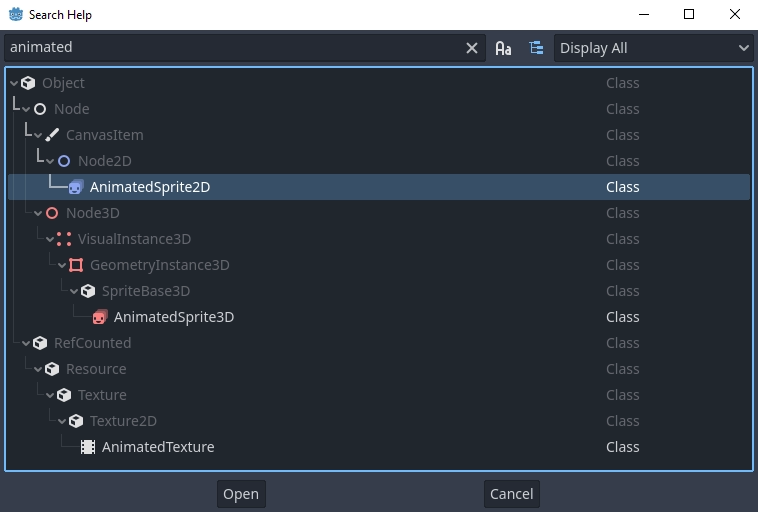
項目をダブルクリックすると、対応するページがスクリプトのメイン画面に表示されます。
Alternatively,
Clicking while pressing the Ctrl key on a class name, function name, or built-in variable in the script editor.
Right-clicking on nodes and choosing Open Documentation or choosing Lookup Symbol for elements in script editor will directly open their documentation.