部署到 Android
設定
多數獨立式頭戴式裝置(HMD)運行於 Android,OpenXR 支援正逐步進入這些平台。
在開始本頁有關 OpenXR 的專屬說明前,請先完成一般 Android 匯出相關系統設定,包括:
安裝 OpenJDK 17
安裝 Android Studio
Configuring the location of the Android SDK in Godot
詳情請參閱 為 Android 匯出,完成上述步驟後請回到本頁繼續。
警告
雖然 Mobile Vulkan 算繪器針對行動裝置做了多項優化,但目前尚有部分問題待解決。建議暫時針對 Android XR 裝置使用相容性算繪器(OpenGL)。
Gradle Android 建置
備註
OpenXR 規範起初未正式支援 Android 平台,導致各家廠商自行實作專屬載入器以讓 OpenXR 可於其頭顯運作。長期來看,預期所有廠商都會改用官方 OpenXR 載入器,但目前仍需將這些載入器加入專案中。
若要將廠商專屬的 OpenXR 載入器加入專案,必須設定 Gradle Android 建置。
在 專案 選單中選擇 安裝 Android 建置範本...:
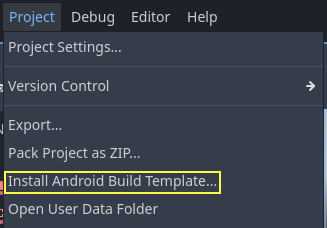
這會在你的專案資料夾內建立一個名為 android 的資料夾,裡面包含 Android 所需的所有執行檔案。你可以自訂這份安裝內容。Godot 編輯器不會顯示這個資料夾,但可用檔案總管找到。
你可以於 適用於 Android 的 Gradle 建置 了解更多有關 Gradle 建置的資訊。
安裝廠商外掛
The vendors plugin can be downloaded from the asset library, search for "OpenXR vendors" and install the one named "Godot OpenXR Vendors plugin for Godot 4.3".

You will find the installed files inside the addons folder. Alternatively you can manually install the vendors plugin by downloading it from the release page here. You will need to copy the assets/addons/godotopenxrvendors folder from the zip file into your projects addons folder.
你可以在 這裡 找到廠商外掛的原始碼倉庫。
建立匯出預設
每個裝置都需建立各自的匯出預設,因為每台裝置都需要納入對應的載入器。
開啟 專案 並選擇 匯出...,點擊 新增... 並選 Android。接著將此匯出預設重新命名(例如:Meta Quest),並啟用 使用 Gradle 建置。若想啟動一鍵部署(見下文),請確保啟用 可執行。
If the vendors plugins were installed correctly you should find entries for the different headsets under XR Features. Change the XR Mode to OpenXR, then select the entry for your headset if you see one. If you don't see one enable the Khronos plugin.
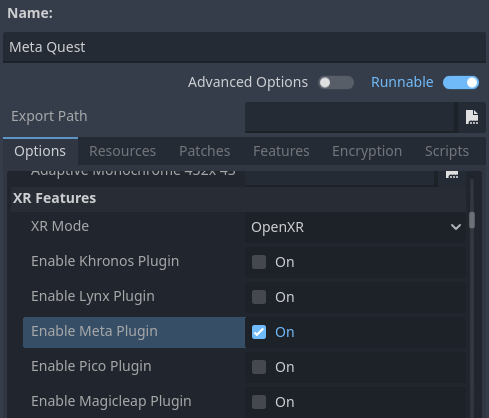
Scroll to the bottom of the list and you'll find additional XR feature sections, currently only Meta XR Features, Pico XR Features, Magicleap XR Features and Khronos XR Features for HTC are available. You will need to select the appropriate settings if you wish to use these features.
從 Godot 編輯器在裝置上執行
若你已依前述設定好匯出選項,並將頭顯正確連接至電腦且設備已被正確辨識,即可從 Godot 編輯器直接利用 單鍵部署 啟動:
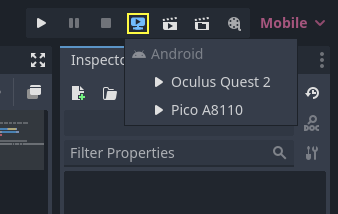
某些平台或裝置可能需額外步驟才能被正確識別,請參考各廠商的開發者文件。
例如,Meta Quest 2 需先在頭顯上啟用開發者模式;若使用 Windows,還要安裝專用的 ADB 驅動程式。詳情請參考 Meta Quest 官方開發者文件。
若遇到一鍵部署相關問題,請參考 故障排除。