Up to date
This page is up to date for Godot 4.2.
If you still find outdated information, please open an issue.
Введення в 3D
Creating a 3D game can be challenging. That extra Z coordinate makes many of the common techniques that helped to make 2D games simpler no longer work. To aid in this transition, it is worth mentioning that Godot uses similar APIs for 2D and 3D. Most nodes are the same and are present in both 2D and 3D versions. In fact, it is worth checking the 3D platformer tutorial, or the 3D kinematic character tutorials, which are almost identical to their 2D counterparts.
У 3D математика трохи складніша, ніж у 2D, тому варто переглянути статтю Векторна математика у вікі (яка була спеціально створена для розробників ігор, а не математиків, чи інженерів), яка допоможе вам ефективно розробляти 3D-ігри.
Node3D node
Node2D is the base node for 2D. Control is the base node for everything GUI. Following this reasoning, the 3D engine uses the Node3D node for everything 3D.
Примітка
Be aware that "Spatial" Nodes are now called "Node3D" starting with Godot 4. Any Godot 3.x references to "Spatial" Nodes refer to "Node3D" in Godot 4.
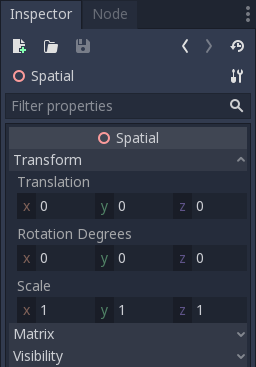
Node3Ds have a local transform, which is relative to the parent node (as long as the parent node is also of or inherits from the type Node3D). This transform can be accessed as a 4×3 Transform3D, or as 3 Vector3 members representing location, Euler rotation (X, Y and Z angles) and scale.
3D-вміст
Unlike 2D, where loading image content and drawing is straightforward, 3D is a little more difficult. The content needs to be created with special 3D tools (also called Digital Content Creation tools, or DCCs) and exported to an exchange file format to be imported in Godot. This is required since 3D formats are not as standardized as images.
Згенерована геометрія
Створити власну геометрію можна за допомогою безпосереднього ресурсу ArrayMesh. Просто створіть свої масиви та використовуйте функцію ArrayMesh.add_surface_from_arrays(). Також доступний допоміжний клас SurfaceTool, який надає простіший API та помічників для індексації, генерування норм, дотичних тощо.
У будь-якому випадку цей метод призначений для генерації статичної геометрії (моделі, які не будуть оновлюватися часто), так як створення вершинних масивів і перенесення їх в 3D API створює значні навантаження на продуктивність.
Безпосередня геометрія
If, instead, you need to generate simple geometry that will be updated often, Godot provides a special ImmediateMesh resource that can be used in a MeshInstance3D node. This provides an OpenGL 1.x-style immediate-mode API to create points, lines, triangles, etc.
2D в 3D
Godot містить потужний 2D-рушій, однак багато типів ігор використовують 2D в 3D-середовищі. Використовуючи фіксовану камеру (або ортогональну, або перспективну), яка не обертається, такі вузли, як Sprite3D та AnimatedSprite3D, можуть бути використані для створення 2D-ігор, які використовують переваги змішування з 3D-фонами, реалістичнішими паралаксами, світловими/тіньовими ефектами тощо.
Недоліком, звичайно ж, є те, що зростає складність і падає продуктивність в порівнянні з простим 2D, а також відсутність прив'язки до роботи з пікселями.
Середовище
Крім редагування сцени, часто треба редагувати навколишнє середовище. Godot надає вузол WorldEnvironment, який дозволяє змінювати колір фону, режим (наприклад відображення коробки неба) і застосовувати кілька типів вбудованих ефектів після обробки. Середовища також можуть бути перевизначені в вузлі Камери.
3D вікно перегляду
Editing 3D scenes is done in the 3D tab. This tab can be selected manually, but it will be automatically enabled when a Node3D node is selected.
Елементи керування навігацією 3D-сцени за замовчуванням схожі на Blender (з метою мати якусь узгодженість у вільному програмному конвеєрі..), але в параметрах редактора можна налаштувати власні параметри для налаштування кнопок мишки та поведінки і отримати схожість з іншими програмами:

Система координат
Godot використовує метричну систему для всього в 3D, причому 1 одиниця дорівнює 1 метру. Фізика та все інше пристосовані до цієї шкали. Тому спроба використовувати іншу шкалу, як правило, погана ідея (якщо ви не знаєте, що ви робите).
When working with 3D assets, it's always best to work in the correct scale (set the unit to metric in your 3D modeling software). Godot allows scaling post-import and, while this works in most cases, in rare situations it may introduce floating-point precision issues (and thus, glitches or artifacts) in delicate areas such as rendering or physics. Make sure your artists always work in the right scale!
The Y coordinate is used for "up". As for the horizontal X/Z axes, Godot uses a right-handed coordinate system. This means that for most objects that need alignment (such as lights or cameras), the Z axis is used as a "pointing towards" direction. This convention roughly means that:
X це сторони
Y це верх і низ
Z це перед і зад
See this chart for comparison with other 3D software:
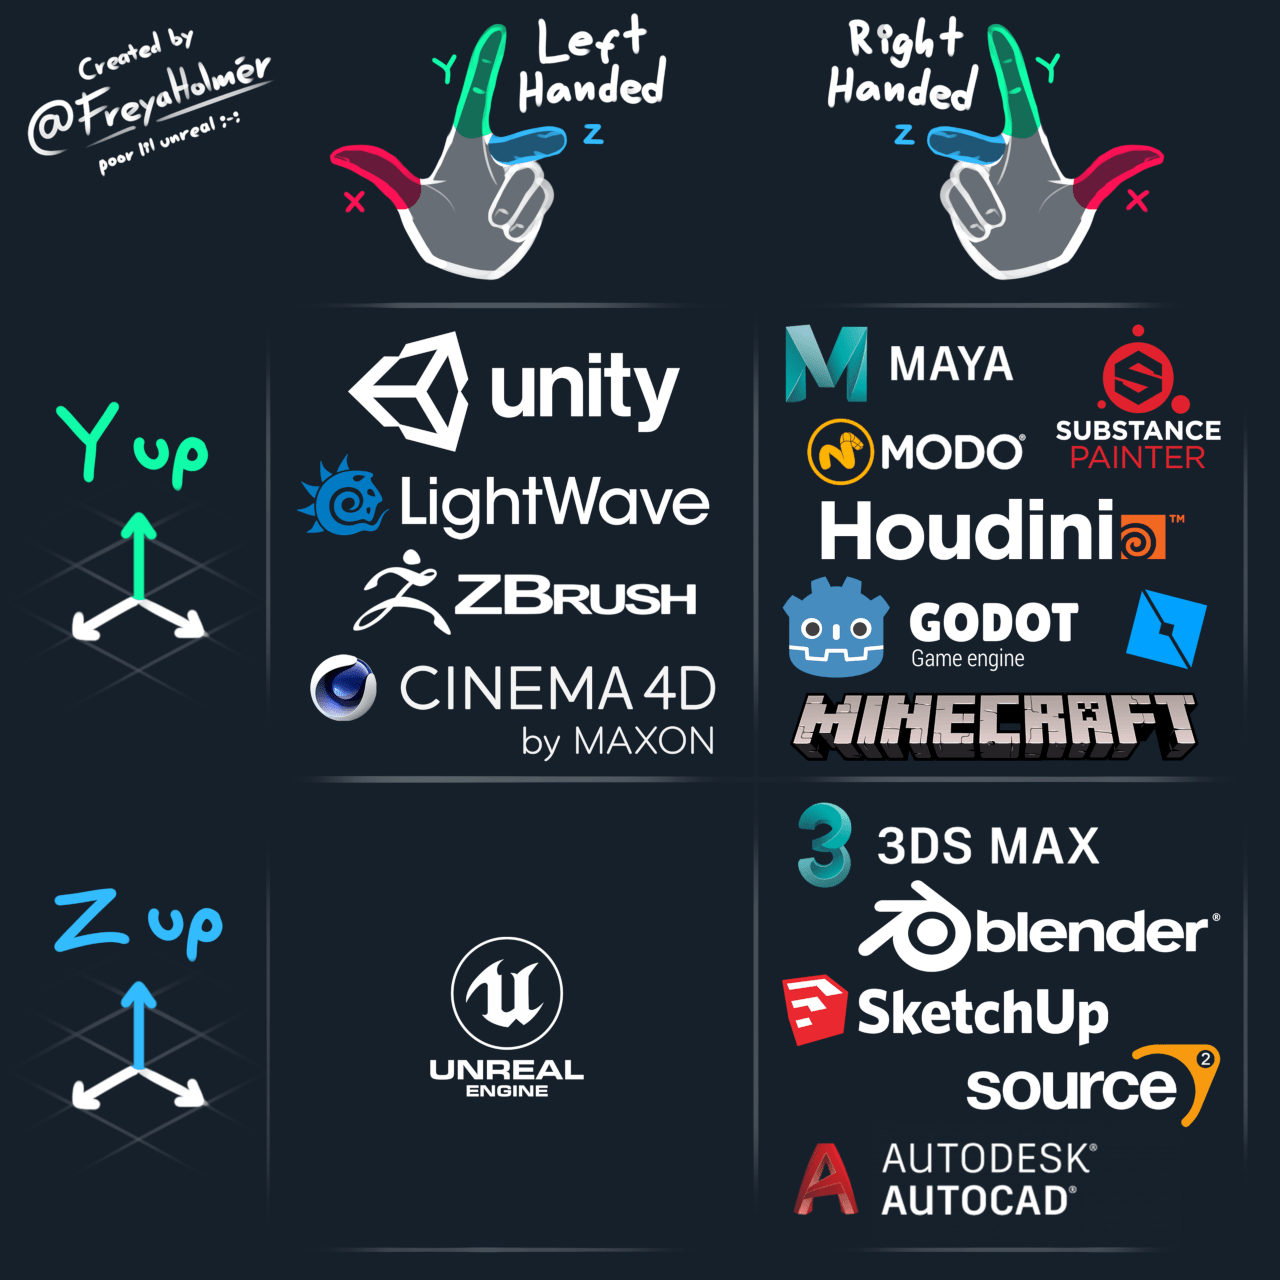
Image by Freya Holmér
Простір і маніпуляція gizmos
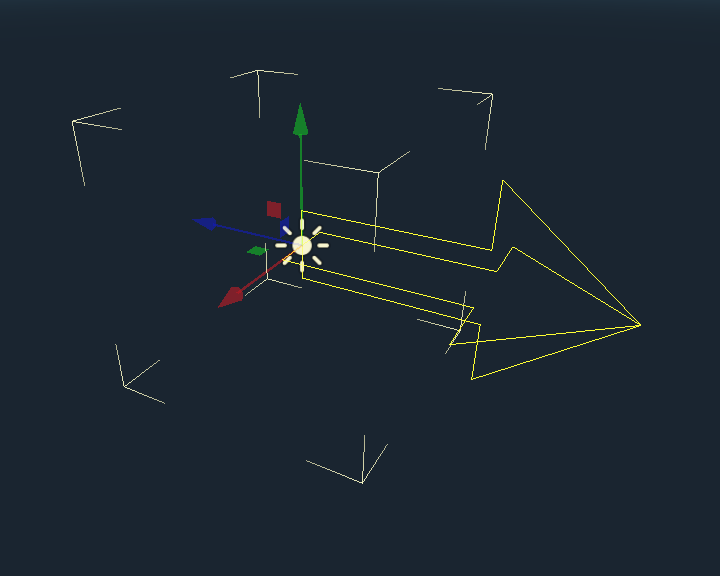
Переміщення об'єктів в 3D здійснюється через маніпулятор гізмо. Кожна вісь представлена кольором: Червоний, Зелений, Синій позначають X, Y, Z відповідно. Ця конвенція відноситься і до сітки та інших гізмо (а також до мови шейдера, порядку компонентів для Vector3, Color і т. д.).
Деякі корисні прив'язки клавіш:
Щоб прив'язати розміщення, або обертання, натисніть Ctrl під час переміщення, масштабування, або обертання.
Щоб центрувати вид на виділеному об'єкті, натисніть клавішу F.
Using Blender-style transform shortcuts
Since Godot 4.2, you can enable Blender-style shortcuts for translating, rotating and scaling nodes. In Blender, these shortcuts are:
G for translating
R for rotating
S for scaling
After pressing a shortcut key while focusing on the 3D editor viewport, move the mouse or enter a number to move the selected node(s) by the specified amount in 3D units. You can constrain movement to a specific axis by specifying the axis as a letter, then the distance (if entering a value with the keyboard).
For instance, to move the selection upwards by 2.5 units, enter the following sequence in order (Y+ is upwards in Godot):
G-Y-2-.-5-Enter
To use Blender-style transform shortcuts in Godot, go to the Editor Settings' Shortcuts tab, then in the Spatial Editor section:
Bind Begin Translate Transformation to G.
Bind Begin Rotate Transformation to R.
Bind Begin Scale Transformation to S.
Finally, unbind Scale Mode so that its shortcut won't conflict with Begin Rotate Transformation.
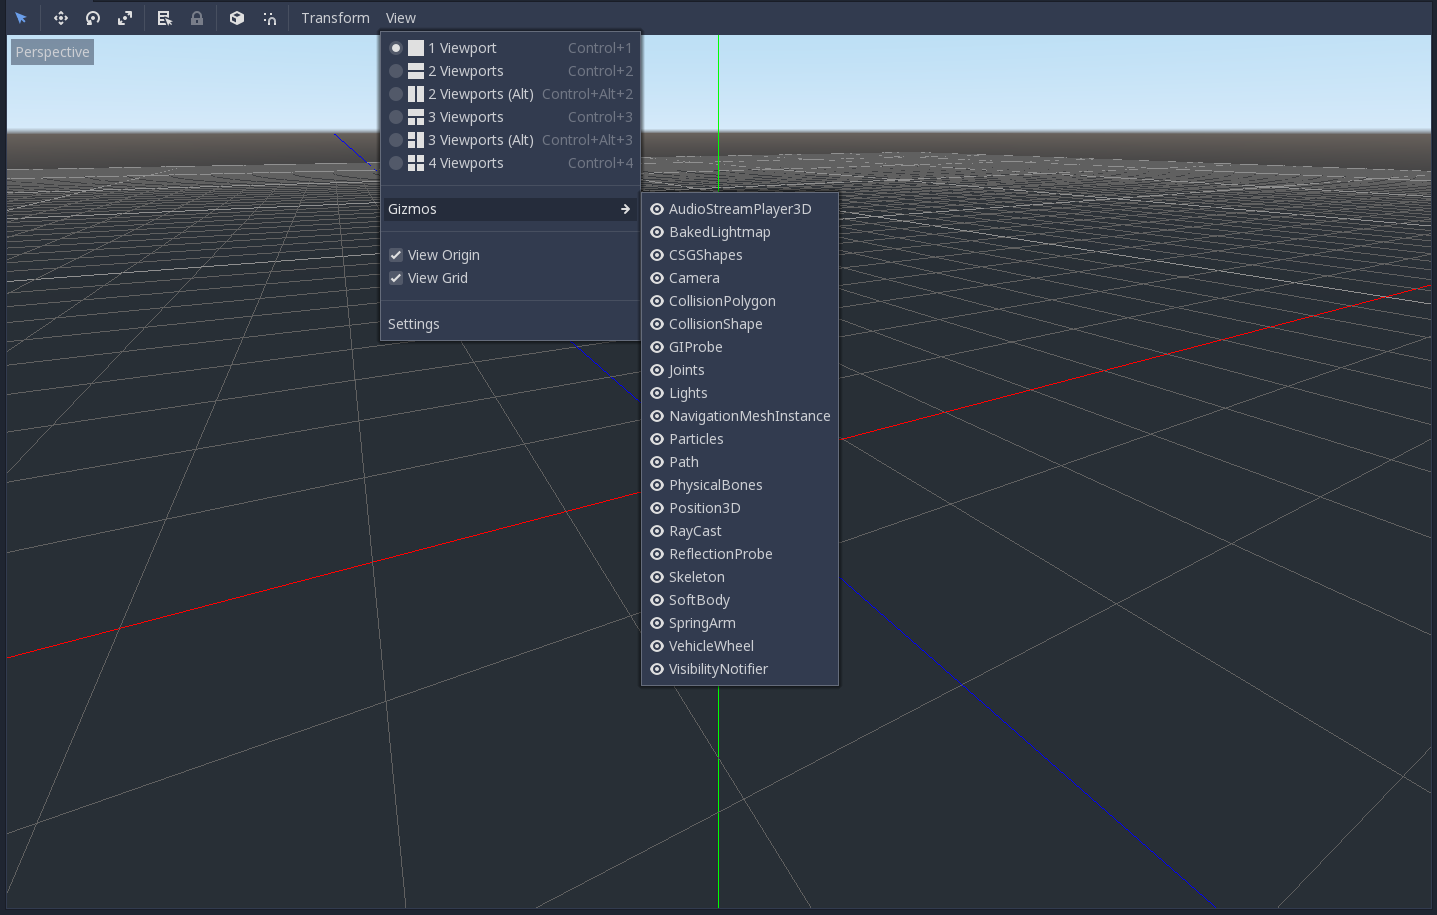
Меню «Перегля件
Параметри перегляду керуються меню "Перегляд" на панелі інструментів вікна перегляду.
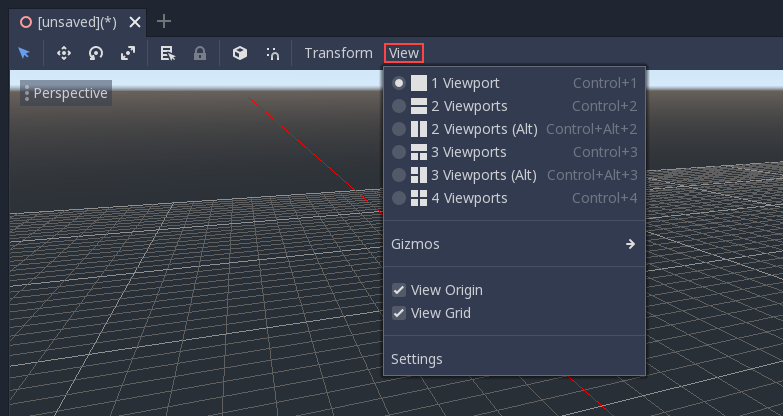
Ви можете приховати gizmos в 3D-перегляді редактора через це меню:

Щоб приховати певний тип gizmos, ви можете вимкнути їх в меню "Перегляд > Гаджети".
Середовище за замовчуванням
Під час створення з Керівника проектів 3D-середовище за замовчуванням має небо.
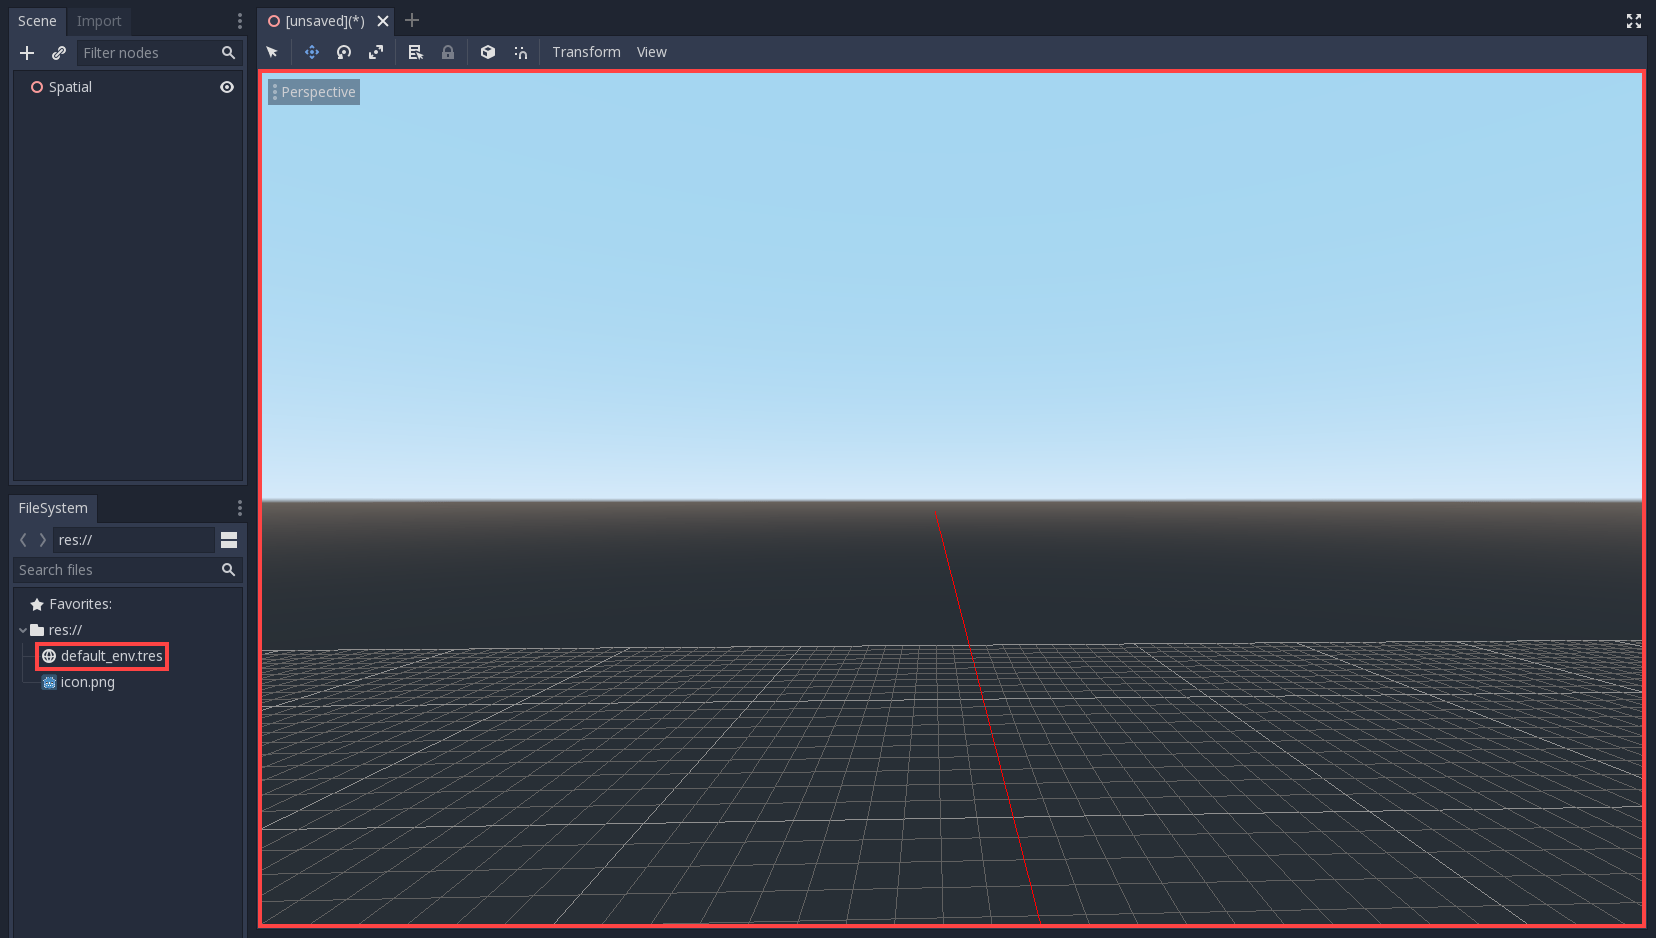
Given how physically-based rendering works, it is advised to always try to work with a default environment in order to provide indirect and reflected light to your objects.
Фотоапарати
No matter how many objects are placed in the 3D space, nothing will be displayed unless a Camera3D is also added to the scene. Cameras can work in either orthogonal or perspective projections:
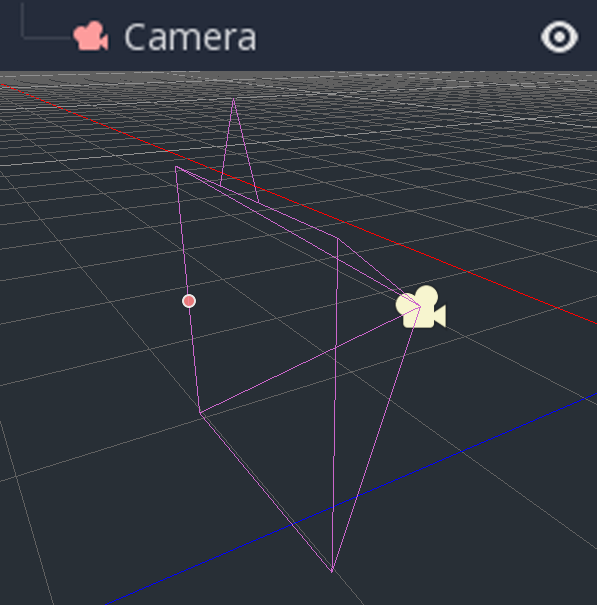
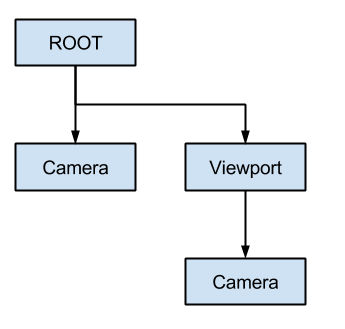
Камери пов'язані (і відображаються тільки для нього) з вікном перегляду батька, або прабатька. Оскільки корінь дерева сцени є вікном перегляду, камери будуть відображатися на ньому за замовчуванням, але якщо потрібні субпозиції (або як візуалізація цілі, або зображення на малюнку), їм потрібні власні дитячі камери для відображення.
Під час роботи з кількома камерами для кожного вікна перегляду застосовуються такі правила:
Якщо в дереві сцени немає камер, то перша ж додана камера, стане активною камерою. Подальші додані до сцени камери, будуть проігноровані (якщо вони не встановлені як поточні).
Якщо камера має задану властивість "поточна", вона буде використовуватися незалежно від будь-якої іншої камери в сцені. Якщо властивість встановлено, вона стане активною, замінивши попередню камеру.
Якщо активна камера покине дерево сцени, її місце займе перша камера в порядку дерева.
Освітлення
The background environment emits some ambient light which appears on surfaces. Still, without any light sources placed in the scene, the scene will appear quite dark unless the background environment is very bright.
Most outdoor scenes have a directional light (the sun or moon), while indoor scenes typically have several positional lights (lamps, torches, …). See 3D світло та тіні for more information on setting up lights in Godot.