Work in progress
The content of this page was not yet updated for Godot
4.2
and may be outdated. If you know how to improve this page or you can confirm
that it's up to date, feel free to open a pull request.
2D particle systems
Introducción
Particle systems are used to simulate complex physical effects, such as sparks, fire, magic particles, smoke, mist, etc.
La idea es que una "partícula" se emite a un intervalo fijo y con una vida útil fija. Durante su vida útil, cada partícula tendrá el mismo comportamiento básico. Lo que hace que cada partícula sea diferente y proporciona un aspecto más orgánico es la "aleatoriedad" asociada a cada parámetro. En esencia, crear un sistema de partículas significa establecer parámetros físicos básicos y luego agregarles aleatoriedad.
Nodos de partículas
Godot provides two different nodes for 2D particles, GPUParticles2D and CPUParticles2D. GPUParticles2D is more advanced and uses the GPU to process particle effects. CPUParticles2D is a CPU-driven option with near-feature parity with GPUParticles2D, but lower performance when using large amounts of particles. On the other hand, CPUParticles2D may perform better on low-end systems or in GPU-bottlenecked situations.
While GPUParticles2D is configured via a ParticleProcessMaterial (and optionally with a custom shader), the matching options are provided via node properties in CPUParticles2D (with the exception of the trail settings).
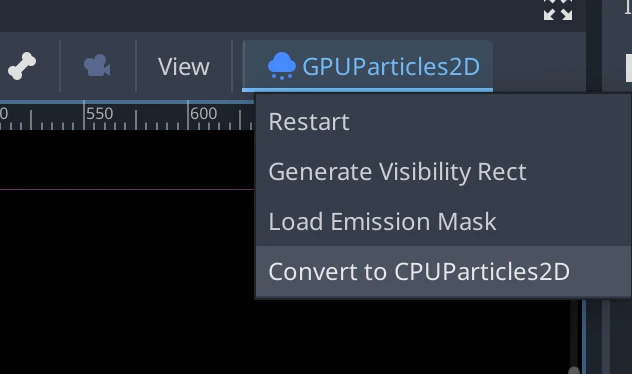
You can convert a GPUParticles2D node into a CPUParticles2D node by clicking on the node in the inspector, selecting the 2D viewport, and selecting GPUParticles2D > Convert to CPUParticles2D in the viewport toolbar.
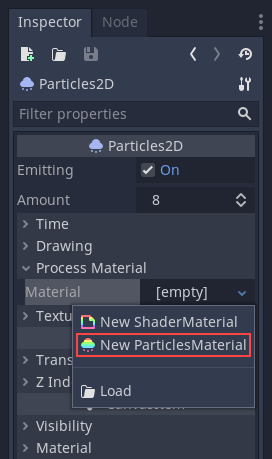
The rest of this tutorial is going to use the GPUParticles2D node. First, add a GPUParticles2D node to your scene. After creating that node you will notice that only a white dot was created, and that there is a warning icon next to your GPUParticles2D node in the scene dock. This is because the node needs a ParticleProcessMaterial to function.
ParticleProcessMaterial
To add a process material to your particles node, go to Process Material in
your inspector panel. Click on the box next to Material, and from the dropdown
menu select New ParticleProcessMaterial.
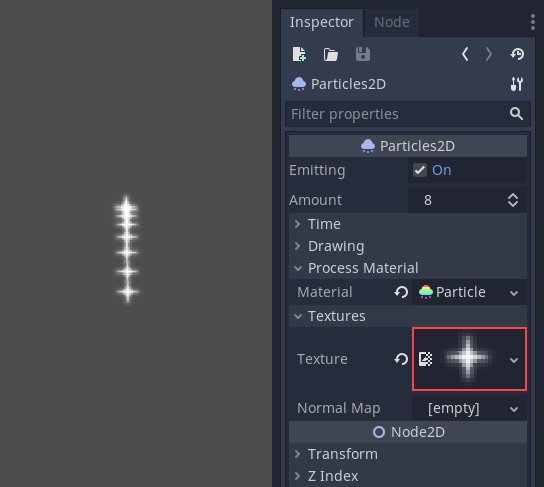
Your GPUParticles2D node should now be emitting white points downward.
Textura
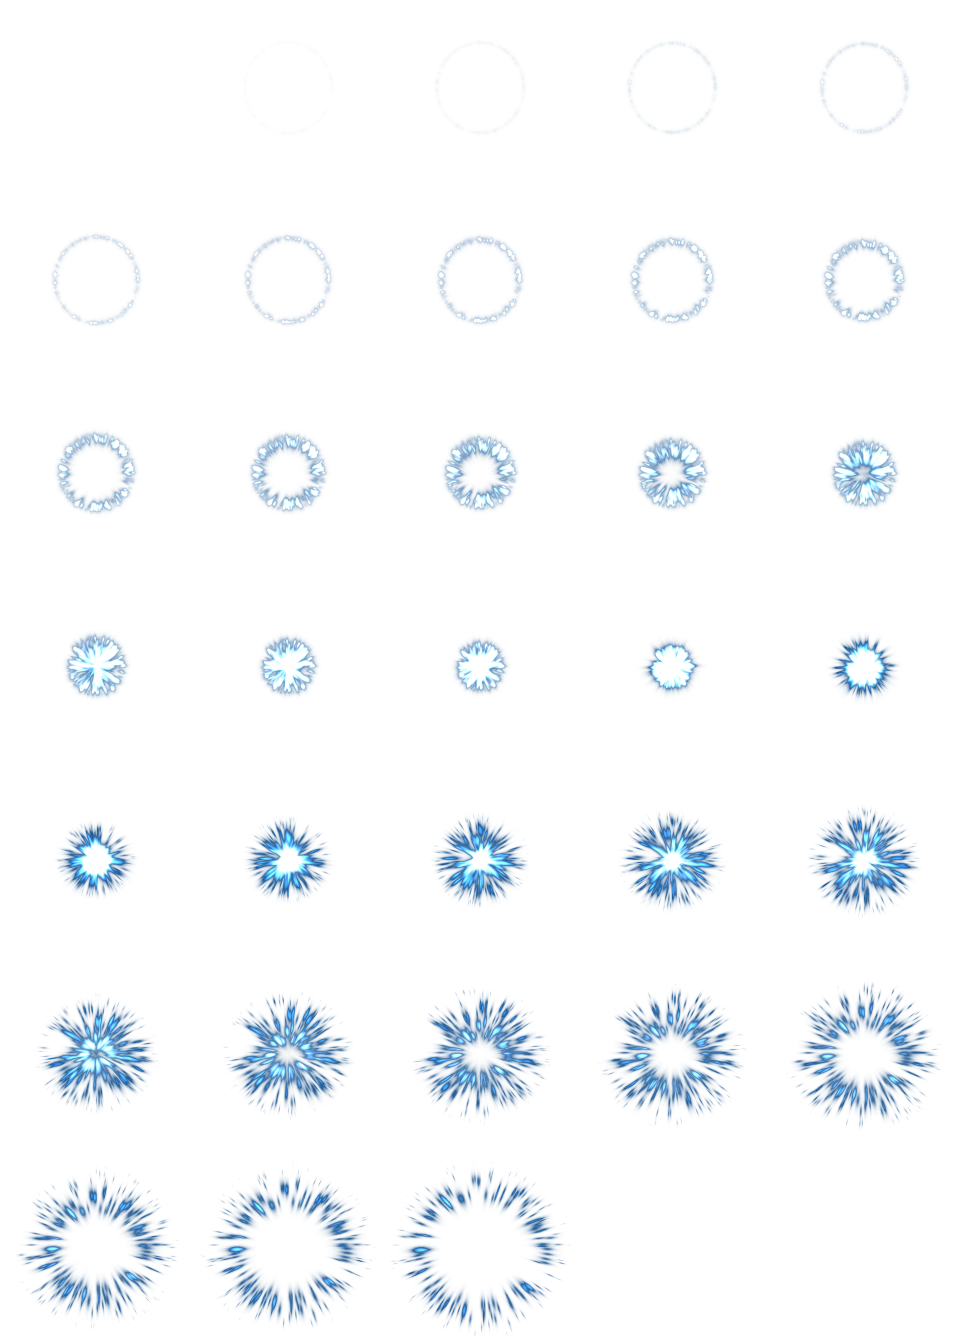
A particle system can use a single texture or an animation flipbook. A flipbook is a texture that contains several frames of animation that can be played back, or chosen at random during emission. This is equivalent to a spritesheet for particles.
The texture is set via the Texture property:
Using an animation flipbook
Particle flipbooks are suited to reproduce complex effects such as smoke, fire, explosions. They can also be used to introduce random texture variation, by making every particle use a different texture. You can find existing particle flipbook images online, or pre-render them using external tools such as Blender or EmberGen.
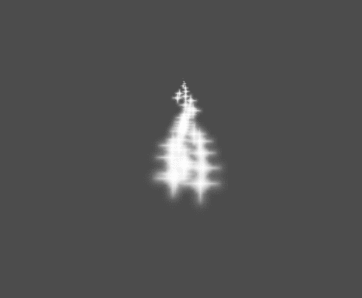
Example of a particle system that uses a flipbook texture
Using an animation flipbook requires additional configuration compared to a single texture. For demonstration purposes, we'll use this texture with 5 columns and 7 rows (right-click and choose Save as…):
Credit: JoesAlotofthings (CC BY 4.0)
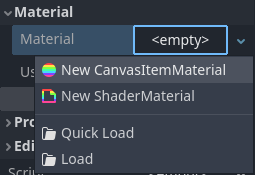
To use an animation flipbook, you must create a new CanvasItemMaterial in the Material section of the GPUParticles2D (or CPUParticles2D) node:
Creating a CanvasItemMaterial at the bottom of the particles node inspector
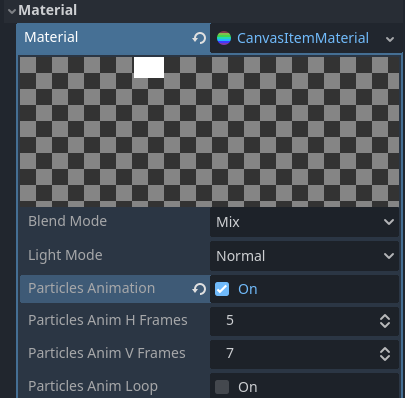
In this CanvasItemMaterial, enable Particle Animation and set H Frames and V Frames to the number of columns and rows present in your flipbook texture:
Configuring the CanvasItemMaterial for the example flipbook texture
Once this is done, the Animation section in ParticleProcessMaterial (for GPUParticles2D) or in the CPUParticles2D inspector will be effective.
Truco
If your flipbook texture has a black background instead of a transparent background, you will also need to set the blend mode to Add instead of Mix for correct display. Alternatively, you can modify the texture to have a transparent background in an image editor. In GIMP, this can be done using the Color > Color to Alpha menu.
Parámetros de Tiempo (Time)
Lifetime (Tiempo de vida)
El tiempo en segundos que cada partícula estará viva. Cuando termina su tiempo de vida, se crea una nueva partícula para reemplazarla.
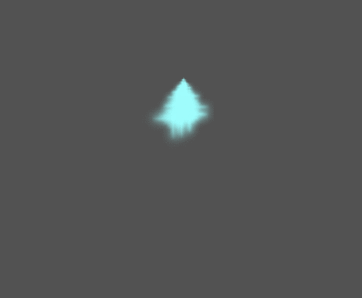
Tiempo de vida: 0.5
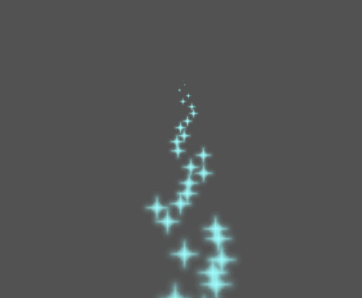
Tiempo de vida: 4.0
One Shot (Una Vez)
When enabled, a GPUParticles2D node will emit all of its particles once and then never again.
Preprocess (Preproceso)
Los sistemas de partículas comienzan con cero partículas emitidas, luego comienzan a emitir. Esto puede ser un inconveniente al cargar una escena y sistemas de partículas como una antorcha, niebla, etc. ya que comienzan a emitir en el momento en que entras. El preproceso se usa para permitir que el sistema procese un número determinado de segundos antes de que se dibuje por primera vez.
Speed Scale (Escala de Velocidad)
La escala de velocidad tiene un valor predeterminado de 1, y se usa para ajustar la velocidad de un sistema de partículas. Disminuir el valor hará que las partículas se vuelvan más lentas, aumentar el valor hará que las partículas sean mucho más rápidas.
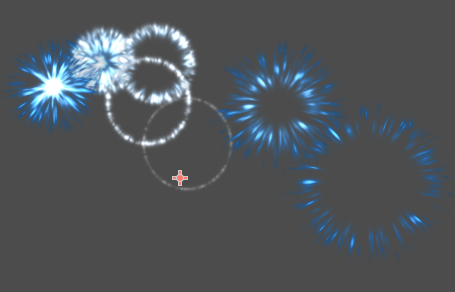
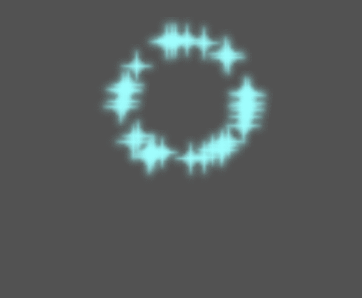
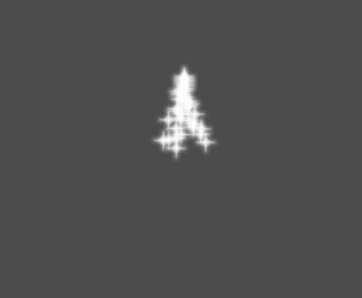
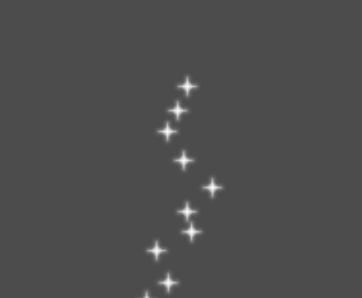
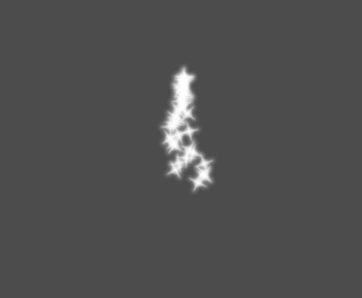
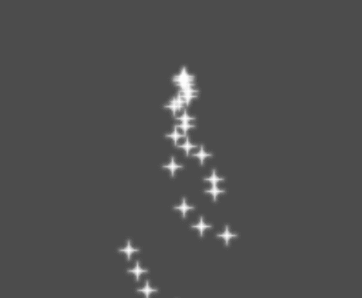
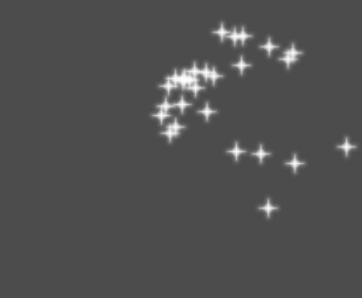
Explosiveness (Explosividad)
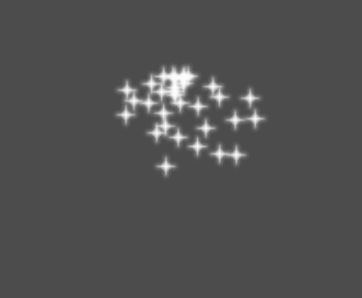
Si el tiempo de vida es 1 y hay diez partículas, significa que se emitirá una partícula cada 0.1 segundos. El parámetro de explosividad cambia esto y obliga a las partículas a emitirse todas al mismo tiempo. Los rangos son:
0: Emite partículas a intervalos regulares (valor predeterminado).
1: Emite todas las partículas simultáneamente.
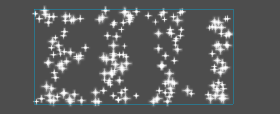
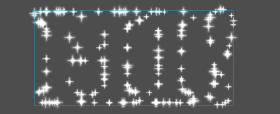
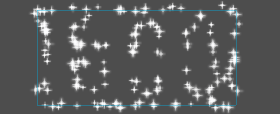
Los valores intermedios también están permitidos. Esta característica es útil para crear explosiones o ráfagas repentinas de partículas:
Randomness (Aleatoriedad)
Todos los parámetros de física se pueden aleatorizar. Los valores aleatorios varían de 0 a 1. La fórmula para aleatorizar un parámetro es:
initial_value = param_value + param_value * randomness
FPS fijo
Esta configuración se puede usar para configurar el sistema de partículas para que se renderice a un FPS(Fotogramas Por Segundo) fijo. Por ejemplo, cambiar el valor a 2 hará que las partículas se rendericen a 2 fotogramas por segundo. Tenga en cuenta que esto no ralentiza el sistema de partículas en sí.
Fract Delta
Esto se puede usar para activar o desactivar Fract Delta.
Parámetros de Dibujo (Drawing)
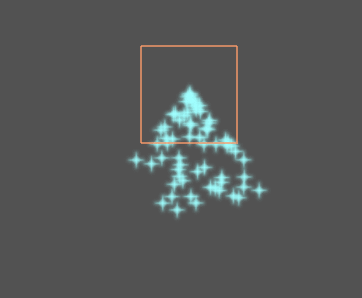
Visibility Rect (Rectángulo de Visibilidad)
El rectángulo de visibilidad controla la visibilidad del sistema de partícuas. Si el rectángulo está fuera del Viewport, el motor no dibujará en pantalla las particulas del sistema.
Los valores W y H controlan el ancho y alto del rectángulo de visibilidad. Los valores X y Y controlan la posición de la esquina superior izquierda del rectángulo de visibilidad, relativo al emisor de partículas.
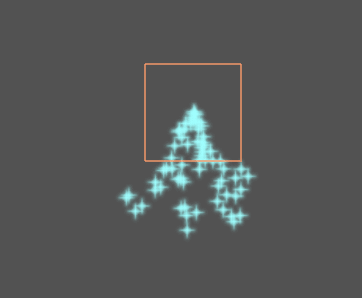
You can have Godot generate a Visibility Rect automatically using the toolbar above the 2d view. To do so, select the GPUParticles2D node and Click Particles > Generate Visibility Rect. Godot will simulate the Particles2D node emitting particles for a few seconds and set the rectangle to fit the surface the particles take.
Puedes controlar la duración de la emisión con la opción Tiempo de generación (seg). El valor máximo es de 25 segundos, si necesitas más tiempo para que tus partículas se muevan, puedes cambiar temporalmente la propiedad preprocess en el nodo Particles2D.
Coordenadas Locales
Por defecto esta opción está activada, y significa que el espacio al que se emiten las partículas es relativo al nodo. Si se mueve el nodo, todas las partículas se mueven con él:
Si se desactiva, las partículas se emitirán en el espacio global, lo que significa que si el nodo se mueve, las partículas ya emitidas no se verán afectadas:
Draw Order (Orden de Dibujo)
Esto controla el orden en el que se dibujan las partículas individuales. Index significa que las partículas son dibujadas de acuerdo a su orden de emisión (por defecto). Lifetime significa que se dibujan en el orden de la vida restante.
ParticleProcessMaterial settings
Dirección
Esta es la dirección base en la que las partículas emiten. El valor por defecto es "Vector3(1, 0, 0)`` que hace que las partículas emitan hacia la derecha. Sin embargo, con la configuración predeterminada de la gravedad, las partículas irán directamente hacia abajo.
Para que esta propiedad se note, se necesita una velocidad inicial mayor que 0. Aquí, fijamos la velocidad inicial en 40. Notará que las partículas se emiten hacia la derecha, y luego bajan debido a la gravedad.
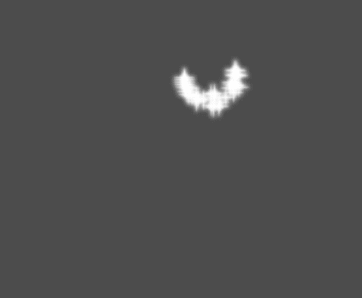
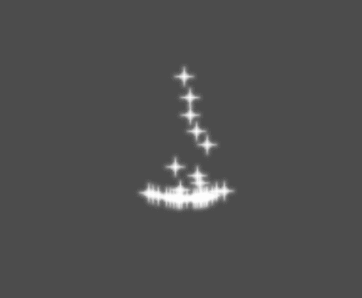
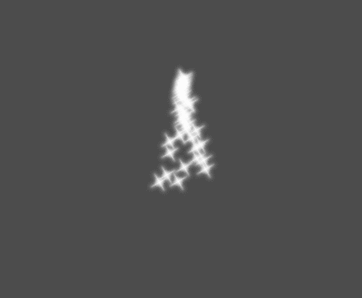
Spread (Propagación)
Este parámetro es el ángulo en grados que se añadirá aleatoriamente en cualquier dirección a la base Direction. Un spread(Dispersión) de 180 emitirá en todas las direcciones (+/- 180).
Llanura
Esta propiedad sólo es útil para las partículas 3D.
Gravity (Gravedad)
La gravedad aplicada a cada partícula.
Initial Velocity (Velocidad Inicial)
Initial Velocity es la velocidad a la que se emitirán las partículas (en píxeles/segundo). La velocidad puede ser modificada posteriormente por la gravedad u otras aceleraciones (como se describe más adelante).
Angular Velocity (Velocidad Angular)
Angular velocity es la velocidad angular inicial aplicada a las partículas.
Spin Velocity (Velocidad de Giro)
Spin velocity es la velocidad a la que las partículas giran alrededor de su centro (en grados/segundo).
Orbit Velocity (Velocidad de la Órbita)
Orbit velocity se utiliza para hacer que las partículas giren alrededor de su centro.
Linear Acceleration (Aceleración Lineal)
La aceleración lineal aplicada a cada partícula.
Radial Acceleration (Aceleración Radial)
Si esta aceleración es positiva, las partículas se aceleran lejos del centro. Si es negativo, se atraen hacia él.
Tangential Acceleration (Aceleración Tangencial)
Esta aceleración utilizará el vector tangente hasta el centro. La combinación con la aceleración radial puede producir buenos efectos.
Damping (Amortiguación)
Damping aplica fricción a las partículas, forzándolas a detenerse. Es especialmente útil para chispas o explosiones, que generalmente comienzan con una alta velocidad lineal y luego se detienen a medida que se desvanecen.
Angle (Ángulo)
Determina el ángulo inicial de la partícula (en grados). Este parámetro es mayormente útil aleatorizado.
Escala
Determina la escala inicial de las partículas.
Color
Permite cambiar el color de las partículas emitidas.
Hue Variation
El valor de Variation establece la variación de tono inicial aplicada a cada partícula. El valor Variation Random controla el ratio de aleatoriedad de la variación de tono.
Animación
Nota
Particle flipbook animation is only effective if the CanvasItemMaterial used on the GPUParticles2D or CPUParticles2D node has been configured accordingly.
To set up the particle flipbook for linear playback, set the Speed Min and Speed Max values to 1:
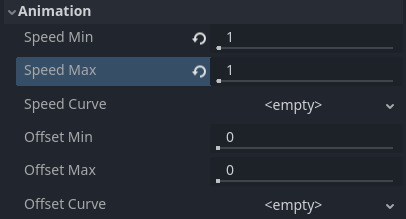
Setting up particle animation for playback during the particle's lifetime
By default, looping is disabled. If the particle is done playing before its lifetime ends, the particle will keep using the flipbook's last frame (which may be fully transparent depending on how the flipbook texture is designed). If looping is enabled, the animation will loop back to the first frame and resume playing.
Depending on how many images your sprite sheet contains and for how long your particle is alive, the animation might not look smooth. The relationship between particle lifetime, animation speed, and number of images in the sprite sheet is this:
Nota
At an animation speed of 1.0, the animation will reach the last image
in the sequence just as the particle's lifetime ends.
If you wish the particle flipbook to be used as a source of random particle textures for every particle, keep the speed values at 0 and set Offset Max to 1 instead:
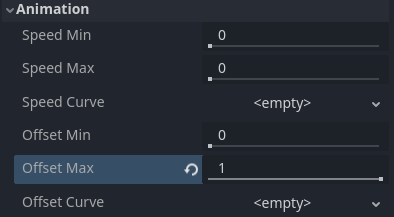
Setting up particle animation for random offset on emission
Note that the GPUParticles2D node's Fixed FPS also affects animation playback. For smooth animation playback, it's recommended to set it to 0 so that the particle is simulated on every rendered frame. If this is not an option for your use case, set Fixed FPS to be equal to the effective framerate used by the flipbook animation (see above for the formula).
Formas de Emisión
ParticleProcessMaterials allow you to set an Emission Mask, which dictates the area and direction in which particles are emitted. These can be generated from textures in your project.
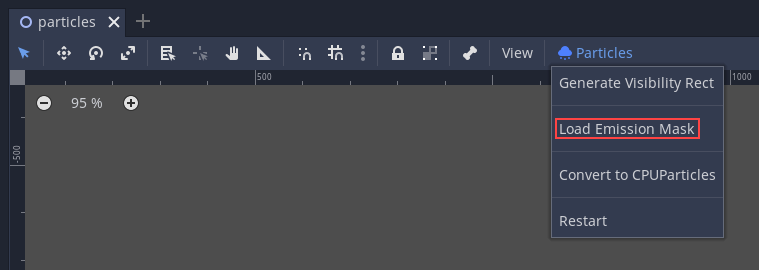
Ensure that a ParticleProcessMaterial is set, and the GPUParticles2D node is selected. A "Particles" menu should appear in the Toolbar:

Abrelo y selecciona "Cargar Máscara de Emisión":
Luego selecciona la textura que usarás como máscara:
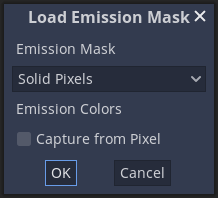
Aparecerá un cuadro de diálogo con varias configuraciones.
Máscara de Emisión
Desde una textura se pueden generar tres tipos de máscaras de emisión:
Pixeles Sólidos: Las partículas aparecerán desde cualquier área de la textura, excluyendo áreas transparentes.
Píxeles de Borde: Las partículas saldrán de los bordes exteriores de la textura.
Píxeles de Borde Directos: Similar a Píxeles de Borde, pero agrega información extra a la máscara para darle la habilidad de emitirse hacia afuera de los bordes. Nota que la
Initial Velocitydebe ser asignada para utilizar esto.
Colores de Emisión
Capture from Pixel causará que las partículas hereden el color de la máscara donde son emitidos.
Once you click "OK", the mask will be generated and set to the ParticleProcessMaterial, under the Emission Shape section:
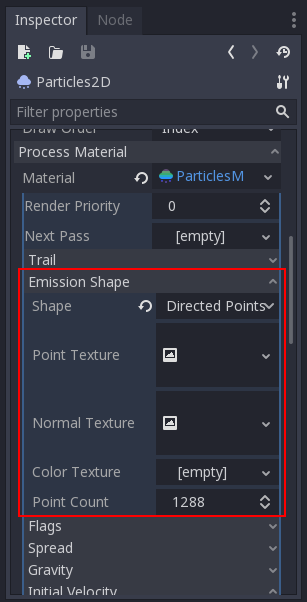
Todos los valores de esta sección han sido generados automáticamente por el menú "Cargar Máscara de Emisión", así que en general no debe tocarse nada.
Nota
La imagen no debe ser agregada directamente a Point Texture o Color Texture. Se debe usar siempre el menú "Cargar Máscara de Emisión".