Up to date
This page is up to date for Godot 4.2.
If you still find outdated information, please open an issue.
Utilizando el Administrador de Proyectos
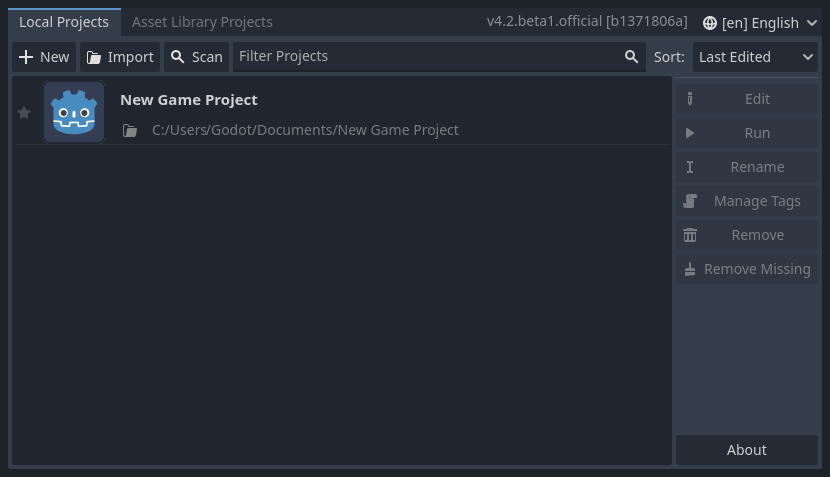
Al iniciar Godot, la primera ventana que aparece es el Administrador de Proyectos. Este te permite crear, eliminar, importar o ejecutar proyectos.
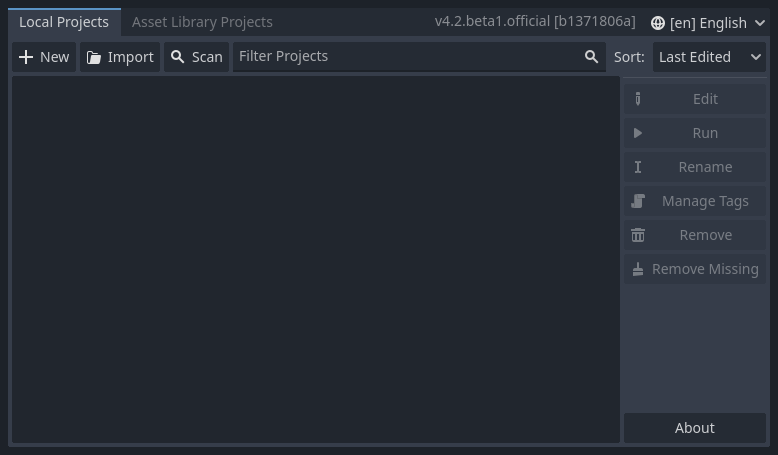
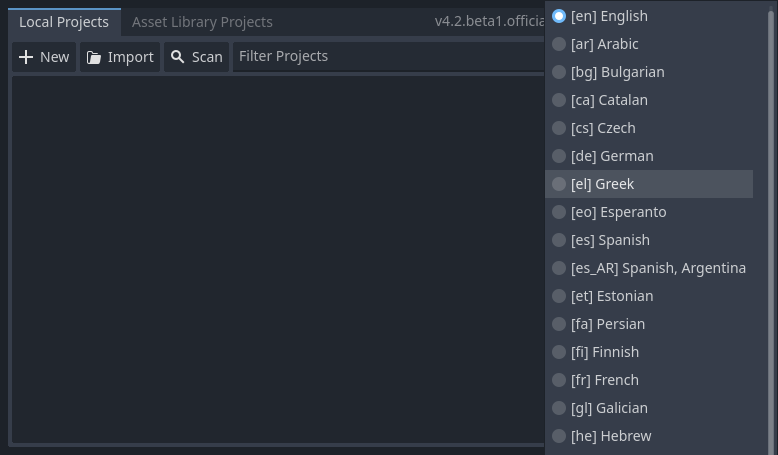
In the window's top-right corner, a drop-down menu allows you to change the editor's language.
Creando e importando proyectos
Para crear un proyecto nuevo:
Haz clic en el botón Nuevo en la parte superior izquierda de la ventana.
Give the project a name, choose an empty folder on your computer to save the files, and select a rendering backend.
Haz clic en Crear y Editar para crear la carpeta del proyecto y abrirlo en el editor.

Usando el explorador de archivos
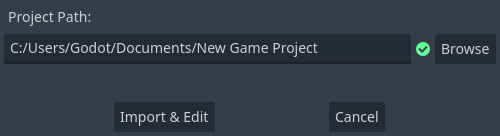
Click the Browse button to open Godot's file browser and pick a location or type the folder's path in the Project Path field.
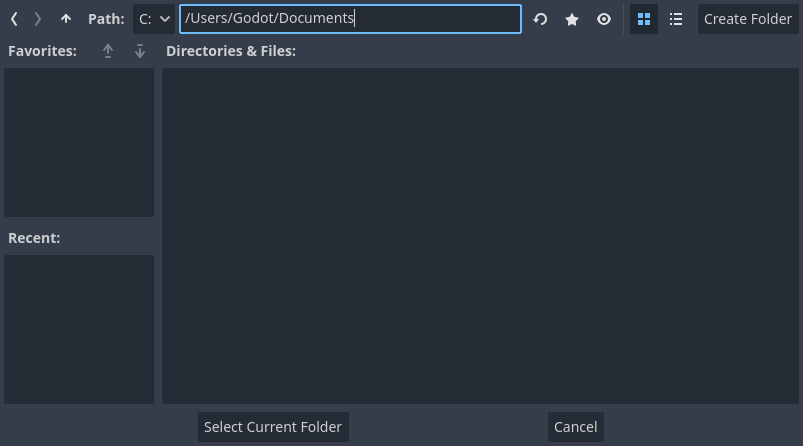
When you see the green tick on the right, it means the engine detects an empty folder. You can also click the Create Folder button to create an empty folder based on your project's name.
Abriendo e importando proyectos
The next time you open the Project Manager, you'll see your new project in the list. Double click on it to open it in the editor.
You can similarly import existing projects using the Import button. Locate the folder that contains the project or the project.godot file to import and edit it.

When the folder path is correct, you'll see a green checkmark.
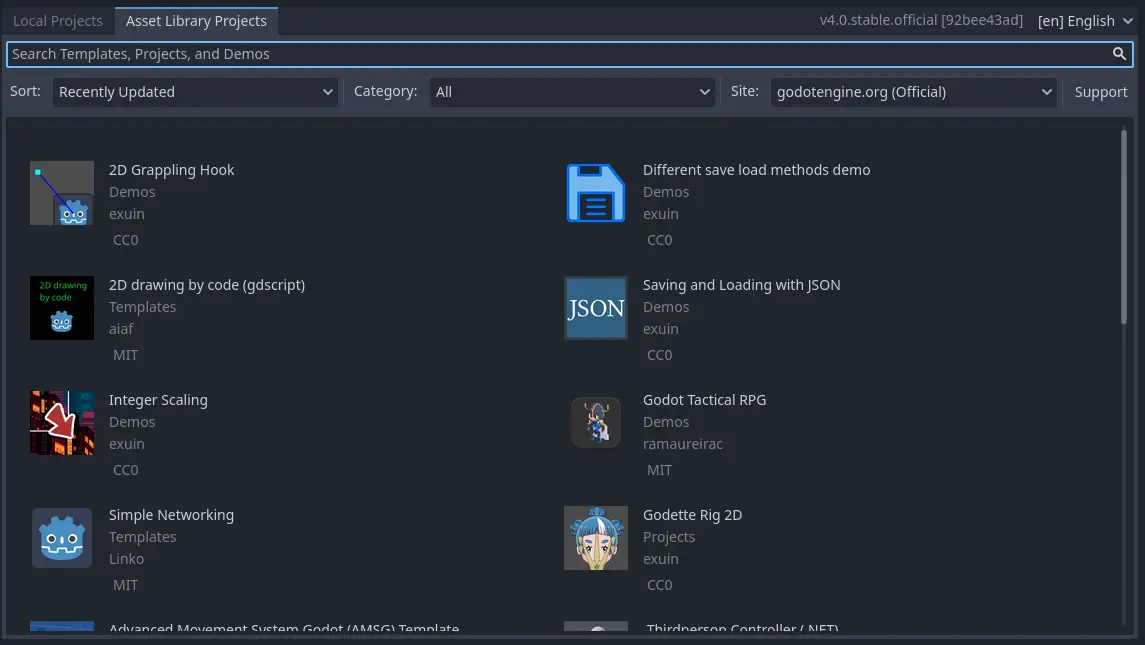
Descargando demos y plantillas
From the Asset Library Projects tab you can download open source project templates and demos from the Asset Library to help you get started faster.
Para descargar una demo o plantilla:
Click on its title.
En a página que se abre, haz clic en el botón de descargar.
Once it finished downloading, click install and choose where you want to save the project.