Instancing
Introduction
Creating a single scene and adding nodes into it might work for small projects, but as a project grows in size and complexity, the number of nodes can quickly become unmanageable. To address this, Godot allows a project to be separated into any number of scenes. This provides you with a powerful tool that helps you organize the different components of your game.
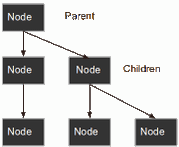
In Scenes and nodes you learned that a scene is a collection of nodes organized in a tree structure, with a single node as the tree root.
You can create as many scenes as you like and save them to disk. Scenes
saved in this manner are called "Packed Scenes" and have a .tscn filename
extension.
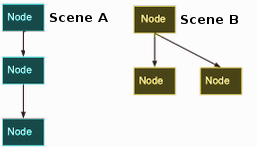
Once a scene has been saved, it can be instanced into another scene as if it were any other node.
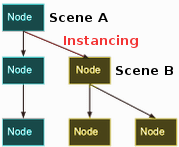
In the above picture, Scene B was added to Scene A as an instance.
Instancing by example
To learn how instancing works, let's start by downloading a sample
project: instancing.zip.
Unzip this project anywhere you like. Then open Godot and add this project to the project manager using the 'Import' button:
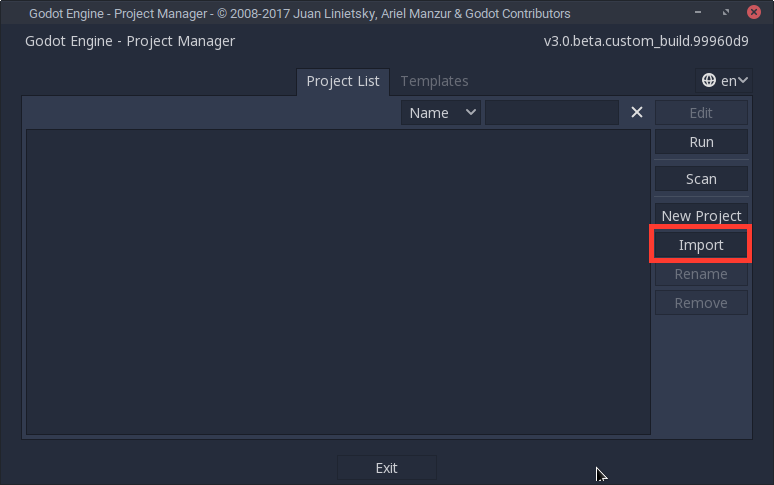
Browse to the folder you extracted and open the "project.godot" file you can find inside it. After doing this, the new project will appear on the list of projects. Edit the project by pressing the 'Edit' button.
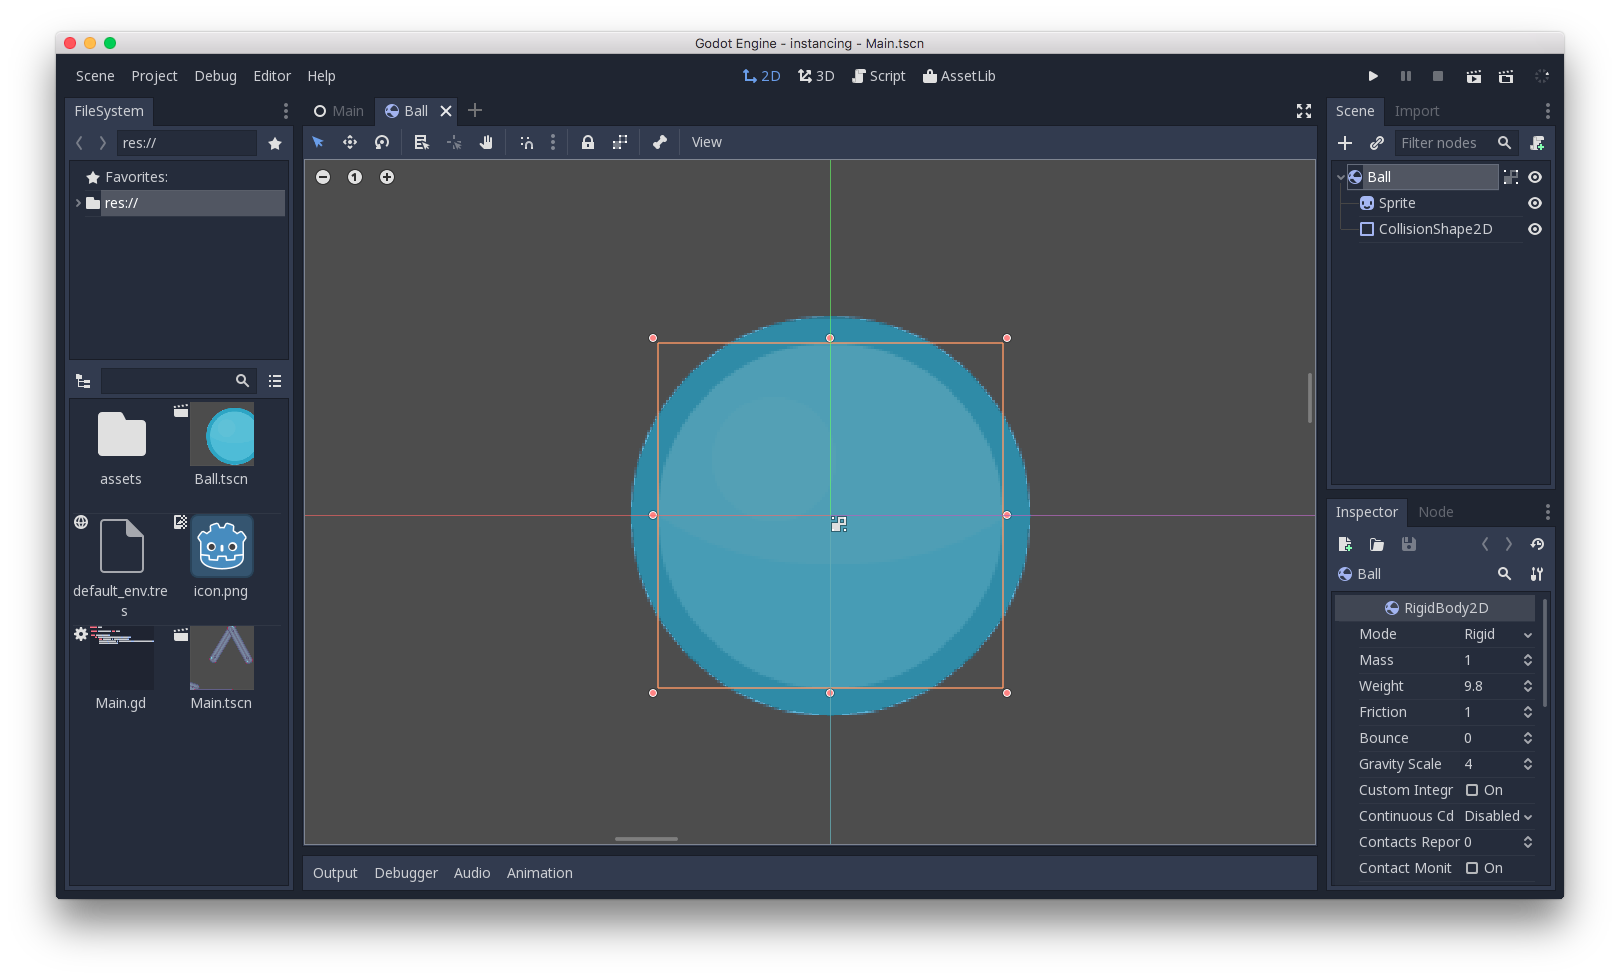
This project contains two scenes: "Ball.tscn" and "Main.tscn". The ball scene uses a RigidBody2D to provide physics behavior while the main scene has a set of obstacles for the ball to collide with (using StaticBody2D).
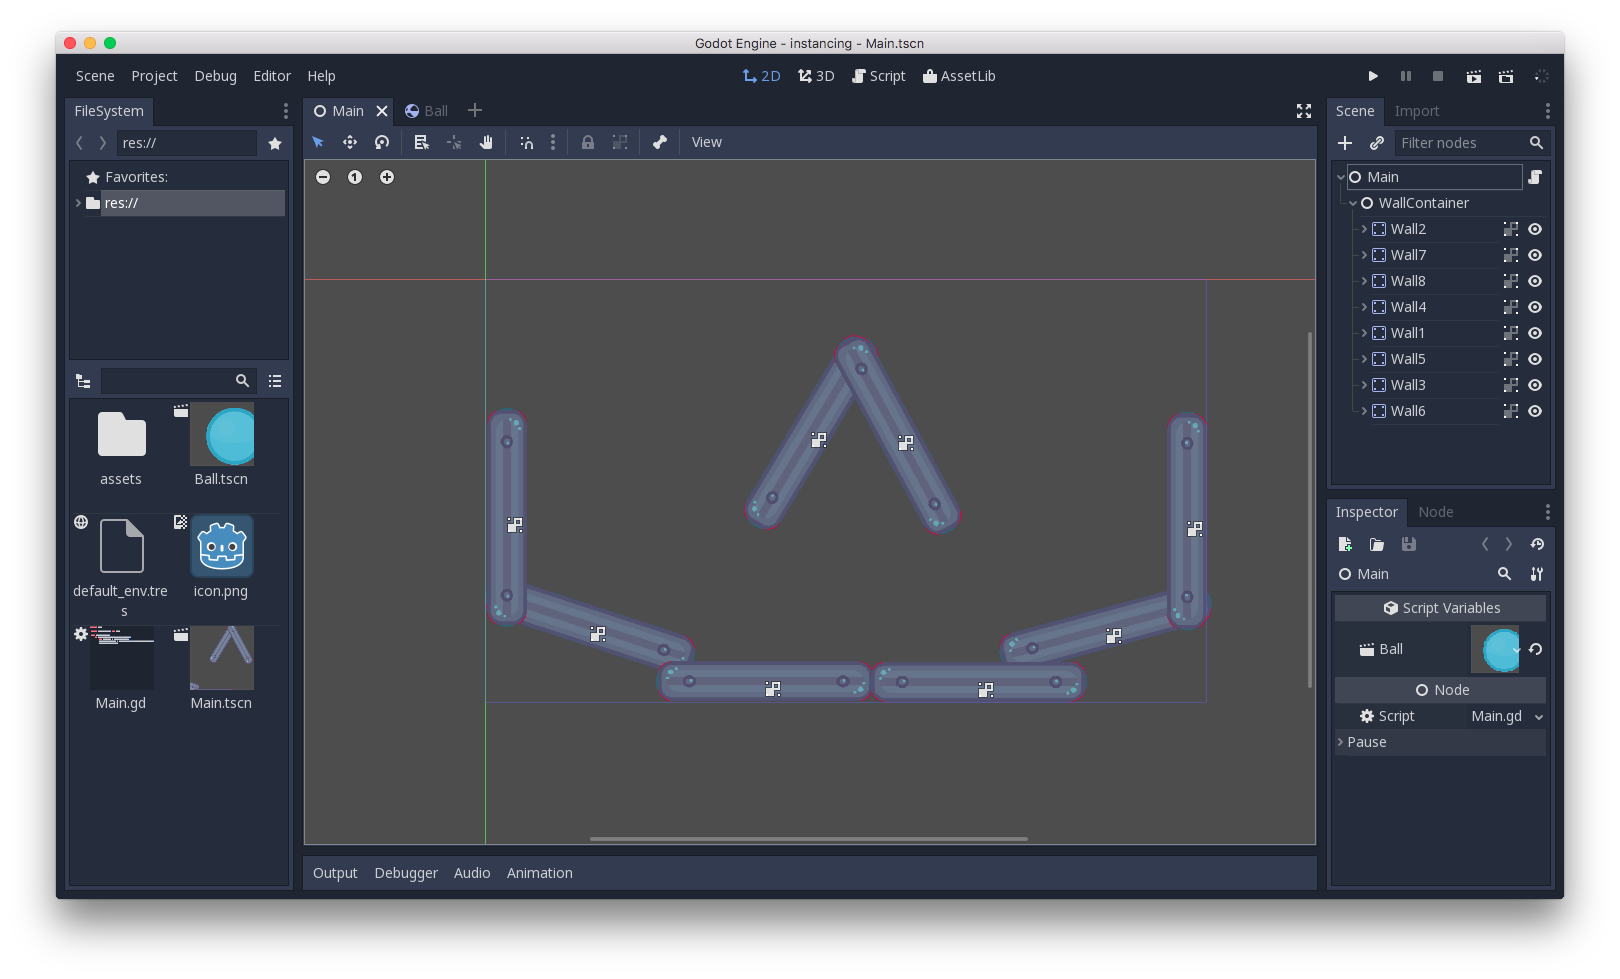
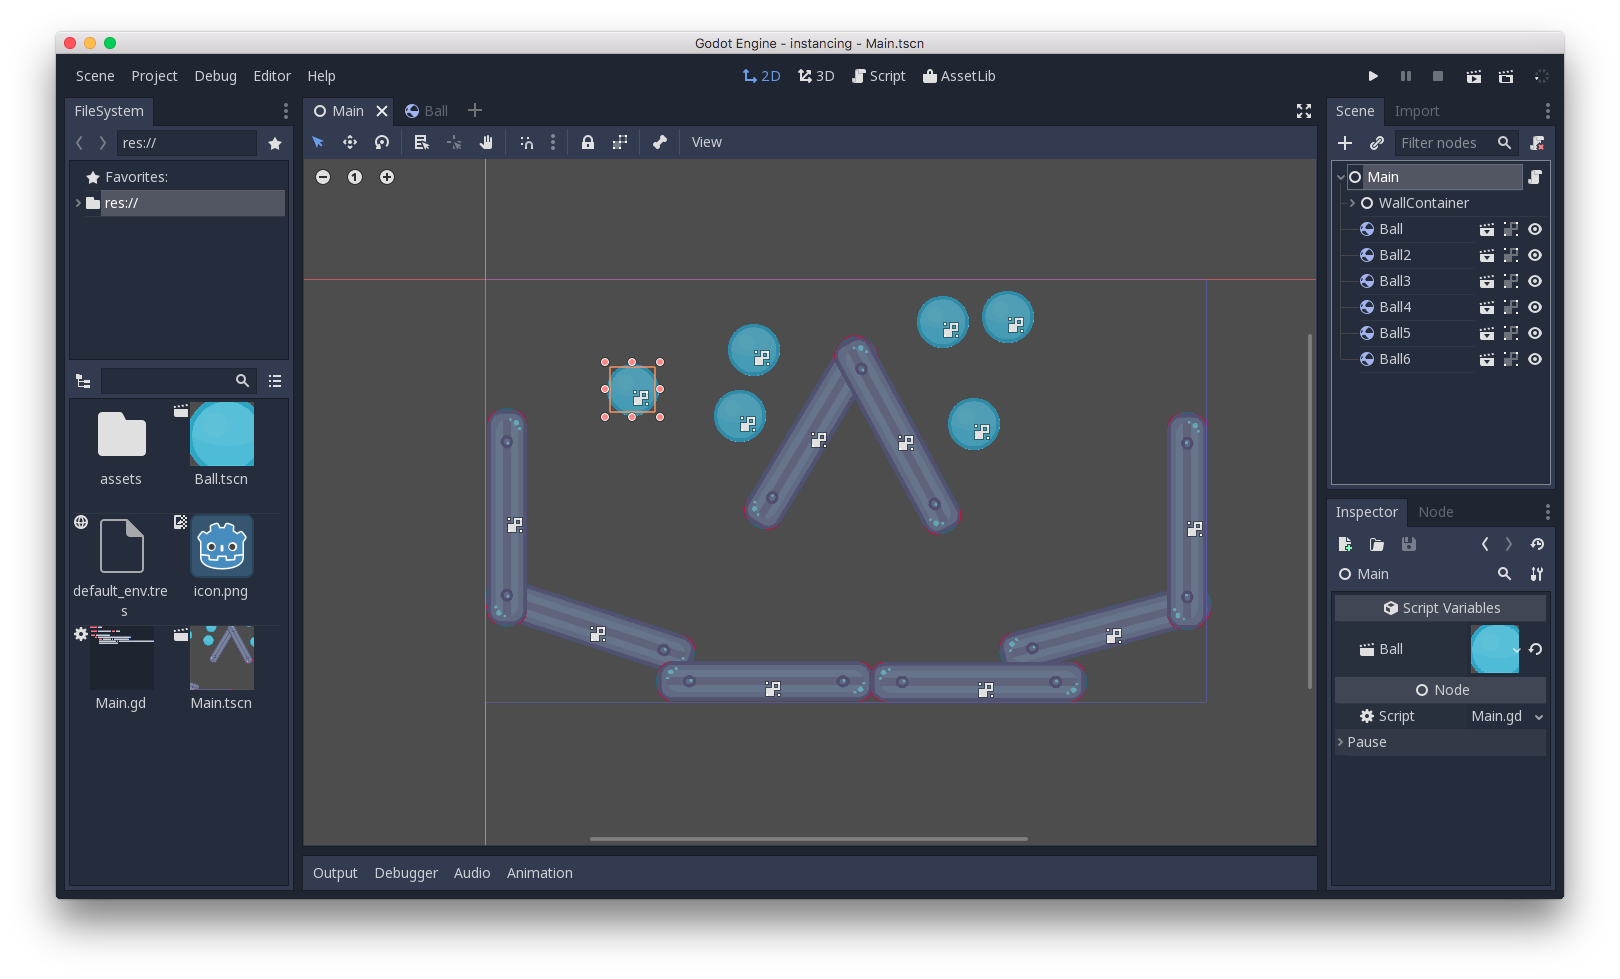
Open the Main scene, and then select the root node:
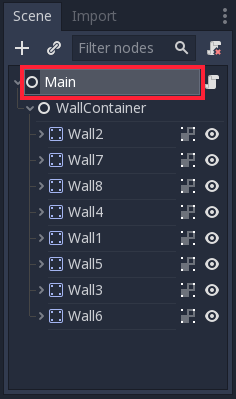
We want to add an instance of the Ball scene as a child of Main.
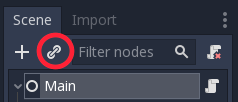
Click the "link"-shaped button (its hover-text says "Instance a scene file
as a Node.") and select the Ball.tscn file.
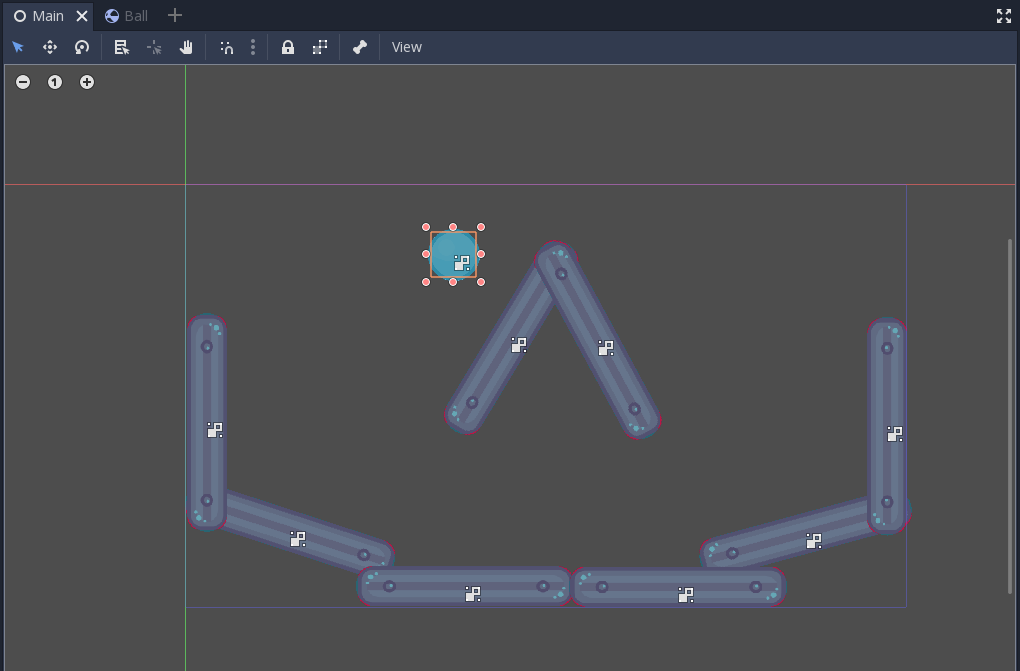
The ball will be placed at the top-left corner of the screen area (this is
(0, 0) in screen coordinates). Click and drag the ball somewhere near
the top-center of the scene:
Press "Play" and watch the ball fall to the bottom of the screen:

Multiple instances
You can add as many instances as you like to a scene, either by using the "Instance" button again, or by clicking on the ball instance and pressing Ctrl + D (Cmd + D on macOS) to duplicate it:
Run the scene again and all of the balls will fall.

Editing instances
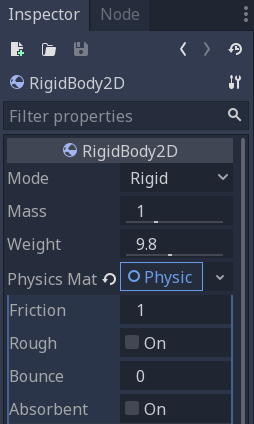
Open the Ball scene, expand the PhysicsMaterial by clicking on it,
and set the Bounce property to 1.
Press "Play" and notice that all of the instanced balls are now much more bouncy. Because the instanced balls are based on the saved scene, changes to that scene will affect all instances.
You can also adjust individual instances. Set the bounce value back to 0
and then in the Main scene, select one of the instanced balls. Resources
like PhysicsMaterial are shared between instances by default, so we need
to make it unique. Click on the tools button in the top-right of the Inspector
dock and select "Make Sub-Resources Unique". Set its Bounce to 1 and
press "Play".

Notice that a grey "revert" button appears next to the adjusted property. When this button is present, it means you modified a property in the instanced scene to override its value in the saved scene. Even if that property is modified in the original scene, the custom value will remain. Pressing the revert button will restore the property to the value in the saved scene.
Conclusion
Instancing can be useful when you want to create many copies of the same object. It is also possible to create instances in code by using GDScript, see Instancing (continued).