State design pattern
Introduction
Scripting a game can be difficult when there are many states that need to handled, but only one script can be attached to a node at a time. Instead of creating a state machine within the player's control script, it would make development simpler if the states were separated out into different classes.
There are many ways to implement a state machine with Godot, and some other methods are below:
The player can have a child node for each state, which are called when utilized.
Enums can be used in conjunction with a match statement.
The state scripts themselves could be swapped out from a node dynamically at run-time.
This tutorial will focus only on adding and removing nodes which have a state script attached. Each state script will be an implementation of a different state.
Note
There is a great resource explaining the concept of the state design pattern here: https://gameprogrammingpatterns.com/state.html
Script setup
The feature of inheritance is useful for getting started with this design principle. A class should be created that describes the base features of the player. For now, a player will be limited to two actions: move left, move right. This means there will be two states: idle and run.
Below is the generic state, from which all other states will inherit.
# state.gd

extends Node2D

class_name State

var change_state
var animated_sprite
var persistent_state
var velocity = 0

# Writing _delta instead of delta here prevents the unused variable warning.
func _physics_process(_delta):
    persistent_state.move_and_slide(persistent_state.velocity, Vector2.UP)

func setup(change_state, animated_sprite, persistent_state):
    self.change_state = change_state
    self.animated_sprite = animated_sprite
    self.persistent_state = persistent_state

func move_left():
    pass

func move_right():
    pass
A few notes on the above script. First, this implementation uses a
setup(change_state, animated_sprite, persistent_state) method to assign
references. These references will be instantiated in the parent of this state. This helps with something
in programming known as cohesion. The state of the player does not want the responsibility of creating
these variables, but does want to be able to use them. However, this does make the state coupled to the
state's parent. This means that the state is highly reliant on whether it has a parent which contains
these variables. So, remember that coupling and cohesion are important concepts when it comes to code management.
Note
See the following page for more details on cohesion and coupling: https://courses.cs.washington.edu/courses/cse403/96sp/coupling-cohesion.html
Second, there are some methods in the script for moving, but no implementation. The state script
just uses pass to show that it will not execute any instructions when the methods are called. This is important.
Third, the _physics_process(delta) method is actually implemented here. This allows the states to have a default
_physics_process(delta) implementation where velocity is used to move the player. The way that the states can modify
the movement of the player is to use the velocity variable defined in their base class.
Finally, this script is actually being designated as a class named State. This makes refactoring the code
easier, since the file path from using the load() and preload() functions in Godot will not be needed.
So, now that there is a base state, the two states discussed earlier can be implemented.
# idle_state.gd

extends State

class_name IdleState

func _ready():
    animated_sprite.play("idle")

func _flip_direction():
    animated_sprite.flip_h = not animated_sprite.flip_h

func move_left():
    if animated_sprite.flip_h:
        change_state.call_func("run")
    else:
        _flip_direction()

func move_right():
    if not animated_sprite.flip_h:
        change_state.call_func("run")
    else:
        _flip_direction()
# run_state.gd

extends State

class_name RunState

var move_speed = Vector2(180, 0)
var min_move_speed = 0.005
var friction = 0.32

func _ready():
    animated_sprite.play("run")
    if animated_sprite.flip_h:
        move_speed.x *= -1
    persistent_state.velocity += move_speed

func _physics_process(_delta):
    if abs(persistent_state.velocity.x) < min_move_speed:
         change_state.call_func("idle")
    persistent_state.velocity.x *= friction

func move_left():
    if animated_sprite.flip_h:
        persistent_state.velocity += move_speed
    else:
        change_state.call_func("idle")

func move_right():
    if not animated_sprite.flip_h:
        persistent_state.velocity += move_speed
    else:
        change_state.call_func("idle")
Note
Since the Run and Idle states extend from State which extends Node2D, the function
_physics_process(delta) is called from the bottom-up meaning Run and Idle will call their
implementation of _physics_process(delta), then State will call its implementation, then Node2D
will call its own implementation and so on. This may seem strange, but it is only relevant for predefined functions
such as _ready(), _process(delta), etc. Custom functions use the normal inheritance rules of overriding
the base implementation.
There is a roundabout method for obtaining a state instance. A state factory can be used.
# state_factory.gd

class_name StateFactory

var states

func _init():
    states = {
        "idle": IdleState,
        "run": RunState
}

func get_state(state_name):
    if states.has(state_name):
        return states.get(state_name)
    else:
        printerr("No state ", state_name, " in state factory!")
This will look for states in a dictionary and return the state if found.
Now that all the states are defined with their own scripts, it is time to figure out
how those references that passed to them will be instantiated. Since these references
will not change it makes sense to call this new script persistent_state.gd.
# persistent_state.gd

extends KinematicBody2D

class_name PersistentState

var state
var state_factory

var velocity = Vector2()

func _ready():
    state_factory = StateFactory.new()
    change_state("idle")

# Input code was placed here for tutorial purposes.
func _process(_delta):
    if Input.is_action_pressed("ui_left"):
        move_left()
    elif Input.is_action_pressed("ui_right"):
        move_right()

func move_left():
    state.move_left()

func move_right():
    state.move_right()

func change_state(new_state_name):
    if state != null:
        state.queue_free()
    state = state_factory.get_state(new_state_name).new()
    state.setup(funcref(self, "change_state"), $AnimatedSprite, self)
    state.name = "current_state"
    add_child(state)
Note
The persistent_state.gd script contains code for detecting input. This was to make the tutorial simple, but it is not usually
best practice to do this.
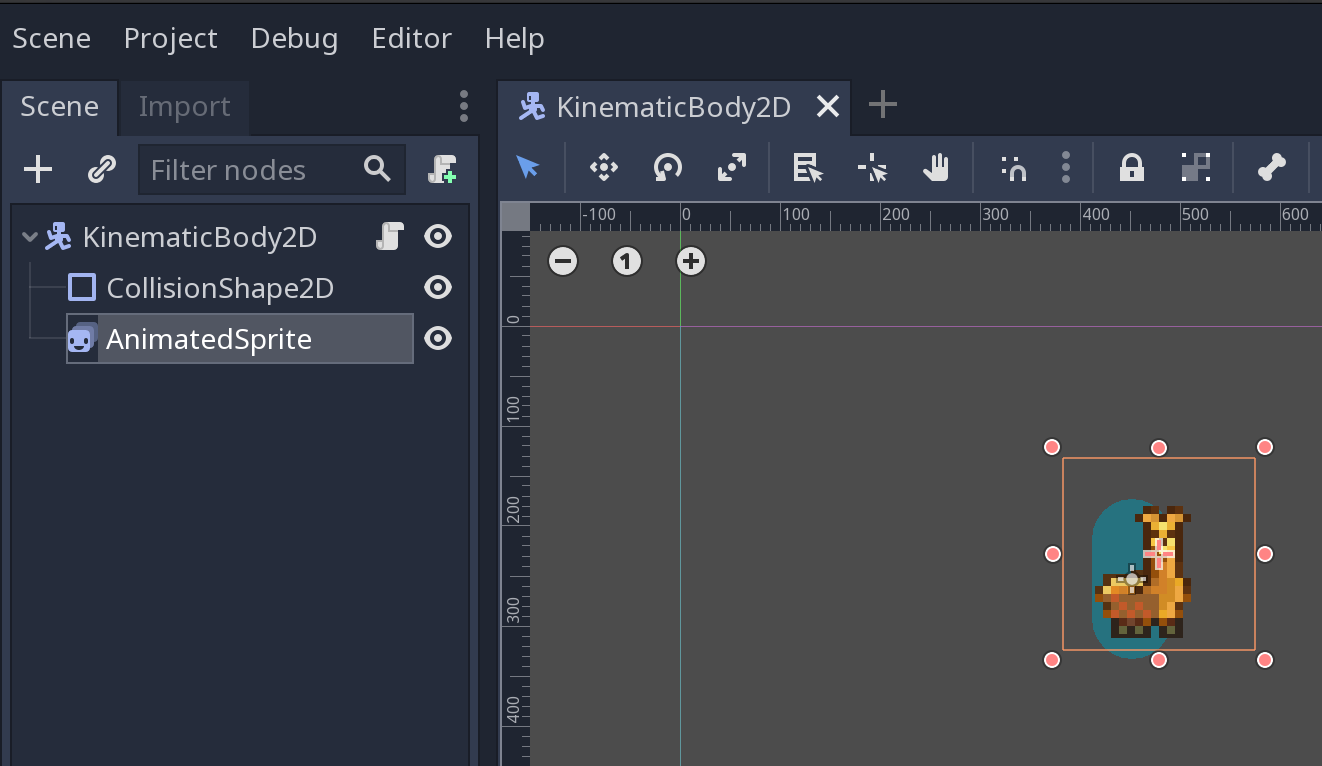
Project setup
This tutorial made an assumption that the node it would be attached to contained a child node which is an AnimatedSprite. There is also the assumption that this AnimatedSprite has at least two animations, the idle and run animations. Also, the top-level node is assumed to be a KinematicBody2D.

Note
The zip file of the llama used in this tutorial is here.
The source was from piskel_llama, but
I couldn't find the original creator information on that page...
There is also a good tutorial for sprite animation already. See 2D Sprite Animation.
So, the only script that must be attached is persistent_state.gd, which should be attached to the top node of the
player, which is a KinematicBody2D.
Now the player has utilized the state design pattern to implement its two different states. The nice part of this pattern is that if one wanted to add another state, then it would involve creating another class that need only focus on itself and how it changes to another state. Each state is functionally separated and instantiated dynamically.