Introduction to Godot's editor
This tutorial will run you through Godot's interface. We're going to look at the Project Manager, docks, workspaces and everything you need to know to get started with the engine.
You can download Godot Engine here.
Project manager
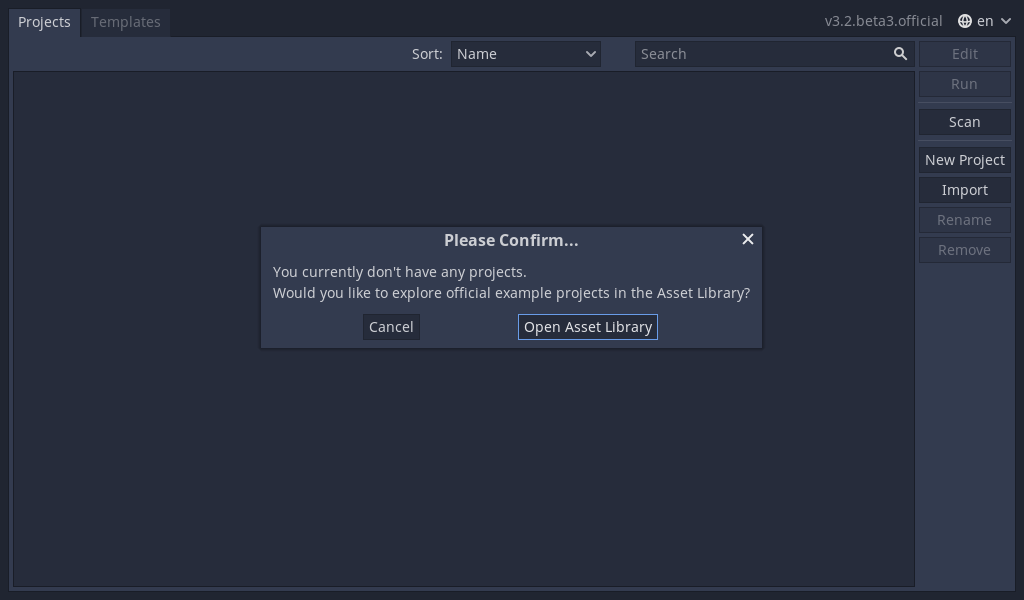
When you launch Godot, the first window you'll see is the Project Manager. Since you have no projects there will be a popup asking if you want to open the asset library, just click cancel, we'll look at it later.
Now you should see the project manager. It lets you create, remove, import or play game projects.
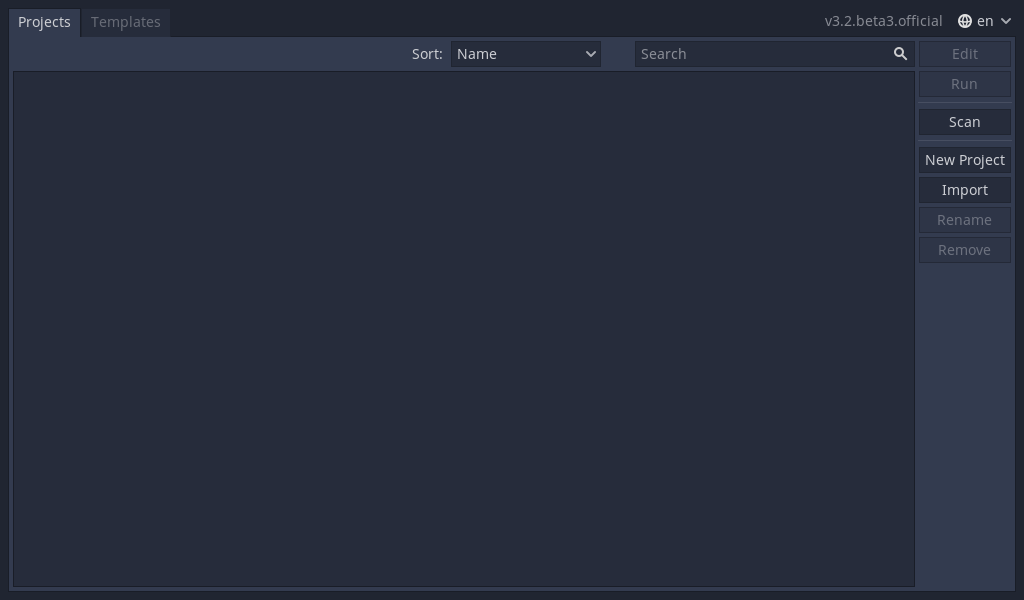
In the top-right corner you'll find a drop-down menu to change the editor's language.

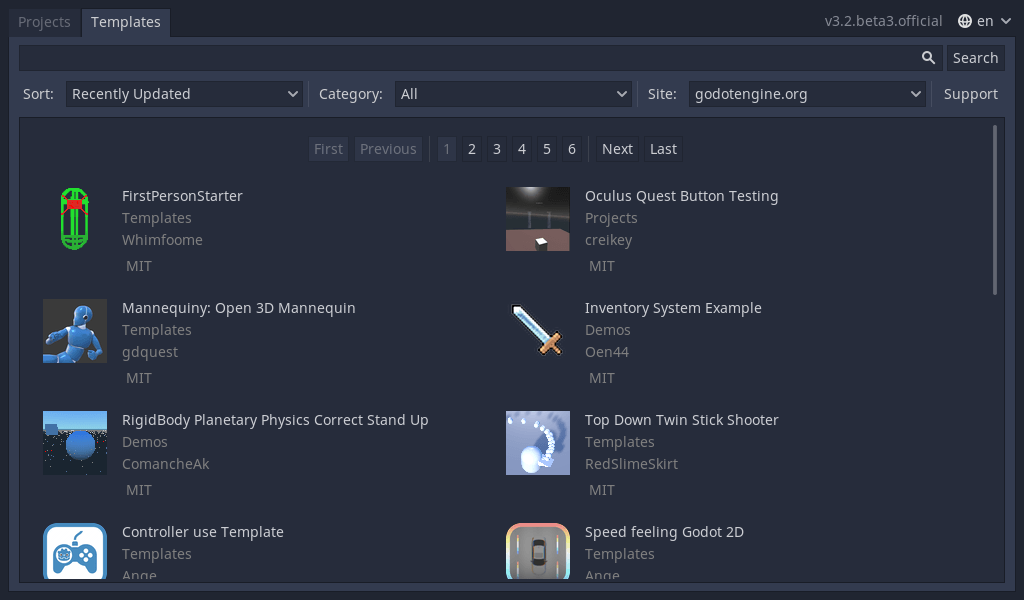
From the Templates tab you can download open source project templates and demos from the Asset Library to help you get started faster. Just select the template or demo you want, click download, once it's finished downloading click install and choose where you want the project to go. You can learn more about it in About the Asset Library.
Create or import a project
To create a new project, click the New Project button on the right. Here
you give it a name, choose an empty folder on your computer to save it to,
and choose a renderer.
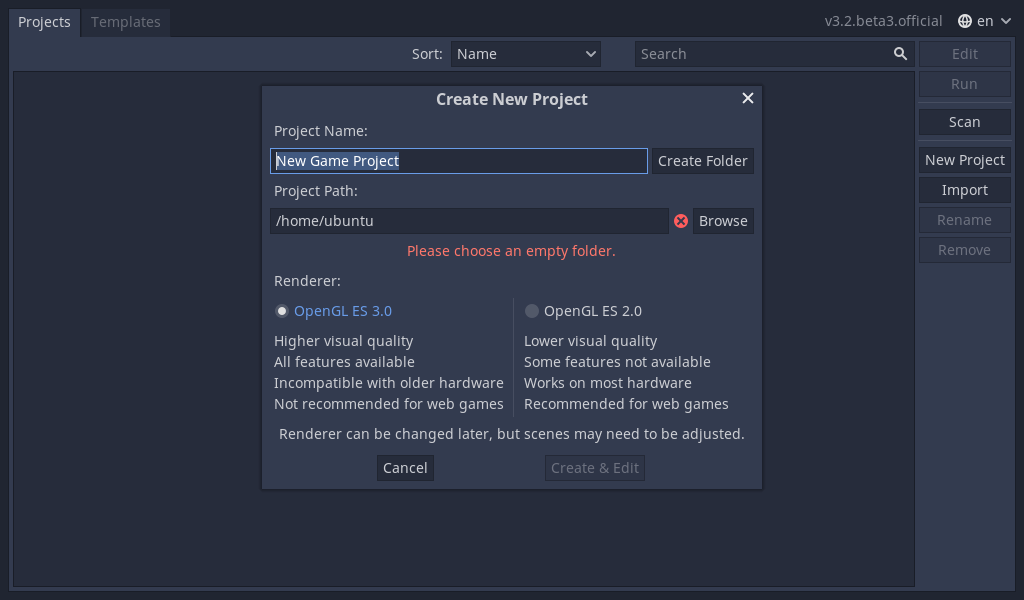
Click the Browse button to open Godot's file browser and pick a location or type the folder's path in the Project Path field.
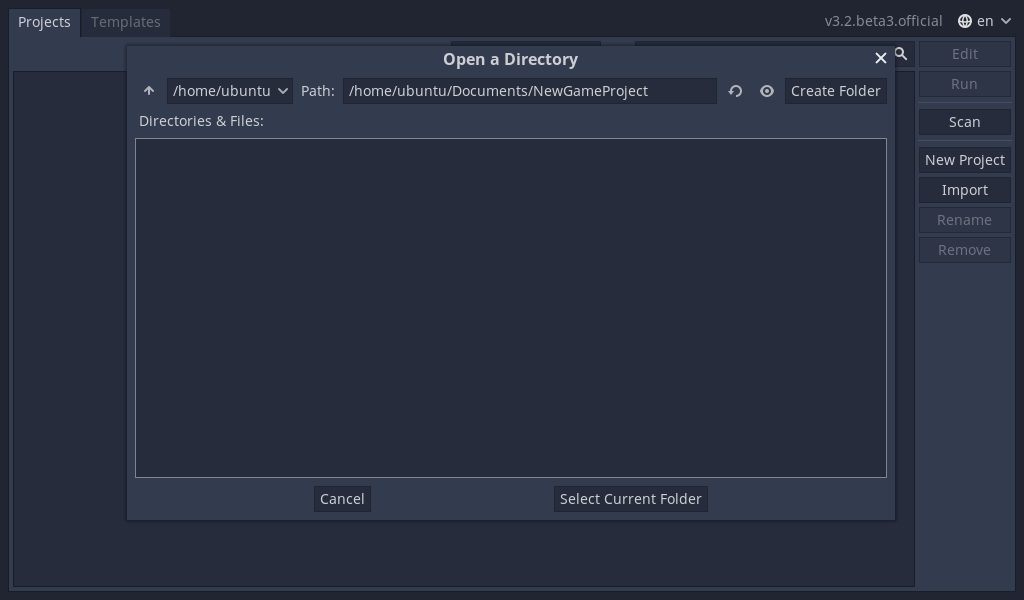
When you see the green tick on the right, it means the engine detects an
empty folder. You can also click the Create Folder button next to your
project name and an empty folder will be created with that name for the project.
Finally, you need to choose which renderer to use (OpenGL ES 3.0 or OpenGL ES 2.0). The advantages and disadvantages of each are listed to help you choose, and you can refer to Differences between GLES2 and GLES3 for more details. Note that you can change the backend from the project settings if you change your mind later on. For this tutorial either backend is fine.
Once you are done click Create & Edit. Godot will create
the project for you and open it in the editor.
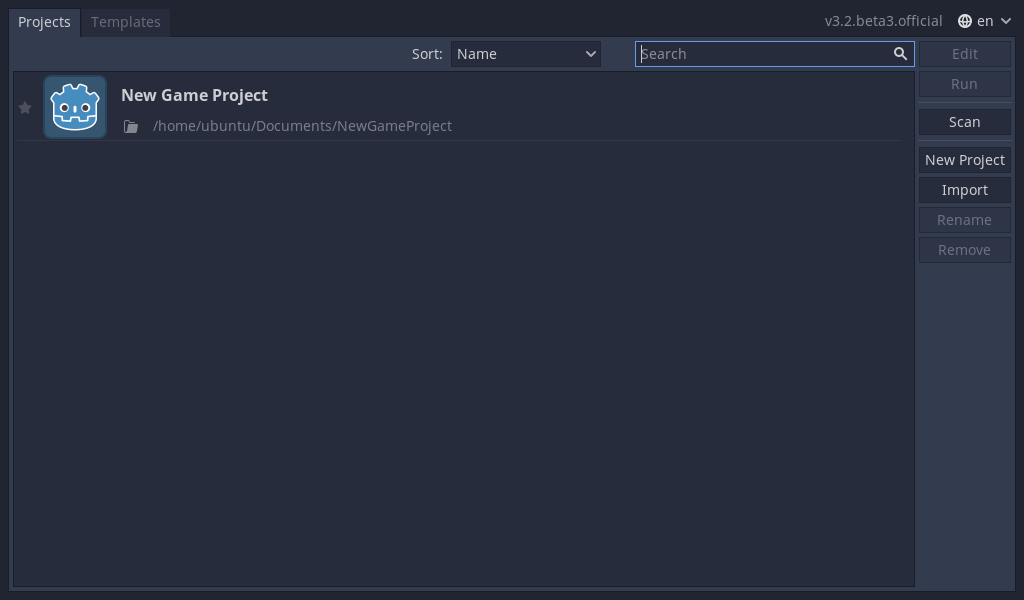
The next time you open the project manager, you'll see your new project in the list. Double click on it to open it in the editor.
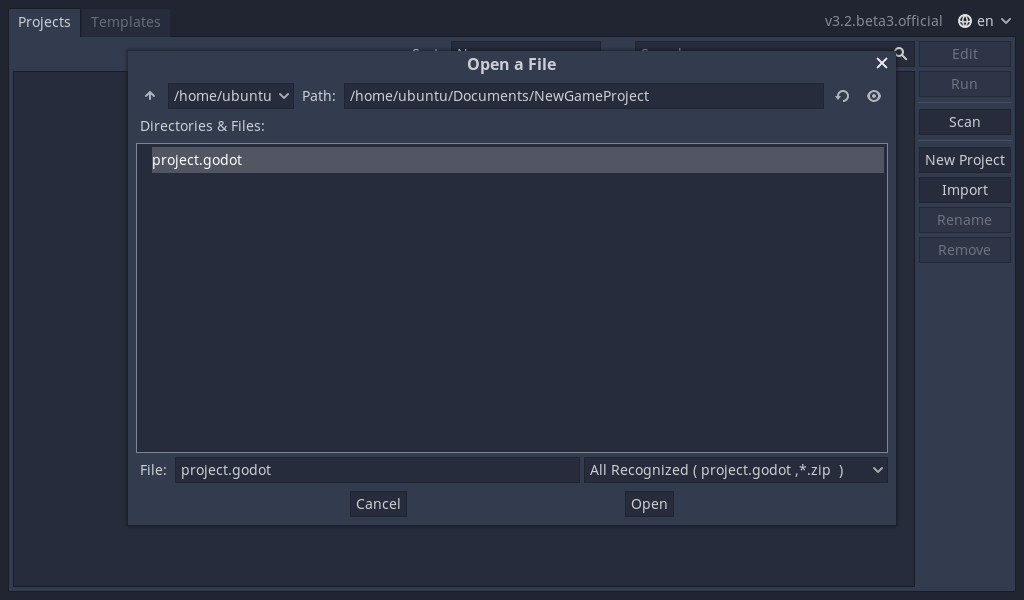
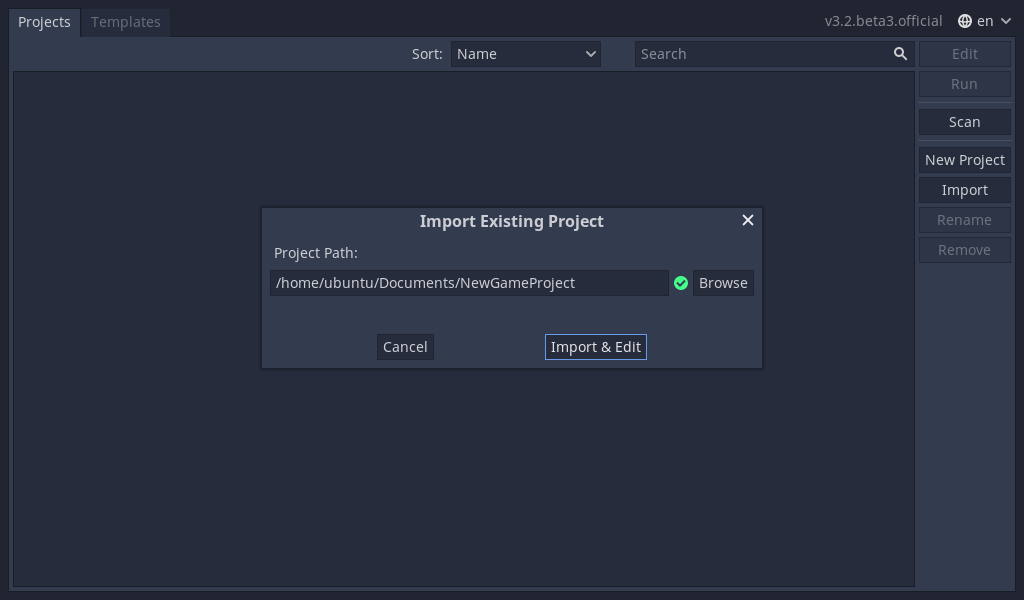
You can import existing projects in a similar way, using the Import
button. Locate the folder that contains the project or the
project.godot file to import and edit it.
When the folder path is correct, you'll see a green checkmark.
Your first look at Godot's editor
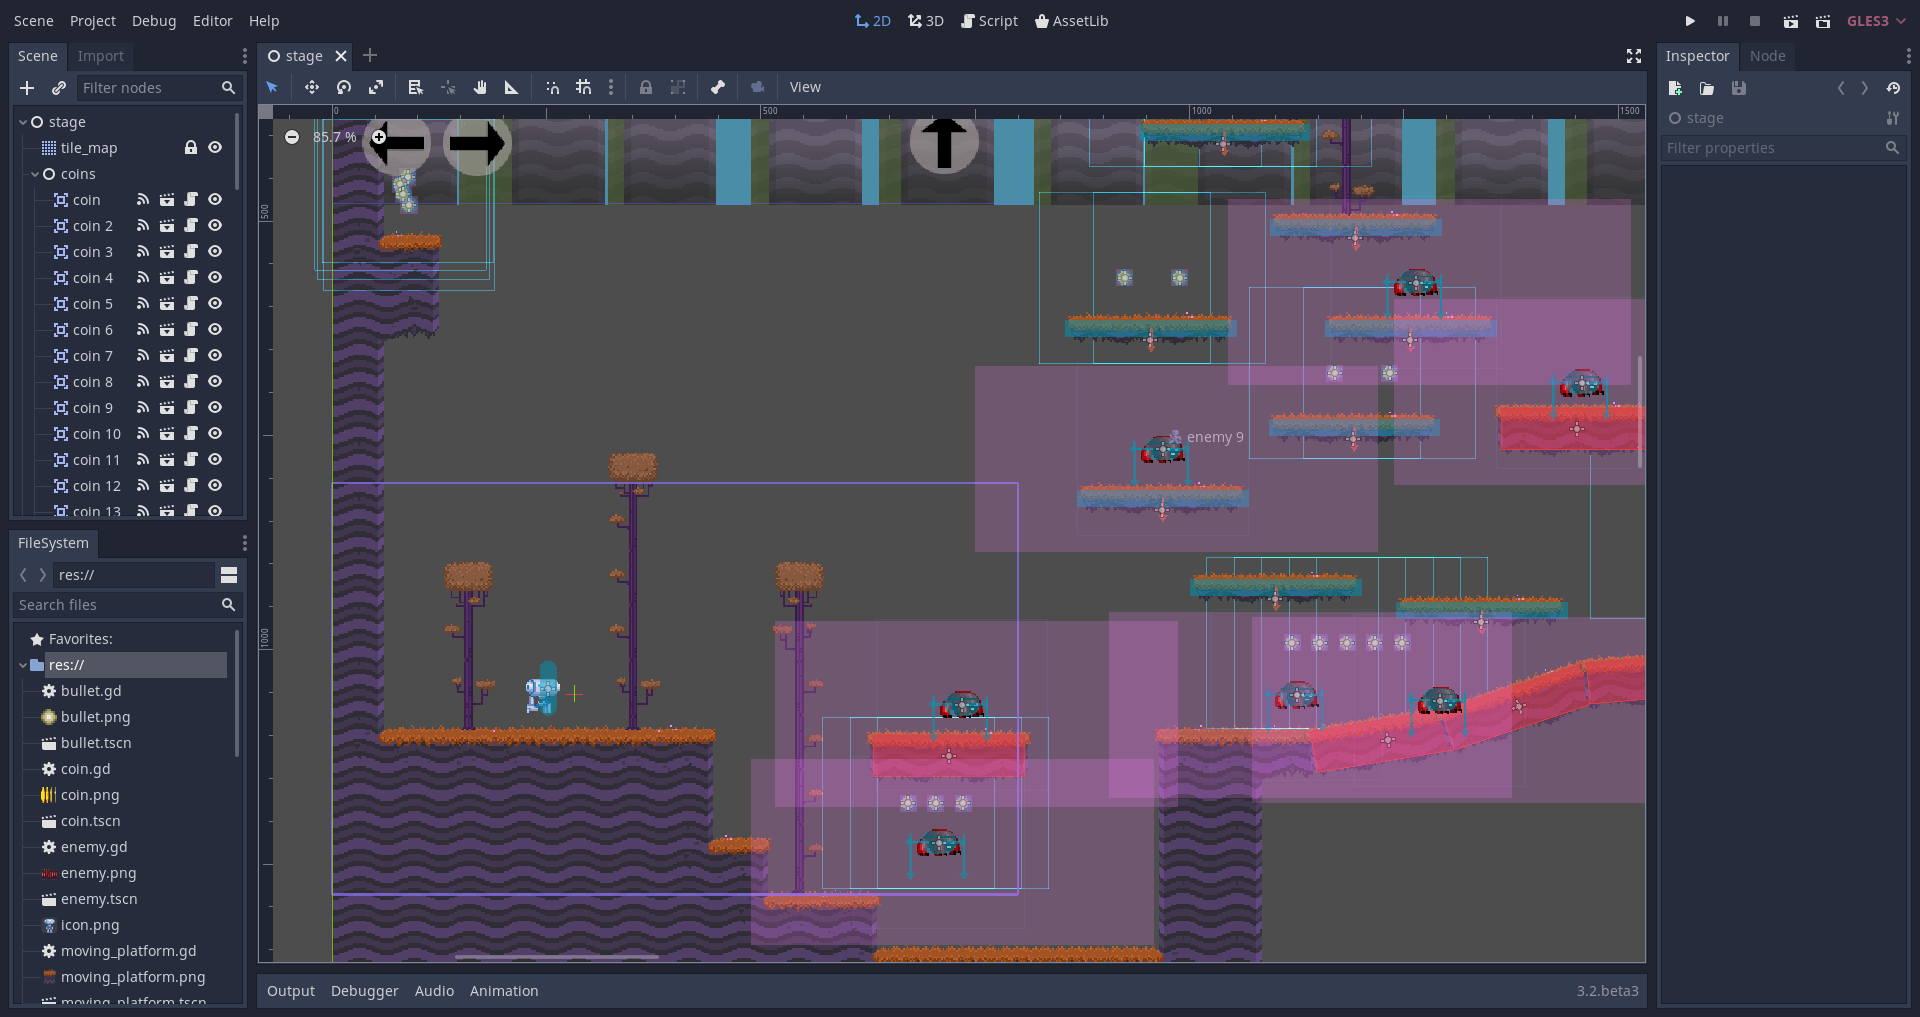
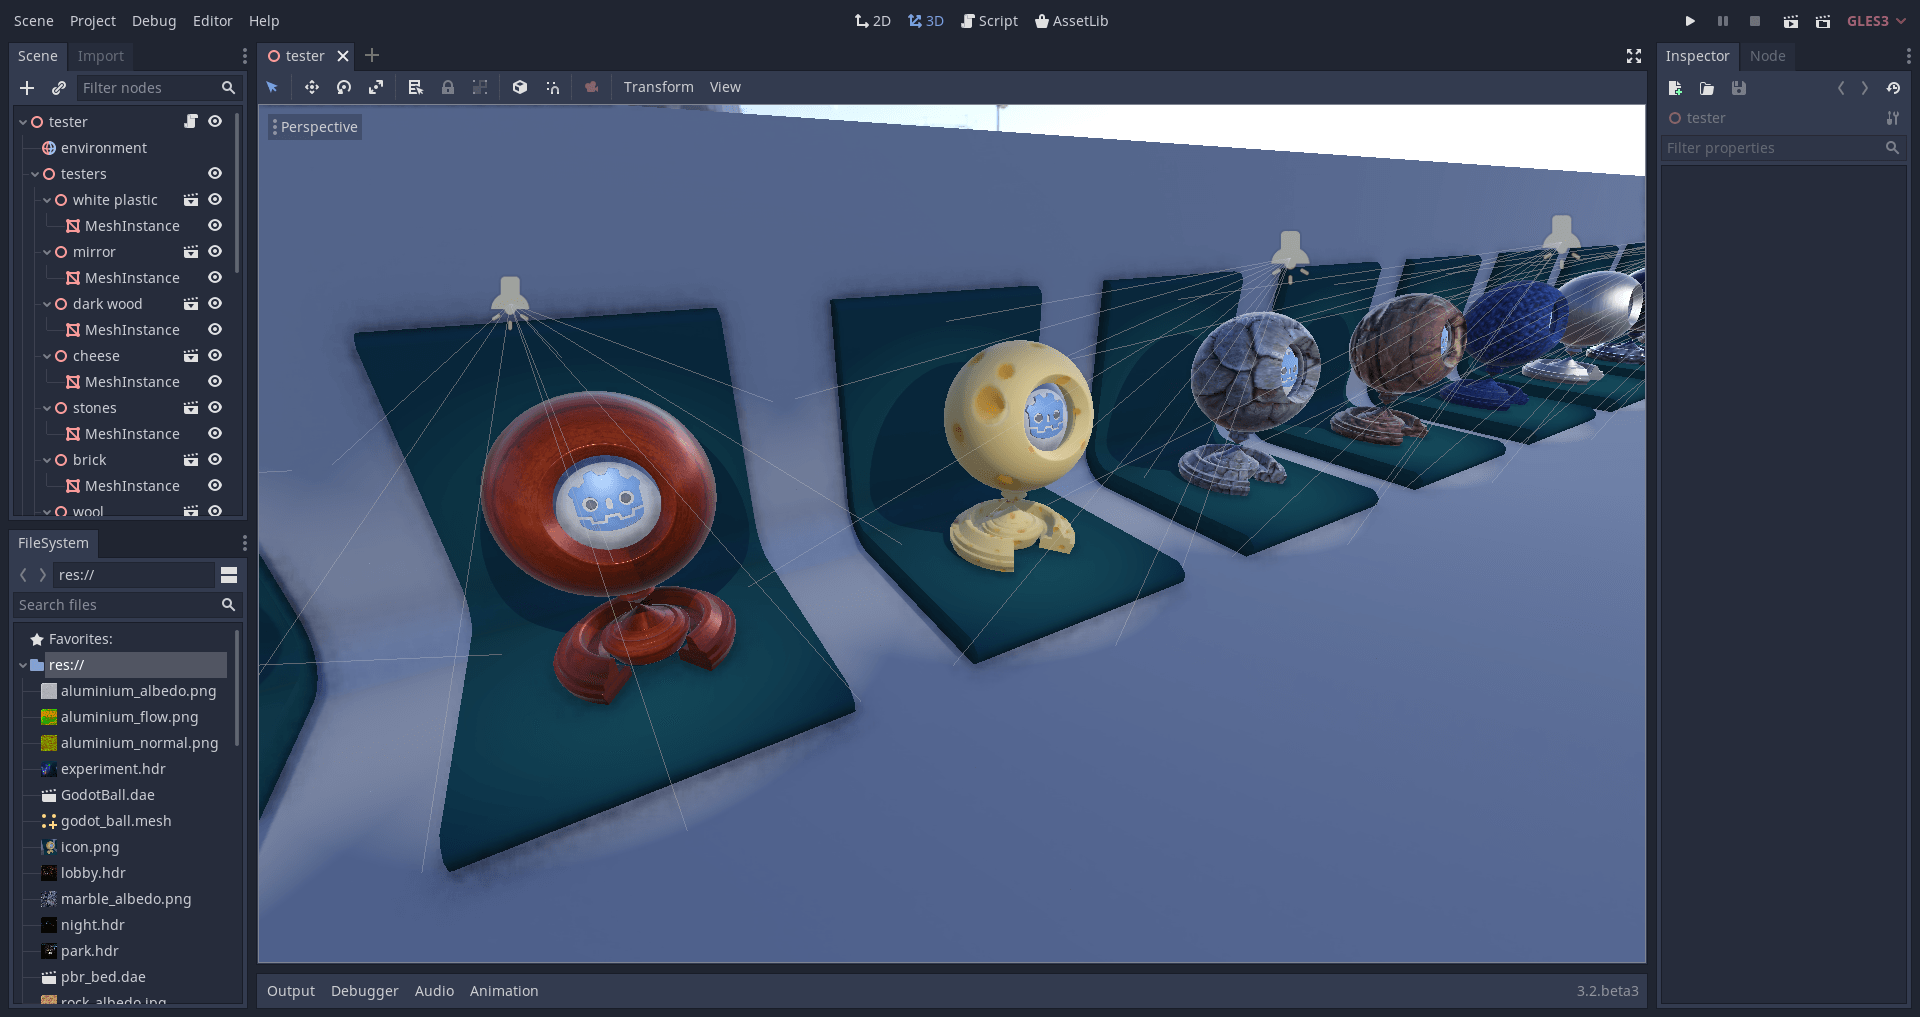
Welcome to Godot! With your project open, you should see the editor's interface with menus along the top of the interface and docks along the far extremes of the interface on either side of the viewport.

At the top, from left to right, you can see the main menus, the workspaces, and the playtest buttons.
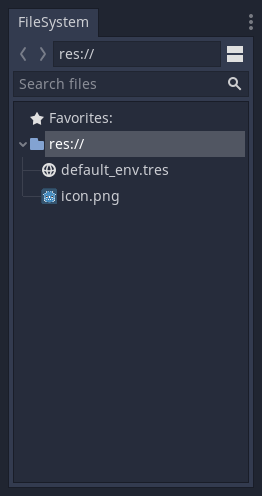
The FileSystem dock is where you'll manage your project files and assets.
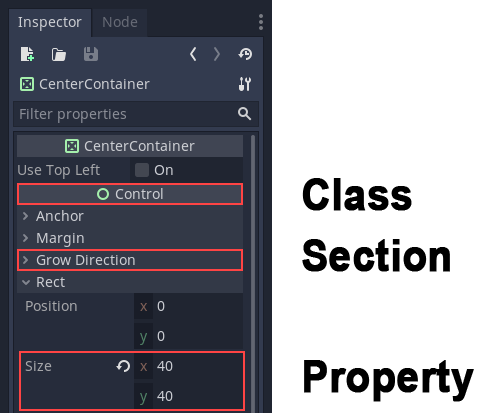
The Scene dock lists the active scene's content and the Inspector allows for the management of the properties of a scene's content.
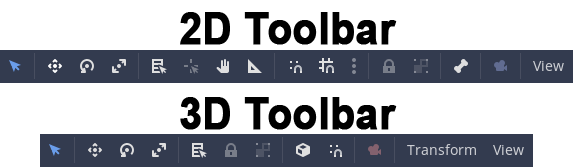
In the center, you have the Toolbar at the top, where you'll find tools to move, scale or lock your scene's objects. It changes as you jump to different workspaces.
The Bottom Panel is the host for the debug console, the animation editor, the audio mixer… They are wide and can take precious space. That's why they're folded by default.

The workspaces
You can see four workspace buttons at the top: 2D, 3D, Script and AssetLib.
You'll use the 2D workspace for all types of games. In addition to 2D games, the 2D workspace is where you'll build your interfaces. Press F1 (or Alt + 1 on macOS) to access it.
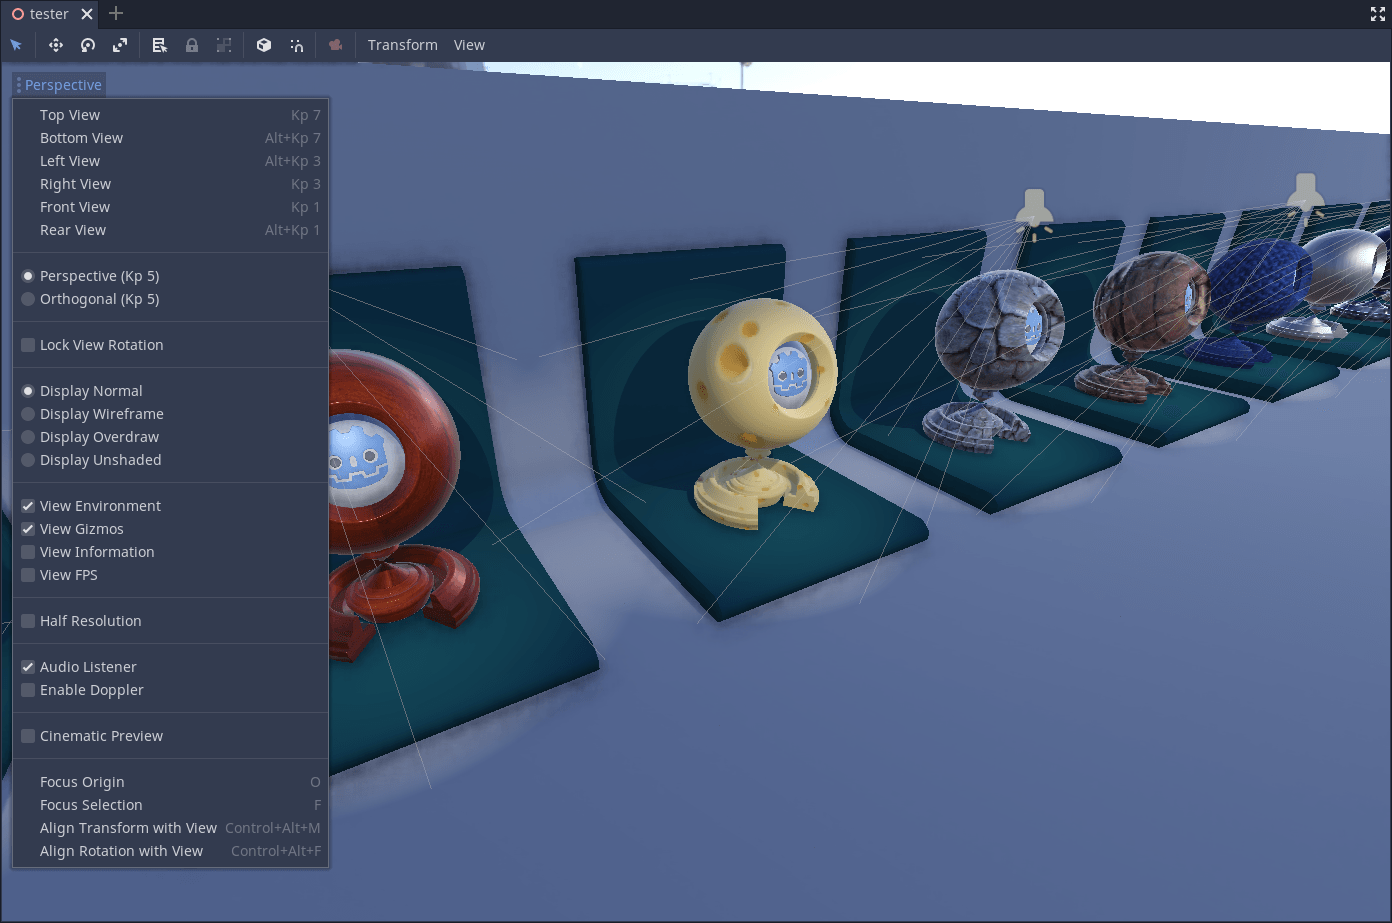
In the 3D workspace, you can work with meshes, lights, and design levels for 3D games. Press F2 (or Alt + 2 on macOS) to access it.
Notice the perspective button under the toolbar, it opens a list of options related to the 3D viewport.
Note
Read Introduction to 3D for more detail about 3D workspace.
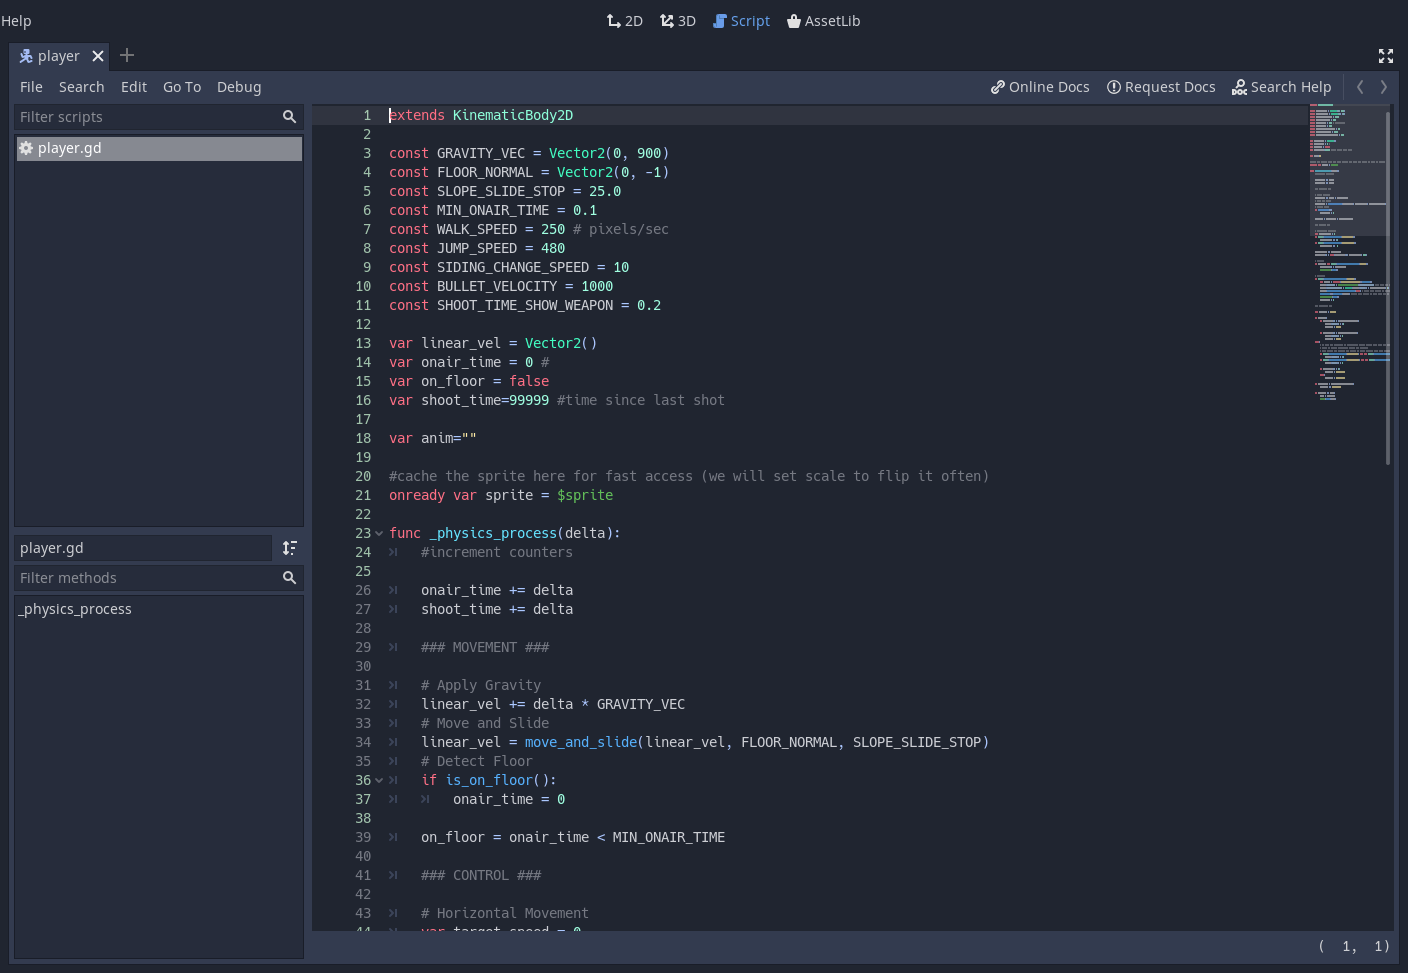
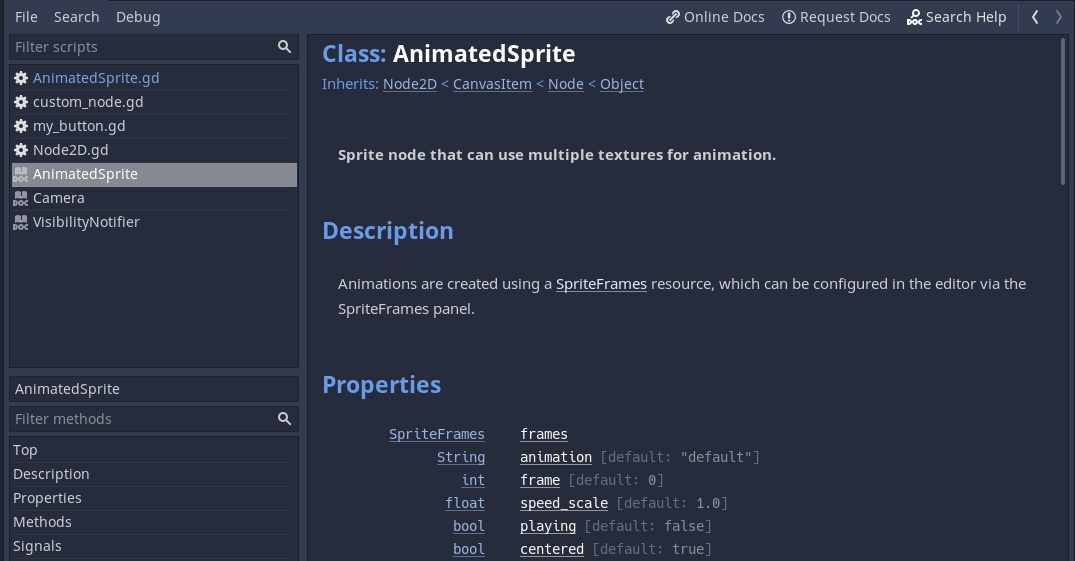
The Script workspace is a complete code editor with a debugger, rich auto-completion, and built-in code reference. Press F3 (or Alt + 3 on macOS) to access it, and Shift + F1 to search the reference.
To search for information about a class, method, property, constant, or signal in the engine while you are writing a script, press the "Search Help" button at the top right of the Script workspace.
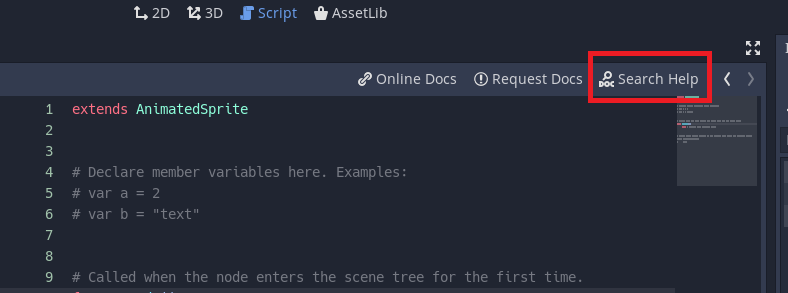
A new window will pop up. Search for the item that you want to find information about.
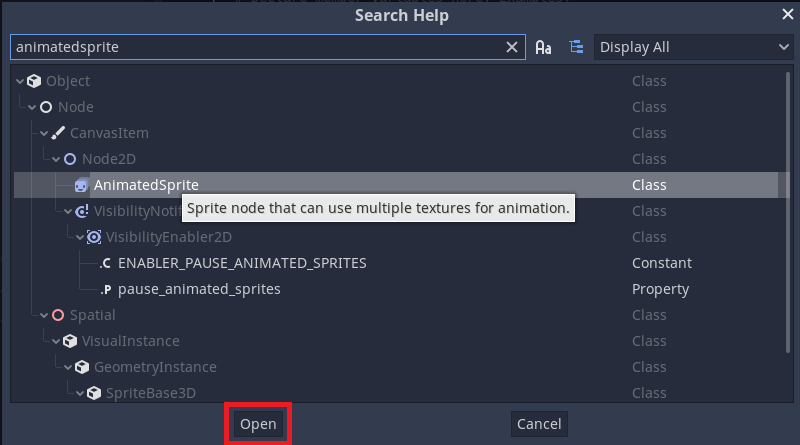
Click on the item you are looking for and press open. The documentation for the item will be displayed in the script workspace.
Finally, the AssetLib is a library of free and open source add-ons, scripts and assets to use in your projects.
Modify the interface
Godot's interface lives in a single window. You cannot split it across multiple screens although you can work with an external code editor like Atom or Visual Studio Code for instance.
Move and resize docks
Click and drag on the edge of any dock or panel to resize it horizontally or vertically.

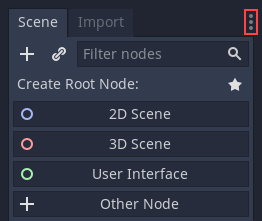
Click the three-dotted icon at the top of any dock to change its location.
Go to the Editor menu and Editor Settings to fine-tune the look
and feel of the editor.