2D lights and shadows
Introduction
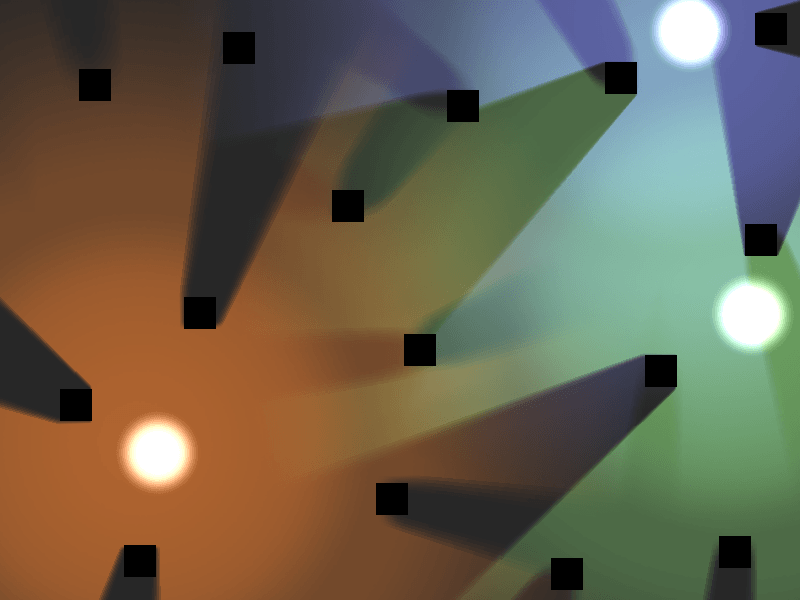
This tutorial explains how the 2D lighting works in the lights and shadows demo project. It begins with a brief description of the resources used in the final demo and then describes how to make a scene like the demo step by step.
All the resources for this tutorial can be found in the official demo repository on GitHub. I suggest you download it before starting. Alternatively, it can be downloaded from the Project Manager. Launch Godot and in the top bar select "Templates" and search for "2D Lights and Shadows Demo".
Setup
For this demo we use four textures: two for the lights, one for the shadow casters, and one for the background. I've included links to them all here if you want to download them separately from the demo.
The first is the background image (background.png) used in the demo. You do not necessarily need a background, but we use one for the demo.
The second is a plain black image (caster.png) to use as our shadow caster object. For a top down game this could be a wall or any other object that casts a shadow.
Next is the light itself (light.png). If you click the link you will notice how large it is. The image you use for a light should cover the area you want your light to cover. This image is 1024x1024 pixels, so you should use it to cover 1024x1024 pixels in your game.
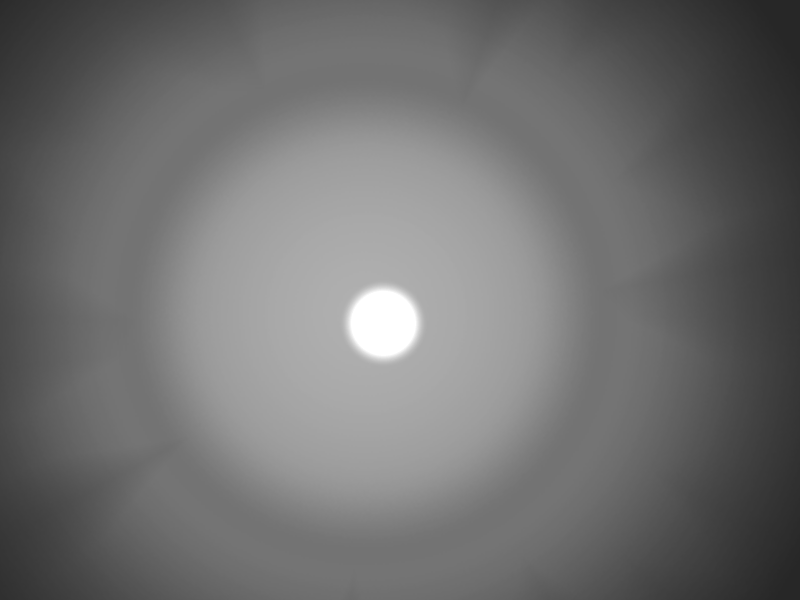
Lastly, we have the spotlight image (spot.png). The demo uses a blob to show where the light is and the larger light image to show the effect of the light upon the rest of the scene.
Nodes
- The demo uses four different nodes:
CanvasModulate is used to darken the scene.
Sprites are used to display the textures for the light blobs, the background, and for the shadow casters.
Light2Ds are used to light the scene. The way a light typically works is by adding a selected texture over the rest of the scene to simulate lighting. But it can be used in other ways, for example masking out parts of the scene.
LightOccluder2Ds are used to tell the shader which parts of the scene cast shadows. The shadows appear only on areas covered by the Light2D and their direction is based on the center of the Light.
Lights
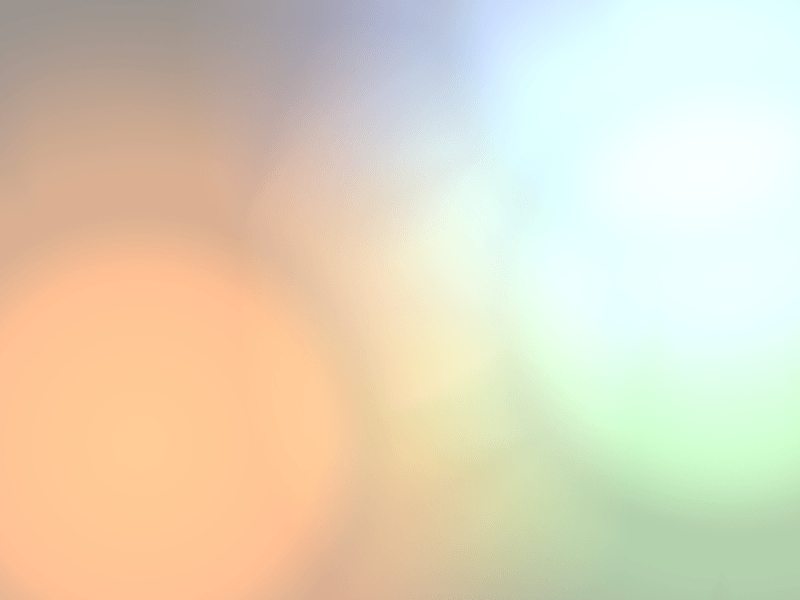
Lights cover the entire extent of their respective Texture. They use additive blending to add the color of their texture to the scene.

Lights have four Modes: Add, Sub, Mix, and Mask.
Add adds the color of the light texture to the scene. It brightens the area under the light.
Sub subtracts the color of the light from the scene. It darkens the area under the light.
Mix mixes the color of the light with the underlying scene. The resulting brightness is
halfway between the color of the light and the color underneath.
Mask is used to mask out areas that are covered by the light. Masked out areas are hidden or revealed based on
the color of the light.
For the demo the lights have two components, the Light itself (which is the effect of the light), and a Sprite blob which is an image showing the location of the light source. A child Sprite is not necessary to make a Light work.
Shadows
Shadows are made by intersecting a Light with a LightOccluder2D.
By default shadows are turned off. To turn them on click on the Light
and under the Shadows section check Enabled.
In the demo we are using a Sprite with a Texture on it to make the "Shadow Casters", but in reality all you need is a couple of LightOccluder2Ds. By itself the LightOccluder2D looks like a dark spot and in this demo the Sprite is just a black square.
Step by step
Now that we have covered the basics of the nodes being used, we can now walk step by step through the process of making a scene like the one found in the demo.
First add a Sprite and set its texture to the background image. For your game this can be any background you choose. For this style of shadow it is most likely to be a floor texture.

Next create three Light2D's and set their textures to the light image. You can alter their
color in the top section. By default shadows are turned off and the mode is set to add. This
means that each light adds its own color to whatever is underneath.
Next add a child Sprite to each of the Light nodes, and set the Sprite's texture to the blob image. Each of these should stay centered on the Light node. The blob is the image of the light itself while the Light shows the effect that the light has on the scene. The LightOccluder2D's will treat the position of the light as the center of the Light node, which is why we want the blob to be centered on its parent Light.
Note
The animations in the demo will not be covered here. See Introduction to the 2D animation features for information on creating animations.
Right now the scene should look too bright. This is because all three lights are adding color to the scene. This is why the demo uses a CanvasModulate in the scene. The CanvasModulate multiples the entire viewport by a specific color.
Add a CanvasModulate to the scene and set its color to rgb(70, 70, 70).
This will make the scene sufficiently dark to see the effects of the lights distinctly.
Now we add the shadow casters.
The demo uses a Node named "casters" to organize the shadow casters. Add a Node2D to the scene. It will be used to group all the shadow casters together. This way we can show and hide them all at the same time.
Each shadow caster is made of a Sprite, with a LightOccluder2D child. For the demo the Sprite has a texture set to the caster image and nothing else. The child LightOccluder2D is where all the magic happens. In a game the Sprite could be more than a black box; it could be an image of whatever object is casting the shadow: a wall, a magical chest, or anything else.
LightOccluder2Ds tell the game what shape the occluder has. They hold
an OccluderPolygon2D, which is a container
for a polygon and some other information. For this demo, since our wall is a square, we
set Polygon to a square. The other default settings are fine.
The first setting, Closed can be either on or off. A closed polygon occludes light
coming from all directions. An open polygon only occludes light from one direction
Cull Mode lets you select which direction gets culled. The default is Disabled, meaning the occluder
will cast a shadow no matter which side the light is on. The other two settings Clockwise and
Counter-Clockwise refer to the winding order of the vertices of the polygon. The winding order
is used to determine which side of the line is inside the polygon. Only outward facing lines cast shadows.
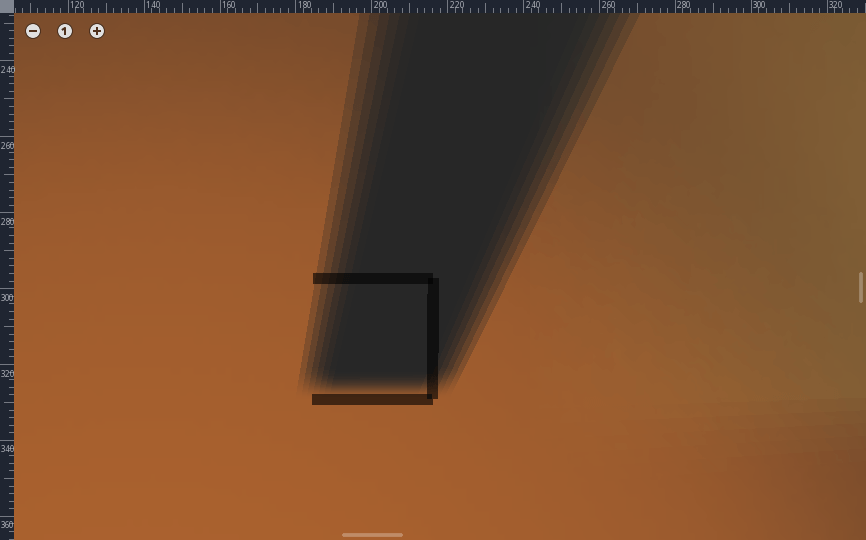
To illustrate the difference, here is an image of a LightOccluder2D with Closed
set to off in the corresponding OccluderPolygon2D, so that the
lines of the polygon can be seen:
Note
Cull Mode is set to Disabled. All three lines cast shadows.
Note
Cull Mode is set to Clockwise. Only the top and right lines cast shadows.
Note
Cull Mode is set to Counter-Clockwise. Only the bottom line casts a shadow.
If Closed was set to on there would be an additional vertical line on the
left which would cast a shadow as well.
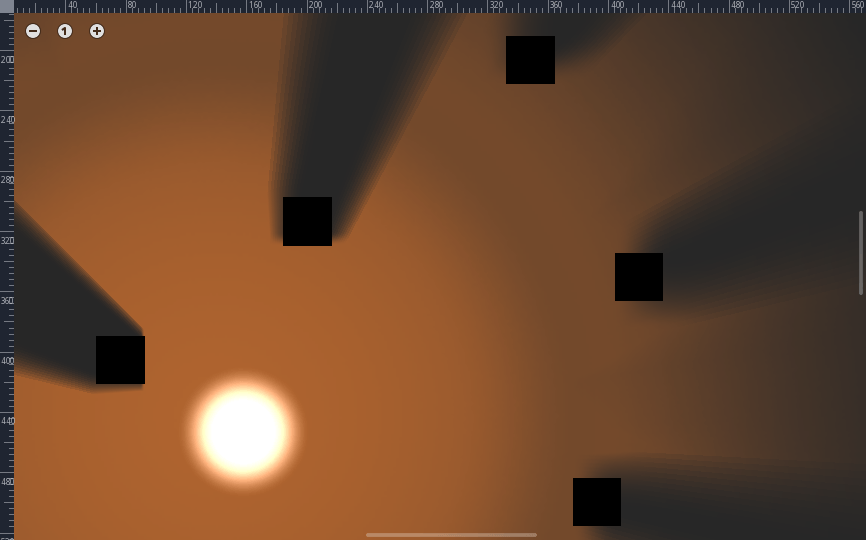
When you have added the LightOccluder2Ds the shadows still won't
appear. You need to go back into the Light2Ds and under the Shadow
section set Enable to on. This turns on shadows with hard edges like in the image below.

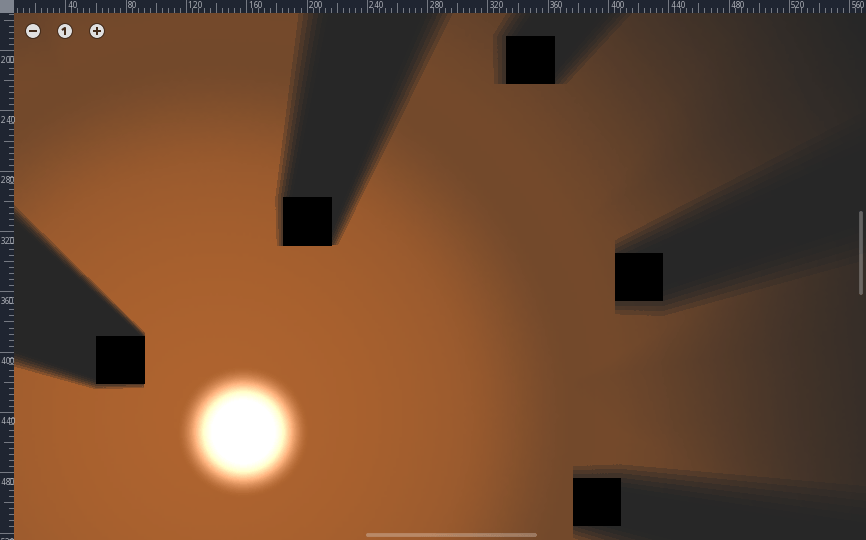
To give the shadows that nice, soft edge look we set the variables filter, filter smooth, and
gradient length. Godot supports Percentage Closer Filtering
(PCF), which takes multiple samples of the shadow map around a pixel and blurs them to create
a smooth shadow effect. The higher the number of samples the smoother the shadow will
look, but the slower it will run. That is why Godot provides 3-13 samples by default and allows you to choose.
The demo uses PCF7.

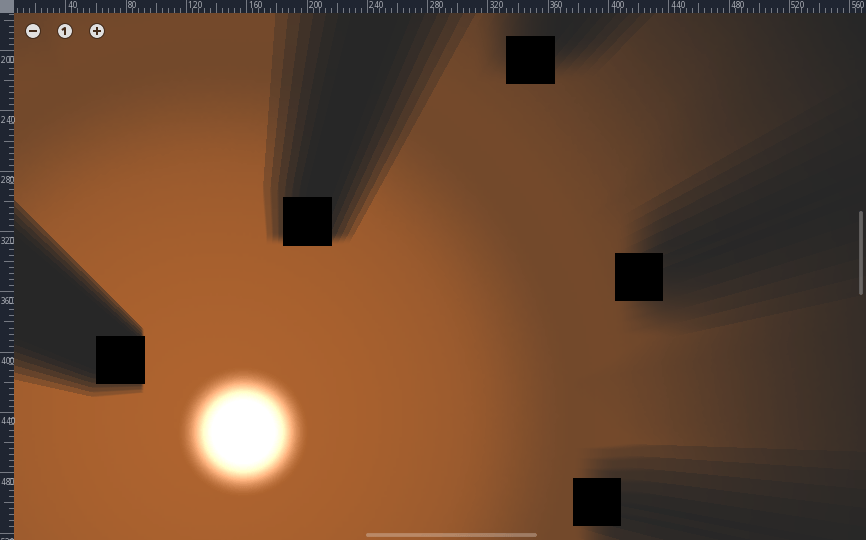
Note
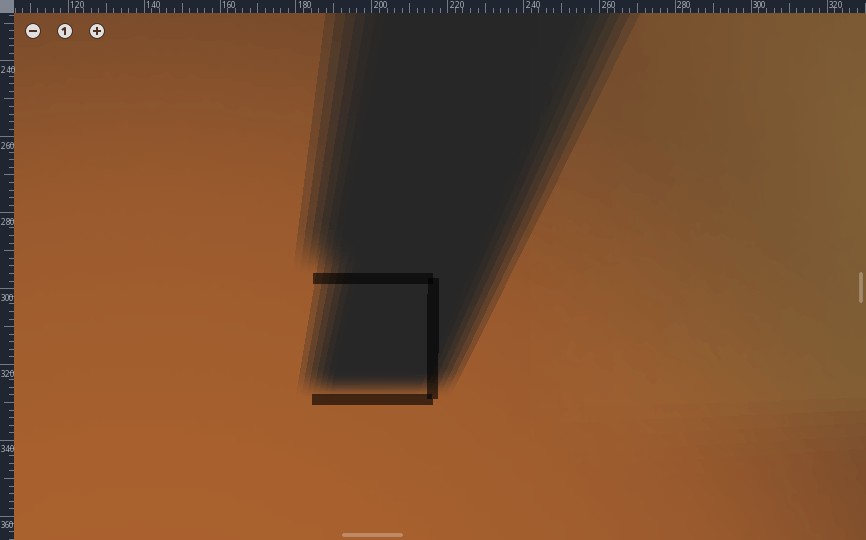
This is a shadow rendered with the demo's settings. gradient length is set
to 1.3, filter smooth is set to 11.1, and filter is set to PCF7.
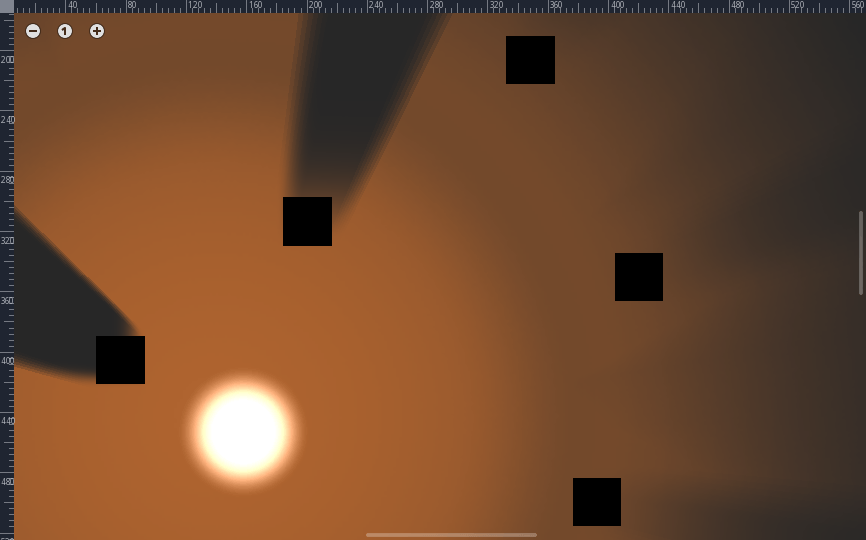
Note
filter is set to PCF13. Notice how the shadow becomes wider, this is because the
distance between samples is based on the variable filter smooth.
In order to make use of filtering you need to set the filter smooth variable.
This dictates how far apart the samples are. If you want the soft area to extend quite far, you can increase
the size of filter smooth. However, with few samples and a large filter smooth, you can see lines
forming between the samples.
Note
filter smooth is set to 30.
The different Light nodes in the demo use different values for filter smooth. Play around with it and see what you like.
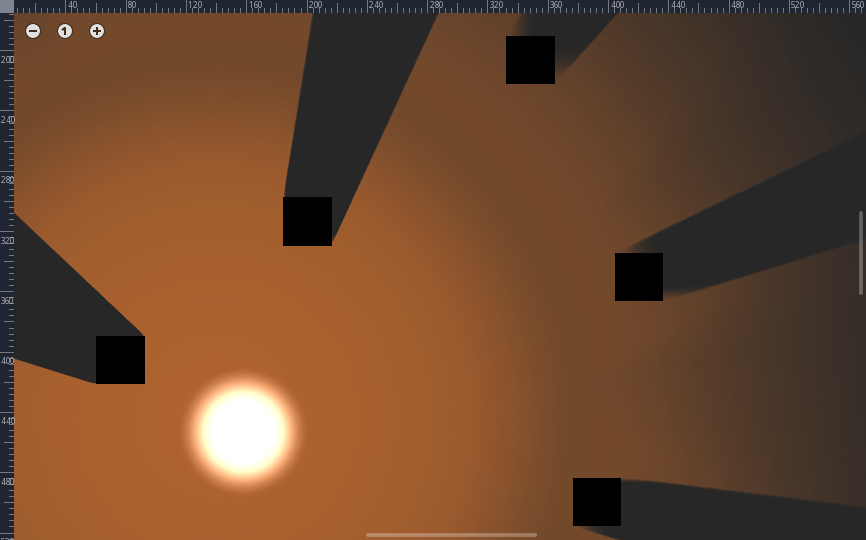
Note
filter smooth is set to 0.
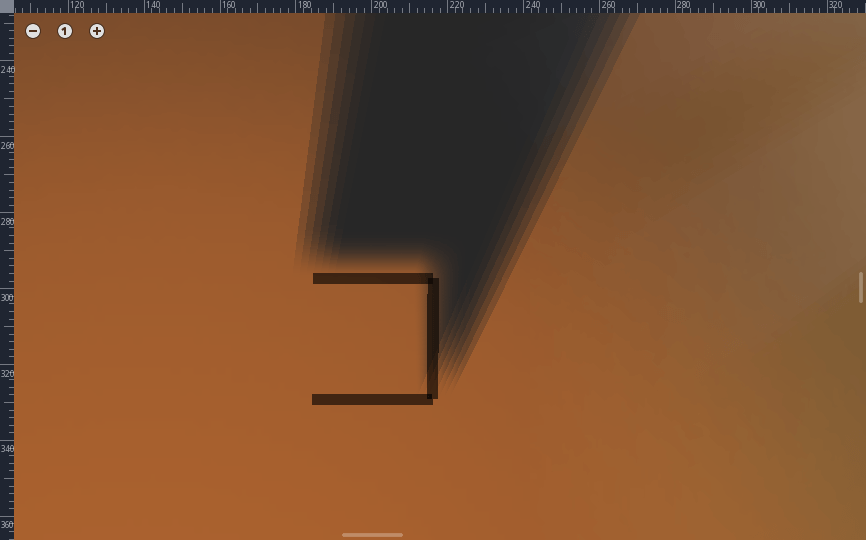
Lastly, there is the variable gradient length. For some smooth shadows it is preferable not to have the
shadow start immediately on the object, as this produces a hard edge. The gradient length variable creates
a smooth gradient to begin the shadow to reduce the effect of the hard edge.
Note
gradient length is set to 0.
Note
gradient length is set to 10.
You will need to play around with the options a bit to find settings that suit your project. There is no right solution
for everyone, which is why Godot provides so much flexibility. Just keep in mind that the higher filter
set the more expensive the shadows will be.