Attention: Here be dragons
This is the latest
(unstable) version of this documentation, which may document features
not available in or compatible with released stable versions of Godot.
Checking the stable version of the documentation...
First look at Godot's interface
Diese Seite gibt Ihnen einen kurzen Überblick über die Benutzeroberfläche von Godot. Wir werden uns die verschiedenen Hauptbildschirme und Docks ansehen, um Ihnen zu helfen, sich zurechtzufinden.
Siehe auch
For a comprehensive breakdown of the editor's interface and how to use it, see the Editor manual.
Der Projektmanager
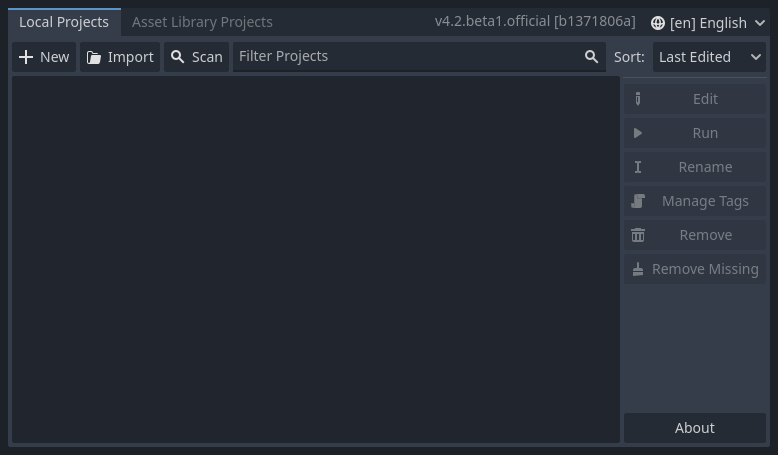
When you launch Godot, the first window you see is the Project Manager. In the default tab Projects, you can manage existing projects, import or create new ones, and more.
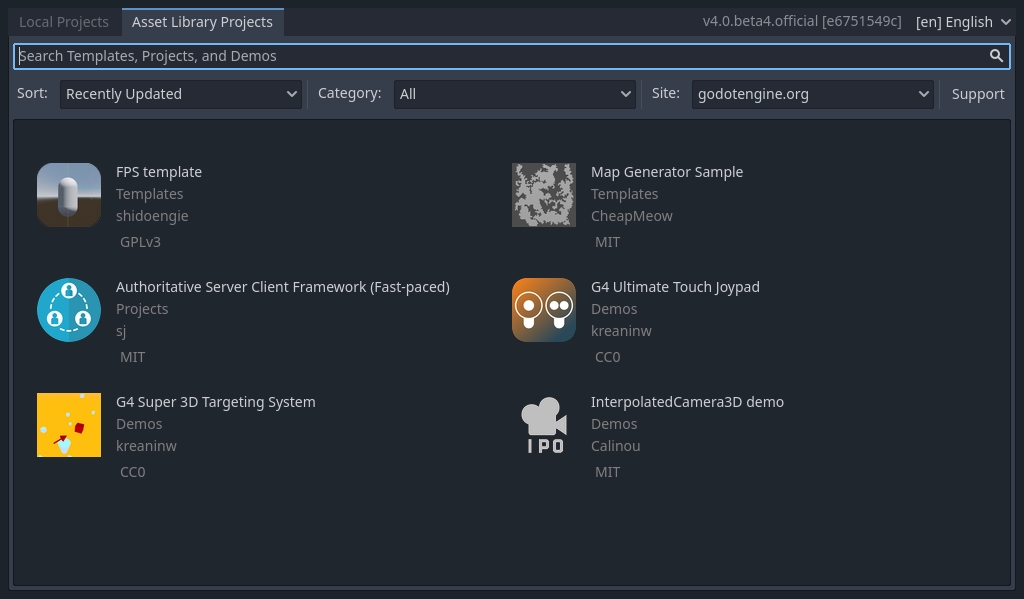
At the top of the window, there is another tab named Asset Library. The first time you go to this tab you'll see a "Go Online" button. For privacy reasons, the Godot project manager does not access the internet by default. To change this click the "Go Online" button. You can change this option later in the settings.
Sobald Ihr Netzwerkmodus auf "Online" eingestellt ist, können Sie in der Open-Source-Asset-Bibliothek, die viele von der Community entwickelte Projekte enthält, nach Demoprojekten suchen:
Die Projektmanager-Einstellungen können über das Einstellungen Menü geöffnet werden:

Hier können Sie die Sprache des Editors (Default-Sprache ist die Systemsprache), das Benutzeroberflächen-Theme, die Anzeige-Skalierung, den Netzwerkmodus und auch die Verzeichnisbenennungskonvention ändern.
Siehe auch
Wenn Sie mehr über den Projektmanager erfahren möchten, lesen Sie Verwenden des Projektmanagers.
Ein erster Blick auf den Godot-Editor
Wenn Sie ein neues oder ein bestehendes Projekt öffnen, erscheint die Benutzeroberfläche des Editors. Schauen wir uns die Hauptbereiche an:
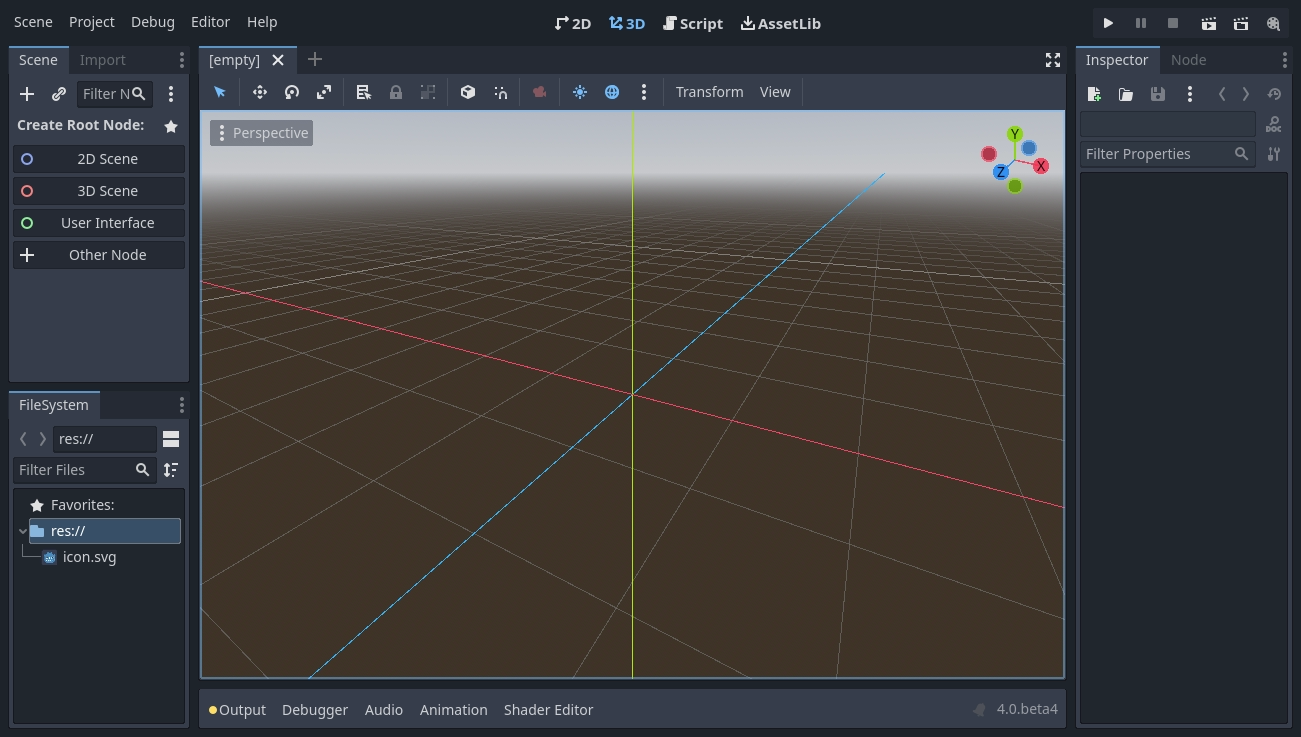
Standardmäßig befindet sich an der oberen Fensterkante Hauptmenü auf der linken Seite, Buttons zum Wechseln des Arbeitsbereiches in der Mitte (der aktive Arbeitsbereich ist hervorgehoben) und die Testen-Buttons sowie der Videoersteller-Modus auf der rechten Seite:

Just below the workspace buttons, the opened scenes as tabs are seen. The plus (+) button right next to the tabs will add a new scene to the project. With the button on the far right, distraction-free mode can be toggled, which maximizes or restores the viewport's size by hiding docks in the interface:

In der Mitte befindet sich der Viewport mit der Toolbar am oberen Rand, in der Sie Tools zum Verschieben, Skalieren oder Sperren von Nodes der Szene finden (momentan ist der 3D-Workspace aktiv):
Die Toolbar ändert sich je nach Kontext und ausgewähltem Node. Hier ist die 2D-Toolbar:

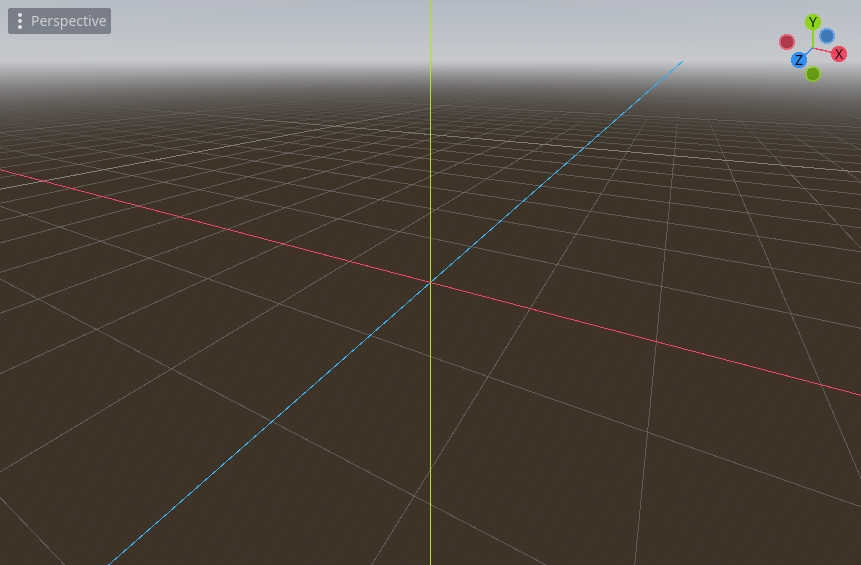
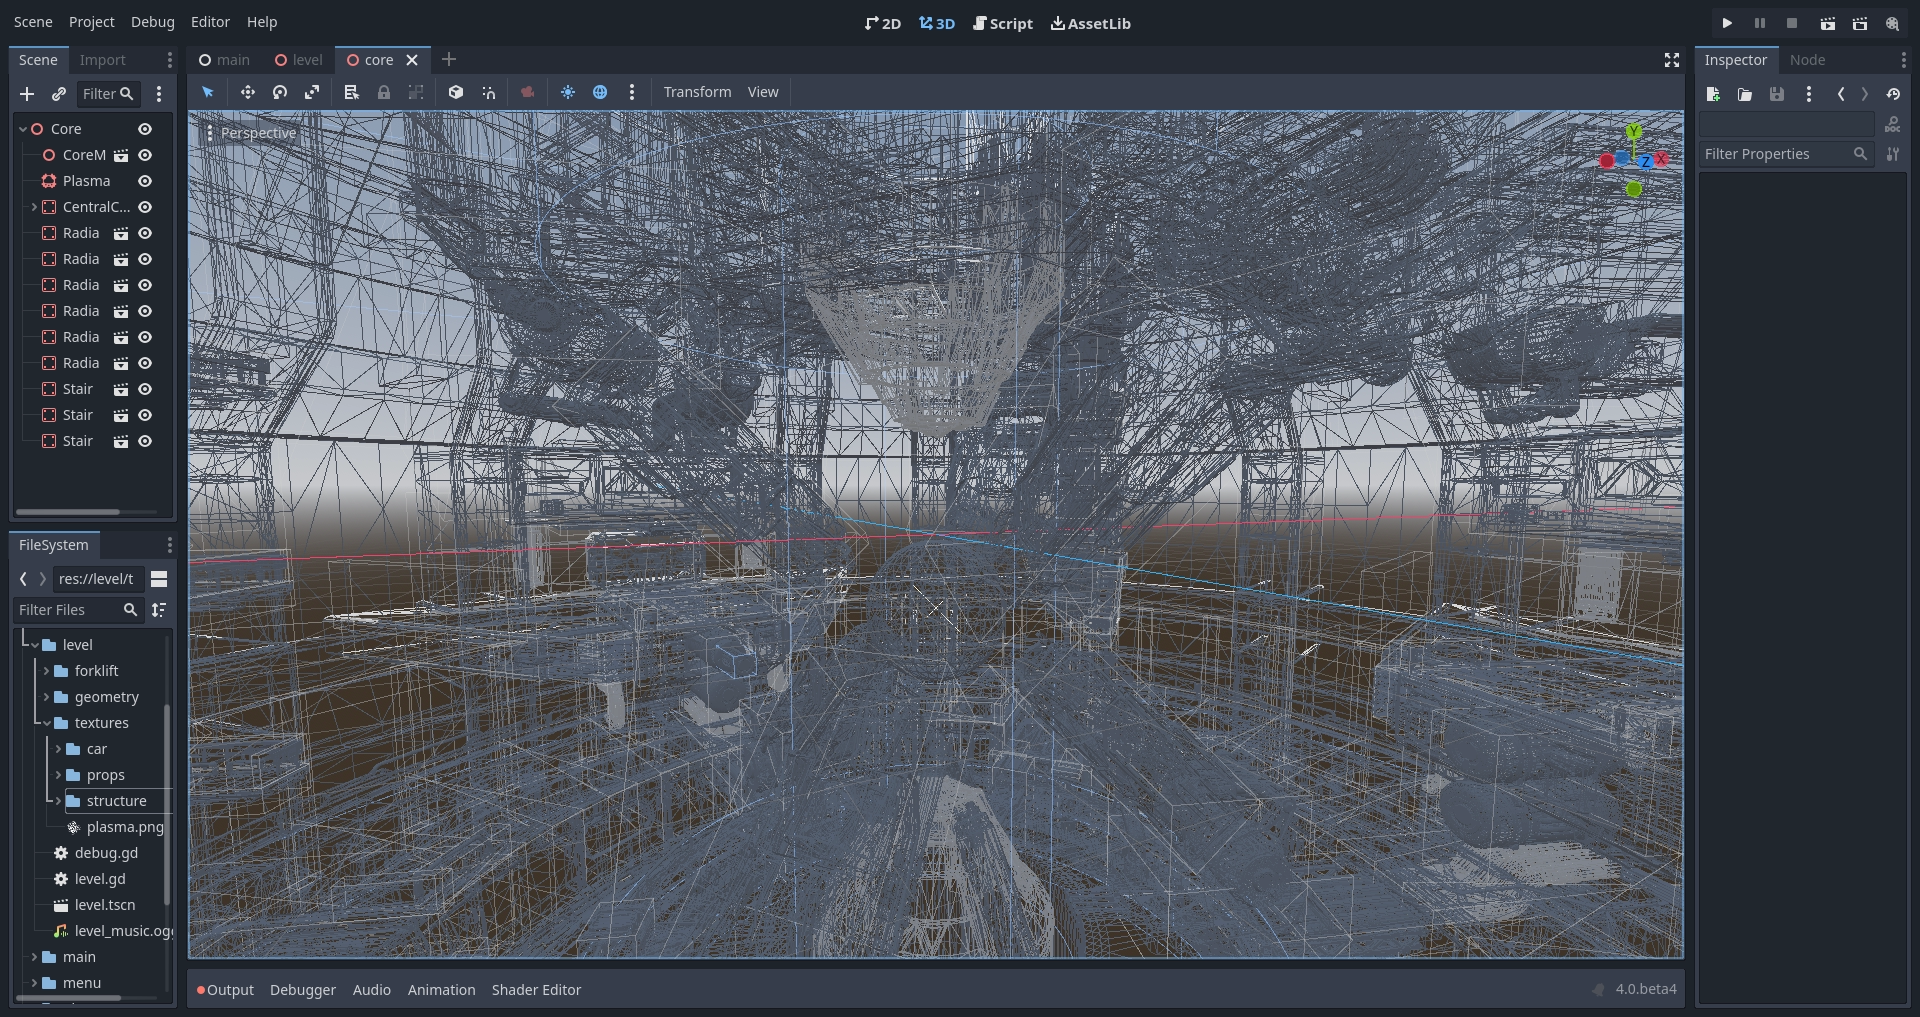
Darunter ist die 3D-Version:

Siehe auch
Weitere Informationen über den Editor finden Sie unter Die fünf Hauptbildschirme.
Siehe auch
To learn more on the 3D viewport and 3D in general, read 3D Einführung.
Auf beiden Seiten des Viewports befinden sich die Docks. Und am unteren Rand des Fensters befindet sich das Untere Bedienfeld.
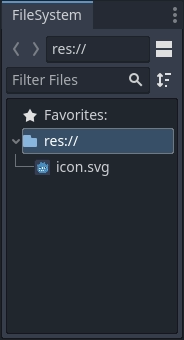
Schauen wir uns die Docks an. Das Dateisystem-Dock listet Ihre Projektdateien auf, darunter Skripte, Bilder, Audio-Samples und mehr:
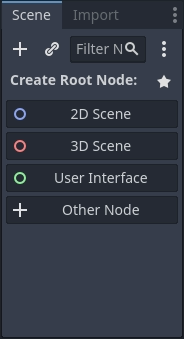
Das Szenen-Dock listet die aktiven Nodes der Szene auf:
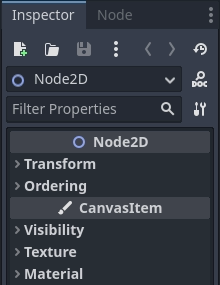
Mit dem Inspektor können Sie die Properties (Eigenschaften) eines ausgewählten Nodes bearbeiten:
Siehe auch
Weitere Informationen über den Inspektor finden Sie unter Inspector Dock.
Siehe auch
Docks können angepasst werden. Lesen Sie mehr unter Docks verschieben und ihre Größe ändern.
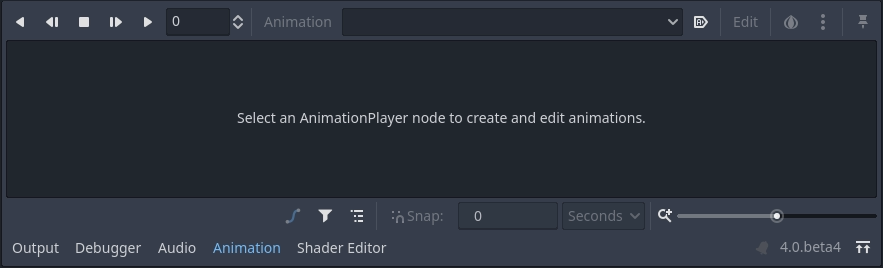
Das Untere Bedienfeld, das sich unterhalb des Viewports befindet, beherbergt die Debug-Konsole, den Animations-Editor, den Audiomixer und vieles mehr. Diese können wertvollen Platz einnehmen, deshalb sind sie standardmäßig eingeklappt:

Wenn Sie auf eines klicken, wird es vertikal erweitert. Unten sehen Sie den geöffneten Animations-Editor:
Die unteren Bedienfelder können, mit den unter Editor > Befehlsluste konfigurierten Tastenkombinationen, ein- ausgeblendet werden.
Die fünf Hauptbildschirme
Im oberen Bereich des Editors befinden sich fünf Buttons: 2D, 3D, Skript, Game und Asset-Bibliothek.
Sie werden den 2D-Bildschirm für alle Arten von Spielen verwenden. Neben 2D-Spielen ist der 2D-Bildschirm der Ort, an dem Sie Ihre Benutzeroberflächen erstellen werden.
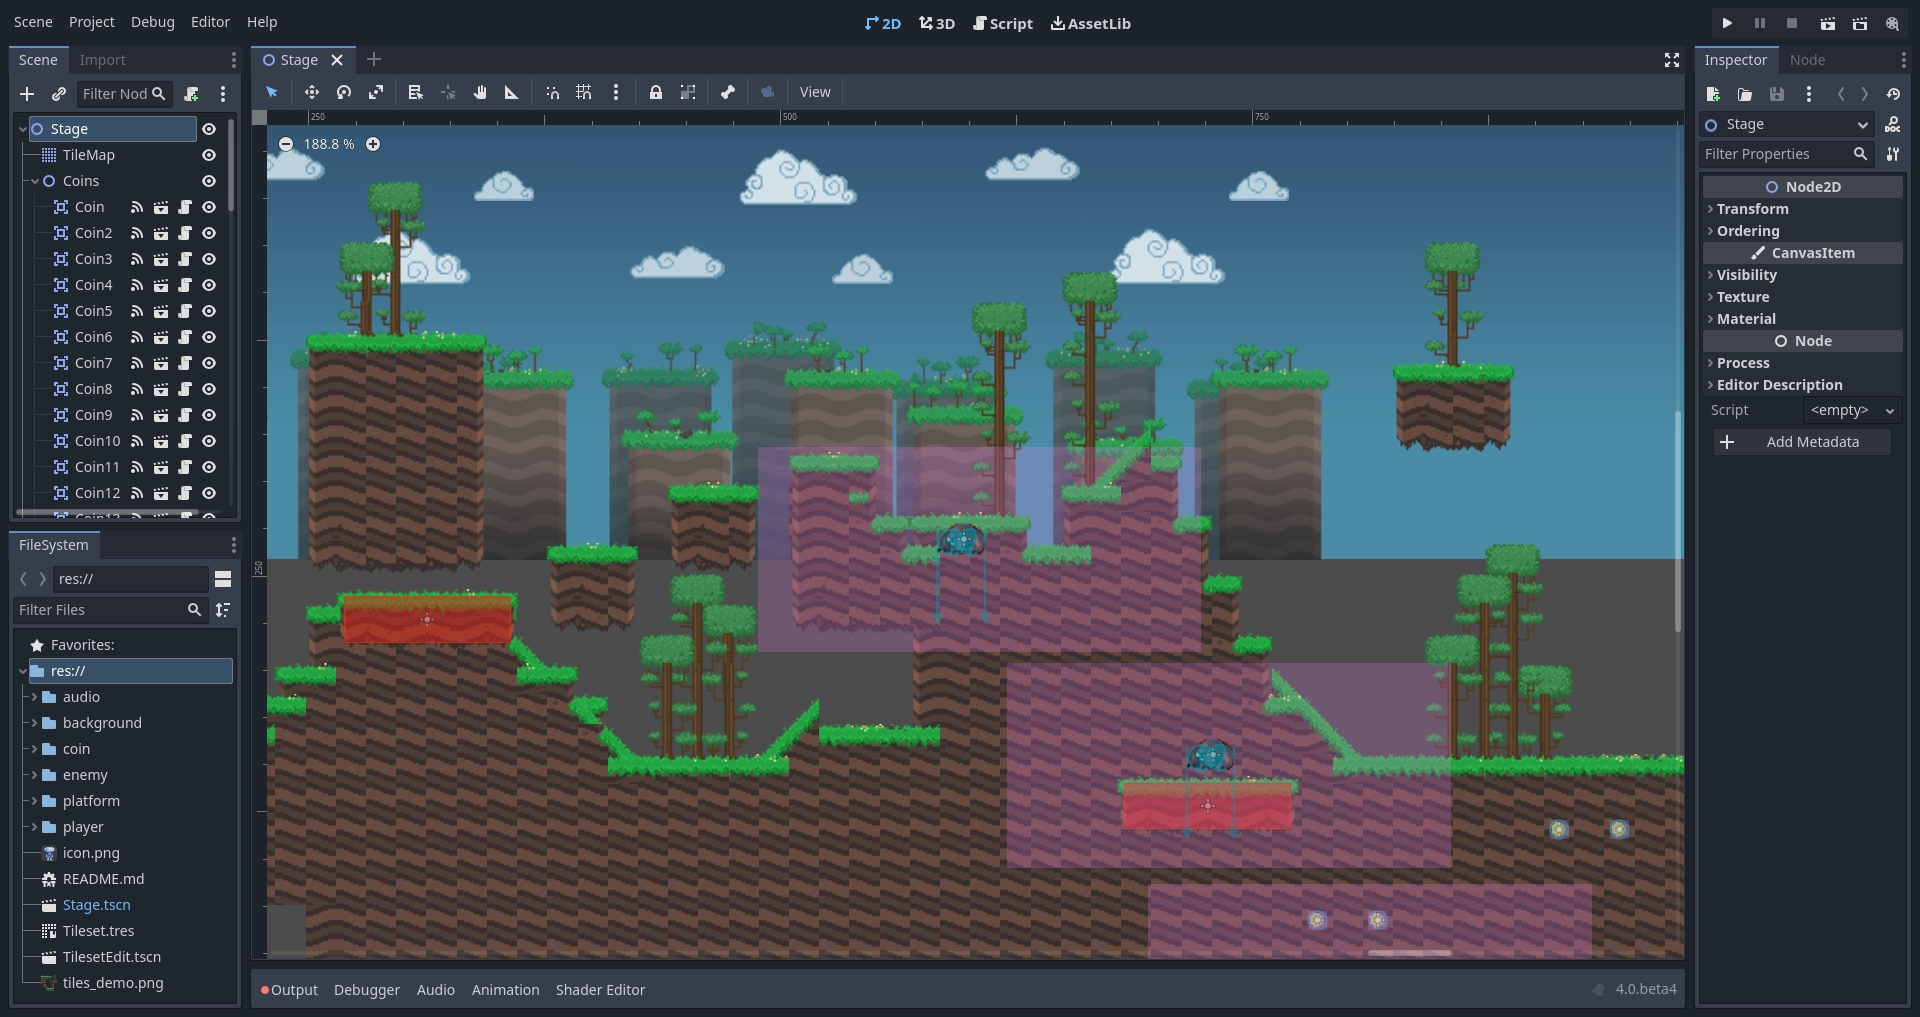
Im 3D-Bildschirm können Sie mit Meshes und Lichtern arbeiten und Level für 3D-Spiele entwerfen.
Bemerkung
Lesen Sie 3D Einführung für weitere Informationen zum 3D-Arbeitsbereich.
Im Spielbildschirm wird dein Projekt sein, wenn es aus dem Editor gestartet wird. Sie können durch Ihr Projekt gehen, um es zu testen, und es in Echtzeit pausieren und anpassen. Beachten Sie, dass dies nur zum Testen ist, wie Anpassungen funktionieren würden. Jegliche Änderungen, die hier gemacht werden, werden nicht gespeichert sobald das Spiel beendet wird.

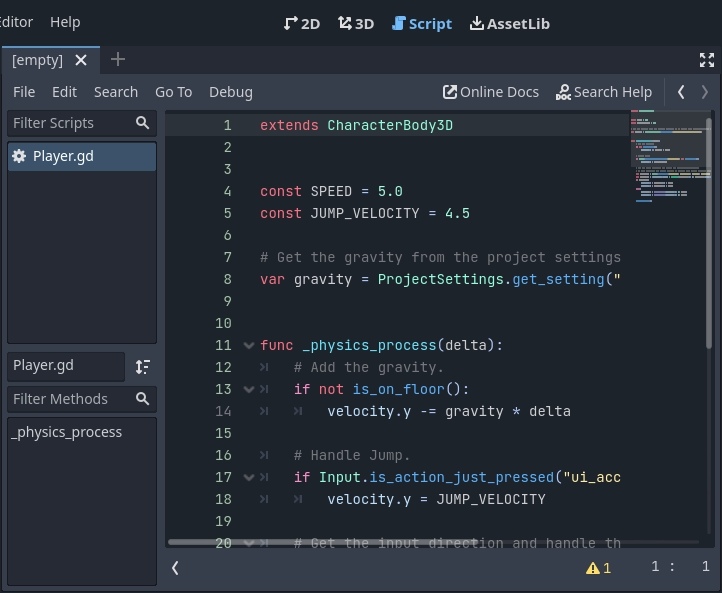
Der Skript-Bildschirm ist ein vollständiger Code-Editor mit Debugger, umfassender Autovervollständigung und integrierten Code-Referenzen.
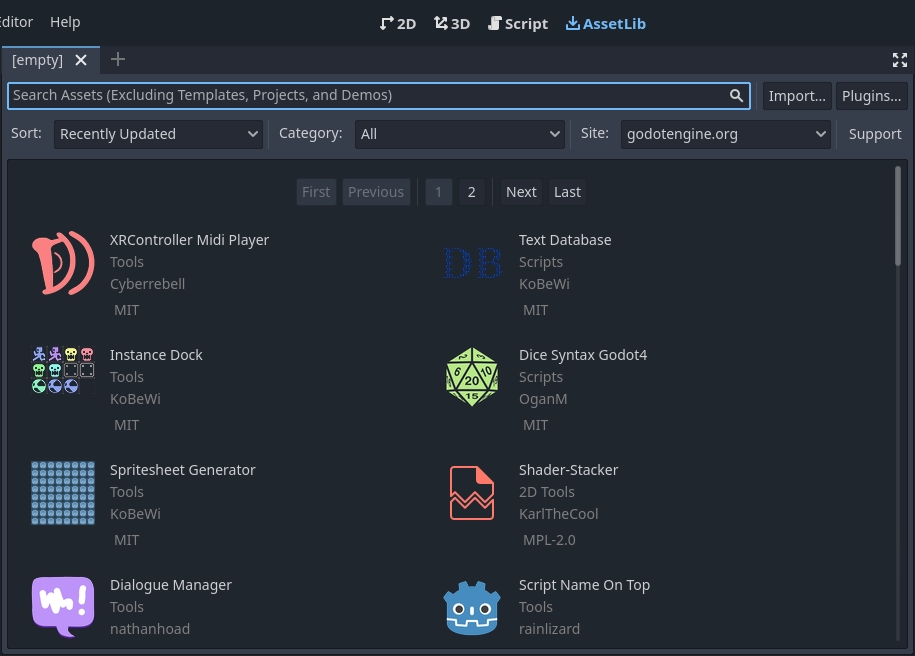
Finally, the Asset Library is a library of free and open source add-ons, scripts, and assets to use in your projects.
Siehe auch
Weitere Informationen über die Asset-Bibliothek finden Sie unter Über die Asset-Bibliothek.
Integrierte Klassenreferenz
Godot verfügt über eine integrierte Klassenreferenz.
Sie können nach Informationen über eine Klasse, Methode, Property, Konstante oder ein Signal mit einer der folgenden Methoden suchen:
Pressing F1 (or Opt + Space on macOS, or Fn + F1 for laptops with a Fn key) anywhere in the editor.
Klick auf den „Hilfe durchsuchen“-Button oben rechts im Skript-Hauptbildschirm.
Klick auf das Hilfe-Menü und „Hilfe durchsuchen“.
Strg + Klick (Cmd + Klick unter macOS) auf einen Klassennamen, Funktionsnamen oder eine integrierte Variable im Skript-Editor.

Wenn Sie eine dieser Aktionen durchführen, öffnet sich ein Fenster. Beginnen Sie zu tippen, um nach einem beliebigen Element zu suchen. Sie können das Fenster auch nach verfügbaren Objekte und Methoden durchsuchen.
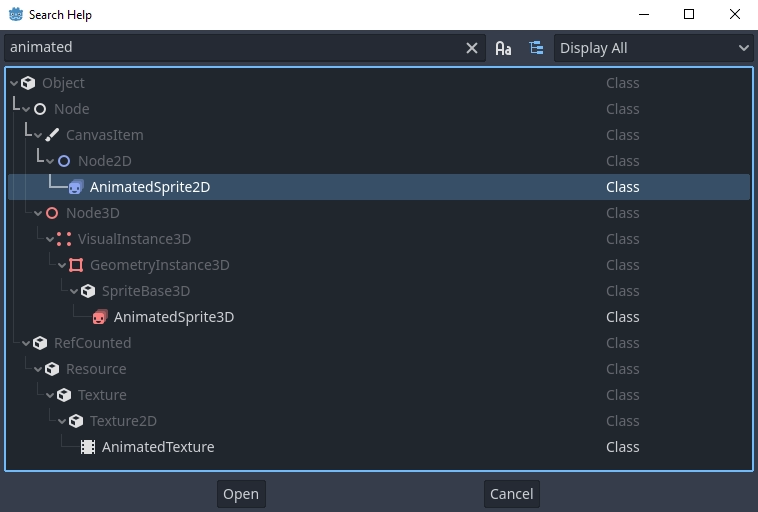
Doppelklicken Sie auf einen Eintrag, um die entsprechende Seite im Skript-Hauptfenster zu öffnen.
Alternatively,
Clicking while pressing Ctrl (Cmd on macOS) on a class name, function name, or built-in variable in the script editor.
Right-clicking on nodes and choosing Open Documentation or choosing Lookup Symbol for elements in script editor will directly open their documentation.