Splash screen
Tutorial
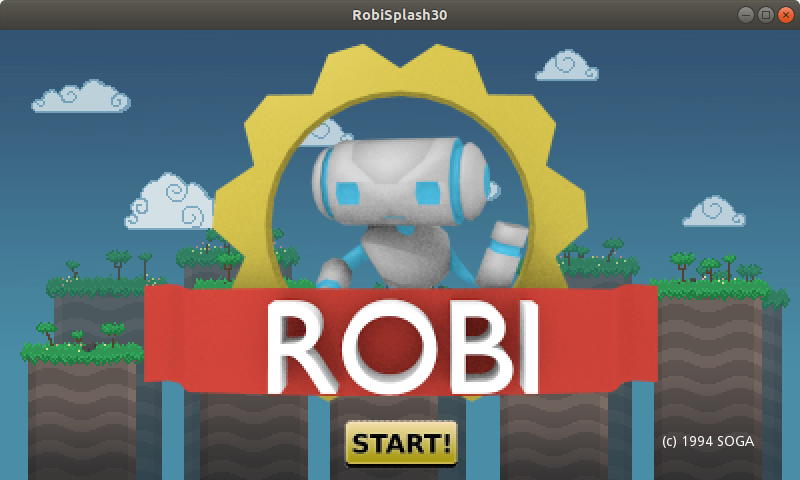
This is a simple tutorial to establish the basic idea of how the GUI subsystem works. The goal is to create a simple, static splash screen.
Following is a file with the assets that will be used. The extracted files can be placed directly in your project folder and Godot will import them automatically.
Setting up
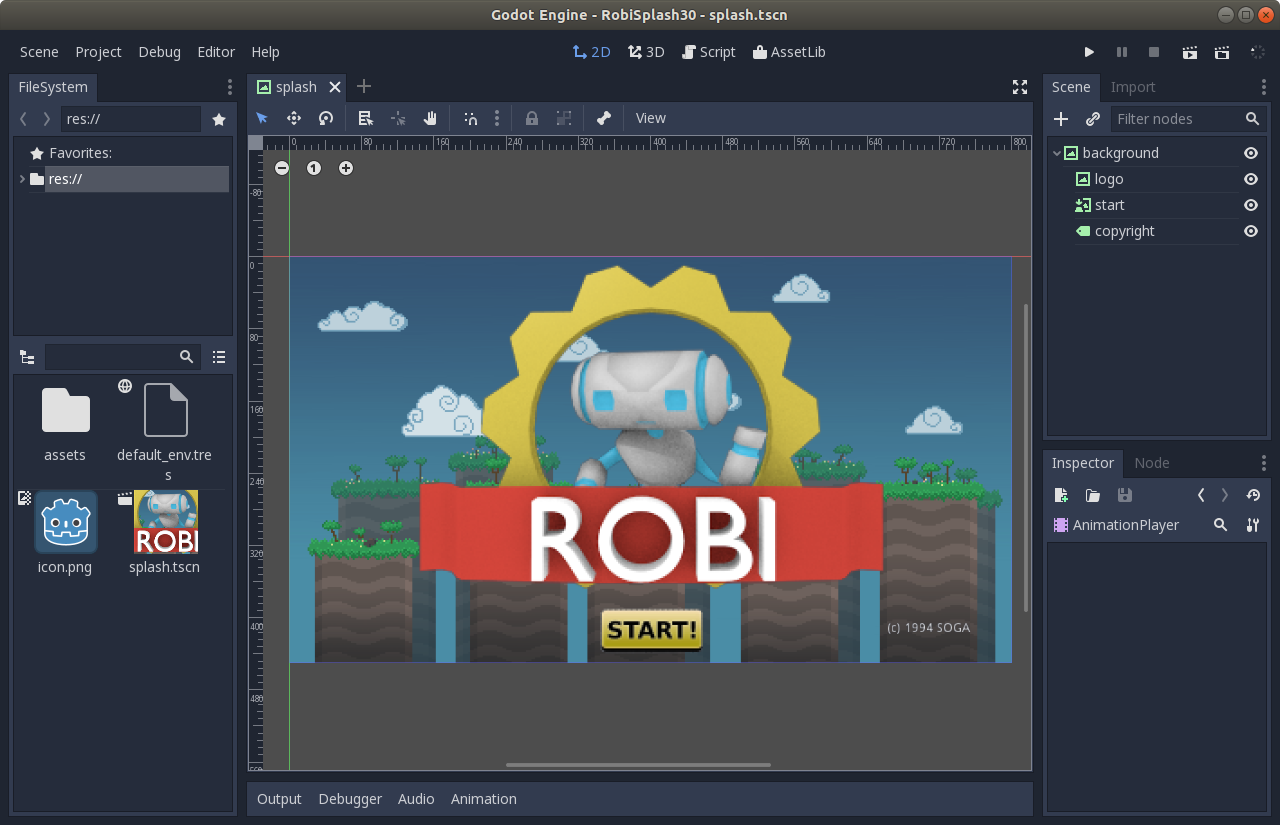
Set the display resolution to 800x450 in Project Settings, and set up a new scene like this:
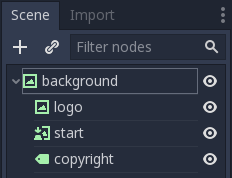
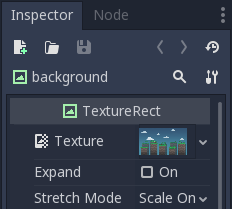
The nodes “background” and “logo” are of TextureRect type. To display an image, drag the corresponding asset to the texture property.
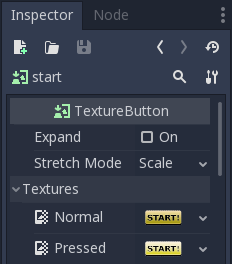
The node “start” is a TextureButton. It takes several images for different states, but only the normal and pressed will be supplied in this example:
Finally, the node “copyright” is a Label.
Your final scene should look something like this.
Go ahead and run the project. If you’re satisfied with the results, continue to the next tutorial.