GUI skinning
Oh beautiful GUI!
This tutorial is about advanced skinning of an user interface. Most games generally don’t need this, as they end up just relying on Label, TextureRect, TextureButton and TextureProgress.
However, many types of games often need complex user interfaces, like MMOs, traditional RPGs, Simulators, Strategy, etc. These kind of interfaces are also common in some games that include editors to create content, or interfaces for network connectivity.
Godot user interface uses these kind of controls with the default theme, but they can be skinned to resemble pretty much any kind of user interface.
Theme
The GUI is skinned through the Theme resource. Theme contains all the information required to change the entire visual styling of all controls. Theme options are named, so it’s not obvious which name changes what (especially from code), but several tools are provided. The ultimate place to look at what each theme option is for each control, which will always be more up to date than any documentation is the file scene/resources/default_theme/default_theme.cpp. The rest of this document will explain the different tools used to customize the theme.
A Theme can be applied to any control in the scene. As a result, all children and grand-children controls will use that same theme too (unless another theme is specified further down the tree). If a value is not found in a theme, it will be searched in themes higher up in the hierarchy towards the root. If nothing was found, the default theme is used. This system allows for flexible overriding of themes in complex user interfaces.
Theme options
Each kind of option in a theme can be:
- An integer constant: A single numerical constant. Generally used to define spacing between components or alignment.
- A Color: A single color, with or without transparency. Colors are usually applied to fonts and icons.
- A Texture: A single image. Textures are not often used, but when they are they represent handles to pick or icons in a complex control (such as file dialog).
- A Font: Every control that uses text can be assigned the fonts used to draw strings.
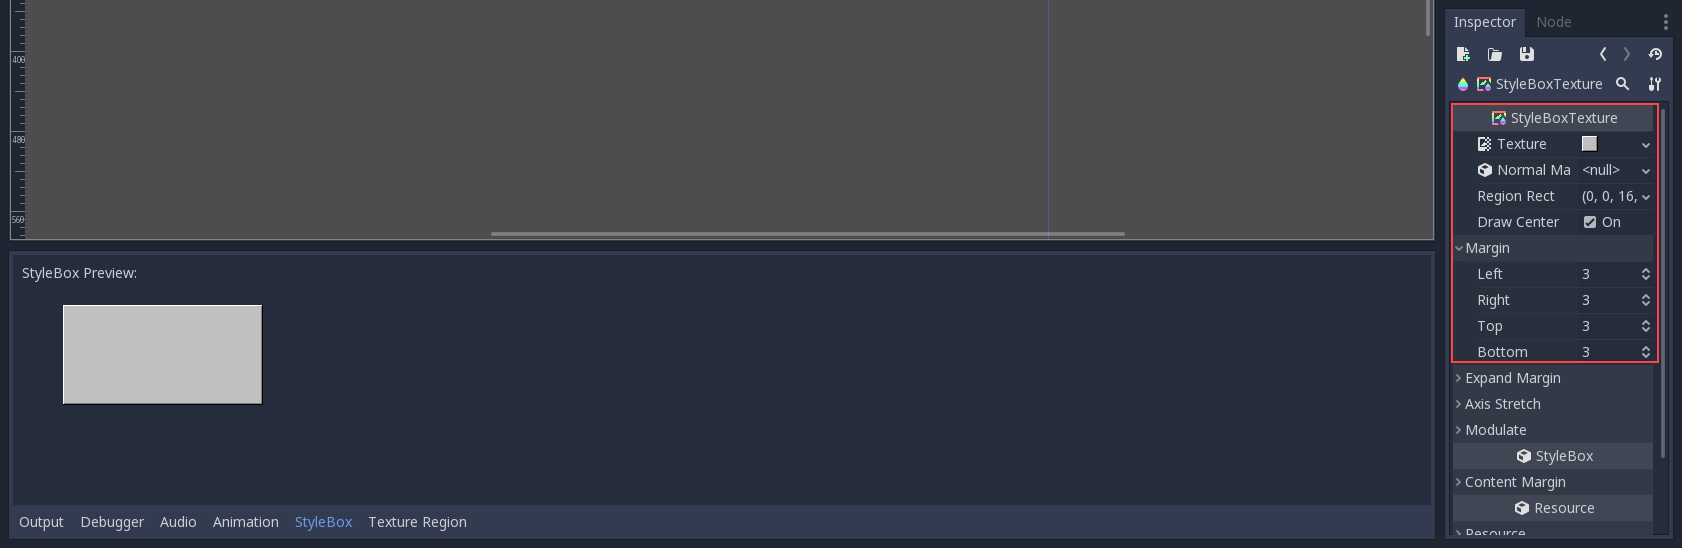
- A StyleBox: Stylebox is a resource that defines how to draw a panel in varying sizes (more information on them later).
Every option is associated to:
- A name (the name of the option)
- A Control (the name of the control)
An example usage:
var t = Theme.new()
t.set_color("font_color", "Label", Color(1.0, 1.0, 1.0))

var l = Label.new()
l.set_theme(t)
var t = new Theme();
t.SetColor("fontColor", "Label", new Color(1.0f, 1.0f, 1.0f));

var l = new Label();
l.SetTheme(t);
In the example above, a new theme is created. The “font_color” option is changed and then applied to a label. As a result, the label (and all children and grand children labels) will use that color.
It is possible to override those options without using the theme directly and only for a specific control by using the override API in Control.add_color_override():
var l = Label.new()
l.add_color_override("font_color", Color(1.0, 1.0, 1.0))
var l = new Label();
l.AddColorOverride("fontColor", new Color(1.0f, 1.0f, 1.0f));
In the inline help of Godot (in the script tab) you can check which theme options are overrideable, or check the Control class reference.
Customizing a control
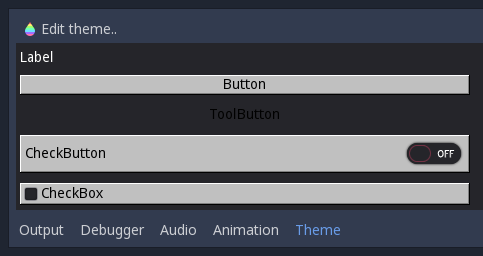
If only a few controls need to be skinned, it is often not necessary to create a new theme. Controls offer their theme options as special kinds of properties. If checked, overriding will take place:
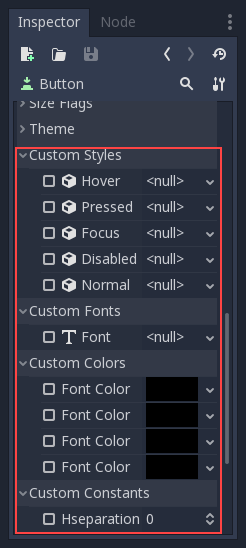
As can be see in the image above, theme options have little check-boxes. If checked, they can be used to override the value of the theme just for that control.
Creating a theme
The simplest way to create a theme is to edit a theme resource. Create a Theme from the resource menu, the editor will appear immediately. Following to this, save it (to, as example, mytheme.thm):
This will create an empty theme that can later be loaded and assigned to controls.
Example: theming a button
Take some assets (skin_assets.zip),
go to the “theme” menu and select “Add Class Item”:
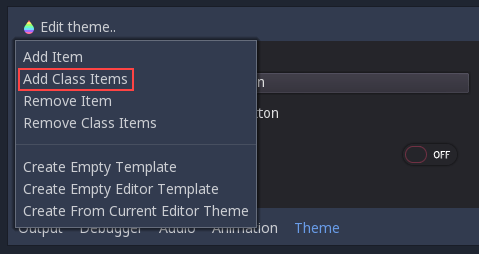
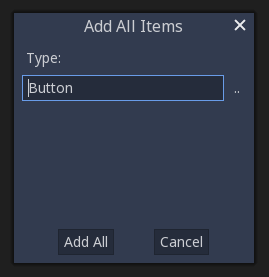
A menu will appear prompting the type of control to create. Select “Button”:
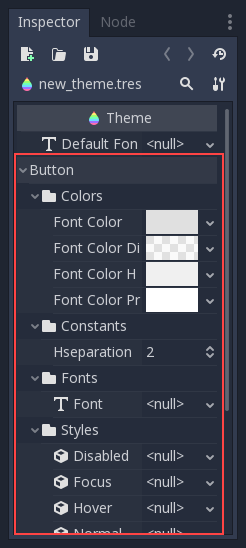
Immediately, all button theme options will appear in the property editor, where they can be edited:
Select the “normal” stylebox and create a new “StyleBoxTexture”, then edit it. A texture stylebox basically contains a texture and the size of the margins that will not stretch when the texture is stretched. This is called “3x3” stretching:
Repeat the steps and add the other assets. There is no hover or disabled image in the example files, so use the same stylebox as in normal. Set the supplied font as the button font and change the font color to black. Soon, your button will look different and retro:
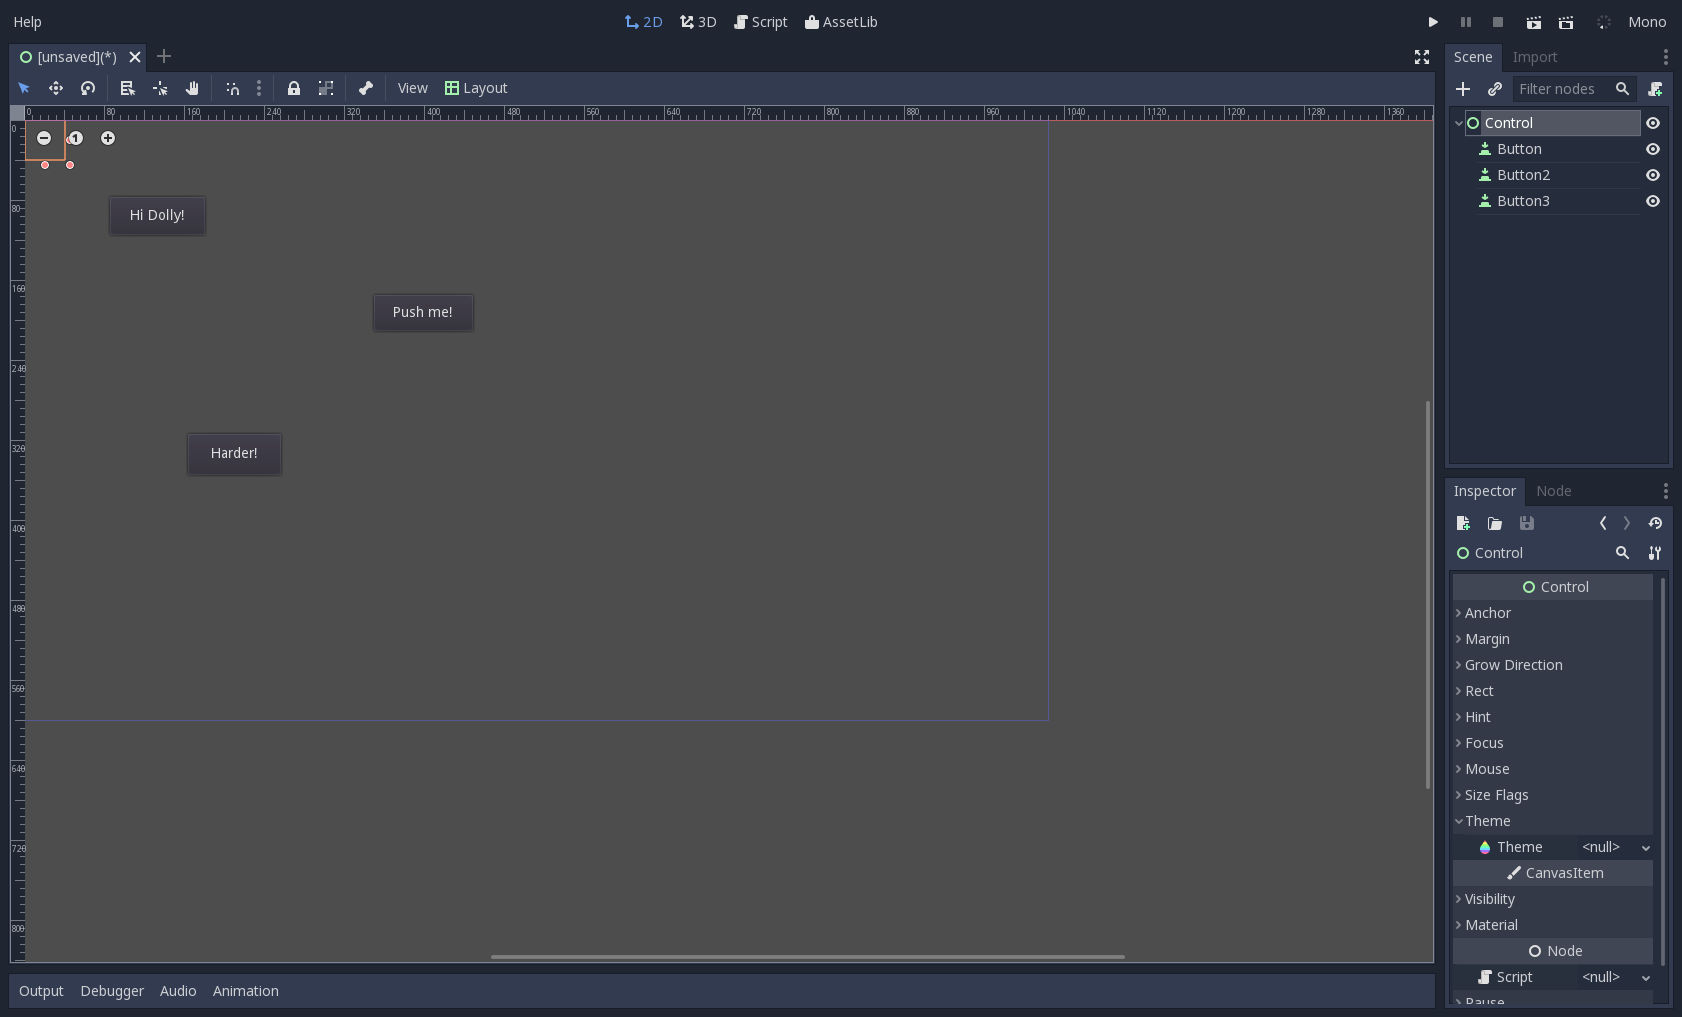
Save this theme to the .thm file. Go to the 2D editor and create a few buttons:
Now, go to the root node of the scene and locate the “theme” property, replace it by the theme that was just created. It should look like this:
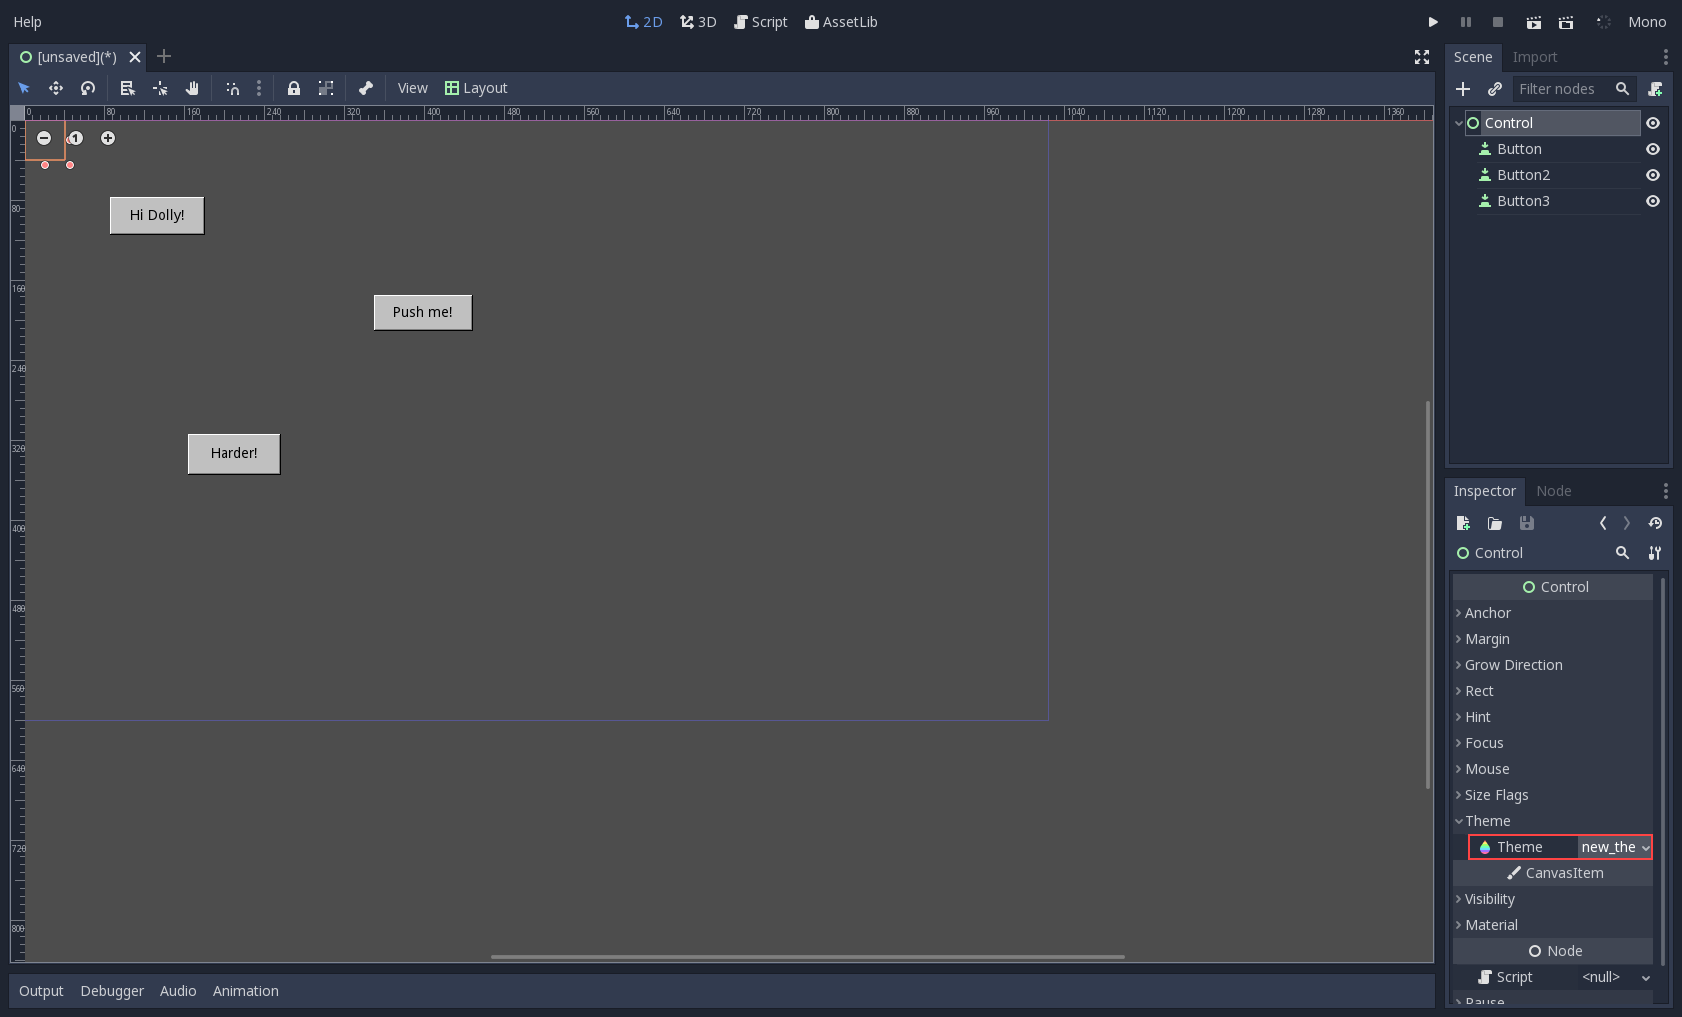
Congratulations! You have created a reusable GUI Theme!