Shader materials
Introduction
For the most common cases, Godot provides ready to use materials for most types of shaders, such as SpatialMaterial, CanvasItemMaterial and ParticlesMaterial (@TODO link to tutorials/classes). They are flexible implementations that cover most use cases.
Shader materials allow writing a custom shader directly, for maximum flexibility. Examples of this are:
- Create procedural textures.
- Create complex texture blendings.
- Create animated materials, or materials that change with time.
- Create refractive effects or other advanced effects.
- Create special lighting shaders for more exotic materials.
- Animate vertices, like tree leaves or grass.
- Create custom particle code, that responds to baked animations or force fields.
- And much more!
Traditionally, most engines will ask you to learn GLSL, HLSL or CG, which are pretty complex for the skillset of most artists. Godot uses a simplified version of a shader language that will detect errors as you type, so you can see your edited shaders in real-time. Additionally, it is possible to edit shaders using a visual, node-based graph editor.
Creating a ShaderMaterial
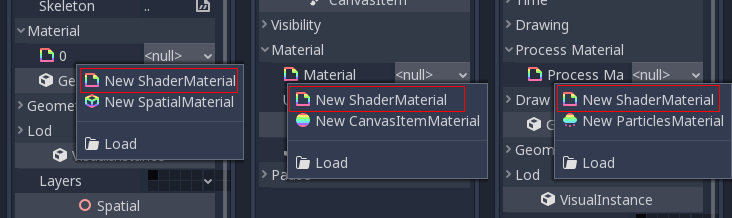
Create a new ShaderMaterial in some object of your choice. Go to the “Material” property and create a ShaderMaterial.
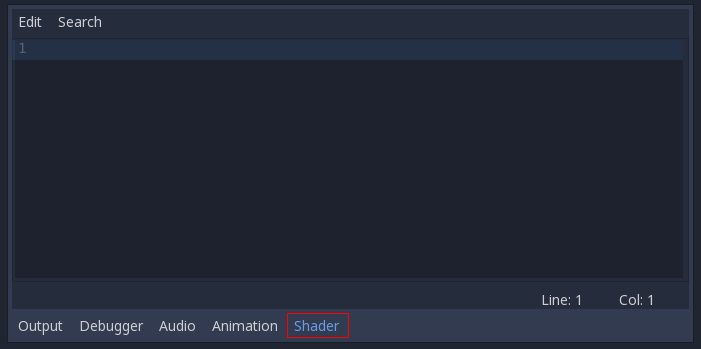
Edit the newly created shader, and the shader editor will open:
Converting to ShaderMaterial
It is possible to convert from SpatialMaterial, CanvasItemMaterial and ParticlesMaterial to ShaderMaterial. To do this go to the material properties and enable the convert option.
