Up to date
This page is up to date for Godot 4.2.
If you still find outdated information, please open an issue.
自定义鼠标光标
你可能希望更改游戏中鼠标光标的外观,以便适应总体设计。自定义鼠标光标有两种方法:
使用项目设置
使用脚本
使用项目设置来自定义鼠标光标更简单(但也更受限)。第二种方法更方便定制,但涉及到脚本:
备注
You could display a "software" mouse cursor by hiding the mouse cursor and
moving a Sprite2D to the cursor position in a _process() method, but
this will add at least one frame of latency compared to an "hardware" mouse
cursor. Therefore, it's recommended to use the approach described here
whenever possible.
如果你必须使用“软件”的做法,可以考虑添加一个外推步骤,以便更好地显示实际的鼠标输入。
使用项目设置
Open project settings, go to Display>Mouse Cursor. You will see Custom Image, Custom Image Hotspot and Tooltip Position Offset.
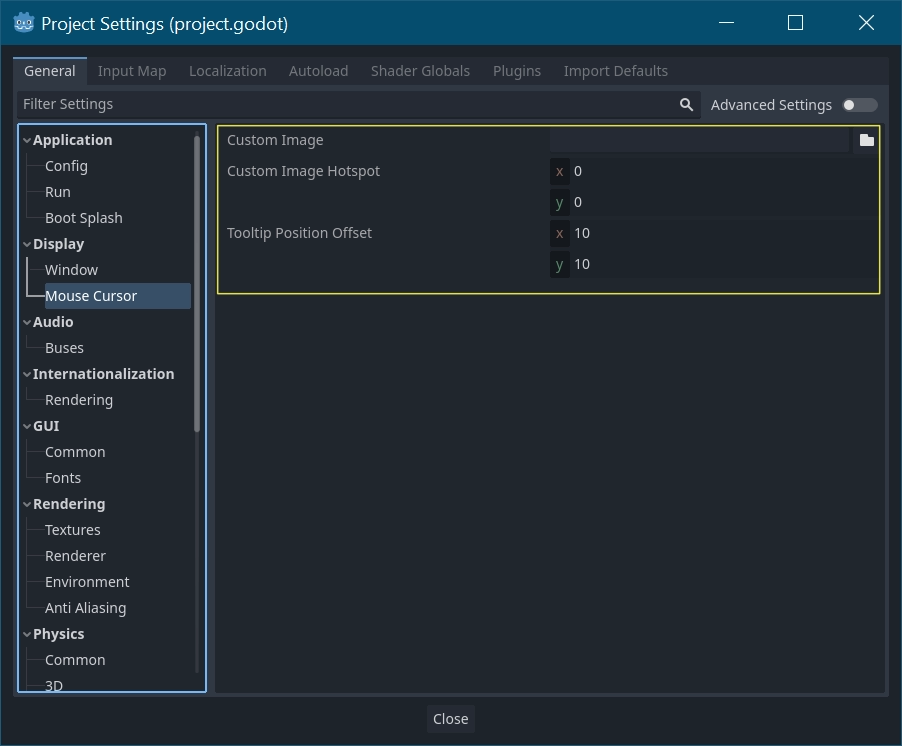
自定义图像是希望设置为鼠标光标的图像. 自定义热点是图像中的点, 你希望将其用作光标的检测点.
警告
The custom image must be 256×256 pixels at most. To avoid rendering issues, sizes lower than or equal to 128×128 are recommended.
On the web platform, the maximum allowed cursor image size is 128×128.
使用脚本
创建一个 Node 节点并附加下面的脚本。
extends Node


# Load the custom images for the mouse cursor.
var arrow = load("res://arrow.png")
var beam = load("res://beam.png")


func _ready():
    # Changes only the arrow shape of the cursor.
    # This is similar to changing it in the project settings.
    Input.set_custom_mouse_cursor(arrow)

    # Changes a specific shape of the cursor (here, the I-beam shape).
    Input.set_custom_mouse_cursor(beam, Input.CURSOR_IBEAM)
public override void _Ready()
{
    // Load the custom images for the mouse cursor.
    var arrow = ResourceLoader.Load("res://arrow.png");
    var beam = ResourceLoader.Load("res://beam.png");

    // Changes only the arrow shape of the cursor.
    // This is similar to changing it in the project settings.
    Input.SetCustomMouseCursor(arrow);

    // Changes a specific shape of the cursor (here, the I-beam shape).
    Input.SetCustomMouseCursor(beam, Input.CursorShape.Ibeam);
}
参见
Check Input.set_custom_mouse_cursor()'s documentation for more information on usage and platform-specific caveats.
光标列表
正如 Input 类中所述(请参阅 CursorShape 枚举),你可以定义多个鼠标光标。你想要使用哪一个取决于你的用例。