Attention: Here be dragons
This is the latest
(unstable) version of this documentation, which may document features
not available in or compatible with released stable versions of Godot.
Checking the stable version of the documentation...
Android 용 맞춤 빌드
Godot는 맞춤 빌드 Android 템플릿을 사용하기 위한 설정을 제공합니다. Godot와 함께 제공되는 미리 빌드된 템플릿을 사용하는 대신, 실제로 Android Java 프로젝트를 프로젝트 폴더에 설치합니다. Godot는 이제 프로젝트를 빌드하며, 프로젝트를 내보낼 때마다 내보내기 템플릿으로 사용될 것입니다.
이렇게 하고 싶어하는 몇 가지 이유가 있습니다:
빌드하기 전 프로젝트를 수정하기
프로젝트가 있는 빌드에 외부 SDK를 추가하기
커스텀 빌드 구성 과정은 명료한 과정입니다. 하지만 우선 :ref:`<doc_exporting_for_android>`의 Godot에서 설정하기 까지 진행해야 합니다. 작업을 완료한 뒤 아래와 같이 진행하면 됩니다.
Gradle 빌드 환경 설정하기
프로젝트 메뉴로 이동하고 Gradle 빌드 템플릿을 설치합니다:
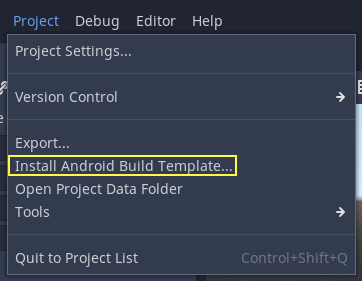
내보내기 템플릿을 다운로드했어야 합니다. 그렇지 않았더라도 이 메뉴가 도움을 줄 것입니다.
Gradle 기반 Android 프로젝트가 res://android/build 에 생성될 겁니다. :ref:`애드온을 제작<doc_android_plugin>`하거나 프로젝트를 변경할 생각이 아니라면 이 파일은 건드릴 필요가 없습니다.
맞춤 빌드를 활성화하고 내보내기
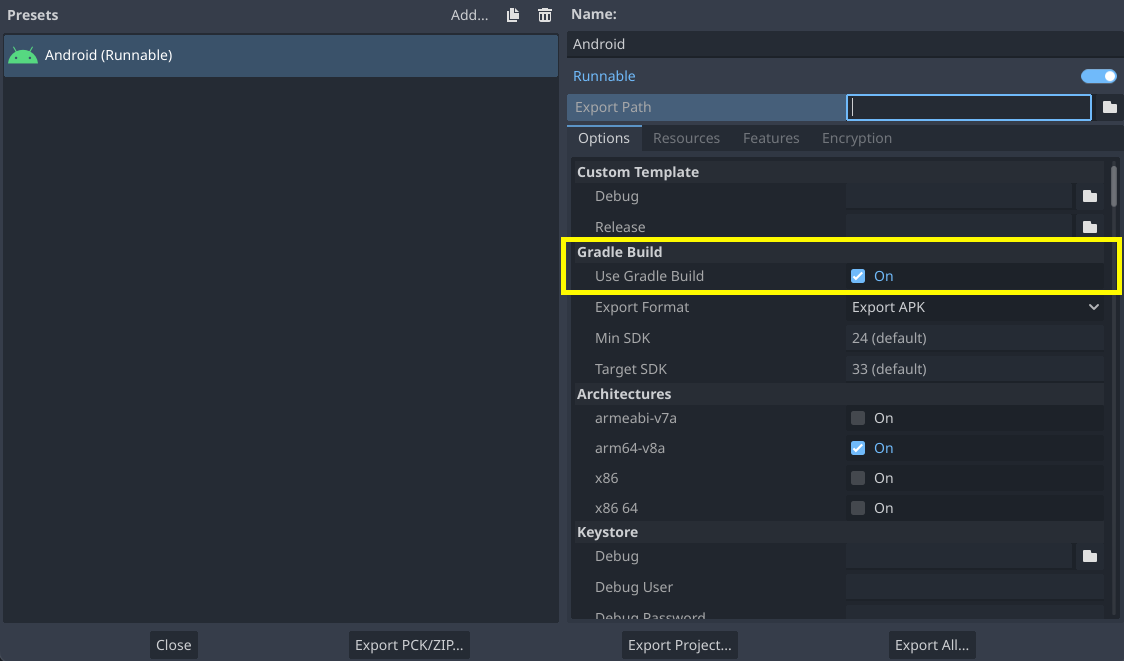
프로젝트 > 내보내기 대화 상자에서 Android 프로젝트를 설정할 때 Gradle 빌드가 활성화되어야 합니다:
지금부터 원 클릭 배포 혹은 프로젝트 내보내기를 시도하면 Gradle 빌드 시스템이 호출되어 새로운 템플릿을 생성하게 됩니다 (이 창은 매번 나타납니다):
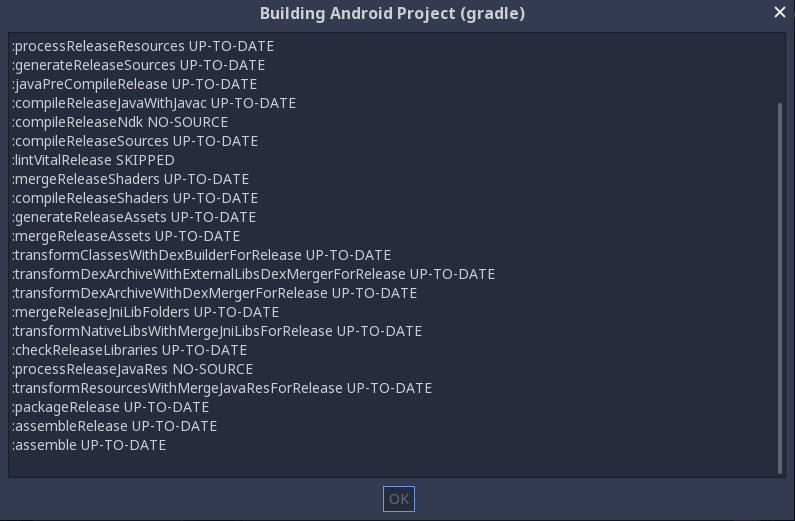
작성된 템플릿은 나중에 자동으로 사용되므로, 더 이상 구성할 필요가 없습니다.