Spawning monsters
In this part, we're going to spawn monsters along a path randomly. By the end, you will have monsters roaming the game board.
Double-click on Main.tscn in the FileSystem dock to open the Main scene.
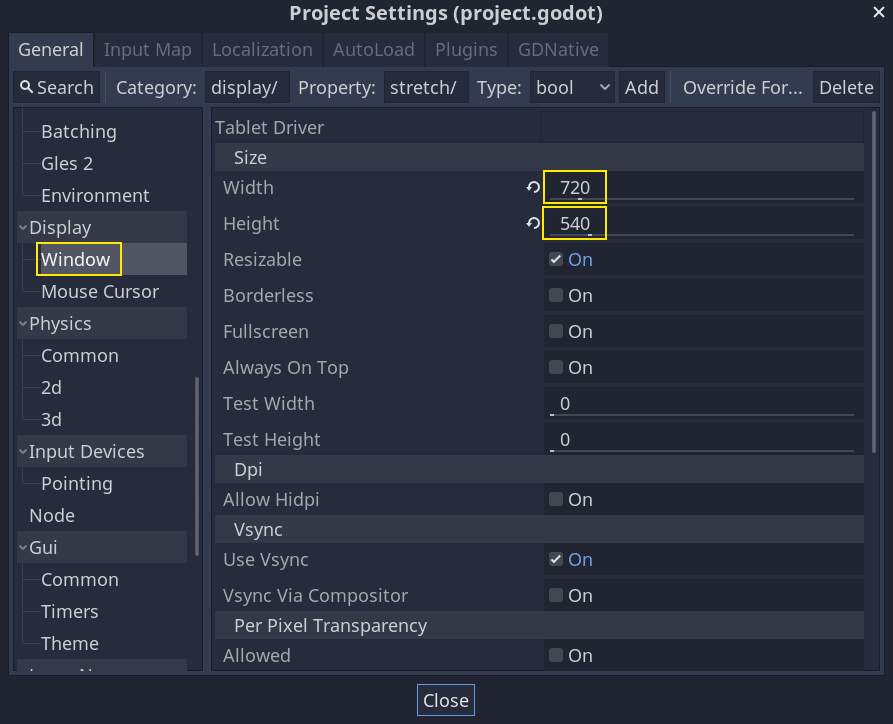
Before drawing the path, we're going to change the game resolution. Our game has
a default window size of 1024x600. We're going to set it to 720x540, a
nice little box.
Go to Project -> Project Settings.

In the left menu, navigate down to Display -> Window. On the right, set the
Width to 720 and the Height to 540.
Creating the spawn path
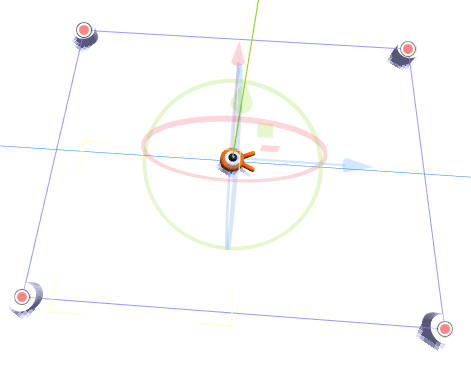
Like you did in the 2D game tutorial, you're going to design a path and use a PathFollow node to sample random locations on it.
In 3D though, it's a bit more complicated to draw the path. We want it to be around the game view so monsters appear right outside the screen. But if we draw a path, we won't see it from the camera preview.
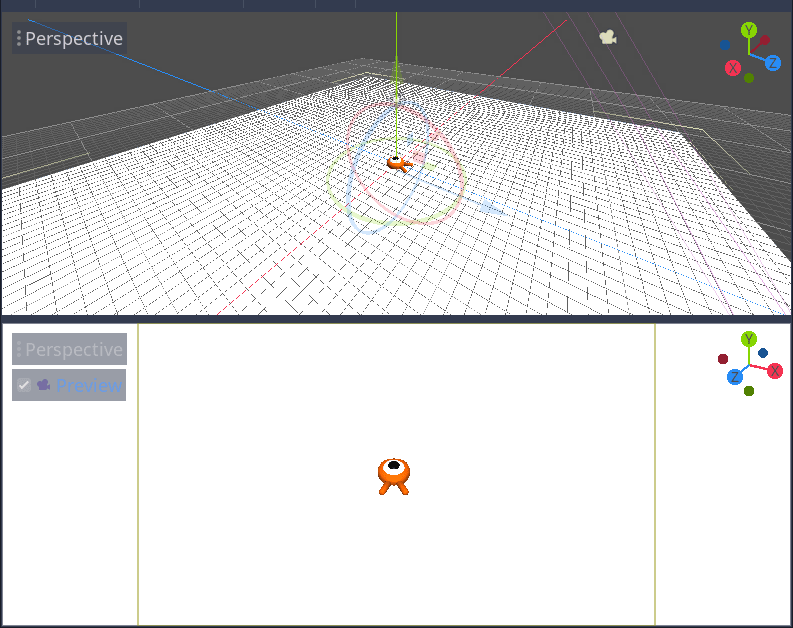
To find the view's limits, we can use some placeholder meshes. Your viewport should still be split into two parts, with the camera preview at the bottom. If that isn't the case, press Ctrl + 2 (Cmd + 2 on macOS) to split the view into two. Select the Camera node and click the Preview checkbox in the bottom viewport.
Adding placeholder cylinders
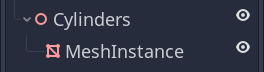
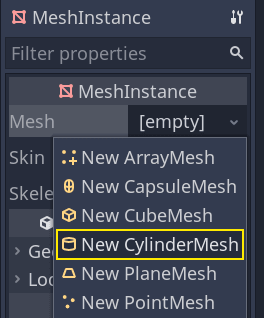
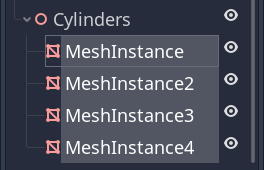
Let's add the placeholder meshes. Add a new Spatial node as a child of the Main node and name it Cylinders. We'll use it to group the cylinders. As a child of it, add a MeshInstance node.
In the Inspector, assign a CylinderMesh to the Mesh property.
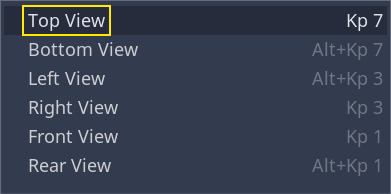
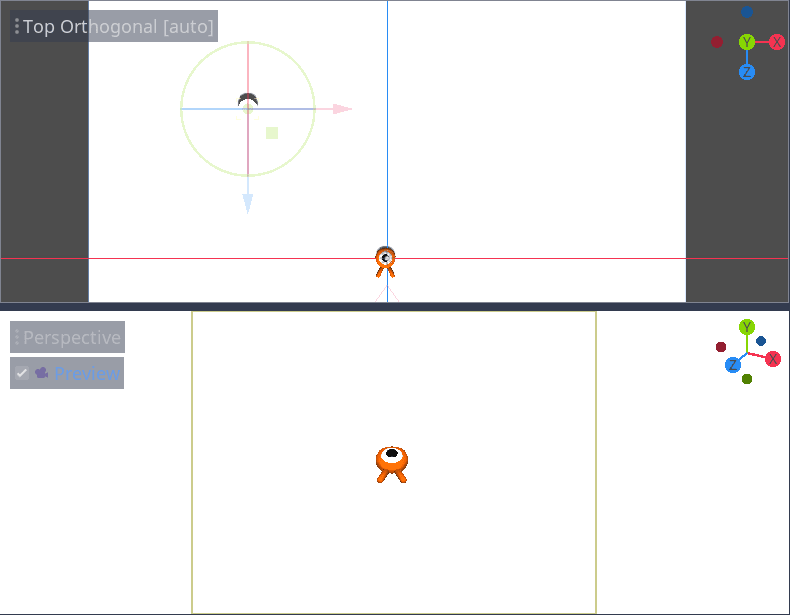
Set the top viewport to the top orthogonal view using the menu in the viewport's top-left corner. Alternatively, you can press the keypad's 7 key.
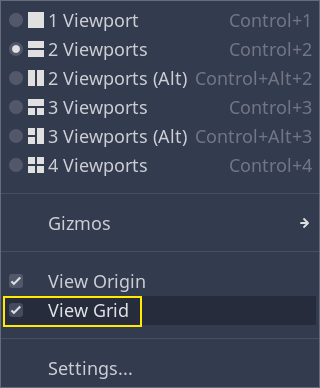
The grid is a bit distracting for me. You can toggle it by going to the View menu in the toolbar and clicking View Grid.
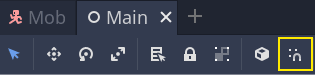
You now want to move the cylinder along the ground plane, looking at the camera preview in the bottom viewport. I recommend using grid snap to do so. You can toggle it by clicking the magnet icon in the toolbar or pressing Y.
Place the cylinder so it's right outside the camera's view in the top-left corner.
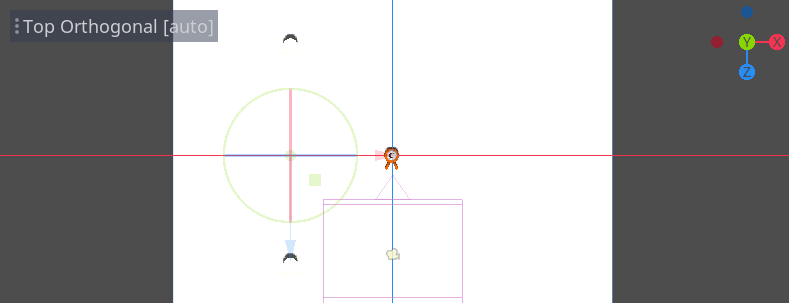
We're going to create copies of the mesh and place them around the game area. Press Ctrl + D (Cmd + D on macOS) to duplicate the node. You can also right-click the node in the Scene dock and select Duplicate. Move the copy down along the blue Z axis until it's right outside the camera's preview.
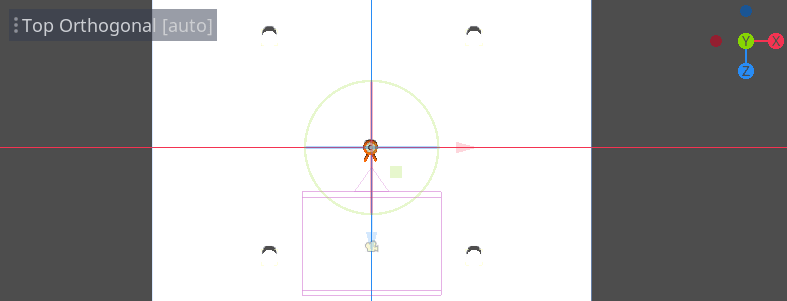
Select both cylinders by pressing the Shift key and clicking on the unselected one and duplicate them.
Move them to the right by dragging the red X axis.
They're a bit hard to see in white, aren't they? Let's make them stand out by giving them a new material.
In 3D, materials define a surface's visual properties like its color, how it reflects light, and more. We can use them to change the color of a mesh.
We can update all four cylinders at once. Select all the mesh instances in the Scene dock. To do so, you can click on the first one and Shift click on the last one.
In the Inspector, expand the Material section and assign a SpatialMaterial to slot 0.
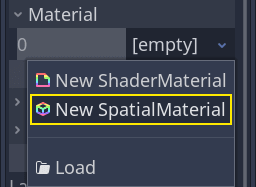
Click the sphere icon to open the material resource. You get a preview of the material and a long list of sections filled with properties. You can use these to create all sorts of surfaces, from metal to rock or water.
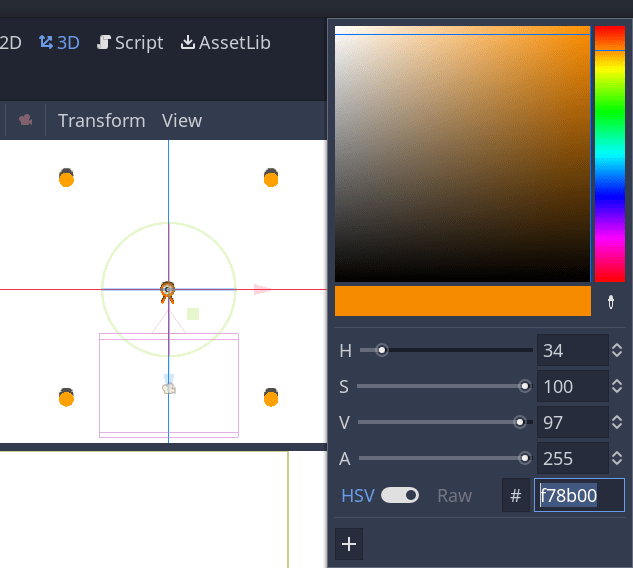
Expand the Albedo section and set the color to something that contrasts with the background, like a bright orange.
We can now use the cylinders as guides. Fold them in the Scene dock by clicking the grey arrow next to them. Moving forward, you can also toggle their visibility by clicking the eye icon next to Cylinders.

Add a Path node as a child of Main. In the toolbar, four icons appear. Click the Add Point tool, the icon with the green "+" sign.

Note
You can hover any icon to see a tooltip describing the tool.
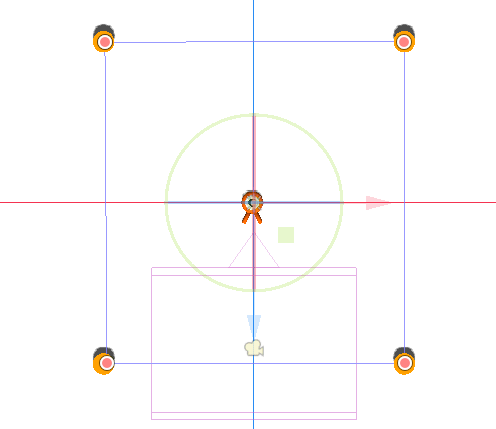
Click in the center of each cylinder to create a point. Then, click the Close Curve icon in the toolbar to close the path. If any point is a bit off, you can click and drag on it to reposition it.

Your path should look like this.
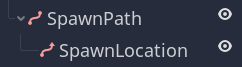
To sample random positions on it, we need a PathFollow node. Add a PathFollow as a child of the Path. Rename the two nodes to SpawnPath and SpawnLocation, respectively. It's more descriptive of what we'll use them for.
With that, we're ready to code the spawn mechanism.
Spawning monsters randomly
Right-click on the Main node and attach a new script to it.
We first export a variable to the Inspector so that we can assign Mob.tscn
or any other monster to it.
Then, as we're going to spawn the monsters procedurally, we want to randomize numbers every time we play the game. If we don't do that, the monsters will always spawn following the same sequence.
extends Node

export (PackedScene) var mob_scene


func _ready():
    randomize()
public class Main : Node
{
    // Don't forget to rebuild the project so the editor knows about the new export variable.

#pragma warning disable 649
    // We assign this in the editor, so we don't need the warning about not being assigned.
    [Export]
    public PackedScene MobScene;
#pragma warning restore 649

    public override void _Ready()
    {
        GD.Randomize();
    }
}
We want to spawn mobs at regular time intervals. To do this, we need to go back
to the scene and add a timer. Before that, though, we need to assign the
Mob.tscn file to the mob_scene property.
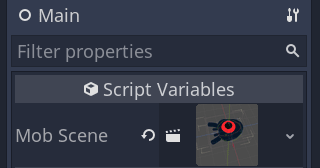
Head back to the 3D screen and select the Main node. Drag Mob.tscn from
the FileSystem dock to the Mob Scene slot in the Inspector.
Add a new Timer node as a child of Main. Name it MobTimer.

In the Inspector, set its Wait Time to 0.5 seconds and turn on
Autostart so it automatically starts when we run the game.

Timers emit a timeout signal every time they reach the end of their Wait
Time. By default, they restart automatically, emitting the signal in a cycle.
We can connect to this signal from the Main node to spawn monsters every
0.5 seconds.
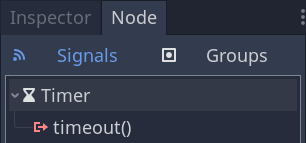
With the MobTimer still selected, head to the Node dock on the right and
double-click the timeout signal.
Connect it to the Main node.
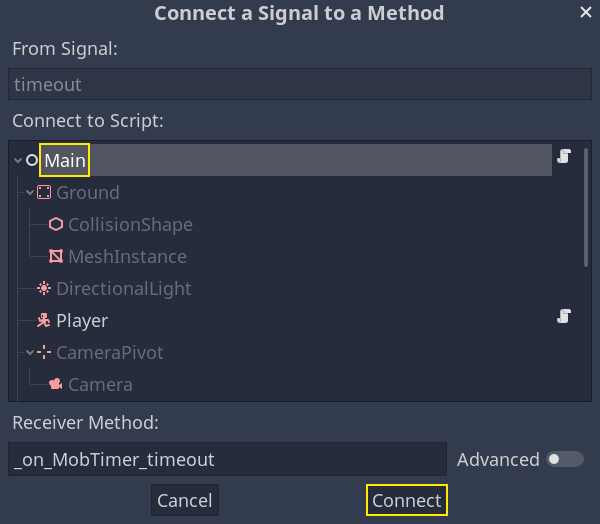
This will take you back to the script, with a new empty
_on_MobTimer_timeout() function.
Let's code the mob spawning logic. We're going to:
Instantiate the mob scene.
Sample a random position on the spawn path.
Get the player's position.
Call the mob's
initialize()method, passing it the random position and the player's position.Add the mob as a child of the Main node.
func _on_MobTimer_timeout():
    # Create a new instance of the Mob scene.
    var mob = mob_scene.instance()

    # Choose a random location on the SpawnPath.
    # We store the reference to the SpawnLocation node.
    var mob_spawn_location = get_node("SpawnPath/SpawnLocation")
    # And give it a random offset.
    mob_spawn_location.unit_offset = randf()

    var player_position = $Player.transform.origin
    mob.initialize(mob_spawn_location.translation, player_position)

    add_child(mob)
// We also specified this function name in PascalCase in the editor's connection window
public void OnMobTimerTimeout()
{
    // Create a new instance of the Mob scene.
    Mob mob = (Mob)MobScene.Instance();

    // Choose a random location on the SpawnPath.
    // We store the reference to the SpawnLocation node.
    var mobSpawnLocation = GetNode<PathFollow>("SpawnPath/SpawnLocation");
    // And give it a random offset.
    mobSpawnLocation.UnitOffset = GD.Randf();

    Vector3 playerPosition = GetNode<Player>("Player").Transform.origin;
    mob.Initialize(mobSpawnLocation.Translation, playerPosition);

    AddChild(mob);

}
Above, randf() produces a random value between 0 and 1, which is
what the PathFollow node's unit_offset expects.
Here is the complete Main.gd script so far, for reference.
extends Node

export (PackedScene) var mob_scene


func _ready():
    randomize()


func _on_MobTimer_timeout():
    var mob = mob_scene.instance()

    var mob_spawn_location = get_node("SpawnPath/SpawnLocation")
    mob_spawn_location.unit_offset = randf()
    var player_position = $Player.transform.origin
    mob.initialize(mob_spawn_location.translation, player_position)

    add_child(mob)
public class Main : Node
{
#pragma warning disable 649
    [Export]
    public PackedScene MobScene;
#pragma warning restore 649

    public override void _Ready()
    {
        GD.Randomize();
    }

    public void OnMobTimerTimeout()
    {
        Mob mob = (Mob)MobScene.Instance();

        var mobSpawnLocation = GetNode<PathFollow>("SpawnPath/SpawnLocation");
        mobSpawnLocation.UnitOffset = GD.Randf();

        Vector3 playerPosition = GetNode<Player>("Player").Transform.origin;
        mob.Initialize(mobSpawnLocation.Translation, playerPosition);

        AddChild(mob);
    }
}
You can test the scene by pressing F6. You should see the monsters spawn and move in a straight line.
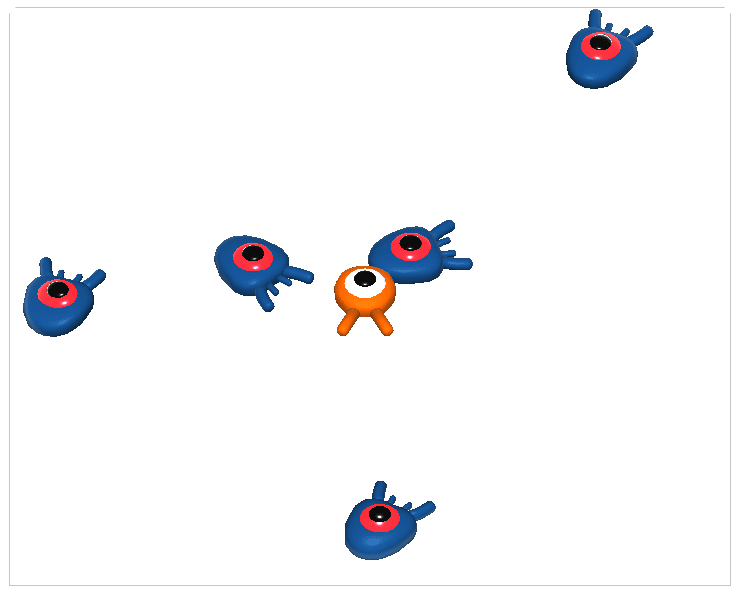
For now, they bump and slide against one another when their paths cross. We'll address this in the next part.