Build Gradle per Android
Godot offre la possibilità di compilare attraverso il sistema di compilazione Gradle. Invece di utilizzare il modello predefinito incluso con Godot, un progetto Java per Android è installato nella cartella del progetto. Godot lo compilerà e lo utilizzerà come modello di esportazione ogni volta che il progetto viene esportato.
There are some reasons why you may want to do this:
Modify the project before it's built.
Add external SDKs that build with your project.
Configuring the gradle build is a fairly straightforward process. But first you need to follow the steps in exporting for android up to Setting it up in Godot. After doing that, follow the steps below.
Set up the gradle build environment
Go to the Project menu, and install the Gradle Build template:

Make sure export templates are downloaded. If not, this menu will help you download them.
A Gradle-based Android project will be created under res://android/build.
Editing these files is not needed unless you really need to modify the project.
Enabling the gradle build and exporting
When setting up the Android project in the Project > Export dialog, Gradle Build needs to be enabled:

From now on, attempting to export the project or one-click deploy will call the Gradle build system to generate fresh templates (this window will appear every time):
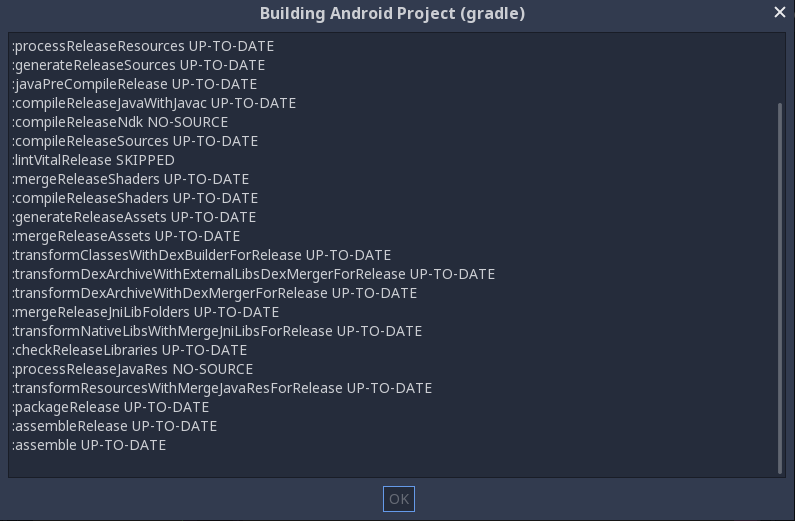
The templates built will be used automatically afterwards, so no further configuration is needed.
Nota
When using the gradle Android build system, assets that are placed within a folder whose name begins with an underscore will not be included in the generated APK. This does not apply to assets whose file name begins with an underscore.
For example, _example/image.png will not be included as an asset,
but _image.png will.