Attention: Here be dragons
This is the latest
(unstable) version of this documentation, which may document features
not available in or compatible with released stable versions of Godot.
Checking the stable version of the documentation...
ParticleProcessMaterial 2D Usage
Process material properties
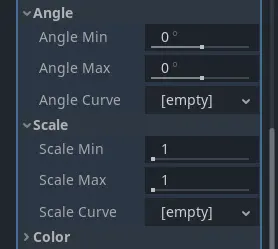
Min, max, and curve properties
As propriedades neste material controlam como as partículas se comportam e mudam ao longo de sua vida útil. Muitas delas possuem valores Min, Max e Curve, que permitem ajustar seu comportamento com precisão. A relação entre esses valores é a seguinte: quando uma partícula é gerada, a propriedade é definida com um valor aleatório entre Min e Max. Se Min e Max forem iguais, o valor será sempre o mesmo para todas as partículas. Se a Curve também estiver definida, o valor da propriedade será multiplicado pelo valor da curva no ponto atual da vida útil da partícula. Use a curva para alterar uma propriedade ao longo da vida da partícula. Com isso, é possível expressar comportamentos bastante complexos.
Nota
Esta página aborda como usar ParticleProcessMaterial especificamente para cenas 2D. Para obter informações sobre como usá-lo em uma cena 3D, consulte Process material properties.
Lifetime Randomness
A propriedade Lifetime Randomness controla quanta aleatoriedade aplicar ao tempo de vida de cada partícula. Colocar o valor como 0 significa que não há aleatoriedade alguma e todas as partículas vivem pelo mesmo período de tempo, definido pela propriedade Lifetime. Colocar o valor como 1 significa que o tempo de vida de uma partícula é completamente aleatório dentro do intervalo de [0,0, Lifetime].
Particle Flags
Gerar
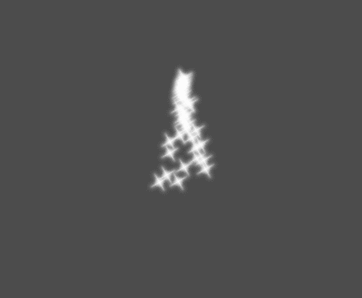
Ângulo
Determina o ângulo inicial da partícula (em graus). Este parâmetro é principalmente útil randomizado.
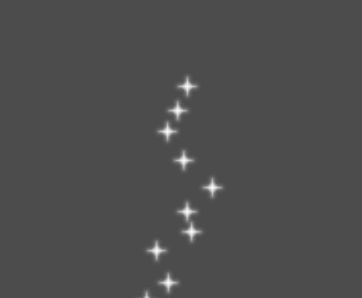
Velocity
Direção
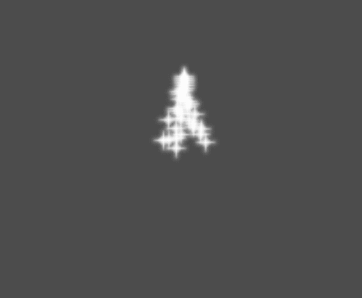
Esta é a direção básica na qual as partículas emitem. O padrão é Vector3(1, 0, 0) que faz com que as partículas emitam para a direita. No entanto, com as configurações de gravidade padrão, as partículas irão direto para baixo.
Para que essa propriedade seja perceptível, você precisa de uma velocidade inicial maior que 0. Aqui, definimos a velocidade inicial como 40. Você notará que as partículas emitem para a direita e depois descem devido à gravidade.
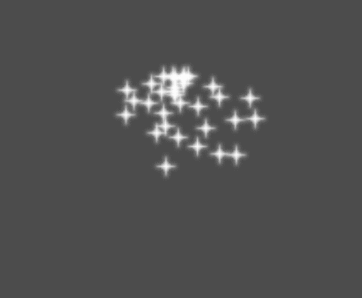
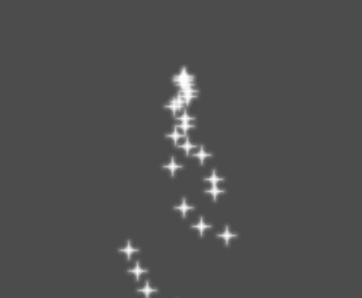
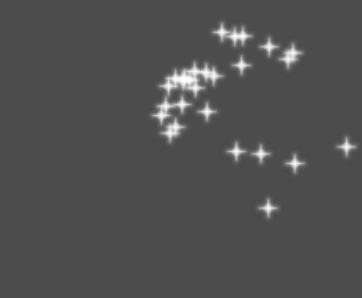
Espalhar
Este parâmetro é o ângulo em graus que será adicionado aleatoriamente em qualquer direção à base Direction. Uma propagação de 180 emitirá em todas as direções (+/- 180). Para que o spread faça qualquer coisa, o parâmetro "Initial Velocity" deve ser maior que 0.
Planicidade
Esta propriedade só é útil para partículas 3D.
Velocidade Inicial
Velocidade inicial é a velocidade na qual as partículas serão emitidas (em pixels/seg). A velocidade pode mais tarde ser modificada pela gravidade ou outras acelerações (conforme descrito mais adiante).
Animated Velocity
Velocidade Angular
Angular velocity is the speed at which particles rotate around their center (in degrees/sec).
Velocidade Orbital
A velocidade da órbita é usada para fazer as partículas girarem em torno de seu centro.
Accelerations
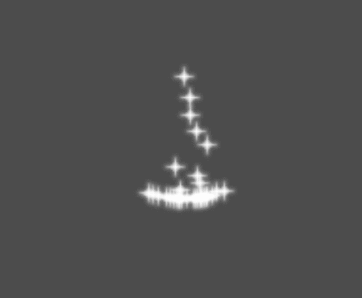
Gravidade
A gravidade aplicada a todas as partículas.
Aceleração Linear
A aceleração linear aplicada a cada partícula.
Aceleração Radial
Se esta aceleração for positiva, as partículas são aceleradas para longe do centro. Se negativo, eles são absorvidos por ele.
Aceleração Tangencial
Essa aceleração usará o vetor tangente ao centro. Combinando com aceleração radial pode fazer bons efeitos.
Amortecimento
Damping aplica fricção às partículas, forçando-as a parar. É especialmente útil para faíscas ou explosões, que geralmente começam com uma alta velocidade linear e param quando desaparecem.
Exibição (Display)
Escala
Determina a escala inicial das partículas.
Color Curves
Cor
Usado para alterar a cor das partículas que estão sendo emitidas.
Hue Variation
O valor Variation define a variação de tom inicial aplicada a cada partícula. O valor Variation Random controla a taxa de aleatoriedade da variação de tom.
Animação
Nota
A animação de flipbook de partículas só é eficaz se o CanvasItemMaterial usado no nó GPUParticles2D ou CPUParticles2D tiver sido configurado adequadamente.
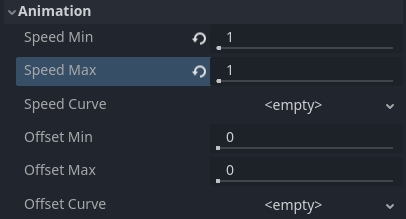
Para configurar o flipbook de partículas para reprodução linear, defina os valores Velocidade mínima e Velocidade máxima como 1:
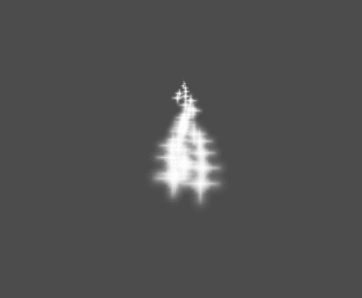
Configurando animação de partículas para reprodução durante a vida útil da partícula
Por padrão, repetição (looping) está desativado. Se a partícula terminar de ser exibida antes do fim de sua vida útil, ela continuará usando o último quadro do flipbook (que pode ser totalmente transparente, dependendo de como a textura do flipbook foi criada). Se repetição estiver ativado, a animação voltará ao primeiro quadro e continuará sendo exibida.
Dependendo de quantas imagens sua sprite sheet contém e por quanto tempo sua partícula permanece ativa, a animação pode não parecer suave. A relação entre a duração de vida da partícula, a velocidade da animação e o número de imagens na sprite sheet é a seguinte:
Nota
A uma velocidade de animação de 1.0, a animação alcançará a última imagem na sequência no momento em que a vida útil da partícula terminar.
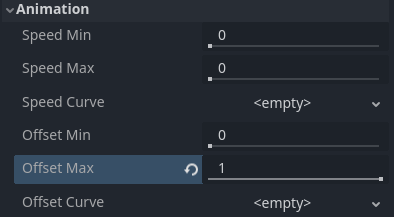
Se você deseja que o flipbook de partículas seja usado como uma fonte de texturas aleatórias para cada partícula, mantenha os valores de velocidade em 0 e defina Offset Max como 1:
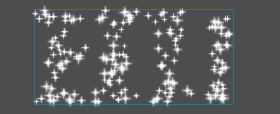
Configurando a animação de partículas para deslocamento aleatório na emissão
Observe que o valor de FPS Fixo do nó GPUParticles2D também afeta a reprodução da animação. Para uma reprodução suave da animação, é recomendável defini-lo como 0, para que a partícula seja simulada em cada quadro renderizado. Se isso não for viável para o seu caso de uso, defina o FPS Fixo como igual à taxa de quadros efetiva usada pela animação do flipbook (veja a fórmula acima).
Formas de Emissão
ParticleProcessMaterials allow you to set an Emission Mask, which dictates the area and direction in which particles are emitted. These can be generated from textures in your project.
Ensure that a ParticleProcessMaterial is set, and the GPUParticles2D node is selected. A "Particles" menu should appear in the Toolbar:

Abra-a e selecione "Load Emission Mask" (Carregar Máscara de Emissões):

Em seguida, selecione qual textura você deseja usar como sua máscara:

Uma caixa de diálogo com várias configurações aparecerá.
Máscara de Emissão
Três tipos de máscaras de emissão podem ser gerados a partir de uma textura:
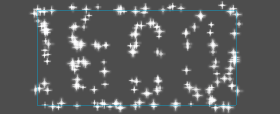
Pixels Sólidos: Partículas surgirão de qualquer área da textura, excluindo áreas transparentes.
Pixels da borda: as partículas serão geradas nas bordas externas da textura.
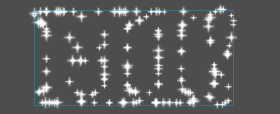
Pixels de borda direcionados: semelhantes aos pixels de borda, mas adicionam informações extras à máscara para dar às partículas a capacidade de emitir para longe das bordas. Observe que uma
velocidade inicialprecisará ser definida para utilizar isso.
Cores de Emissão
Capture from Pixel fará com que as partículas herdem a cor da máscara em seus pontos de geração.
Depois de clicar em "OK", a máscara será gerada e definida para o ParticleProcessMaterial, debaixo de Spawn e então Position

Todos os valores nesta seção foram gerados automaticamente pelo menu "Load Emission Mask", portanto, geralmente não de deve mexer em nada.
Nota
Uma imagem não deve ser adicionada a Point Texture ou Color Texture diretamente. O menu "Load Emission Mask" deve ser sempre utilizado em seu lugar.
Customizing the process material
Se você precisar alterar ou implementar novos comportamentos no código do shader, você pode fazer isso convertendo o ParticleProcessMaterial atual para um ShaderMaterial. As propriedades existentes são preservadas pelo processo de conversão. Os recursos que estão habilitados também afetarão o que está presente no código do shader convertido.
Para fazer isso, clique com o botão direito do mouse no material na aba do FileSystem e escolha Convert to ShaderMaterial. Você também pode fazê-lo clicando com o botão direito em qualquer propriedade que tenha uma referência ao material no inspetor.