Attention: Here be dragons
This is the latest
(unstable) version of this documentation, which may document features
not available in or compatible with released stable versions of Godot.
Checking the stable version of the documentation...
ゲームエリアの設定
この最初のパートでは、ゲームエリアを設定します。さっそく、スタートアセットをインポートして、ゲームシーンを設定しましょう。
このチュートリアルで使用する3DモデルとサウンドをまとめたGodotプロジェクトを用意しました。インデックスページにリンクがあります。まだダウンロードしていない場合は、こちらからアーカイブをダウンロードできます: Squash the Creeps アセット。
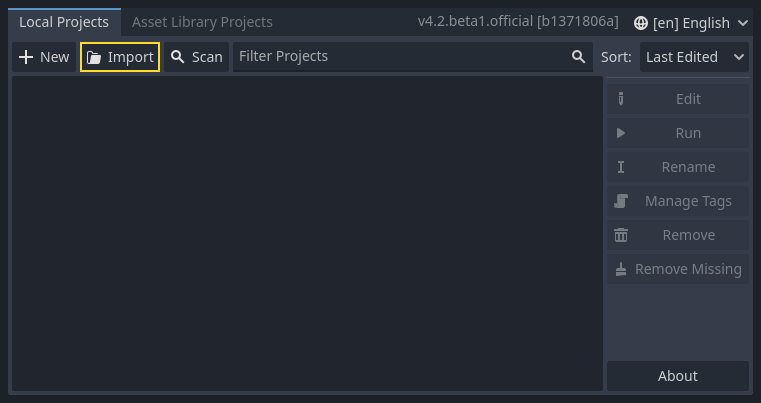
Once you've downloaded it, extract the .zip archive on your computer. Open the Godot Project Manager and click the Import button.
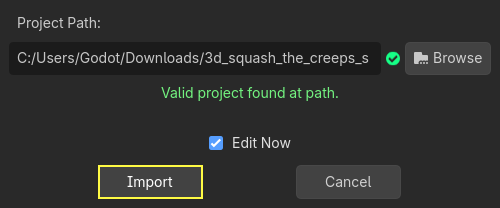
インポートポップアップで、新しく作成したディレクトリ 3d_squash_the_creeps_starter/ へのフルパスを入力します。右側の Browse ボタンをクリックするとファイルブラウザが開き、そのフォルダ内にある project.godot ファイルに移動できます。
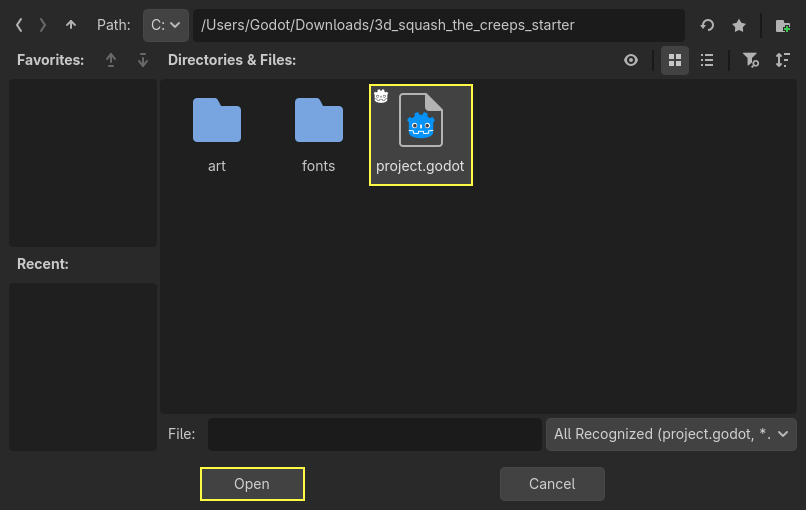
Import (インポート) をクリックして、エディタでプロジェクトを開きます。
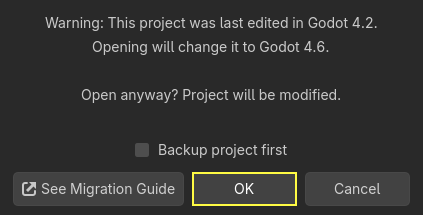
プロジェクトが古いバージョンの Godot で生成されたことを知らせるウィンドウが表示される場合があります。 OK をクリックして、プロジェクトを現在の Godot バージョンに変換してください。
If it doesn't open immediately, open the project from your project list.
スタート プロジェクトには、アイコンと 2 つのフォルダーart/とfonts/があります。そこには、ゲーム内で使用するアートアセットと音楽があります。
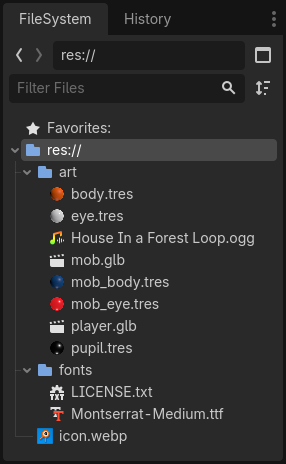
player.glbとmob.glbという二つの3Dモデルとこれらのモデルに属するいくつかの素材、そして音楽トラックです。
プレイ可能エリアの設定
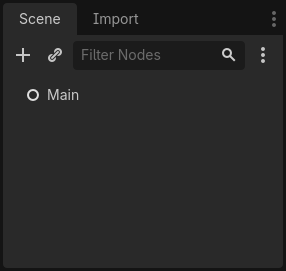
プレーンな Node をルートとして、メイン シーンを作成します。 シーン の枠内で、左上の "+" アイコンで表される 子ノードを追加 ボタンをクリックして、開いたウィンドウ内の Node をダブルクリックします。このノードに "Main"という名前を付けましょう。ノードの名前を変えるには シーン の枠内にある、名前を変更したい Node を右クリックして 名前の変更 も選択して下さい。また、ノードをシーンに追加するには、 Ctrl + a (macOSでは Cmd + a) をのショートカットも利用できます。
シーンをmain.tscnとして保存しましょう。 Ctrl + s (macOS では Cmd + s) を押して下さい。
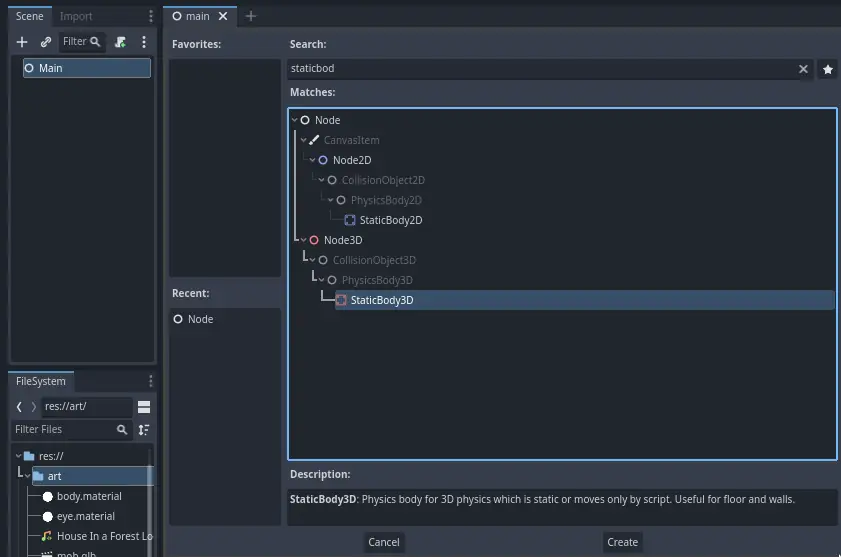
まず、キャラクターの落下を防ぐための床を追加します。床、壁、天井のような静的な衝突物(コライダー"collider")を作成するには、 StaticBody3D ノードを使用することができます。これらは、衝突領域を定義するために CollisionShape3D という子ノードを必要とします。Mainノードを選択し、 StaticBody3D ノードを追加し、追加した StaticBody3D を選択して、 CollisionShape3D を子ノードとして追加して下さい。そして親ノードである StaticBody3D の名前を Ground に変更しましょう。
シーンツリーは次のようになります:
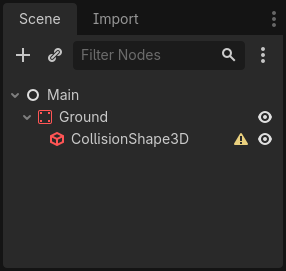
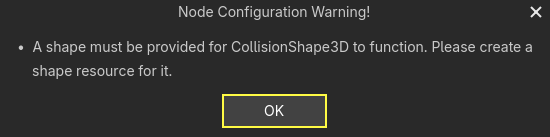
CollisionShape3D の横に警告マークが表示されているのは、まだ CollisionShape3D の形を定義していないからです。この警告マークをクリックすると、ポップアップが表示され詳細情報を確認できます。
CollisionShape3D の形状を定義するには、「シーン」ドック内の CollisionShape3D を選択します。次に、「 インスペクター (Inspector)」ドック内の、 Shape プロパティの隣にある <空> (empty)フィールドをクリックします。そしてプルダウンから「新規 BoxShape3D 」を選択して形状を作成します。
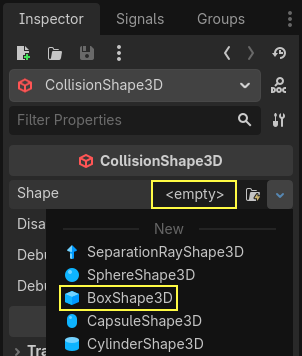
ボックスの形状は、平らな地面や壁に最適です。その厚さによって、動きの速い物体でも確実にブロックできます。
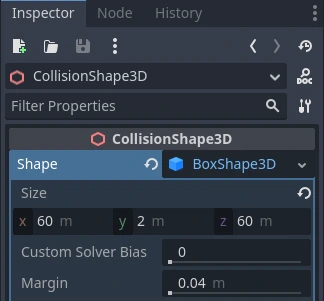
追加したボックスのワイヤフレームが、ビューポートに3つのオレンジ色の点で表示されます。これらをクリック&ドラッグして、形状の大きさをインタラクティブに編集できます。また、インスペクタでサイズを正確に設定することもできます。インスペクタのドックで、先ほど設定した BoxShape3D をクリックし、設定項目を展開してみましょう。そしてその設定項目の Size 欄で、 X 軸に 60 、Y軸に 2 、Z軸に 60 を指定します。
衝突形状は目に見えません。そのため、それに合わせて目に見える床を追加する必要があります。 Ground ノードを選択し、 MeshInstance3D を子ノードとして追加してください。

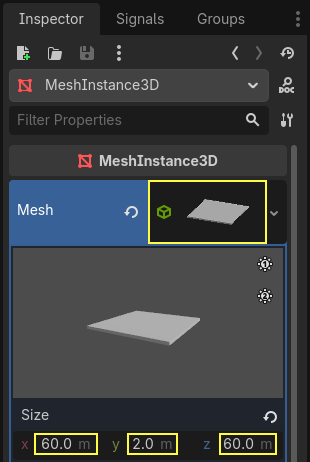
インスペクター (Inspector)ドック内の Mesh の隣の <空> (empty)フィールドをクリックし、「新規 BoxMesh 」を選択して目に見えるボックスを作成します。
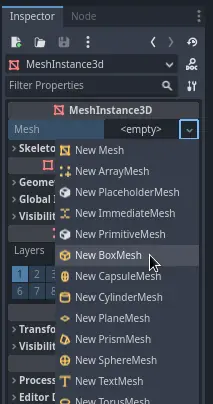
繰り返しになりますが、デフォルトの大きさでは床としては小さすぎます。 インスペクター 上で、選択したボックスのサムネイルをクリックして選択項目を展開し、 Size を X : 60 、Y : 2 、Z : 60 にして下さい。
ビューポートにグリッドを覆う広い灰色の平板と、青と赤の軸が表示されるはずです。
床のグリッドが見えるように、地面を下に動かします。これを行うには、グリッドスナップ機能を使用します。3Dエディタでは、2 つの方法でグリッドスナップを有効にできます。1 つ目は、 Use Snap ボタン (または Y キー) を押す方法です。2 つ目は、ノードを選択し、ギズモのハンドルをドラッグした その後 、選択したノードを保持したまま Ctrl キー (macOSの場合は Cmd キー) を押す方法です。

まず、お好みの方法でスナップを設定して下さい。次にY軸(ギズモの緑の矢印)を使って Ground ノードを動かしましょう。
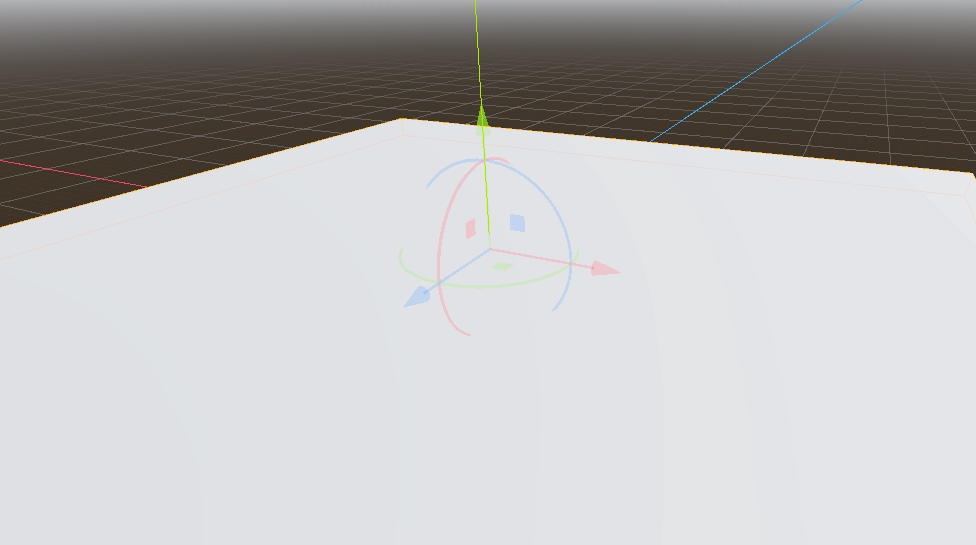
注釈
上の画像のように3Dオブジェクトマニピュレータが表示されない場合は、ビューの上にあるツールバーで Transform Mode (変換モード) が有効になっていることを確認してください。
地面( Ground )を 1 メートル下に移動させます。ギズモを操作している間ビューポートの左下隅に表示されるラベルは、ノードをどれだけ平行移動させたかを示しています。

注釈
Ground ノードを下に動かすと、両方の子ノードも一緒に移動します。 MeshInstance3D または CollisionShape3D の子ノードではなく、親ノードの Ground ノードを移動していることを確認してください。
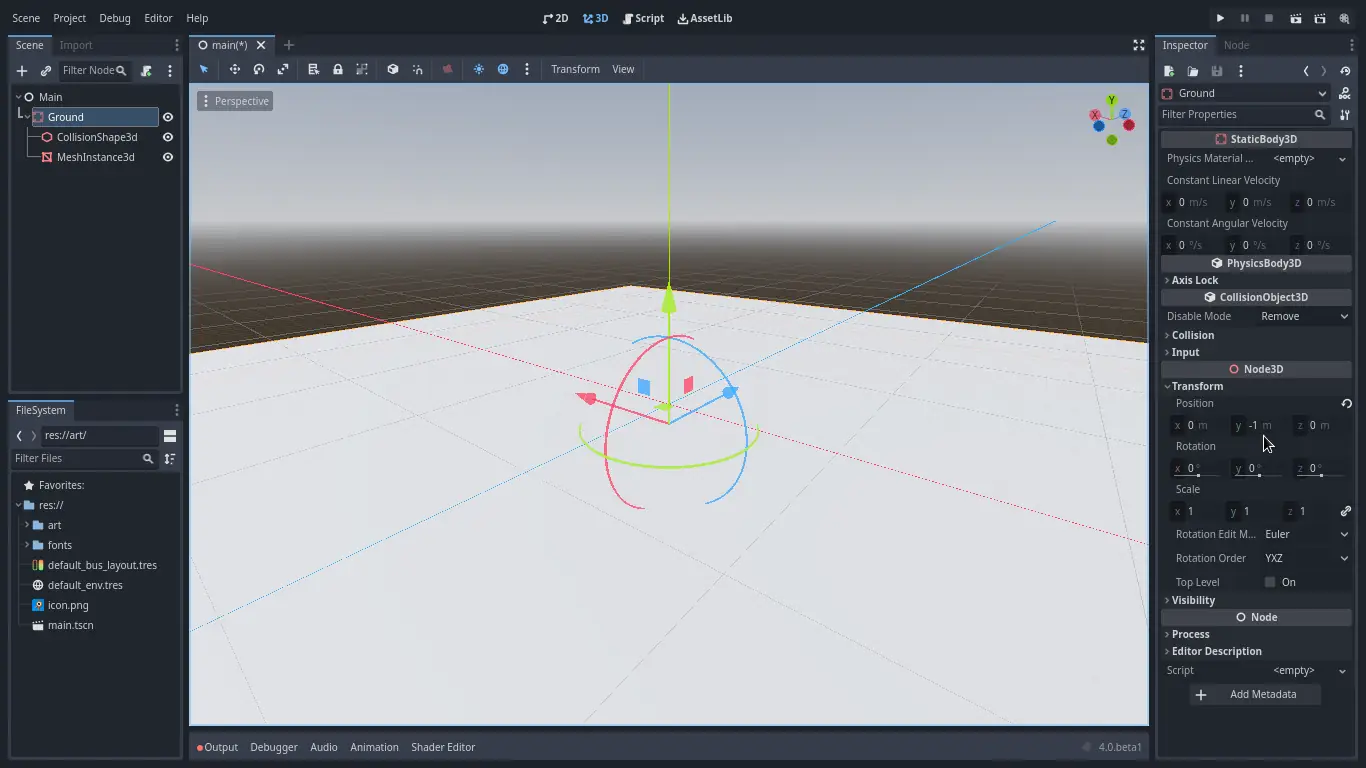
最終的に、 Ground のY座標の値(transform.position.y)が -1 になるように変更しましょう
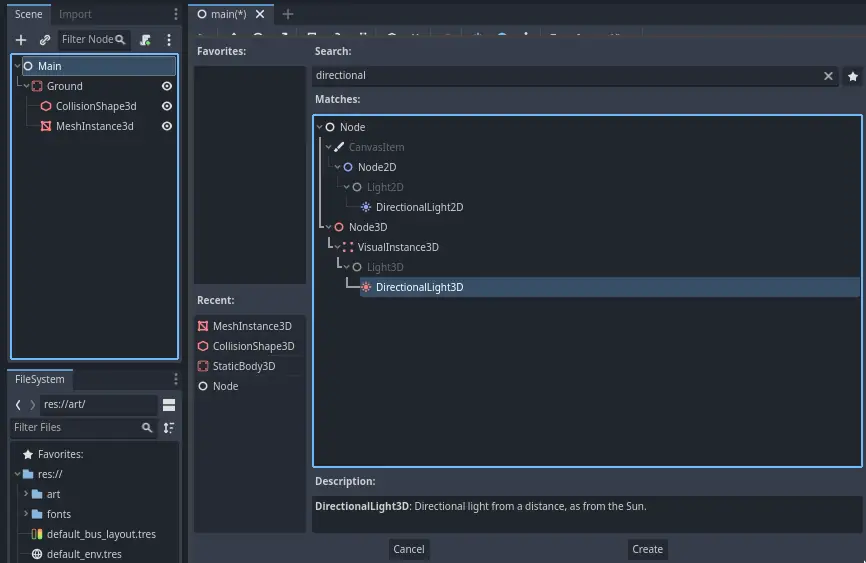
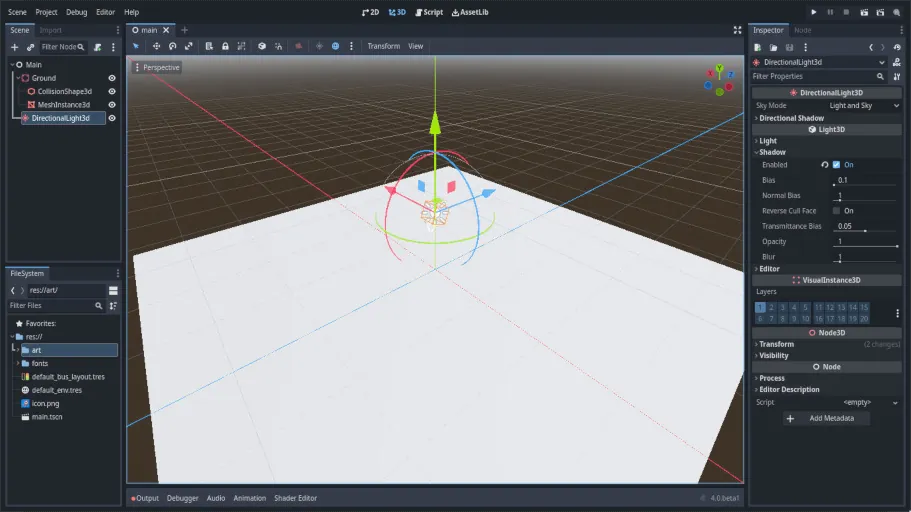
シーンがグレー一色にならないように、ディレクショナルライトを追加しましょう。 Main ノードを選択し、子ノードとして DirectionalLight3D を追加します。
DirectionalLight3D を移動し、回転させる必要があります。 DirectionalLight3D のマニピュレーターの緑の矢印をクリック&ドラッグして上に移動し、赤い円弧をクリック&ドラッグしてX軸を中心に回転させ、地面が照らされるようにします。
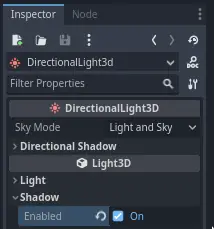
In the Inspector, turn on Shadow by clicking the checkbox.
ここまでで、プロジェクトは次のようになっているはずです。
これが出発点になります。次のパートでは、プレイヤーのシーンとベースの動きを作ります。