Attention: Here be dragons
This is the latest
(unstable) version of this documentation, which may document features
not available in or compatible with released stable versions of Godot.
Checking the stable version of the documentation...
시작하기
노드 속성(Node Property)
GDExtension으로서 godot-cpp는 GDScript 및 :ref:`C# <doc_c_sharp>`보다 사용하기가 더 복잡합니다. 이를 사용하기로 결정한 경우 워크플로는 다음과 같습니다.
만들기 새로운 godot-cpp 프로젝트(template 또는 아래 설명에 따라 처음부터).
:ref:`즐겨찾는 IDE <toc-devel-configuring_an_ide>`을 사용하여 로컬에서 코드를 개발하세요.
호환 가능한 가장 초기 Godot 버전으로 코드를 빌드하고 테스트하세요.
만들기는 지원하려는 모든 플랫폼용으로 빌드됩니다(예: GitHub Actions 사용).
예제 프로젝트
첫 번째 godot-cpp 프로젝트의 경우, godot-cpp와 관련된 기술을 이해하기 위해 이 가이드부터 시작하는 것이 좋습니다. 작업을 마친 후에는 GitHub 작업 파이프라인 및 유용한 SConstruct 상용구 코드와 같은 기능을 더 잘 활용하는 `godot-cpp 템플릿 <https://github.com/godotengine/godot-cpp-template>`__을 사용할 수 있습니다. 그러나 템플릿은 자체적으로 높은 수준의 세부정보를 설명하지 않으므로 먼저 이 가이드를 살펴보는 것이 좋습니다.
프로젝트 설정하기
필요한 몇 가지 전제 조건은 다음과 같습니다.
Godot 4 실행 파일입니다.
발사 예제
빌드 도구로서의 SCons.
godot-cpp 저장소 의 사본.
Configuring an IDE 및 :ref:`Compiling <toc-devel-compiling>`도 참조하세요. 빌드 도구는 소스에서 Godot를 컴파일하는 데 필요한 도구와 동일하기 때문입니다.
GitHub에서 `godot-cpp 저장소 <https://github.com/godotengine/godot-cpp>`__를 다운로드하거나 Git이 작업을 수행하도록 할 수 있습니다. 이 저장소에는 Godot의 다양한 버전에 대한 다양한 브랜치가 있다는 점에 유의하세요. GDExtensions는 이전 버전의 Godot(Godot 4 이상만)에서는 작동하지 않으며 그 반대의 경우도 마찬가지이므로 올바른 브랜치를 다운로드했는지 확인하세요.
참고
GDExtension <https://godotengine.org/article/introducing-gd-extensions>`__을 사용하려면 대상으로 삼고 있는 Godot 버전과 일치하는 godot-cpp 브랜치를 사용해야 합니다. 예를 들어 Godot 4.1을 대상으로 하는 경우 ``4.1` 브랜치를 사용하세요. 이 튜토리얼 전체에서 우리는 ``4.x``를 사용하는데, 이는 목표로 삼고 있는 Godot 버전으로 교체해야 합니다.
master 브랜치는 Godot의 master 브랜치와 함께 작동하도록 정기적으로 업데이트되는 개발 브랜치입니다.
경고
이전 버전의 Godot를 대상으로 하는 GDExtensions는 이후 마이너 버전에서 작동해야 하지만 그 반대의 경우는 작동하지 않습니다. 예를 들어 Godot 4.2를 대상으로 하는 GDExtension은 Godot 4.3에서 제대로 작동하지만 Godot 4.3을 대상으로 하는 GDExtension은 Godot 4.2에서 작동하지 않습니다.
이에 대한 한 가지 예외가 있습니다: Godot 4.0을 대상으로 하는 확장 프로그램은 Godot 4.1 이상에서 작동하지 **않습니다**(4.1용 GDExtension 업데이트 참조).
Git을 사용하여 프로젝트 버전을 관리하는 경우 Git 하위 모듈로 추가하는 것이 좋습니다.
mkdir gdextension_cpp_example
cd gdextension_cpp_example
git init
git submodule add -b 4.x https://github.com/godotengine/godot-cpp
cd godot-cpp
git submodule update --init
또는 프로젝트 폴더에 복제할 수도 있습니다.
mkdir gdextension_cpp_example
cd gdextension_cpp_example
git clone -b 4.x https://github.com/godotengine/godot-cpp
참고
저장소를 다운로드하거나 폴더에 복제하기로 결정한 경우 폴더 레이아웃을 여기에서 설정한 것과 동일하게 유지하십시오. 여기서 소개할 코드의 대부분은 프로젝트에 이 레이아웃이 있다고 가정합니다.
소개에 지정된 링크에서 예제를 복제한 경우 하위 모듈이 자동으로 초기화되지 않습니다. 다음 명령을 실행해야 합니다.
cd gdextension_cpp_example
git submodule update --init
그러면 프로젝트 폴더의 저장소가 초기화됩니다.
간단한 플러그인 만들기
이제 실제 플러그인을 빌드할 차례입니다. 몇 개의 파일을 배치할 빈 Godot 프로젝트를 만드는 것부터 시작하겠습니다.
Godot를 열고 새 프로젝트를 생성하세요. 이 예에서는 GDExtension의 폴더 구조 내 ``project``라는 폴더에 배치합니다.
프로젝트에서는 "Main"이라는 노드를 포함하는 씬을 생성하고 이를 ``main.tscn``로 저장합니다. 이에 대해서는 나중에 다시 다루겠습니다.
최상위 GDExtension 모듈 폴더로 돌아가서 소스 파일을 배치할 ``src``라는 하위 폴더도 생성하겠습니다.
이제 GDExtension 모듈에 project, godot-cpp 및 src 디렉터리가 있어야 합니다.
씬 트리는 다음과 같아야 합니다:
gdextension_cpp_example/
|
+--project/                  # game example/demo to test the extension
|
+--godot-cpp/             # C++ bindings
|
+--src/                   # source code of the extension we are building
src 폴더에서 우리가 만들 GDExtension 노드에 대한 헤더 파일을 만드는 것부터 시작하겠습니다. 이름은 ``gdexample.h``로 지정하겠습니다.
#pragma once

#include <godot_cpp/classes/sprite2d.hpp>

namespace godot {

class GDExample : public Sprite2D {
    GDCLASS(GDExample, Sprite2D)

private:
    double time_passed;

protected:
    static void _bind_methods();

public:
    GDExample();
    ~GDExample();

    void _process(double delta) override;
};

} // namespace godot
위에 언급된 내용 중 몇 가지 주의할 점이 있습니다. Sprite2D 클래스에 대한 바인딩이 포함된 ``sprite2d.hpp``를 포함합니다. 우리는 모듈에서 이 클래스를 확장할 것입니다.
GDExtension의 모든 것이 이 네임스페이스 내에 정의되어 있으므로 우리는 godot 네임스페이스를 사용하고 있습니다.
그런 다음 컨테이너 클래스를 통해 Sprite2D에서 상속되는 클래스 정의가 있습니다. 나중에 이에 대한 몇 가지 부작용을 살펴보겠습니다. GDCLASS 매크로는 몇 가지 내부 항목을 설정합니다.
그런 다음 ``time_passed``라는 단일 멤버 변수를 선언합니다.
다음 블록에서는 메서드를 정의하고 생성자와 소멸자를 정의했지만 일부에게는 친숙해 보일 수 있는 두 개의 다른 함수와 하나의 새로운 메서드가 있습니다.
첫 번째는 _bind_methods``로, Godot가 호출할 수 있는 메소드와 노출되는 속성을 찾기 위해 호출하는 정적 함수입니다. 두 번째는 GDScript에서 익숙한 ``_process 함수와 정확히 동일하게 작동하는 _process 함수입니다.
gdexample.cpp 파일을 생성하여 기능을 구현해 보겠습니다.
#include "gdexample.h"
#include <godot_cpp/core/class_db.hpp>

using namespace godot;

void GDExample::_bind_methods() {
}

GDExample::GDExample() {
    // Initialize any variables here.
    time_passed = 0.0;
}

GDExample::~GDExample() {
    // Add your cleanup here.
}

void GDExample::_process(double delta) {
    time_passed += delta;

    Vector2 new_position = Vector2(10.0 + (10.0 * sin(time_passed * 2.0)), 10.0 + (10.0 * cos(time_passed * 1.5)));

    set_position(new_position);
}
이것은 간단해야합니다. 우리는 헤더 파일에 정의한 클래스의 각 메서드를 구현하고 있습니다.
시간이 얼마나 지났는지 추적하고 사인 및 코사인 함수를 사용하여 스프라이트의 새 위치를 계산하는 _process 함수에 주목하세요.
필요한 C++ 파일이 하나 더 있습니다. 이름은 ``register_types.cpp``로 지정하겠습니다. GDExtension 플러그인에는 위에서 ``GDExample``를 구현한 것처럼 각각 자체 헤더와 소스 파일이 있는 여러 클래스가 포함될 수 있습니다. 지금 우리에게 필요한 것은 GDExtension 플러그인의 모든 클래스에 대해 Godot에게 알려주는 작은 코드입니다.
#include "register_types.h"

#include "gdexample.h"

#include <gdextension_interface.h>
#include <godot_cpp/core/defs.hpp>
#include <godot_cpp/godot.hpp>

using namespace godot;

void initialize_example_module(ModuleInitializationLevel p_level) {
    if (p_level != MODULE_INITIALIZATION_LEVEL_SCENE) {
        return;
    }

    GDREGISTER_CLASS(GDExample);
}

void uninitialize_example_module(ModuleInitializationLevel p_level) {
    if (p_level != MODULE_INITIALIZATION_LEVEL_SCENE) {
        return;
    }
}

extern "C" {
// Initialization.
GDExtensionBool GDE_EXPORT example_library_init(GDExtensionInterfaceGetProcAddress p_get_proc_address, const GDExtensionClassLibraryPtr p_library, GDExtensionInitialization *r_initialization) {
    godot::GDExtensionBinding::InitObject init_obj(p_get_proc_address, p_library, r_initialization);

    init_obj.register_initializer(initialize_example_module);
    init_obj.register_terminator(uninitialize_example_module);
    init_obj.set_minimum_library_initialization_level(MODULE_INITIALIZATION_LEVEL_SCENE);

    return init_obj.init();
}
}
initialize_example_module 및 uninitialize_example_module 함수는 Godot가 플러그인을 로드할 때와 언로드할 때 각각 호출됩니다. 여기서 하는 일은 바인딩 모듈의 함수를 구문 분석하여 초기화하는 것뿐이지만 필요에 따라 더 많은 항목을 설정해야 할 수도 있습니다. 라이브러리의 각 클래스에 대해 GDREGISTER_CLASS 매크로를 호출합니다.
중요한 기능은 ``example_library_init``라는 세 번째 기능입니다. 먼저 초기화 객체를 생성하는 바인딩 라이브러리의 함수를 호출합니다. 이 개체는 GDExtension의 초기화 및 종료 기능을 등록합니다. 또한 초기화 수준(코어, 서버, 씬, 편집기, 수준)을 설정합니다.
마지막으로 ``register_types.h``라는 ``register_types.cpp``에 대한 헤더 파일이 필요합니다.
#pragma once

#include <godot_cpp/core/class_db.hpp>

using namespace godot;

void initialize_example_module(ModuleInitializationLevel p_level);
void uninitialize_example_module(ModuleInitializationLevel p_level);
플러그인 컴파일
프로젝트를 컴파일하려면 SCons가 godot-cpp``의 파일을 참조하는 ``SConstruct 파일을 사용하여 프로젝트를 컴파일하는 방법을 정의해야 합니다. 처음부터 작성하는 것은 이 튜토리얼의 범위를 벗어나지만 :download:`우리가 준비한 SConstruct 파일 <files/cpp_example/SConstruct>`는 가능합니다. 후속 튜토리얼에서는 이러한 빌드 파일을 사용하는 방법에 대한 보다 사용자 정의 가능하고 자세한 예제를 다룰 것입니다.
참고
이 SConstruct 파일은 최신 godot-cpp 마스터와 함께 사용하도록 작성되었습니다. 이전 버전과 함께 사용하여 약간 변경해야 하거나 Godot 4.x 문서의 SConstruct 파일을 참조해야 할 수도 있습니다.
SConstruct 파일을 다운로드한 후 godot-cpp, src 및 ``project``와 함께 GDExtension 폴더 구조에 배치한 후 다음을 실행합니다.
scons platform=<platform>
You can omit the platform option if you are compiling for the platform you
are currently using. The list of available platform options depends on which
platform dependencies are set up (use platform=list to see all available platforms).
See 빌드 시스템 소개 for details.
You should now be able to find the compiled library in project/bin/.
참고
Here, we've compiled both godot-cpp and our gdexample library as debug
builds, which is the default. For optimized builds, you should compile
them using the target=template_release option.
존재하는 Godot 머티리얼 사용하기
Godot로 다시 돌아가기 전에, ``project/bin/``에 파일을 하나 더 생성해야 합니다.
이 파일을 통해 Godot는 각 플랫폼에 어떤 동적 라이브러리를 로드해야 하는지와 모듈에 대한 입력 기능을 알 수 있습니다. ``gdexample.gdextension``라고 합니다.
[configuration]

entry_symbol = "example_library_init"
compatibility_minimum = "4.1"
reloadable = true

[libraries]

macos.debug = "./libgdexample.macos.template_debug.dylib"
macos.release = "./libgdexample.macos.template_release.dylib"
windows.debug.x86_32 = "./gdexample.windows.template_debug.x86_32.dll"
windows.release.x86_32 = "./gdexample.windows.template_release.x86_32.dll"
windows.debug.x86_64 = "./gdexample.windows.template_debug.x86_64.dll"
windows.release.x86_64 = "./gdexample.windows.template_release.x86_64.dll"
linux.debug.x86_64 = "./libgdexample.linux.template_debug.x86_64.so"
linux.release.x86_64 = "./libgdexample.linux.template_release.x86_64.so"
linux.debug.arm64 = "./libgdexample.linux.template_debug.arm64.so"
linux.release.arm64 = "./libgdexample.linux.template_release.arm64.so"
linux.debug.rv64 = "./libgdexample.linux.template_debug.rv64.so"
linux.release.rv64 = "./libgdexample.linux.template_release.rv64.so"
이 파일에는 모듈의 입력 기능을 제어하는 configuration 섹션이 포함되어 있습니다. 또한 compatibility_minimum``로 호환 가능한 최소 Godot 버전을 설정해야 합니다. 그러면 이전 버전의 Godot가 확장 프로그램을 로드하는 것을 방지할 수 있습니다. ``reloadable 플래그를 사용하면 편집기를 다시 시작할 필요 없이 확장을 다시 컴파일할 때마다 편집기에서 확장을 자동으로 다시 로드할 수 있습니다. 이는 디버그 모드(기본값)에서 확장을 컴파일하는 경우에만 작동합니다.
libraries 섹션은 중요한 부분입니다: 이는 Godot에게 지원되는 각 플랫폼에 대한 프로젝트 파일 시스템의 동적 라이브러리 위치를 알려줍니다. 또한 프로젝트를 내보낼 때 해당 파일만 *내보내게 됩니다. 즉, 데이터 팩에는 대상 플랫폼과 호환되지 않는 라이브러리가 포함되지 않습니다.
Gradle 빌드에 관해서는 Android 용 맞춤 빌드 를 읽어보세요.
올바른 파일 구조를 확인하는 또 다른 개요는 다음과 같습니다.
gdextension_cpp_example/
|
+--project/                  # game example/demo to test the extension
|   |
|   +--main.tscn
|   |
|   +--bin/
|       |
|       +--gdexample.gdextension
|
+--godot-cpp/             # C++ bindings
|
+--src/                   # source code of the extension we are building
|   |
|   +--register_types.cpp
|   +--register_types.h
|   +--gdexample.cpp
|   +--gdexample.h
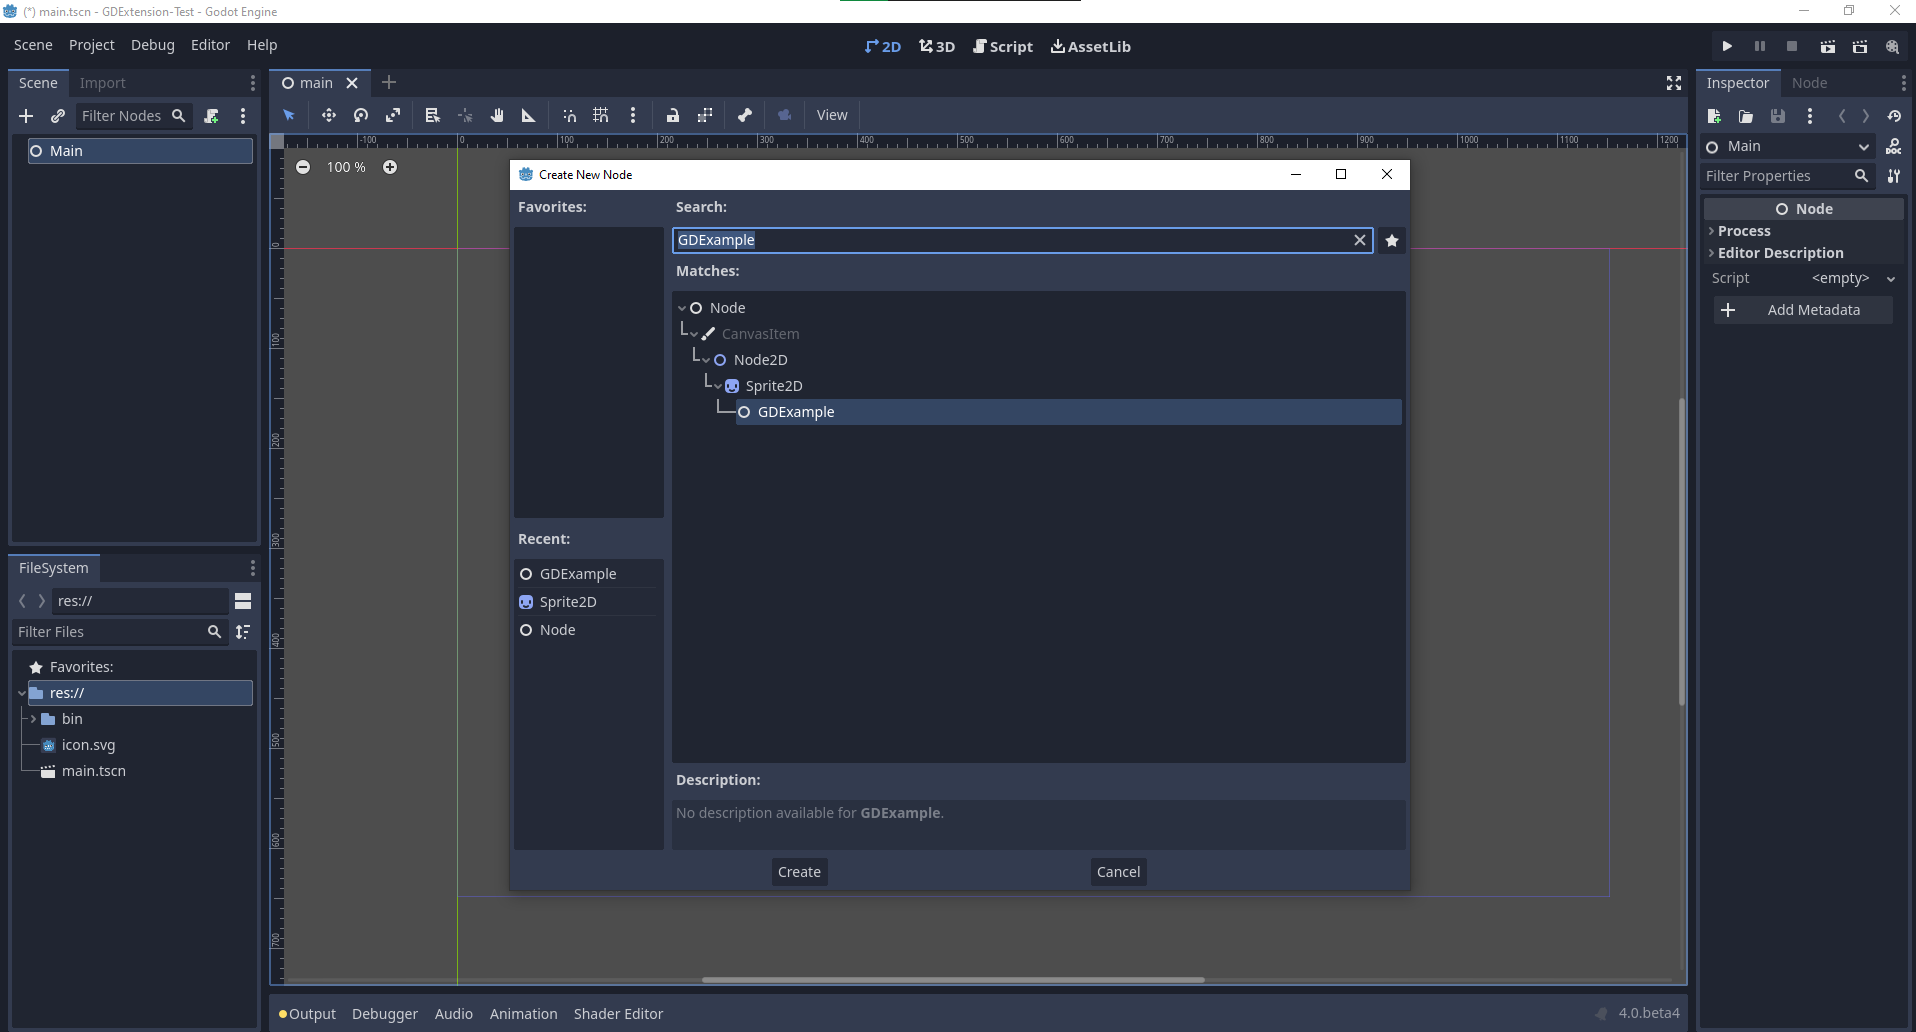
Godot로 다시 뛰어들 시간입니다. 처음에 생성한 기본 씬을 로드하고 이제 새로 사용 가능한 GDExample 노드를 씬에 추가합니다.
우리는 Godot 로고를 이 노드에 텍스처로 할당하고 centered 속성을 비활성화하겠습니다:
드디어 프로젝트를 실행할 준비가 되었습니다.
노드 속성
GDScript를 사용하면 export 키워드를 사용하여 스크립트에 속성을 추가할 수 있습니다. GDExtension에서는 getter 및 setter 함수를 사용하여 속성을 등록하거나 개체의 _get_property_list, _get 및 _set 메서드를 직접 구현해야 합니다(그러나 이는 이 자습서의 범위를 훨씬 벗어납니다).
파동의 진폭을 제어할 수 있는 속성을 추가해 보겠습니다.
gdexample.h 파일에서 멤버 변수와 getter 및 setter 함수를 추가해야 합니다.
...
private:
    double time_passed;
    double amplitude;

public:
    void set_amplitude(const double p_amplitude);
    double get_amplitude() const;
...
gdexample.cpp 파일에서 많은 변경이 필요합니다. 결국 변경되는 메서드만 표시하고 생략하는 줄은 제거하지 마세요.
void GDExample::_bind_methods() {
    ClassDB::bind_method(D_METHOD("get_amplitude"), &GDExample::get_amplitude);
    ClassDB::bind_method(D_METHOD("set_amplitude", "p_amplitude"), &GDExample::set_amplitude);

    ADD_PROPERTY(PropertyInfo(Variant::FLOAT, "amplitude"), "set_amplitude", "get_amplitude");
}

GDExample::GDExample() {
    // Initialize any variables here.
    time_passed = 0.0;
    amplitude = 10.0;
}

void GDExample::_process(double delta) {
    time_passed += delta;

    Vector2 new_position = Vector2(
        amplitude + (amplitude * sin(time_passed * 2.0)),
        amplitude + (amplitude * cos(time_passed * 1.5))
    );

    set_position(new_position);
}

void GDExample::set_amplitude(const double p_amplitude) {
    amplitude = p_amplitude;
}

double GDExample::get_amplitude() const {
    return amplitude;
}
이러한 변경 사항을 적용하여 모듈을 컴파일하면 인터페이스에 속성이 추가된 것을 볼 수 있습니다. 이제 이 속성을 변경할 수 있으며 프로젝트를 실행할 때 Godot 아이콘이 더 큰 그림을 따라 이동하는 것을 볼 수 있습니다.
애니메이션 속도를 위해 동일한 작업을 수행하고 setter 및 getter 기능을 사용하겠습니다. gdexample.h 헤더 파일에는 몇 줄의 코드만 더 필요합니다.
...
    double amplitude;
    double speed;
...
    void _process(double delta) override;
    void set_speed(const double p_speed);
    double get_speed() const;
...
이를 위해서는 gdexample.cpp 파일을 몇 가지 더 변경해야 합니다. 다시 한번 변경된 메소드만 표시하므로 생략한 항목을 제거하지 마십시오.
void GDExample::_bind_methods() {
    ...
    ClassDB::bind_method(D_METHOD("get_speed"), &GDExample::get_speed);
    ClassDB::bind_method(D_METHOD("set_speed", "p_speed"), &GDExample::set_speed);

    ADD_PROPERTY(PropertyInfo(Variant::FLOAT, "speed", PROPERTY_HINT_RANGE, "0,20,0.01"), "set_speed", "get_speed");
}

GDExample::GDExample() {
    time_passed = 0.0;
    amplitude = 10.0;
    speed = 1.0;
}

void GDExample::_process(double delta) {
    time_passed += speed * delta;

    Vector2 new_position = Vector2(
        amplitude + (amplitude * sin(time_passed * 2.0)),
        amplitude + (amplitude * cos(time_passed * 1.5))
    );

    set_position(new_position);
}

...

void GDExample::set_speed(const double p_speed) {
    speed = p_speed;
}

double GDExample::get_speed() const {
    return speed;
}
이제 프로젝트가 컴파일되면 속도라는 또 다른 속성이 표시됩니다. 값을 변경하면 애니메이션이 더 빨라지거나 느려집니다. 또한 값이 어느 범위에 있을 수 있는지 설명하는 속성 범위를 추가했습니다. 처음 두 인수는 최소값과 최대값이고 세 번째 인수는 단계 크기입니다.
참고
For simplicity, we've only used the hint_range of the property method. There are a lot more options to choose from. These can be used to further configure how properties are displayed and set on the Godot side. You can find more information on property hints here @GlobalScope.
시그널
마지막으로 시그널는 GDExtension에서도 완벽하게 작동합니다. 확장 프로그램이 다른 개체에서 제공한 시그널에 반응하도록 하려면 해당 개체에서 ``connect``를 호출해야 합니다. 흔들리는 Godot 아이콘에 대한 좋은 예를 생각할 수 없으며, 훨씬 더 완전한 예를 보여줘야 합니다.
최종 결과물입니다:
some_other_node->connect("the_signal", Callable(this, "my_method"));
다른 노드의 시그널 the_signal``를 메소드 ``my_method``와 연결하려면 ``connect 메소드에 시그널 이름과 Callable``를 제공해야 합니다. ``Callable``는 메소드가 호출될 수 있는 객체에 대한 정보를 보유합니다. 우리의 경우 현재 개체 인스턴스 ``this``를 개체의 메서드 ``my_method``와 연결합니다. 그런 다음 ``connect 메서드는 이를 ``the_signal``의 관찰자에 추가합니다. 이제 ``the_signal``가 방출될 때마다 Godot는 어떤 객체의 어떤 메소드를 호출해야 하는지 알고 있습니다.
이전에 _bind_methods 메서드에 등록한 경우에만 ``my_method``를 호출할 수 있습니다. 그렇지 않으면 Godot는 ``my_method``의 존재에 대해 알지 못할 것입니다.
``Callable``에 대해 자세히 알아보려면 :ref:`Callable <class_Callable>`에서 클래스 참조를 확인하세요.
개체가 시그널를 보내는 것이 더 일반적입니다. 흔들리는 Godot 아이콘의 경우, 그것이 어떻게 작동하는지 보여주기 위해 어리석은 일을 할 것입니다. 1초가 지날 때마다 시그널를 내보내고 새 위치를 전달할 것입니다.
gdexample.h 헤더 파일에서 새 멤버 ``time_emit``를 정의해야 합니다.
...
    double time_passed;
    double time_emit;
    double amplitude;
...
이번에는 gdexample.cpp``의 변경 사항이 더욱 정교해졌습니다. 먼저 ``_init 메서드나 생성자에서 ``time_emit = 0.0;``를 설정해야 합니다. 나머지 2가지 필요한 변경 사항을 하나씩 살펴보겠습니다.
_bind_methods 메서드에서는 시그널를 선언해야 합니다. 이는 다음과 같이 수행됩니다.
void GDExample::_bind_methods() {
    ...
    ADD_PROPERTY(PropertyInfo(Variant::FLOAT, "speed", PROPERTY_HINT_RANGE, "0,20,0.01"), "set_speed", "get_speed");

    ADD_SIGNAL(MethodInfo("position_changed", PropertyInfo(Variant::OBJECT, "node"), PropertyInfo(Variant::VECTOR2, "new_pos")));
}
여기서 ADD_SIGNAL 매크로는 MethodInfo 인수를 사용한 단일 호출일 수 있습니다. MethodInfo``의 첫 번째 매개변수는 시그널의 이름이 되고 나머지 매개변수는 각 메소드 매개변수의 필수 사항을 설명하는 ``PropertyInfo 유형입니다. PropertyInfo 매개변수는 매개변수의 데이터 유형과 매개변수가 기본적으로 갖게 될 이름으로 정의됩니다.
따라서 여기서는 시그널 "position_changed"라는 이름을 지정하는 MethodInfo``와 함께 시그널를 추가합니다. ``PropertyInfo 매개변수는 각각 "노드" 및 "new_pos"라는 이름의 Object 유형과 Vector2 유형의 두 가지 필수 인수를 설명합니다.
다음으로 _process 메서드를 변경해야 합니다.
void GDExample::_process(double delta) {
    time_passed += speed * delta;

    Vector2 new_position = Vector2(
        amplitude + (amplitude * sin(time_passed * 2.0)),
        amplitude + (amplitude * cos(time_passed * 1.5))
    );

    set_position(new_position);

    time_emit += delta;
    if (time_emit > 1.0) {
        emit_signal("position_changed", this, new_position);

        time_emit = 0.0;
    }
}
1초가 지나면 시그널를 내보내고 카운터를 재설정합니다. 매개변수 값을 ``emit_signal``에 직접 추가할 수 있습니다.
GDExtension 라이브러리가 컴파일되면 Godot로 가서 스프라이트 노드를 선택할 수 있습니다. 노드 도크에서 새로운 시그널를 찾아 연결 버튼을 누르거나 시그널를 두 번 클릭하여 연결할 수 있습니다. 우리는 메인 노드에 스크립트를 추가하고 다음과 같이 시그널를 구현했습니다.
extends Node

func _on_Sprite2D_position_changed(node, new_pos):
    print("The position of " + node.get_class() + " is now " + str(new_pos))
매초 우리는 위치를 콘솔에 출력합니다.
고급 단계
위의 예가 기본 사항을 보여주었기를 바랍니다. 이 예제를 기반으로 C++를 사용하여 Godot에서 노드를 제어하는 완전한 스크립트를 생성할 수 있습니다!
위의 예제 설정을 기반으로 프로젝트를 시작하는 대신 godot-cpp 템플릿 <https://github.com/godotengine/godot-cpp-template>`__을 복제하여 지금 다시 시작하고 이를 기반으로 프로젝트를 시작하는 것이 좋습니다. GitHub 빌드 작업 및 추가로 유용한 ``SConstruct` 상용구와 같은 기능을 더 잘 다룹니다.