Up to date
This page is up to date for Godot 4.2.
If you still find outdated information, please open an issue.
Compilation pour Android
Voir aussi
Cette page décrit comment compiler les binaires du modèle d'exportation Android à partir du code source. Si vous souhaitez plutôt exporter votre projet vers Android, lisez Exportation pour Android.
Note
Dans la plupart des cas, l'utilisation des modèles de déploiement et d'exportation intégrés est suffisante. La compilation manuelle de l'APK Android est surtout utile pour les constructions personnalisées ou les paquets personnalisés pour le déployeur.
Vous devez également suivre les étapes mentionnées dans le tutoriel Exportation pour Android avant de tenter de créer un modèle d'exportation personnalisé.
Pré-requis
Pour la compilation sous Windows, Linux ou macOS, les éléments suivants sont nécessaires :
SCons 3.0+ système de construction(build).
SDK Android (les outils en ligne de commande sont suffisants).
Les composants SDK requis seront automatiquement installés.
- On Linux,
do not use an Android SDK provided by your distribution's repositories as it will often be outdated.
Gradle (sera téléchargé et installé automatiquement s'il manque).
JDK 17 (either OpenJDK or Oracle JDK).
You can download a build from ojdkbuild.
Voir aussi
Pour récupérer le code source de Godot pour le compiler, voir Obtenir la source.
Pour un aperçu général de l'utilisation de SCons pour Godot, voir Introduction au buildsystem.
Mise en place du système de construction(build)
Set the environment variable
ANDROID_HOMEto point to the Android SDK. If you downloaded the Android command-line tools, this would be the folder where you extracted the contents of the ZIP archive.Installez les composants SDK nécessaires dans ce dossier :
Acceptez les licences des composants SDK en exécutant la commande suivante où
android_sdk_pathest le chemin vers le SDK Android, puis répondez à toutes les questions pary:
cmdline-tools/latest/bin/sdkmanager --sdk_root=<android_sdk_path> --licenses
Terminez l'installation en exécutant la commande suivante où
android_sdk_pathest le chemin vers le SDK Android.
cmdline-tools/latest/bin/sdkmanager --sdk_root=<android_sdk_path> "platform-tools" "build-tools;30.0.3" "platforms;android-29" "cmdline-tools;latest" "cmake;3.10.2.4988404"
Voir aussi
Pour définir ces variables d'environnement sous Windows, appuyez sur Windows + R, tapez "control system", puis cliquez sur Advanced system settings dans le panneau de gauche, puis cliquez sur Environment variables dans la fenêtre qui apparaît.
Voir aussi
To set the environment variable on Linux or macOS, use
export ANDROID_HOME=/path/to/android-sdk where /path/to/android-sdk points to
the root of the SDK directories.
Construction(Building) des modèles d'exportation
Godot a besoin de deux modèles d'exportation pour Android : le modèle "release" optimisé (android_release.apk) et le modèle debug (android_debug.apk). Comme Google exigera que tous les APKs incluent les bibliothèques ARMv8 (64 bits) à partir d'août 2019, les commandes ci-dessous permettront de construire un APK contenant à la fois les bibliothèques ARMv7 et ARMv8.
La compilation des modèles d'exportation standard se fait en appelant SCons depuis le répertoire racine de Godot avec les arguments suivants :
Modèle de release (utilisé lors de l'exportation avec Debugging Enabled non coché)
scons platform=android target=template_release arch=arm32
scons platform=android target=template_release arch=arm64
cd platform/android/java
# On Windows
.\gradlew generateGodotTemplates
# On Linux and macOS
./gradlew generateGodotTemplates
L'APK qui en résultera se trouvera à bin/android_release.apk.
Modèle de débogage (utilisé lors de l'exportation avec Débogage activé coché)
scons platform=android target=template_debug arch=arm32
scons platform=android target=template_debug arch=arm64
cd platform/android/java
# On Windows
.\gradlew generateGodotTemplates
# On Linux and macOS
./gradlew generateGodotTemplates
L'APK qui en résultera se trouvera à bin/android_debug.apk.
Voir aussi
If you want to enable Vulkan validation layers, see Vulkan validation layers on Android.
Ajout de la prise en charge des appareils x86
If you also want to include support for x86 and x86-64 devices, run the SCons
command a third and fourth time with the arch=x86_32, and
arch=x86_64 arguments before building the APK with Gradle. For
example, for the release template:
scons platform=android target=template_release arch=arm32
scons platform=android target=template_release arch=arm64
scons platform=android target=template_release arch=x86_32
scons platform=android target=template_release arch=x86_64
cd platform/android/java
# On Windows
.\gradlew generateGodotTemplates
# On Linux and macOS
./gradlew generateGodotTemplates
Cela permettra de créer un gros binaire qui fonctionne sur toutes les plateformes. La taille finale de l'APK des projets exportés dépendra des plates-formes que vous choisirez de prendre en charge lors de l'exportation ; en d'autres termes, les plates-formes inutilisées seront supprimées de l'APK.
Nettoyage des modèles d'exportation générés
Vous pouvez utiliser les commandes suivantes pour supprimer les modèles d'exportation générés :
cd platform/android/java
# On Windows
.\gradlew clean
# On Linux and macOS
./gradlew clean
Utilisation des modèles d'exportation
Godot a besoin des APK release and debug qui ont été compilés avec la même version/commit que l'éditeur. Si vous utilisez des binaires officiels pour l'éditeur, assurez-vous d'installer les modèles d'exportation correspondants, ou construisez le vôtre à partir de la même version.
Lors de l'exportation de votre jeu, Godot ouvre l'APK, modifie quelques éléments à l'intérieur et ajoute vos fichiers.
Installation des modèles
Les modèles nouvellement compilés (android_debug.apk et android_release.apk) doivent être copiés dans le dossier des modèles de Godot avec leurs noms respectifs. Le dossier modèles peut être situé dans :
Windows:
%APPDATA%\Godot\export_templates\<version>\Linux:
$HOME/.local/share/godot/export_templates/<version>/macOS:
$HOME/Library/Application Support/Godot/export_templates/<version>/
<version> est de la forme major.minor[.patch].status en utilisant les valeurs de version.py dans votre dépôt de sources Godot (par exemple 3.0.5.stable ou 3.1.dev). Vous devez également écrire cette même chaîne de cractère de version dans un fichier version.txt situé à côté de vos modèles d'exportation.
Toutefois, si vous écrivez vos modules personnalisés ou du code C++ personnalisé, vous pouvez configurer vos APK comme modèles d'exportation personnalisés ici :
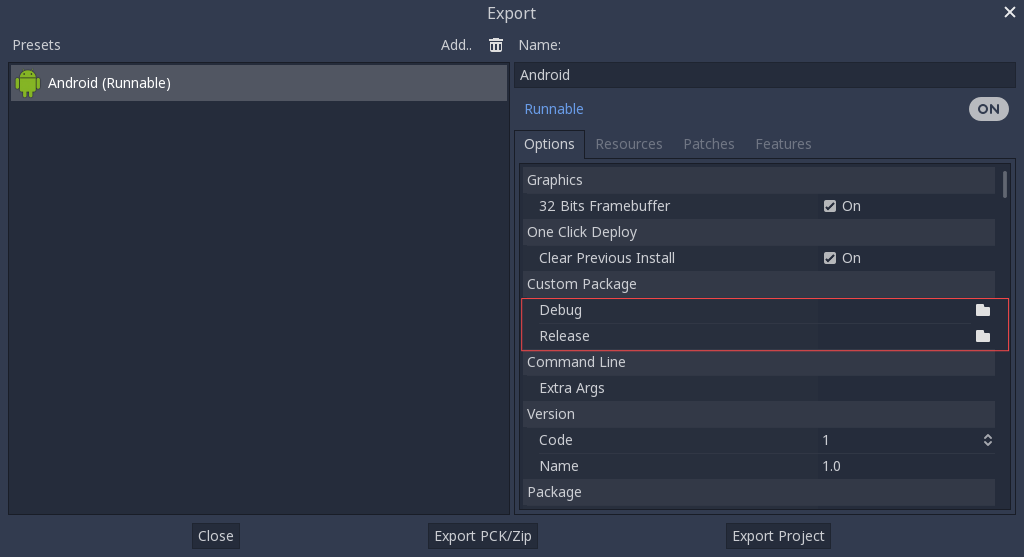
Vous n'avez même pas besoin de les copier, vous pouvez simplement référencer le fichier résultant dans le répertoire bin\ de votre dossier source Godot, de sorte que la prochaine fois que vous construirez, vous aurez automatiquement les modèles personnalisés référencés.
Building the Godot editor
Compiling the editor is done by calling SCons from the Godot root directory with the following arguments:
scons platform=android arch=arm32 production=yes target=editor
scons platform=android arch=arm64 production=yes target=editor
scons platform=android arch=x86_32 production=yes target=editor
scons platform=android arch=x86_64 production=yes target=editor
cd platform/android/java
# On Windows
.\gradlew generateGodotEditor
# On Linux and macOS
./gradlew generateGodotEditor
The resulting APK will be located at bin/android_editor_builds/android_editor-release.apk.
Removing the Editor templates
You can use the following commands to remove the generated editor templates:
 cd platform/android/java
 # On Windows
.\gradlew clean
# On Linux and macOS
./gradlew clean
Installing the Godot editor
With an Android device with Developer Options enabled, connect the Android device to your computer via its charging cable to a USB/USB-C port. Open up a Terminal/Command Prompt and run the following commands from the root directory with the following arguments:
adb install ./bin/android_editor_builds/android_editor-release.apk
Dépannage
La plate-forme n'apparaît pas dans SCons
Double-check that you've set the ANDROID_HOME
environment variable. This is required for the platform to appear in SCons'
list of detected platforms.
See Setting up the buildsystem
for more information.
Application non installée
Android pourrait se plaindre que l'application n'est pas correctement installée. Si c'est le cas :
Vérifiez que la keystore de débogage est correctement générée.
Vérifiez que l'exécutable jarsigner provient du JDK 8.
S'il échoue encore, ouvrez une ligne de commande et lancez logcat :
adb logcat
Vérifiez alors la sortie pendant que l'application est installée ; le message d'erreur devrait être présenté là. Demander assistance si vous n'arrivez pas à vous en sortir.
L'application se ferme immédiatement
Si l'application s'exécute mais se ferme immédiatement, cela peut être due à l'une des raisons suivantes :
Assurez-vous d'utiliser des modèles d'exportation correspondant à la version de votre éditeur ; si vous utilisez une nouvelle version de Godot, vous devez mettre à jour tous les modèles.
libgodot_android.sois not inlibs/<arch>/where<arch>is the device's architecture.L'architecture de l'appareil ne correspond pas à celle exportée. Assurez-vous que vos modèles ont été créés pour l'architecture de cet appareil et que les paramètres d'exportation incluent la prise en charge de cette architecture.
Dans tous les cas, adb logcat devrait également indiquer la cause de l'erreur.