Attention: Here be dragons
This is the latest
(unstable) version of this documentation, which may document features
not available in or compatible with released stable versions of Godot.
Checking the stable version of the documentation...
適用於 Android 的 Gradle 建置
Godot 提供選項,可以使用 Gradle 建置系統來建置。不使用 Godot 內建的預先建置模板,而會將一個 Android Java 專案安裝到您的專案資料夾中。Godot 接著會建置它,並在您每次匯出專案時將其用作匯出模板。
有幾個原因會需要這麼做:
要在建置前修改專案。
建置專案時要加上外部 SDK。
設定 Gradle 建置是一個相當直接的流程。首先,請依照 匯出至 Android 的步驟,直到 在 Godot 設定 為止。之後,請繼續按照下列步驟操作。
設定 Gradle 建置環境
前往「專案」選單,並安裝 Gradle 建置 樣板:
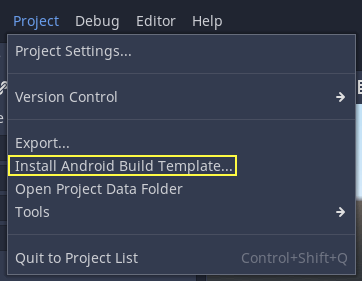
請確定有下載匯出樣板。若沒下載的話,該選單會協助下載。
這會在 res://android/build 下建立一個 Gradle 為基礎的 Android 專案。除非你真的需要修改專案,否則不需要編輯這些檔案。
啟用 Gradle 建置並匯出
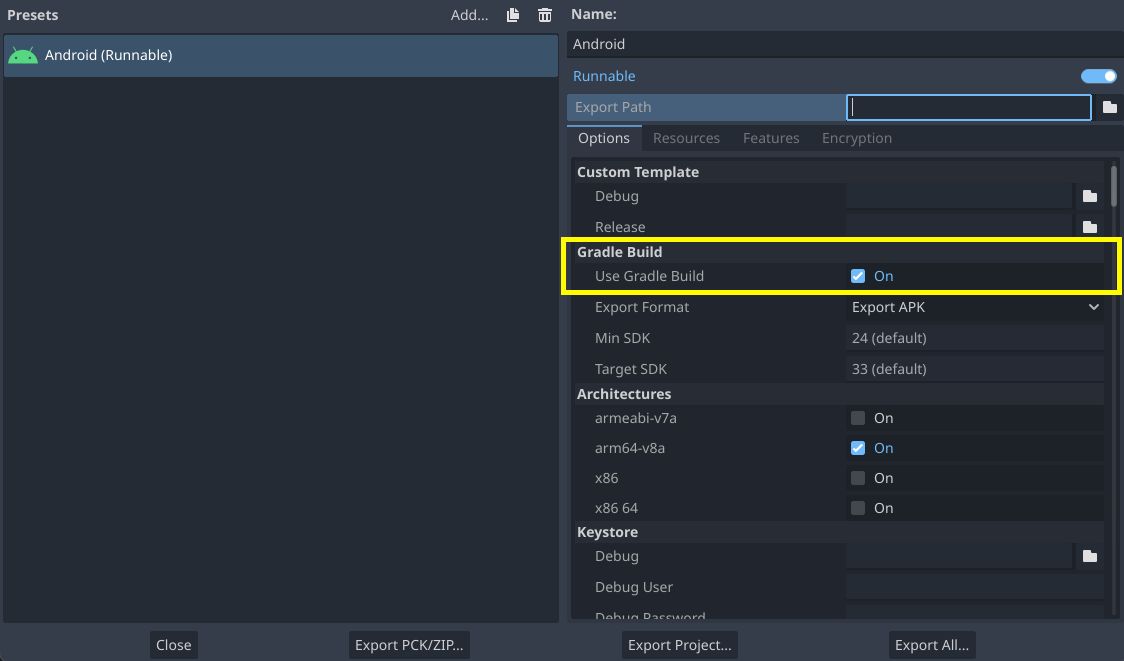
在設定 Android 專案時,於 專案 > 匯出 對話框中,請啟用 Gradle 建置:
之後,無論匯出專案或使用一鍵部署,都會呼叫 Gradle 建置系統來產生新的樣板(此視窗每次都會出現):
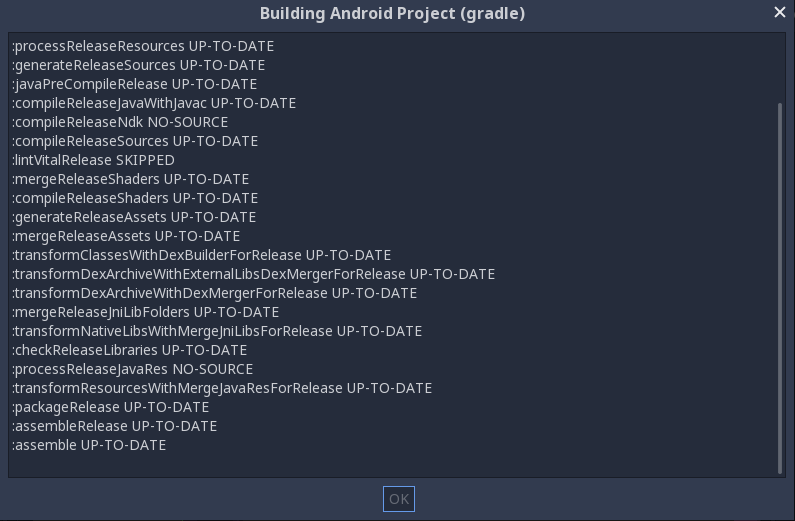
接著會自動使用樣板建置,不需要進一步設定。
備註
使用 Gradle Android 建置系統時,放在資料夾名稱以底線(_)開頭的資料夾中的資源,將不會被包含於產生的 APK 內。若只是 檔案 名稱以底線開頭則不受此限制。
例如,_example/image.png 將**不會**包含為素材,但``_image.png`` 會。